Police auctions are the highest-return containers in Storage Hunters: Open World, and they are also the ones players waste the most time waiting on. They do not run on a visible timer you can read off the map. They spawn when a zone loads in, which means the fastest way to get one is to make the game reload the zone on purpose.
Quick answer: Drive to your highest net worth area, confirm no police auction is active, then drive far enough away that the area drops out of render distance, wait roughly 2.5 to 5 minutes, and drive back. The zone repopulates and a police auction can spawn on the return trip.
How to force a police auction to spawn
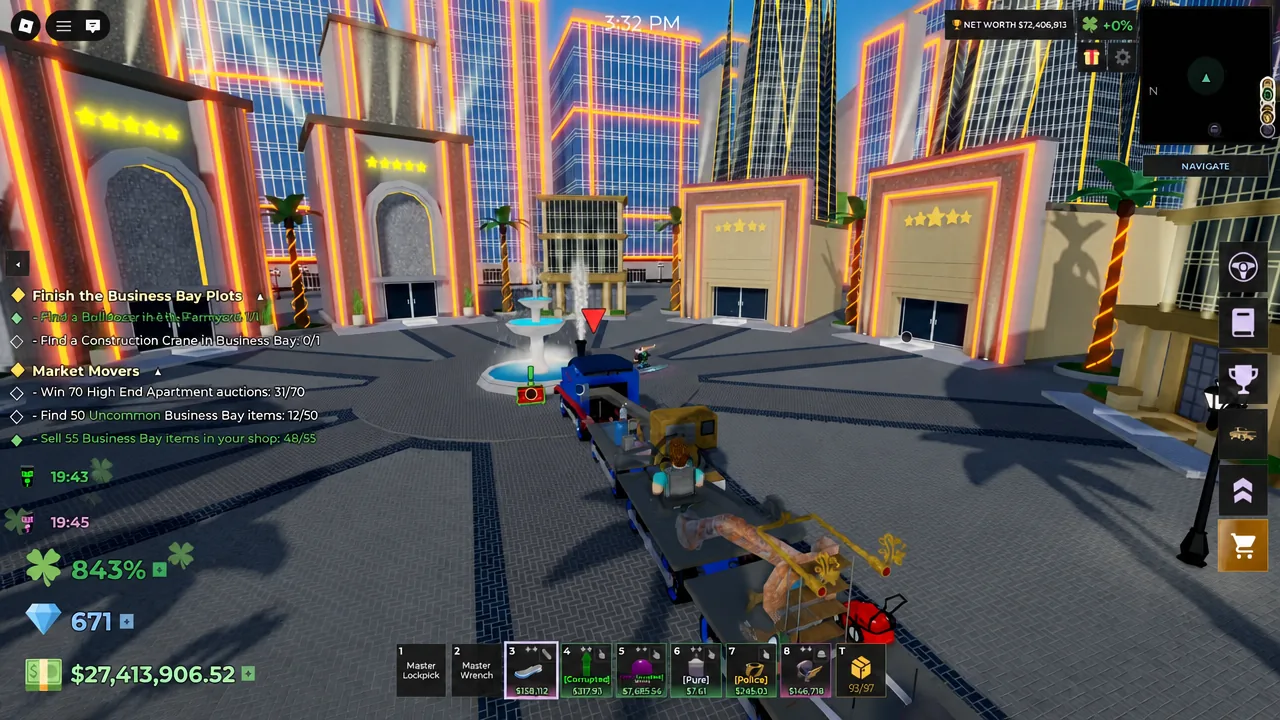
The method works anywhere, but it is only worth doing in your best zone. Business Bay is the top target for high net worth accounts, because the item pool there scales with the area rather than with the trick itself. Forcing a respawn in a starter zone just gives you a cheap auction faster.
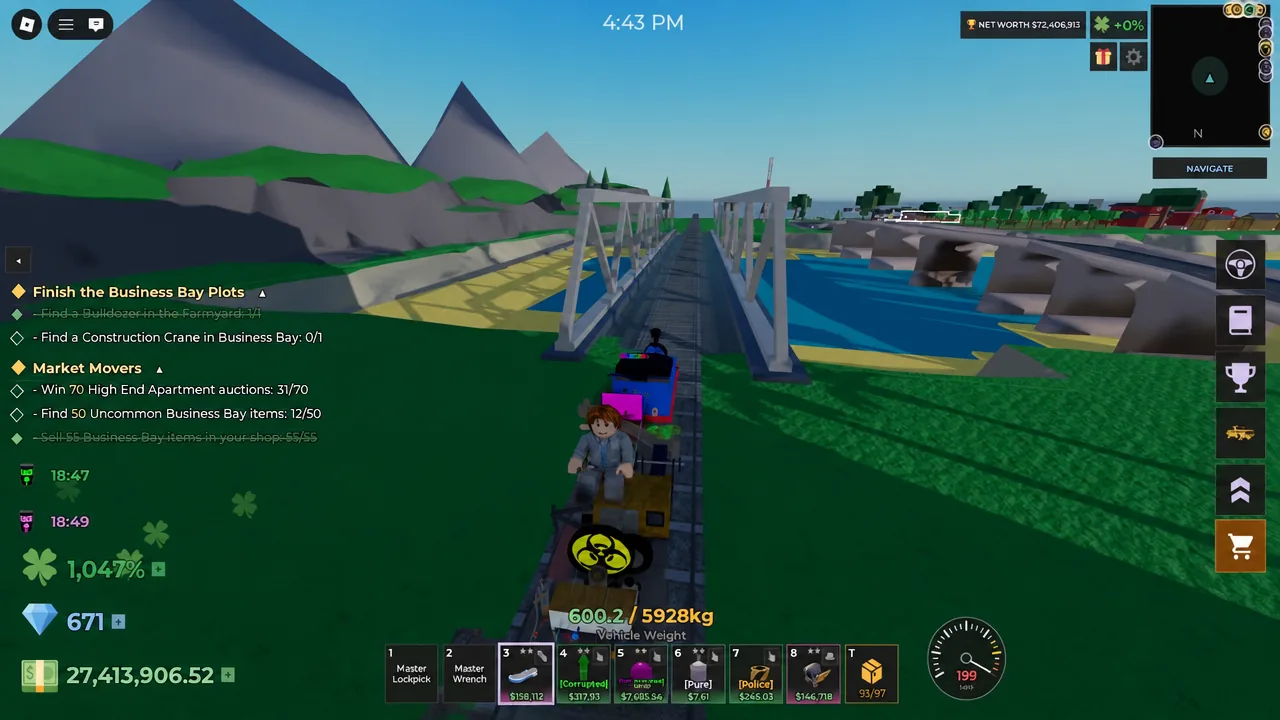
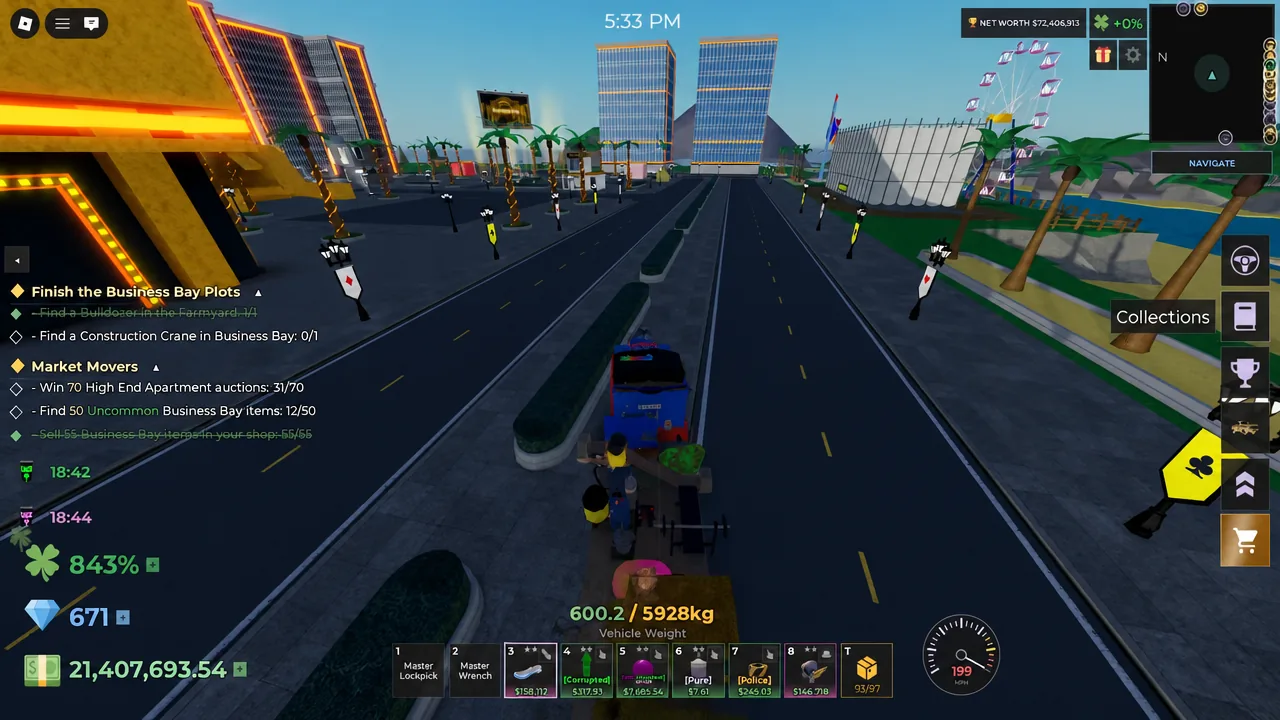
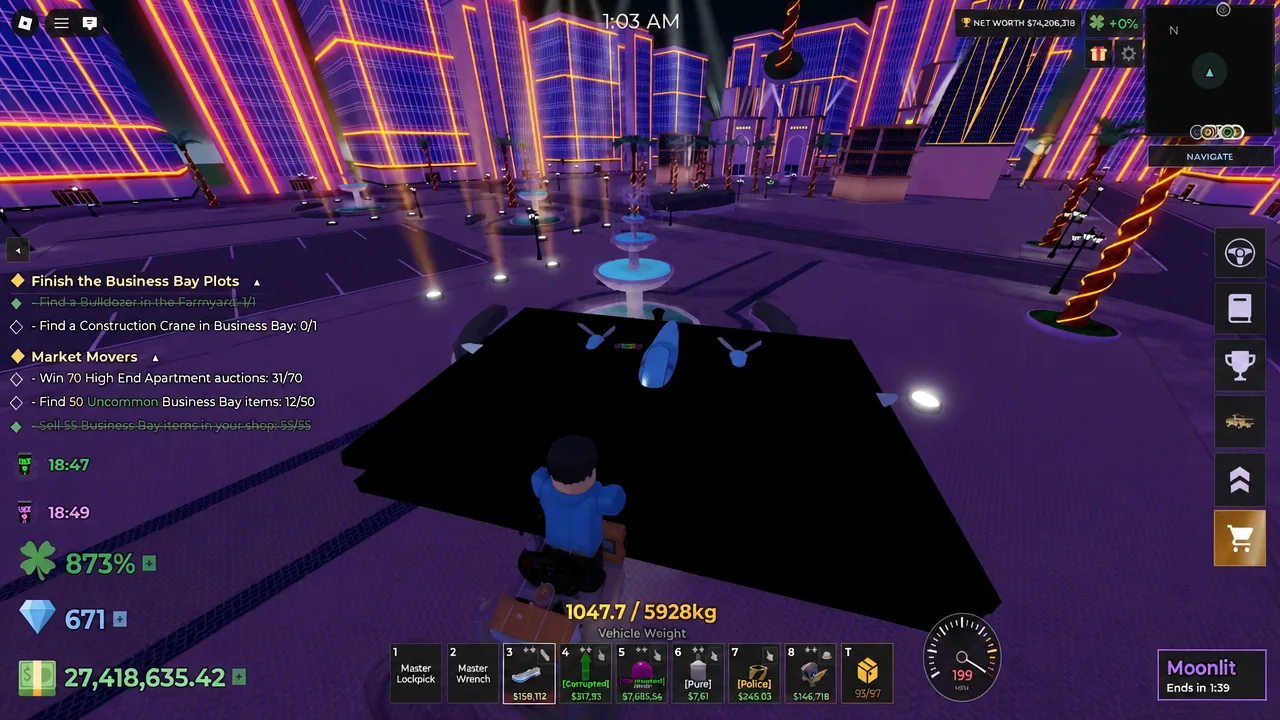
You know it worked when a police auction marker appears where there was none, tagged with the [Police do not enter] label and an entry fee. A live event banner such as MOONLIT EVENT HAS STARTED layers mutators like [Moonlit] and [Firefly] onto the pool until dawn, which is the best possible window to run the loop in.
Entry fees and what a police auction actually pays
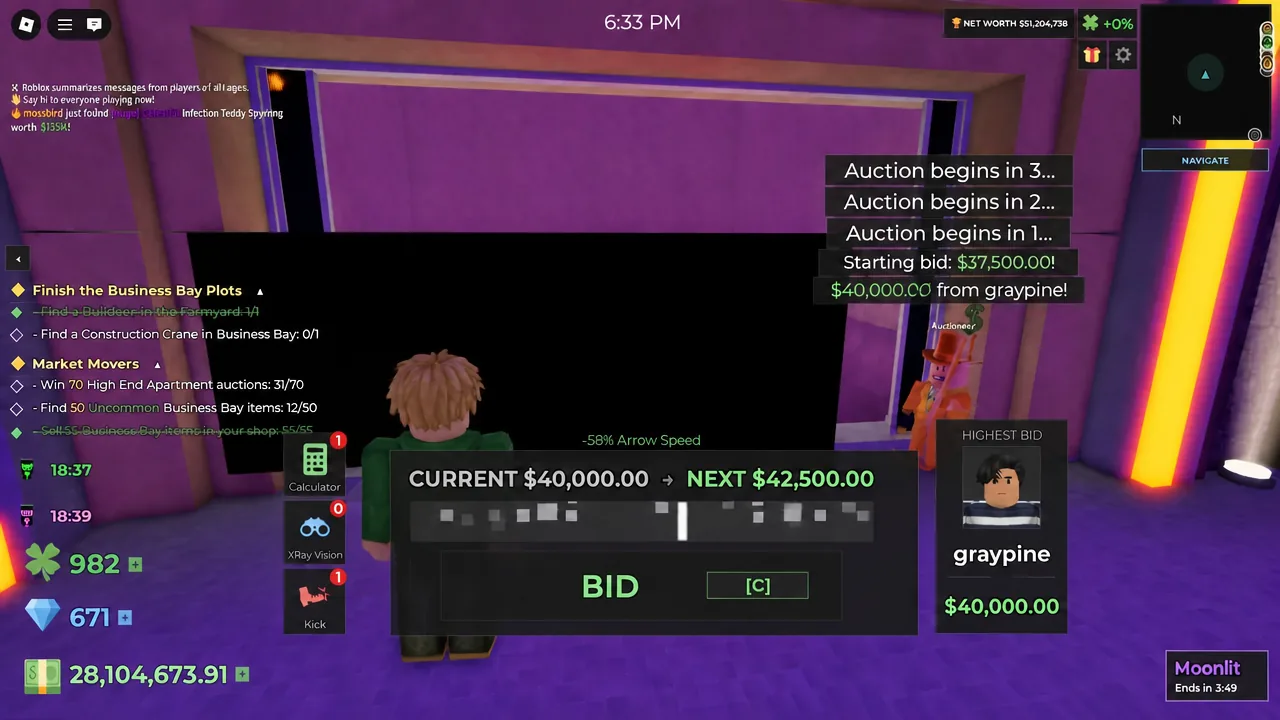
Entry fees are deducted the moment you join, and they scale with the zone rather than the rarity of what is inside. A mythical police auction in Business Bay can close at $55,000 on the winning bid after an $800 entry, which is why the respawn loop is worth the driving.
| Auction | Entry fee |
|---|---|
| High End Apartment | $400.00 |
| Luxury Hotel | $550.00 |
| Boat House Garage | $650.00 |
| Business Bay police auction | $800.00 |
Note: winning a police auction does not end the job. Hauling seized goods can trigger a pursuit warning, and a three-star pursuit sends three cruisers and a helicopter after your truck. Plan the drive back to your shop before you bid, not after.
The dirty gavel trick for higher auction margins
A gavel carrying the Dirty mutator is the single cheapest profit upgrade available. The listed activation rate is tiny, around 0.32%, but in practice it fires far more often than that number suggests, roughly once every three to five auctions. When it triggers mid-bidding, the items in that auction come out Dirty.
That is the point. A Dirty item can be pressure-washed with a cleaning spray for a shot at the [Pure] or [Spotless] condition, and the value jump on a clean roll comfortably beats what the item would have sold for untouched. Sprays are bought with diamonds at the cleaning tool shop in the Mall.
| Cleaning spray | Standard | Spotless |
|---|---|---|
| Small | 15 | 29 |
| Large | 60 | 99 |
| Industrial | 125 | 199 |
Only clean things worth cleaning. Spraying a cheap common item burns diamonds for a few dollars of upside, while a dirty rare or event item is exactly what the system is for.
Where to farm gavels and Gavel Trophies
For gavels themselves, the Cargo Ship and the Back Alley are the two spots worth looping. The Cargo Ship spawns once per hour, so build your route around that timer rather than parking there.
Gavel Trophies are a separate item and a separate farm. They cluster most heavily at the Farmyard, and capping Luck at roughly 70 to 71 in Settings makes them spawn far more consistently than leaving Luck maxed. A trophy sells for a base $50, but that is not what it is for. Placed in your shop before an auction, it rolls mutation modifiers such as +67% Silver or +123% Gold, and multiple trophies stack. Selling them off is throwing away your best mutation lever.
Overnight diamond farming setup
Diamonds come from tips, and tips come from shop traffic on valuable stock. The overnight setup is straightforward once the pieces are in place, and it runs while you are away from the keyboard.
Stack the passive sources on top of that when you log back in. Daily rewards, NPC quests, Collection Book milestones, and Achievements all pay diamonds for things you are doing anyway. Diamond Safes are the biggest single burst, but they unlock at the Locksmith and some are gated behind net worth, so a safe that refuses to open is a value problem, not a bug.
What v0.14.0 changed for auction farming
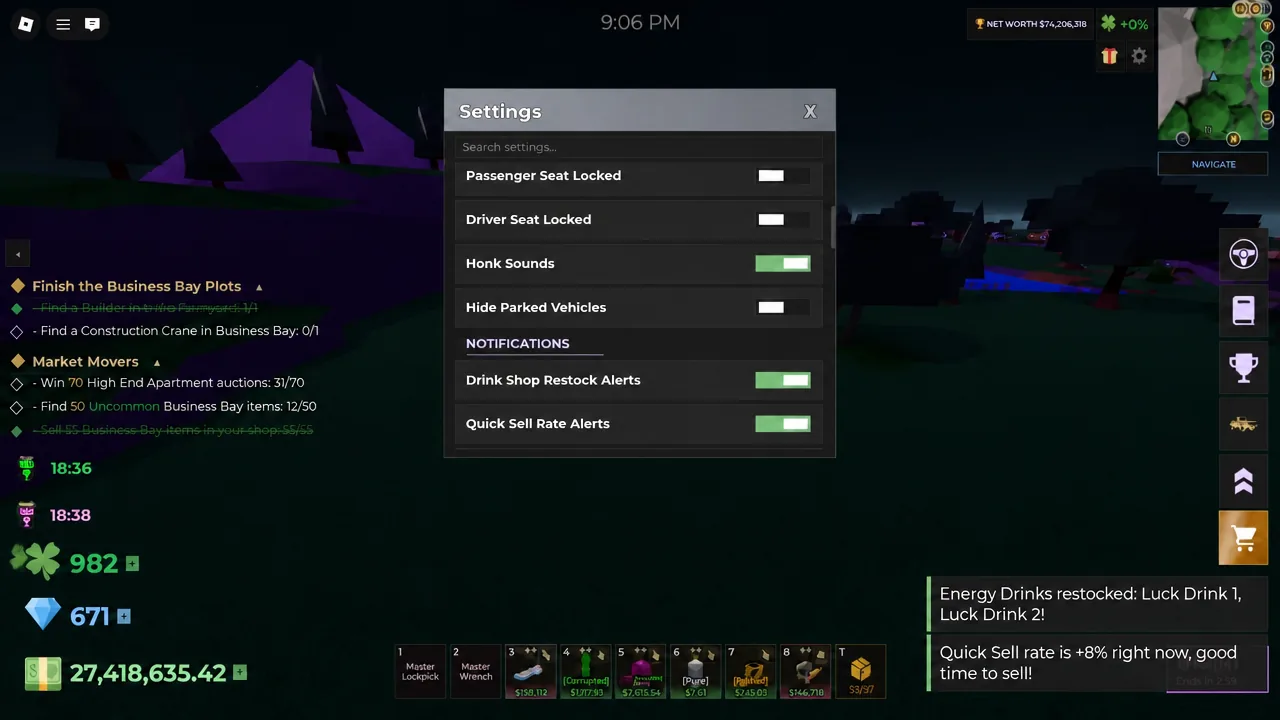
The in-game Update Log sits in the Settings menu and is worth opening before you plan a session, since several of the newer systems feed directly into auction value.
| Addition | What it does |
|---|---|
| Onyx mutation | Worth 175k and ranks above [Rainbow]. Needs 1,575 luck and completion of Mike’s Onyx contract in the Back Alley. |
| Nuclear Meltdown event | Triggers randomly once per hour, or manually by venting the Power Plant’s weather machine. Unlocks [Radioactive] and [Nuclear] mutators, including mutant fish. |
| Club Luck streaks | Daily club quests build a personal streak. Seven missed days are free, then you lose 100 XP per missed day. Every member’s streak contributes up to +4% luck to the whole club. |
| Premium Certificates | Trade a Wooden Certificate Of Authenticity plus 150 Diamonds at the Premium Certificates NPC for perks such as Club Pact and Golden Hour. |
Club luck is the easiest of these to underrate. An active club with members keeping their streaks alive can sit at a bonus north of +30%, and that applies to every auction you open, police auctions included.
Run the loop in that order and the pieces reinforce each other. The render-distance reset gets you into police auctions faster, a dirty gavel raises what those auctions are worth once cleaned, and the shop converts the haul into diamonds while you sleep. None of it depends on luck alone, which is the whole reason it holds up over a long session.