
Live Photos is one of the many great features of an iOS device. And devices running iOS 15 or later can also capture Live Photos when on a FaceTime call just like you do on the Camera app.
However, many users reportedly are facing an issue where the Live Photos are not saving on a FaceTime call. If you have not tampered with your phone or carried out an unauthorized repair, the problem is most likely software-based.
Though there aren’t many factors that can impact this functionality on your device and the usual suspects trickle down to either being a privacy-settings-related issue, an outdated system software, or just FaceTime glitches.
If you have been facing the same issue on your device as well, this guide will help you resolve it in a swish. Moreover, some of the fixes in the list involve all the participants in the FaceTime call, hence, it is imperative that everyone makes sure all the settings are correctly calibrated on their individual devices as well.
Method 1: Make Sure All the Participants are on a Supported Software System
In order to click and save Live Photos on your device, make sure all the participants are running the supported iOS, and iPadOS versions on their respective devices.
To save FaceTime Live photos, all participants need iOS 12.1.4 or later, or iPad OS. In case you are not sure which iOS iteration you are on, follow the simple steps below to check and update your Apple device to the latest software system.
First, head to the Settings app either from the home screen or from the app library of your device.
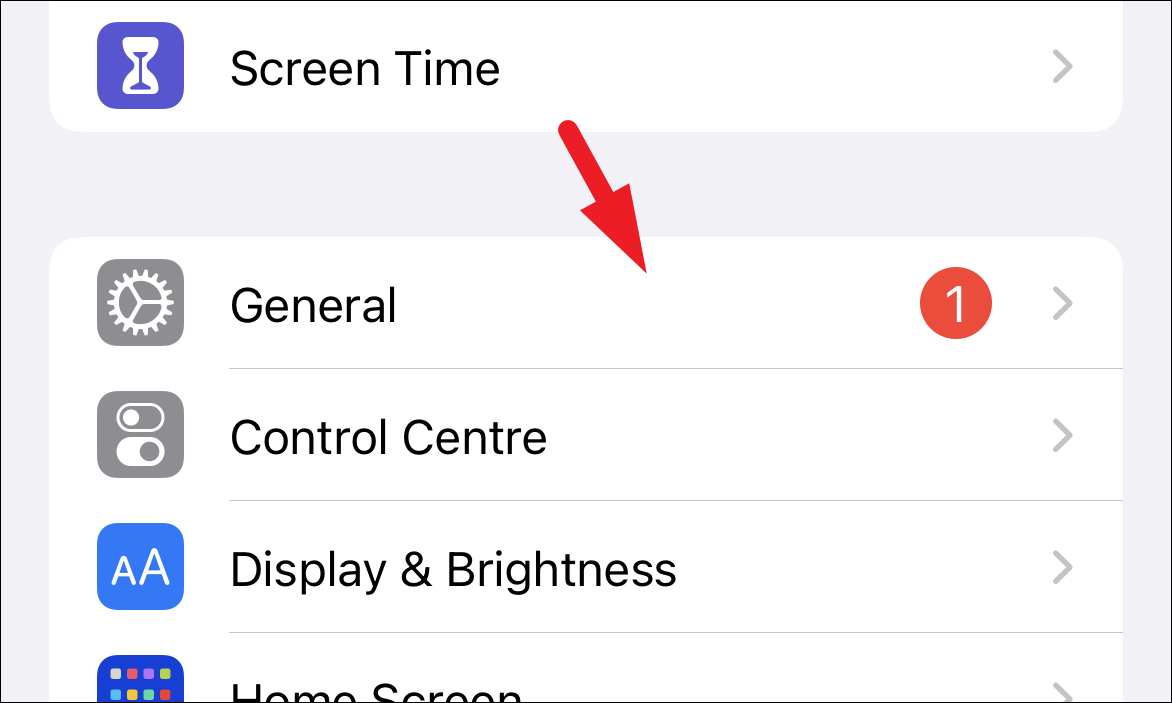
Then, from the ‘Settings’ screen, locate and tap on the ‘General’ tile to continue.
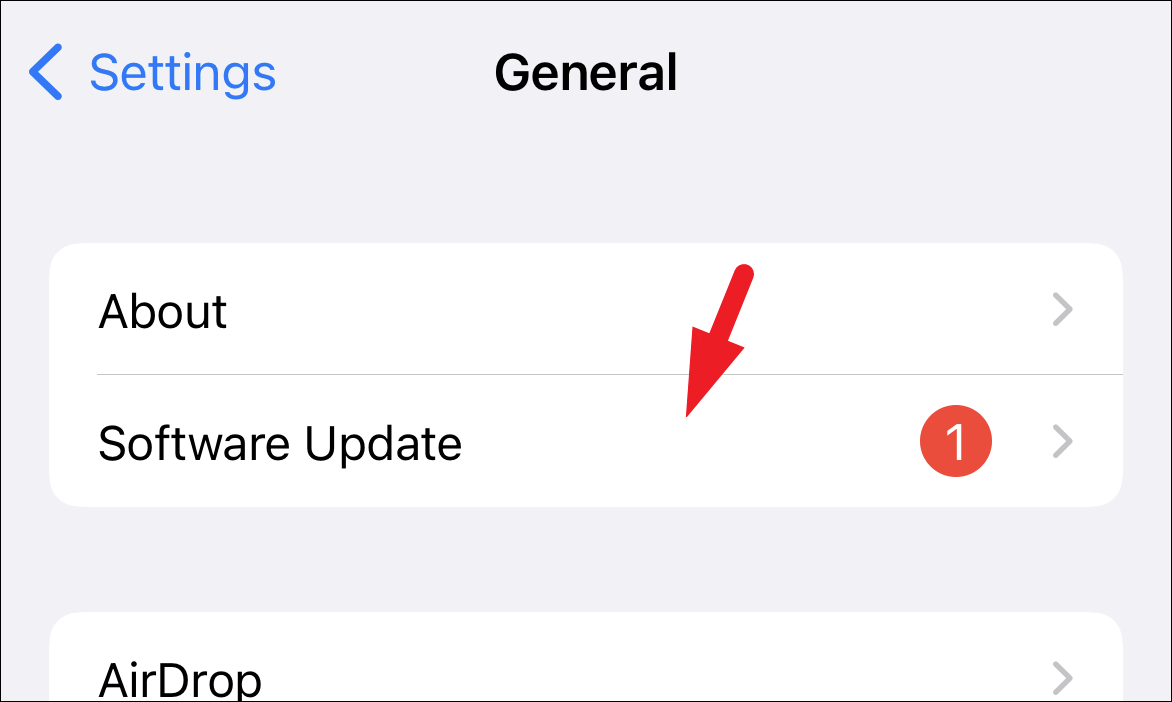
Next, from the ‘General’ settings screen, locate and tap on the ‘Software Update’ tile to proceed.
On the next screen, let your device check for updates. If an update is available, tap on the ‘Download and Install’ button to update your device to the latest software.

Method 2: Make Sure All Participants have FaceTime Live Photos Enabled
Since not everyone likes to capture or allow other people to capture their Live Photos on FaceTime call, and hence, when toggled off, will also prevent other users to capture a Live Photo on a FaceTime call.
In order to save Live Photos on your device, all the participants must have FaceTime Live Photos enabled on their device. Hence, if you see the message “FaceTime Photos must be enabled on both devices to use this feature” one of the participants needs to check the settings and enable the feature on their individual device.
To do so, head to the Settings app on your iOS/iPadOS device either from the home screen or from the app library.
Next, on the Settings screen, scroll down to locate and tap on the ‘FaceTime’ tile from the list to proceed.

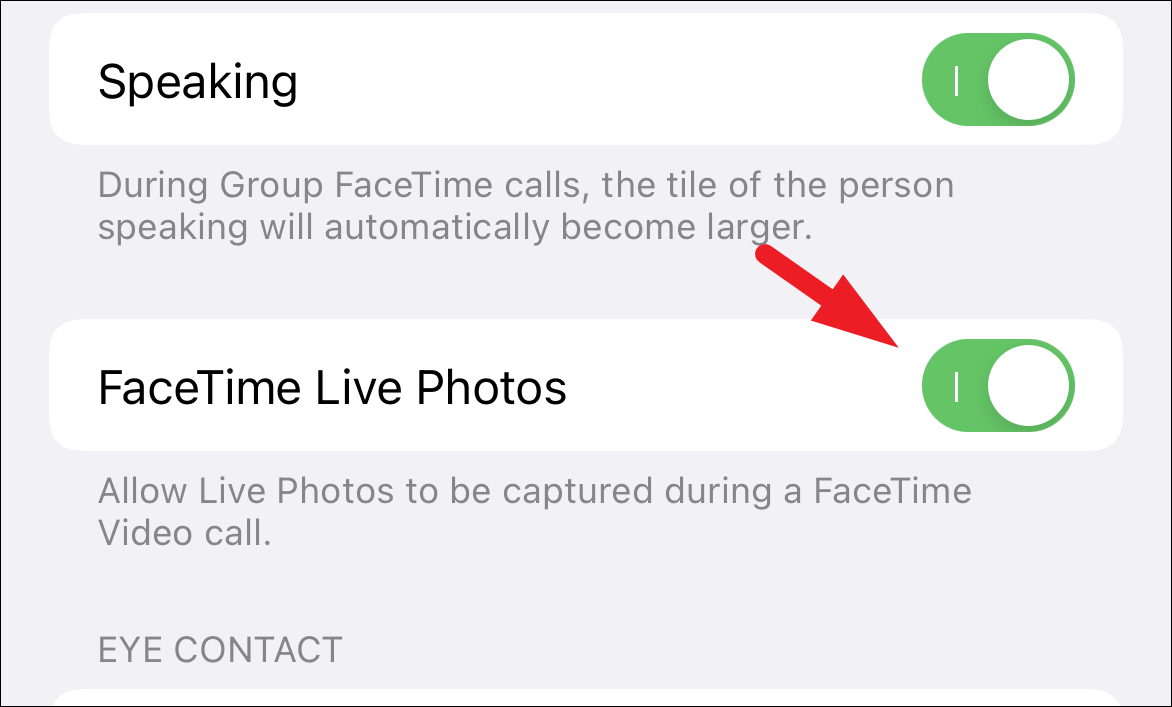
Then, on the ‘FaceTime’ settings screen, locate the ‘FaceTime Live Photos’ option and tap on the toggle switch present on the far right edge of the tile to bring it to the ‘On’ position, if not already enabled.
Method 3: Check Content & Privacy Restrictions
There could also be a possibility that FaceTime and/or Camera app are disabled from the ‘Content & Privacy restriction’ settings on your iPhone which could be the reason behind not being able to take Live Photos in FaceTime.
To check the current restrictions, first, head to the ‘Settings’ app either from the home screen or from the app library of your iPhone.

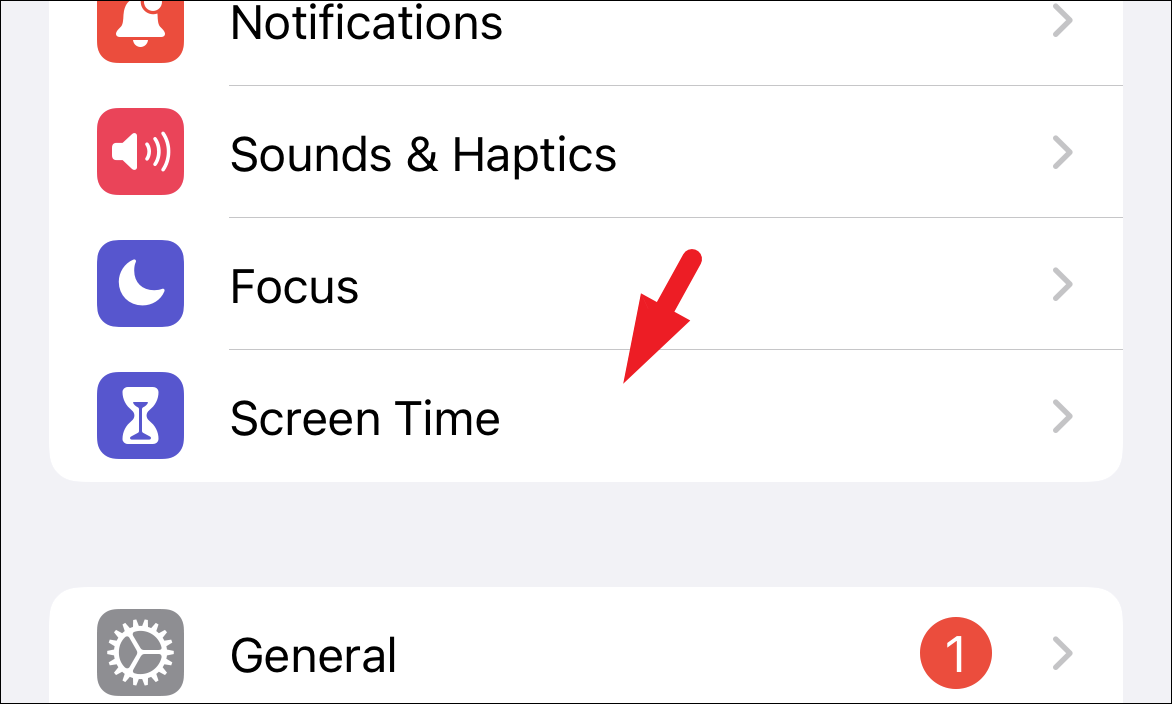
Then, from the ‘Settings’ screen, locate and tap on the ‘Screen Time’ tile from the list to continue.
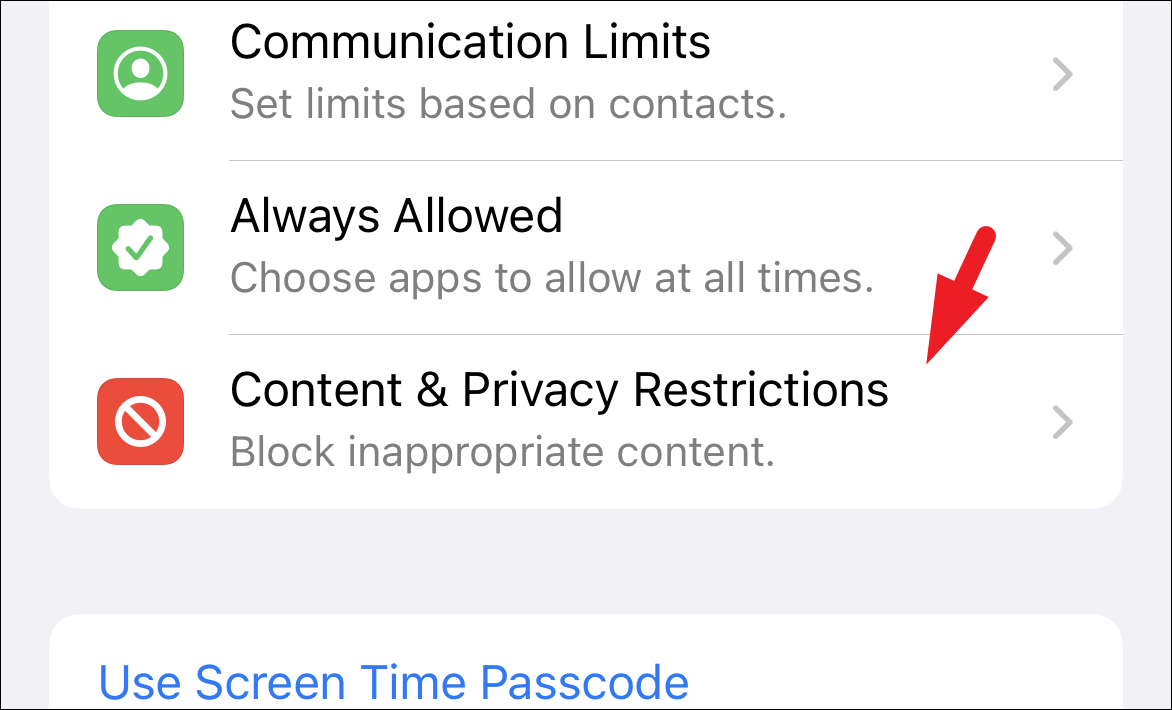
After that, on the ‘Screen Time’ settings screen, locate and tap on the ‘Content & Privacy’ Restrictions tab to proceed.
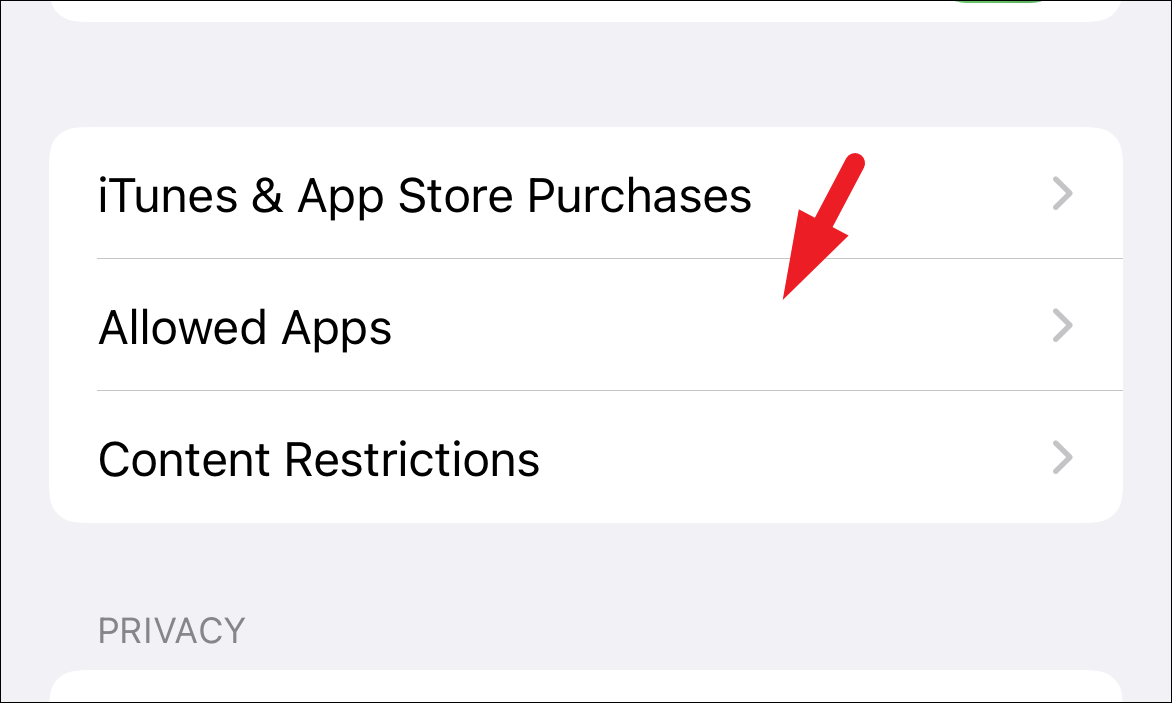
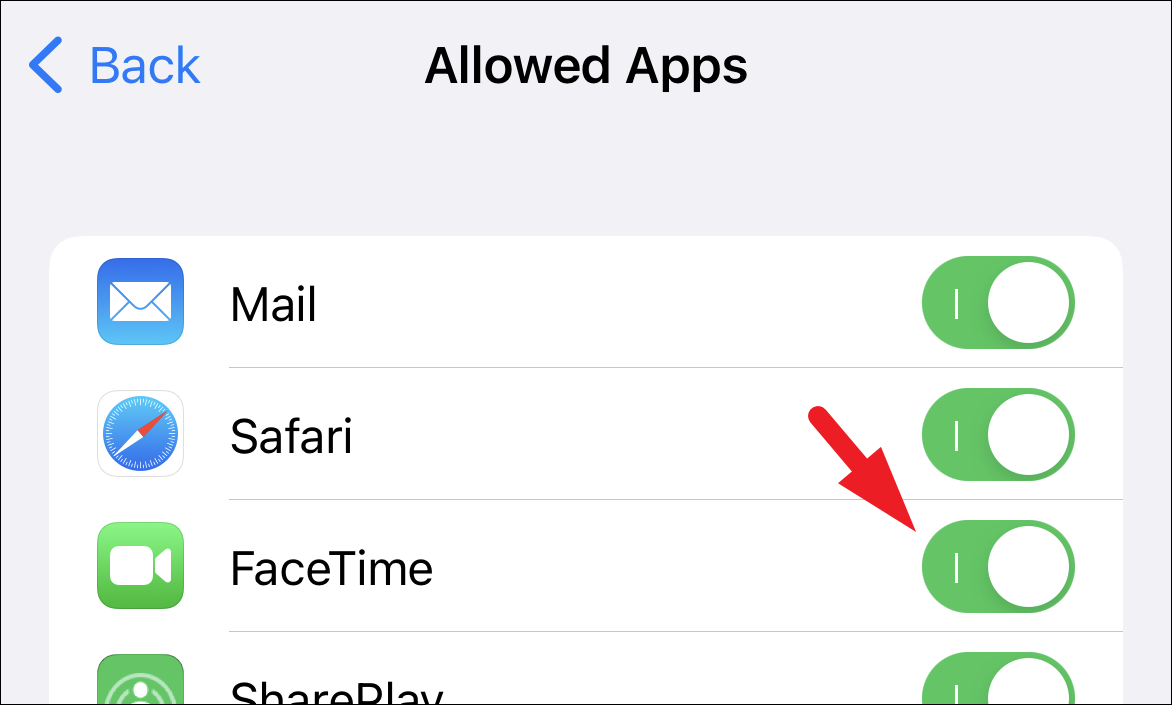
On the next screen, tap on the ‘Allowed Apps’ tile from the list of options.
After that, first, locate the ‘FaceTime’ option from the list and then tap on the following toggle switch to bring it to the ‘On’ position, if not already enabled.
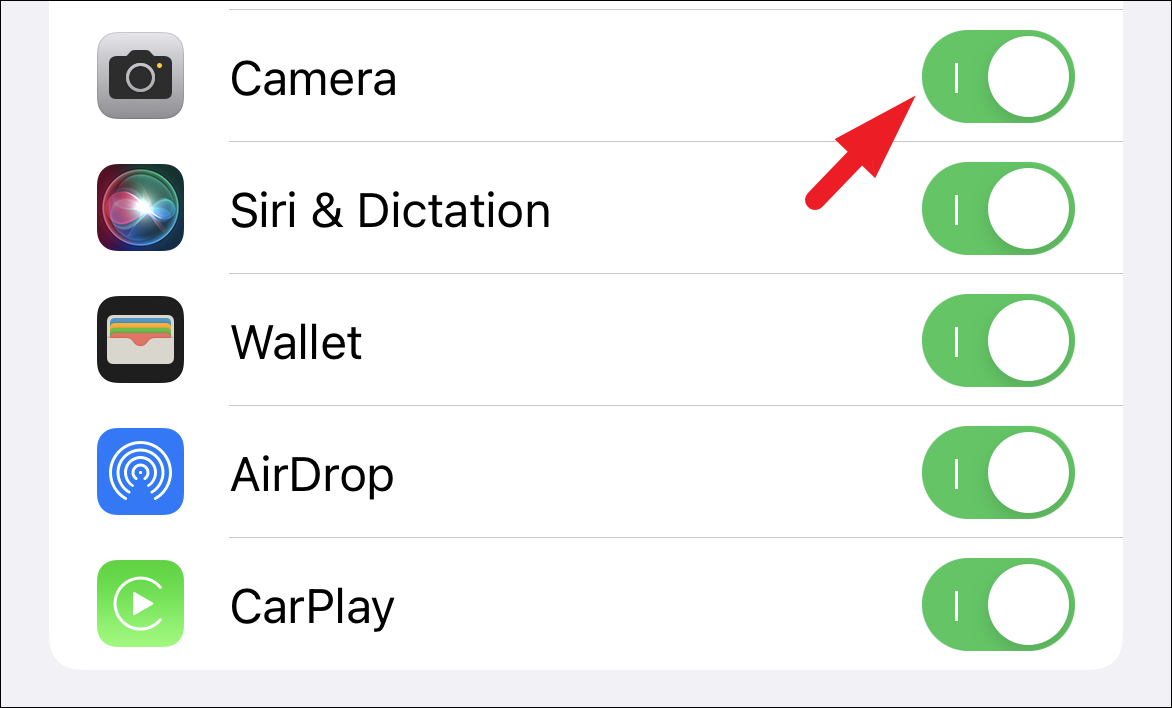
Next, locate the ‘Camera’ option in the list, and similar to the previous step, tap on the following toggle switch to bring it to the ‘On’ position in order to provide it access.
Method 4: Force Restart The Device
Restarting the device might seem like an elementary process, however, when it comes to unexplained issues, it can prove to be a wonderous easy fix to the solution since it helps the device completely shut off all systems and restart them again.
Since there are multiple iterations of iPhones available, the process to force restart them differs. Hence, the methods for them are mentioned separately.
Force Restart iPhone with Face ID, iPhone 8, and SE (2nd Gen)
The most recent iPhones have a different process to force restart them when compared to the earlier released versions of iPhones.
To force restart the aforementioned iPhones, first, quickly press and release the ‘Volume up’ button located on the left side of your iPhone. Then, similarly, quickly press and release the ‘Volume down’ button. After that, press and hold the ‘Lock/Side’ button until the Apple logo appears on your screen. Once the logo appears, release the side button.

Once your iPhone has been restarted, punch your passcode in and check if the issue has been resolved.
Force Restart iPhone 7
This generation of iPhone receives special treatment by being the only one not sharing the process of force restarting the phone with any other generation of iPhone. However, it is as simple to force restart an iPhone 7 as it is to restart any other model of an iPhone.

Force Restart iPhone 6, 6s, and SE (1st Gen)
These are the last of the ones that need the ‘Home button to force restart them. That being said, using the ‘Home’ button to force restart the iPhone only makes the matter much simpler relatively.
To do so, press and hold the ‘Lock/Side’ button and the ‘Home’ button together on your iPhone until the Apple logo appears. Once you see the logo on your screen, release both the buttons.

Method 5: Disable and Re-enable iCloud Photos
If the restart also didn’t help resolve the issue on your device, disabling and re-enabling iCloud Photos for your device might do the trick for you.
To do so, head to the ‘Settings’ app on your iPhone either from the home screen or from the app library.

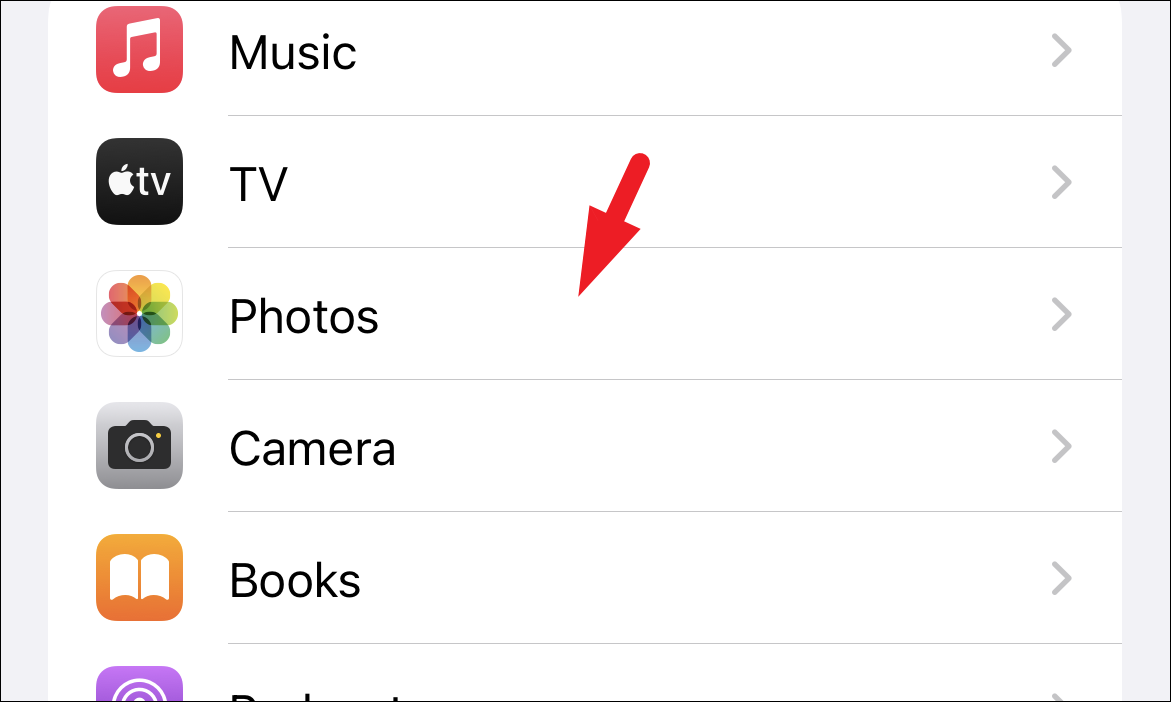
Next, on the ‘Settings’ screen, scroll down to locate and tap on the ‘Photos’ tile to proceed.
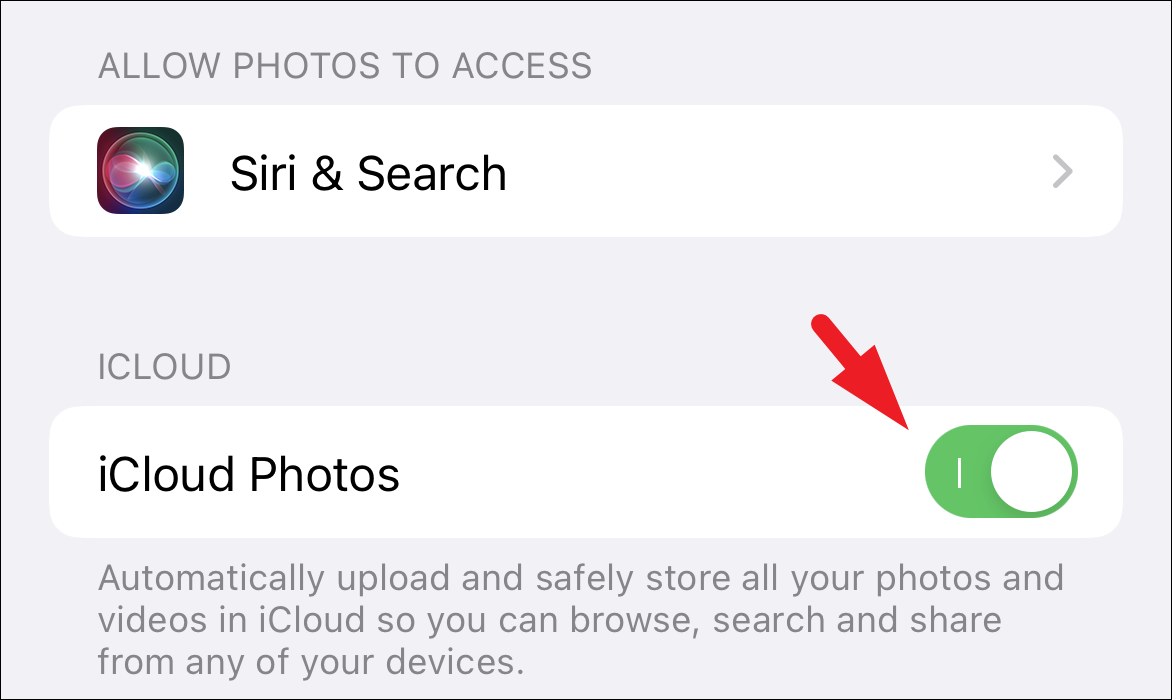
After that, on the ‘Photos’ settings screen, tap on the toggle switch present on the far right edge of the ‘iCloud Photos’ tile to bring it to the ‘Off’ position, situated under the ‘iCloud’ section.
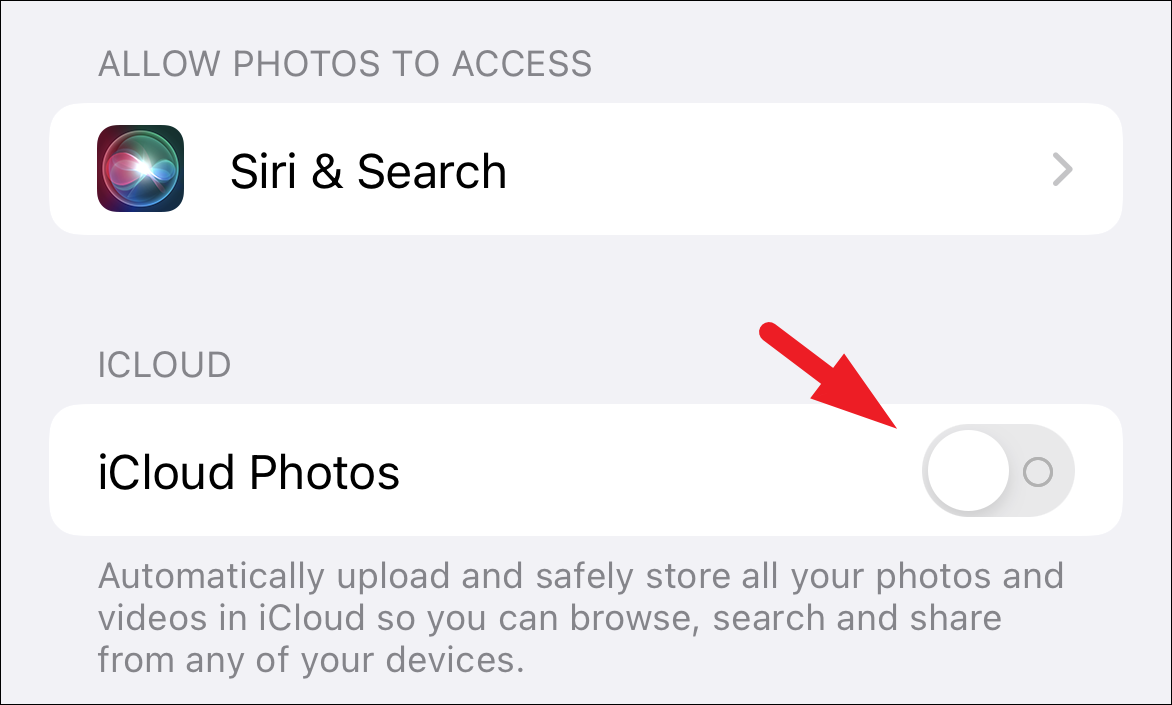
Now, wait for a couple of minutes and tap on the toggle switch again to bring it to the ‘On’ position.
Once enabled, check if the issue has been resolved on your device.
Method 6: Disable and Re-enable FaceTime on your iPhone
If nothing till now has worked in your favor, it is now time to take out the big guns. Disabling and re-enabling it will definitely work for you.
To disable FaceTime, head to the ‘Settings’ app either from the home screen or from the app library of your iPhone.

Next, on the ‘Settings’ screen, scroll down to locate and tap on the ‘FaceTime’ tile to proceed.

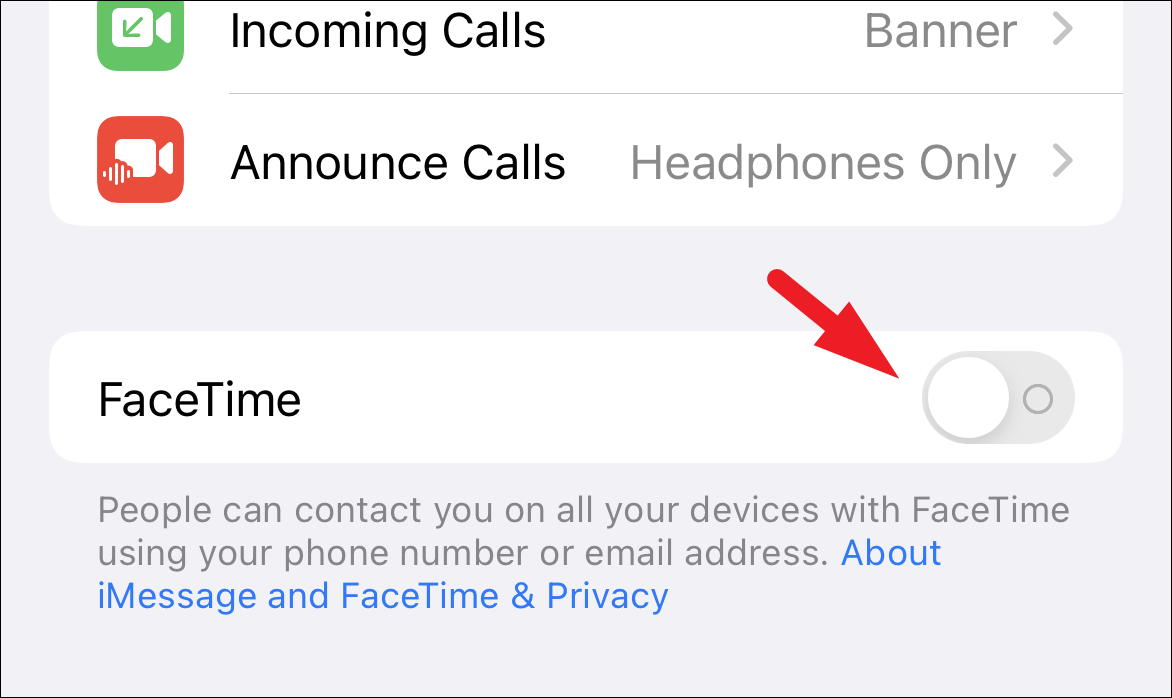
After that, locate the ‘FaceTime’ tile, and tap on the toggle switch present on the far right edge of the tile to bring it to the ‘Off’ position.
Once turned off, wait for a couple of minutes and then again tap on the toggle switch to bring it to the ‘On’ position.
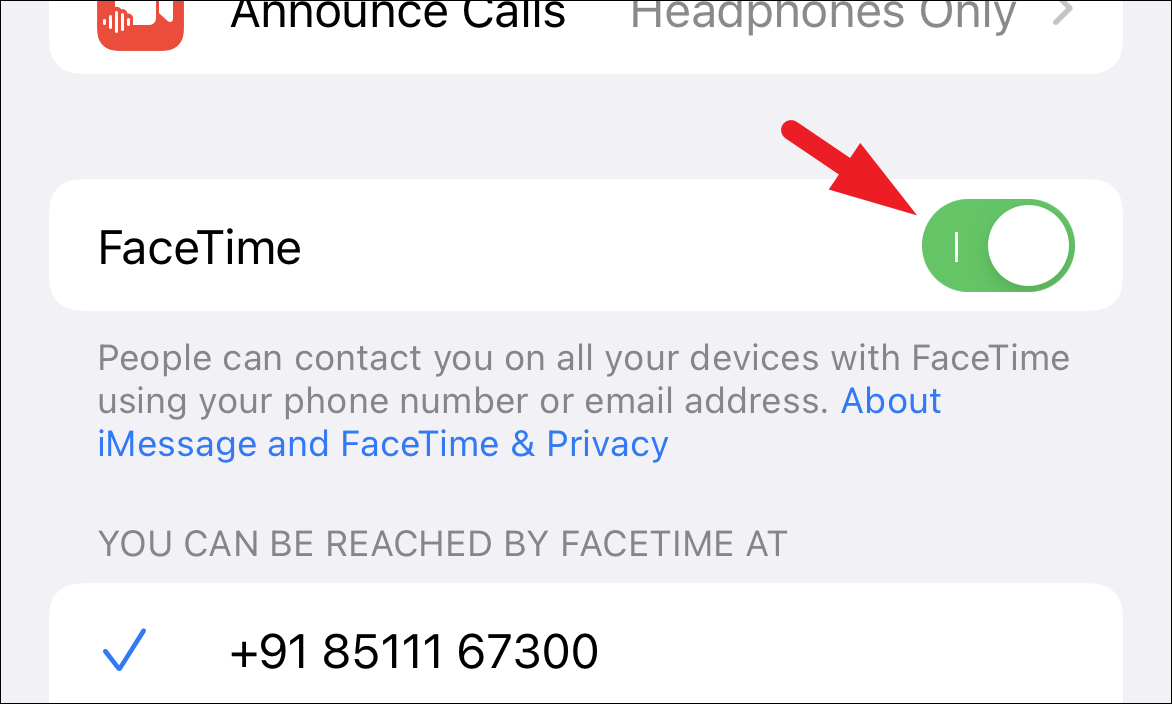
Once turned on, check if the issue of Live Photos is resolved on your iPhone.
There you go folks, hopefully, this guide will help you resolve the issue of not being able to save Live Photos from FaceTime on your device.