
Knowing how to record a FaceTime call can come in very handy, either it could be a moment with your near and dear ones that you might want to capture and cherish over the time to come or some important instructions about performing a specific task.
However, iOS doesn’t natively give you an option to record a FaceTime call with audio on your iPhone. On the flipside, with macOS, you can record a FaceTime call with just a few clicks.
Fortunately, you still can record FaceTime calls with the audio on your iPhone but that again requires you to connect it with a Macbook. If you are logged in with the same Apple ID on both devices, it is recommended to record it straight from your Macbook. Since recording on iPhone is basically recording on Mac with just a few extra steps.
That being said, if you do not have your own macOS device with you and still wish to record a FaceTime call with your iPhone, the latter method can come in handy.
Thus, without further ado, let’s first get started with how to record FaceTime with audio on Mac and then move towards the iPhone.
Use Screenshot Tool to Record FaceTime with Audio on Mac
Fortunately, to record a FaceTime call with audio on your Mac, you do not need any third-party app. The pre-installed screenshot tool on your Mac can do this job pretty well.
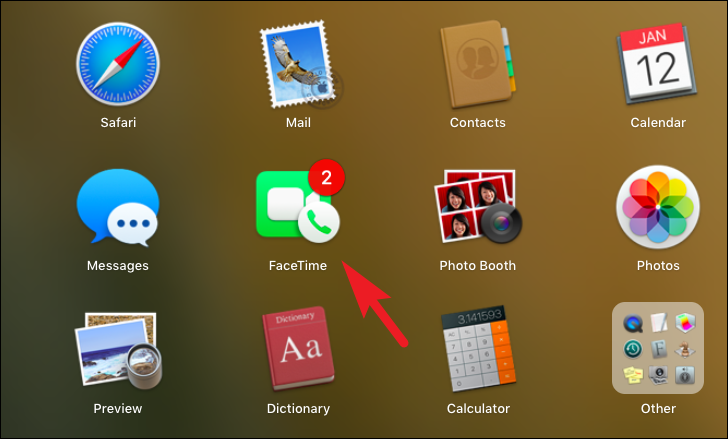
To record a call this way, first, launch to FaceTime either from the dock or from the launchpad of your Macbook.
After that, press Command+Shift+5 on your macOS device to bring up the screenshot tool. Then, select the ‘Screen Recording’ option if you wish to record the complete screen of your Macbook.
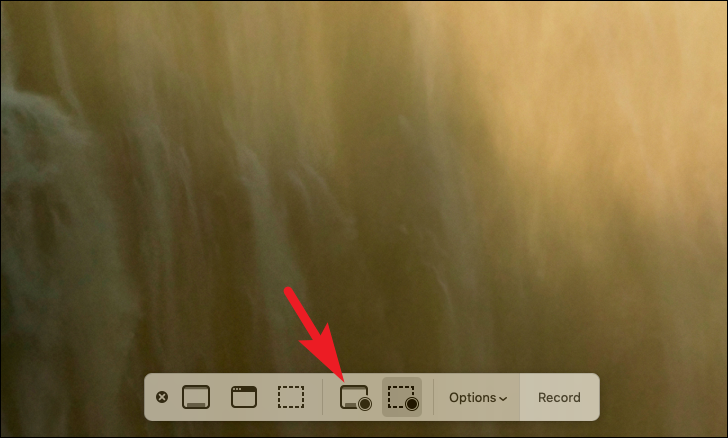
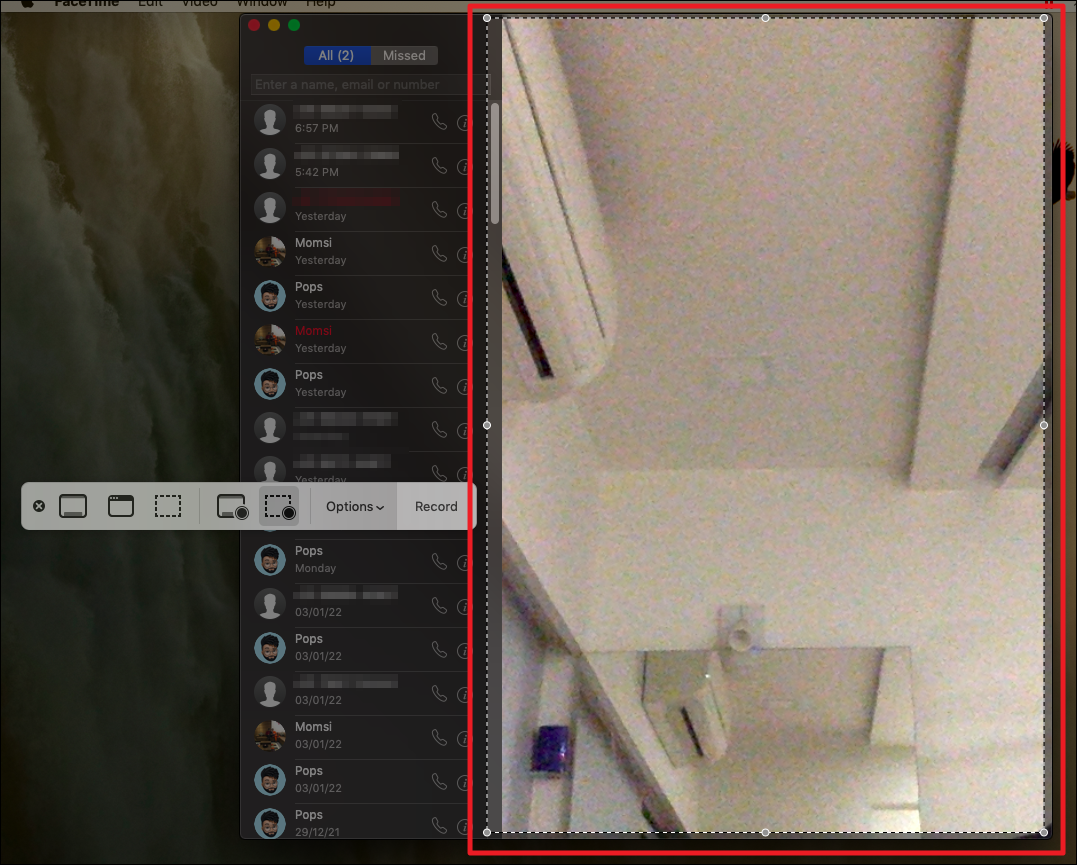
Alternatively, to record only a selected portion of your screen; click on the ‘Record selected portion’ button present on the toolbar and then draw an area over your screen by clicking and holding the mouse button whilst dragging across the screen. Release the mouse button once you are satisfied with the selected portion.
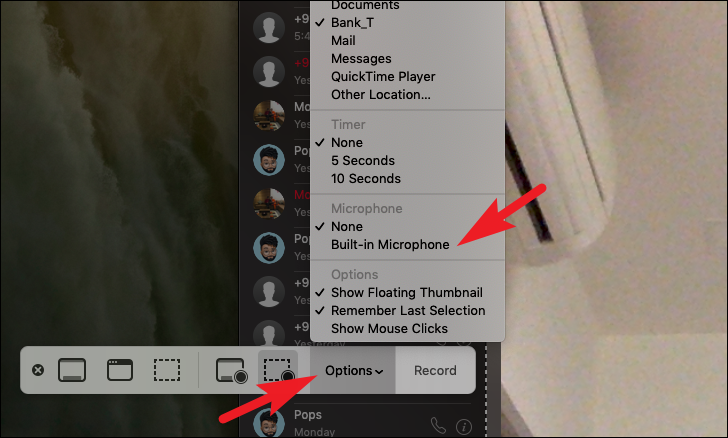
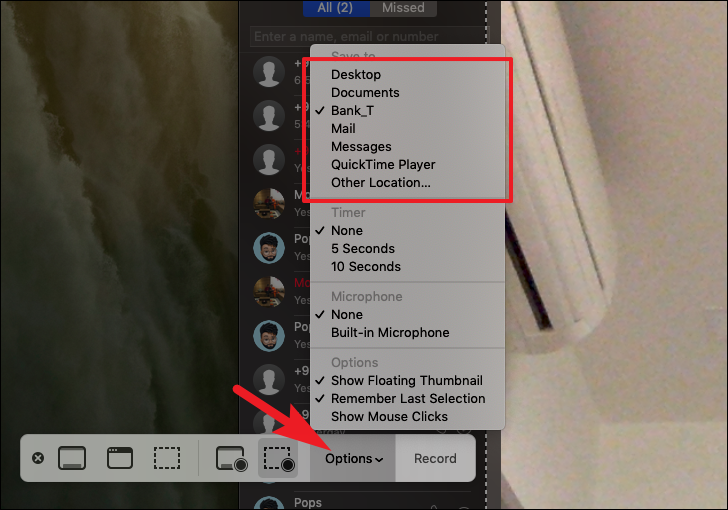
Now, from the screenshot toolbar, click on the ‘Options’ tile to reveal an overflow menu. Then, under the ‘Microphone’ section, click to select the ‘Built-in Microphone’ option.
Then, under the ‘Save to’ section click to select the location you wish to save the recording. To select a location manually using the ‘Finder’, click on the ‘Other location’ option to browse.
Once you have made sure all the settings are according to your preference, close the ‘Screenshot tool’ by pressing Esc on your keyboard or by clicking on the ‘X’ mark present on the toolbar. Do not worry the preferences will be preserved upon the next startup of the app.
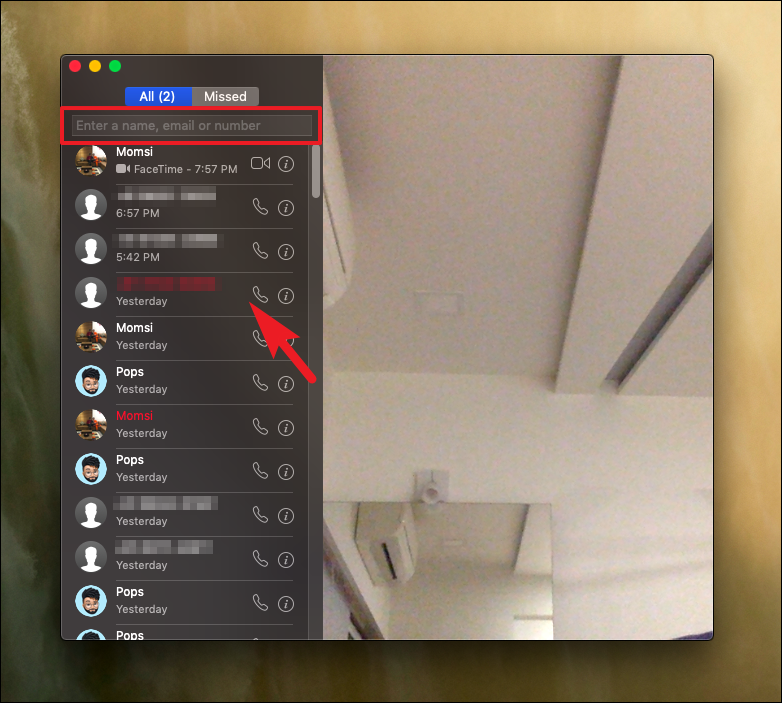
Next, from the FaceTime window, click on a contact tile from the list to initiate the FaceTime call. Otherwise, you can also search for a contact using the Search bar situated on the topmost section of the sidebar present on the FaceTime window.
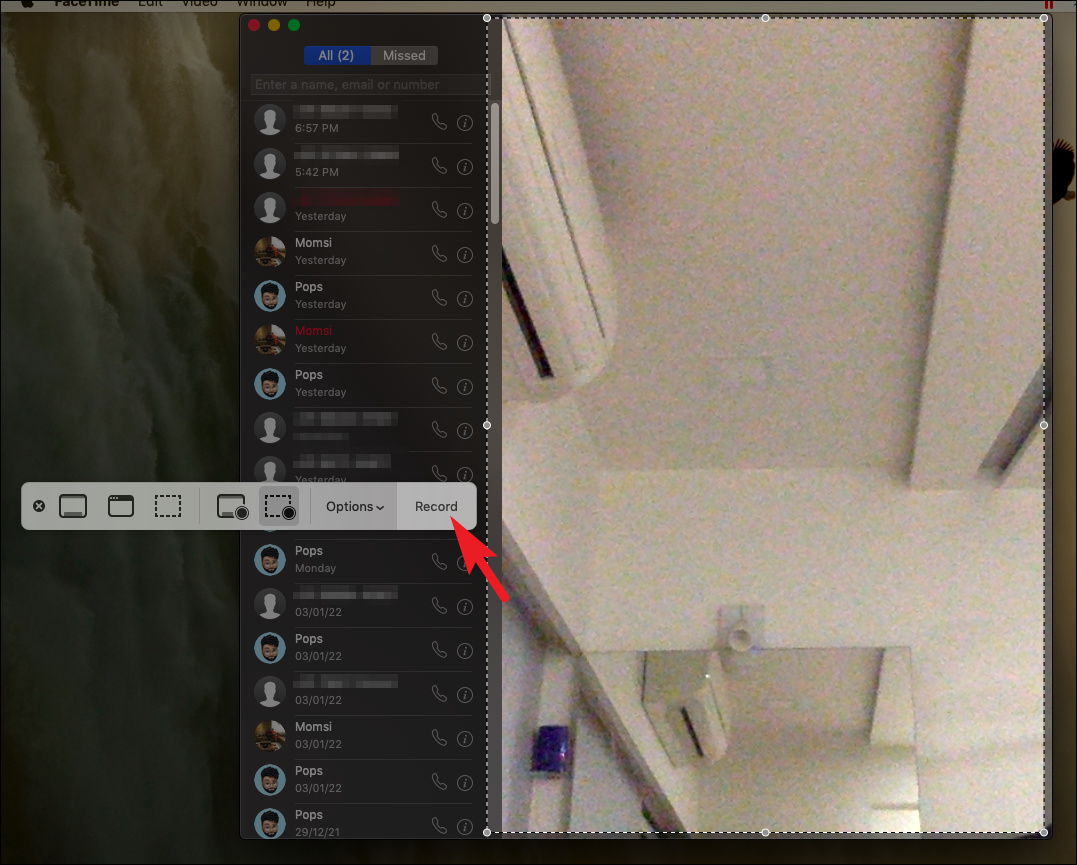
Finally, click on the ‘Record’ button to start recording the FaceTime call with audio on your Macbook.
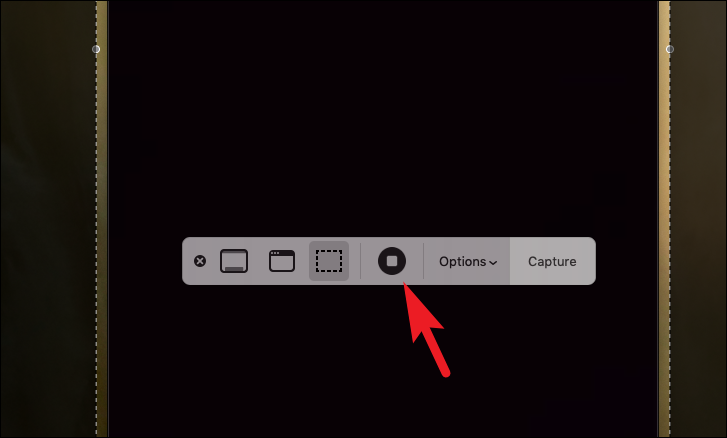
Once the FaceTime call has been completed and you wish to end the recording, click on the ‘Stop’ icon present on the menu bar situated on the topmost section of your screen. Once the recording has stopped, you will be able to see the thumbnail of the recording in the bottom right corner of the screen.
Connect your iPhone with your Mac to Record FaceTime calls with Audio
As mentioned earlier in this guide, iOS doesn’t offer you a way to natively record FaceTime calls with audio, and hence, you would require the help of Quick Time player on your macOS device in order to achieve that.
Note: You may have heard about using the built-in screen recorder with the microphone turned on to record FaceTime calls with Audio, but that doesn’t work. At least not anymore.
To get started, first, connect your iPhone with the macOS device using the lightning cable. Then, make sure your iPhone is unlocked and click on the ‘Trust’ button when prompted on your iPhone.
Then, open the QuickTime player on a macOS device either from the dock or from the ‘Other’ folder in the launchpad.
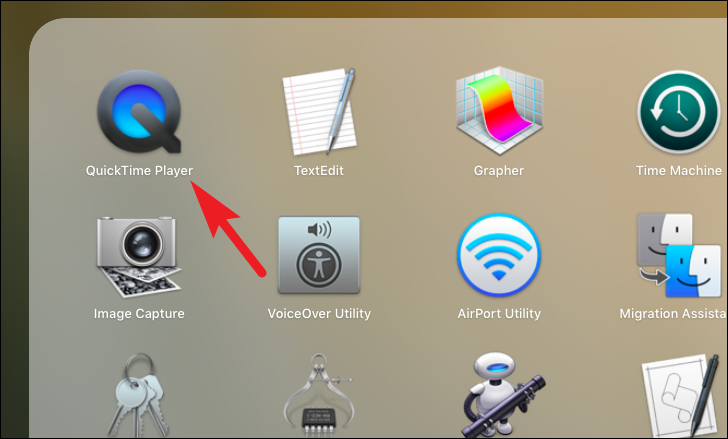
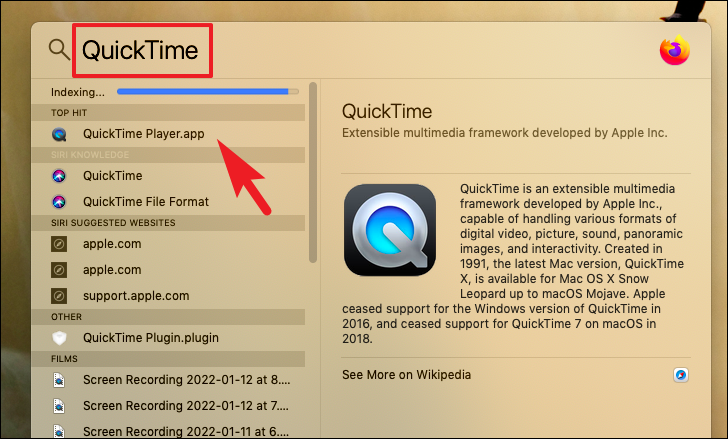
Alternatively, you can press Command+Space to bring spotlight search and type Quicktime in it. Then, press Return to open the app.
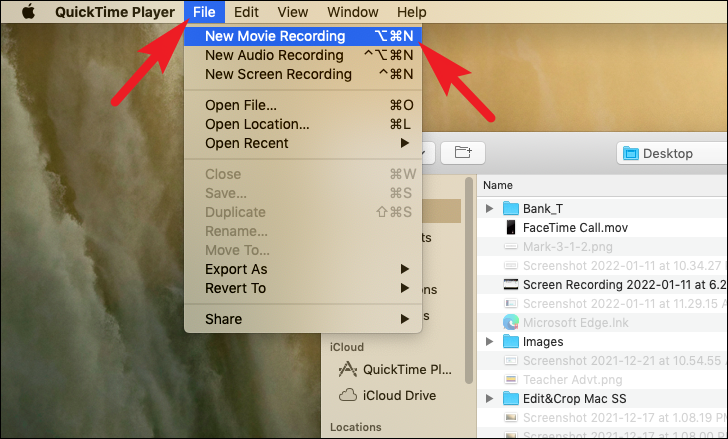
Once QuickTime player is open, click on the ‘File’ tab present on the Menu bar in the top right section of your screen to reveal an overflow menu. Then, click on the ‘New Movie Recording’ option to continue. This will turn on your built-in camera and open a separate window on your screen.
Then, from the separately opened window, click on the little chevron present right next to the ‘Record’ button present on the toolbar to reveal the context menu. Then, under the ‘Camera’ section click to select your iPhone name from the list. You shall now see your iPhone screen on the QuickTime player window.
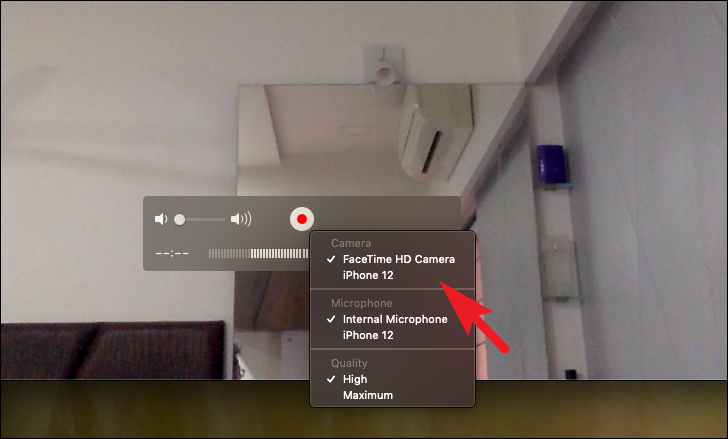
In case you are not able to see your iPhone’s screen, make sure your iPhone is unlocked and the machine is trusted by your iPhone.
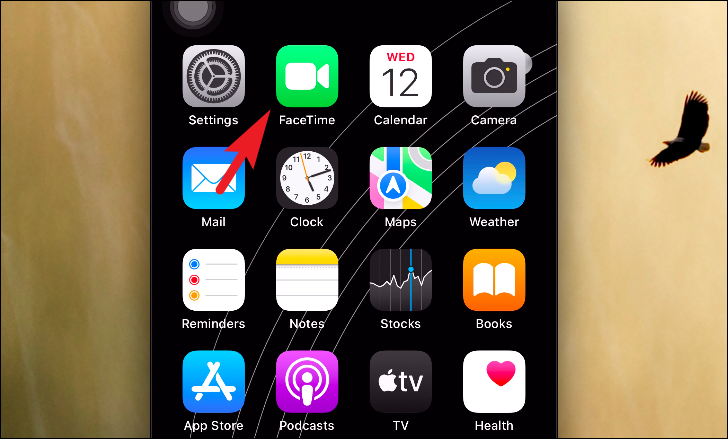
Now, on your iPhone, head to the FaceTime app either from the home screen or from the app library.
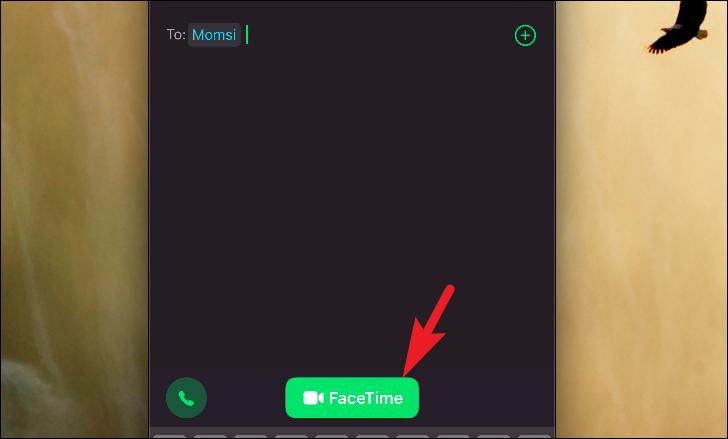
Next, either tap on a contact present on the recent contact list to place a call or tap on the ‘+’ button to browse a contact from your contact list.

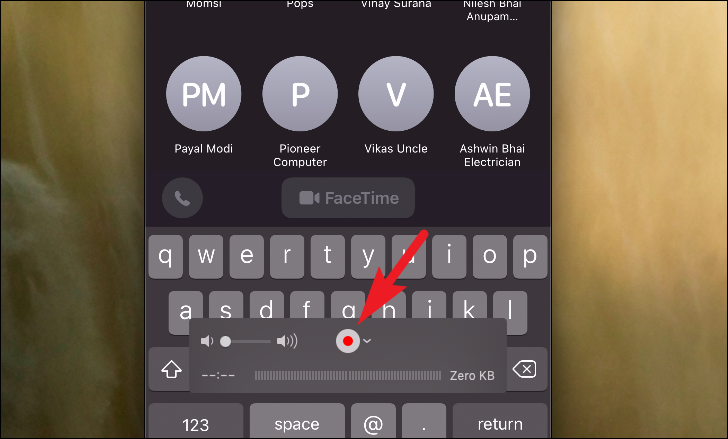
Then, on the QuickTime player window on your macOS device, click on the ‘Record’ button to start recording.
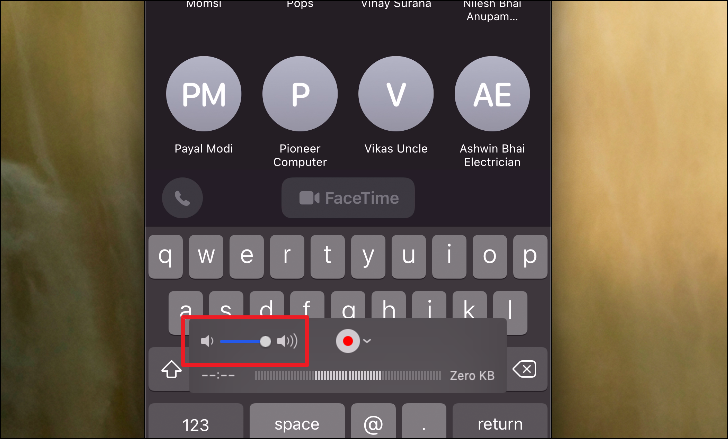
Also, make sure the QuickTime player’s volume is cranked up to the max; otherwise, the recording might have low or no volume at all.
After that, on your iPhone, tap on the ‘FaceTime’ button to start the call on your iPhone.
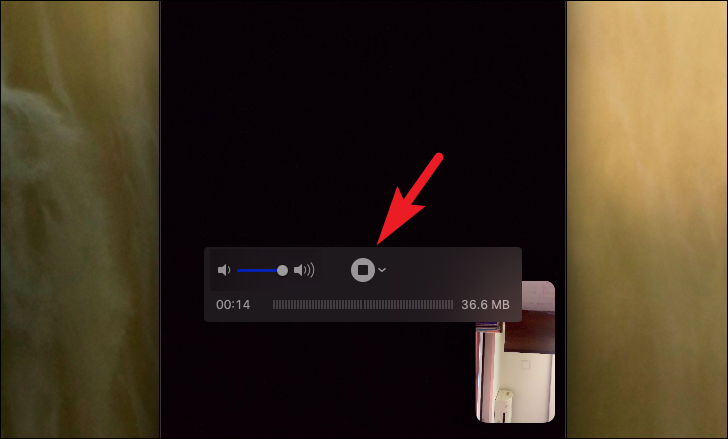
Now, once you have completed your call, click on the ‘Stop recording’ on the QuickTime player window.
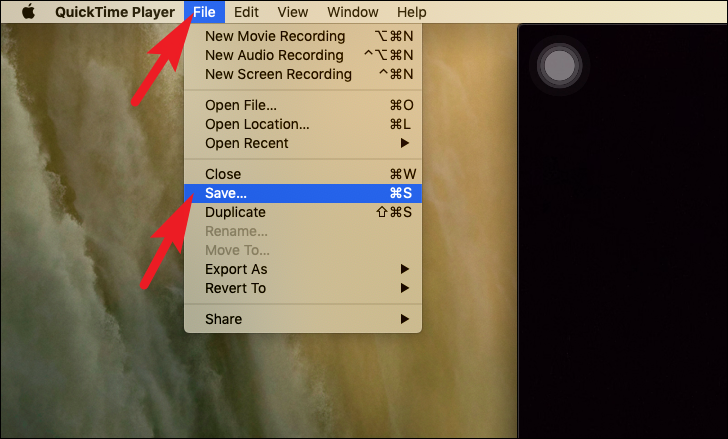
Next, click on the ‘File’ tab present on the menu tab and select the ‘Save’ option to save the file. This will open a separate overlay window on your screen.
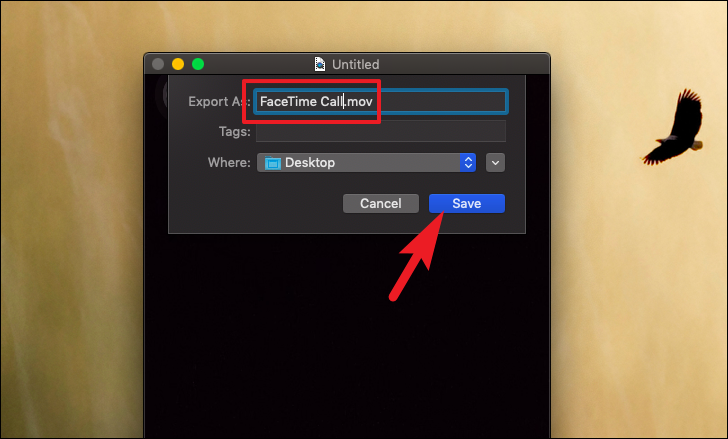
Now, give an appropriate name for your file and select a folder of your choice by using the drop-down menu located right next to the ‘Where:’ option. Finally, click on the ‘Save’ button to save the file.
And that’s it, you have now successfully recorded a FaceTime call from your iPhone with audio.
There you go people, these are all the ways you can record a FaceTime call with audio using your iPhone or macOS device.


