
Are you new to Webex and you want to set a profile picture for yourself? Or have you gotten bored of the same old picure of yours? Here’s how you can set or change your Webex profile picture.
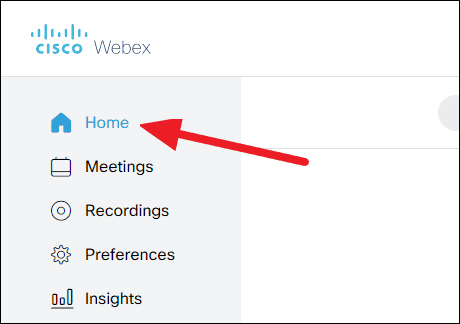
Go to signin.webex.com and login with your account. The first page that should load after you sign-in is the ‘Home’ of the Webex web portal. If you’re redirected anywhere else, click ‘Home’ on the panel on the left.
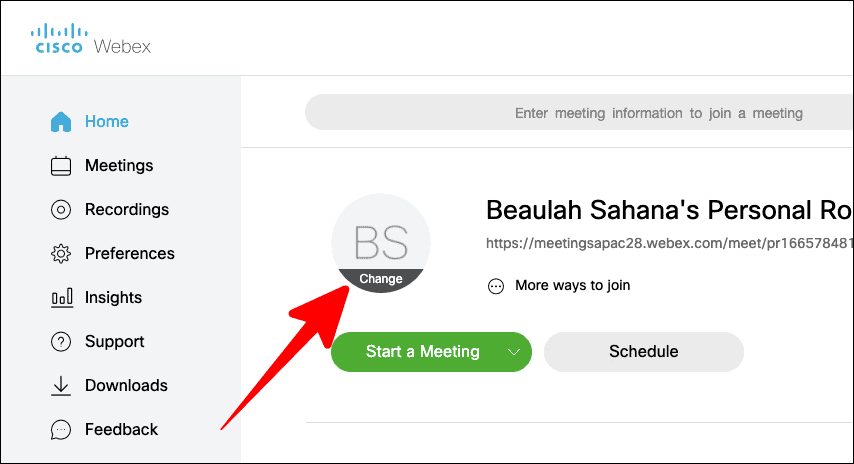
Beside your name on the home of Webex portal, you’ll find your profile picture or initials of your full name. Hover your mouse cursor over the image profile picture area and click on ‘Change’ that appears in the lower half of the circle.
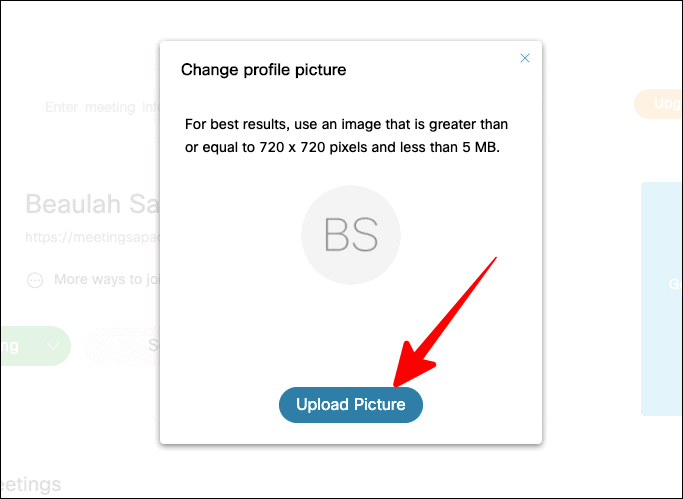
In the ‘Change profile picture’ pop-up that appears, click on the ‘Upload Picture’ button to select and upload a picture.
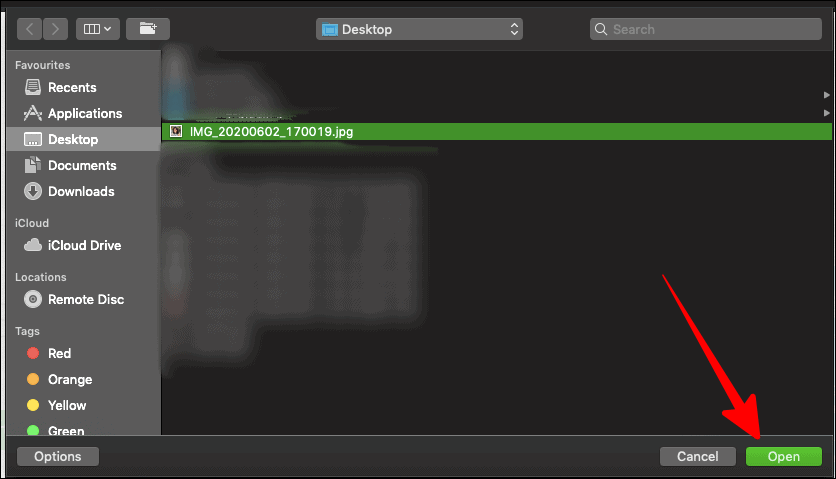
Choose the image you want to upload as your Webex profile picture in the next screen and click on the ‘Open’ button.
Make sure your image abides by the required dimensions and size of the image. If not, the picture would not be uploaded.
Next, there will be a confirmation prompt, where you can make further adjustments to your chosen image.
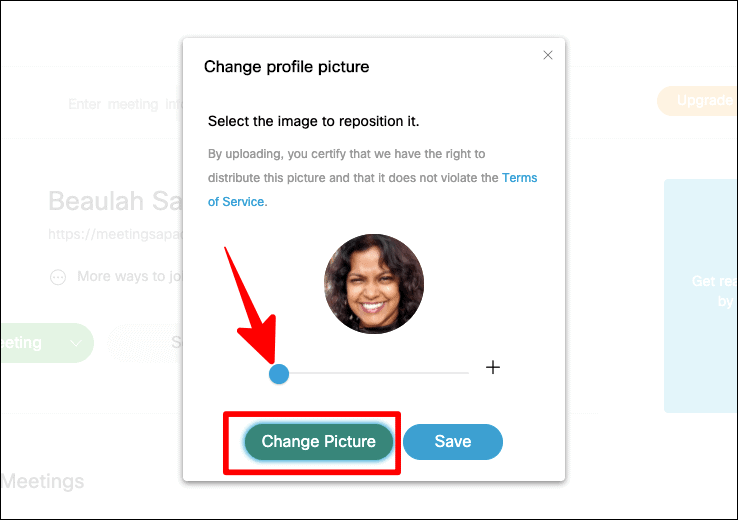
To zoom in your picture, just drag along the blue toggle towards the ‘+’ side and to zoom out, drag it the other way. If you want to reposition your image, hover the cursor over the image circle and you’d find a four-arrow cursor, click on it to reposition the image.
If you are not happy with the image, click on ‘Change Picture’ and reselect your picture.
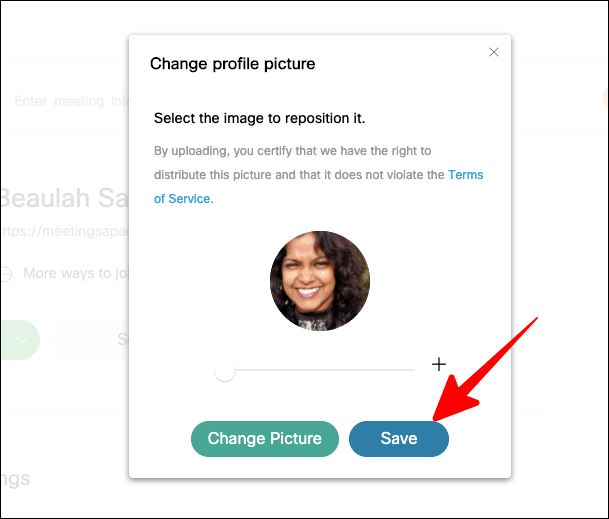
Once you’re satisfied with the image you’ve chosen and the adjustments you’ve made, click on the ‘Save’ button and your image will be updated for your Webex profile.
And that’s it! Your Webex profile picture is now good as new!