
Safeguarding your personal files on Windows 11 is crucial as they contain irreplaceable information like documents, photos, videos, and more. While cloud services like OneDrive offer backup solutions, their limited free storage can be a constraint. Fortunately, Windows 11 provides a built-in tool called File History, enabling you to automatically back up your important files offline to an external drive.
File History continuously protects your personal files by backing them up regularly. This means that if you ever encounter system issues or accidentally delete a file, you can easily restore it. Moreover, you have control over how frequently backups occur and how long they are retained. Below is a detailed guide on how to set up and use File History on Windows 11.
Enable File History
Activating File History on Windows 11 is straightforward. Follow the steps below to enable this feature:
file history in the search bar, and select the top result. Alternatively, navigate to Control Panel > System and Security > File History.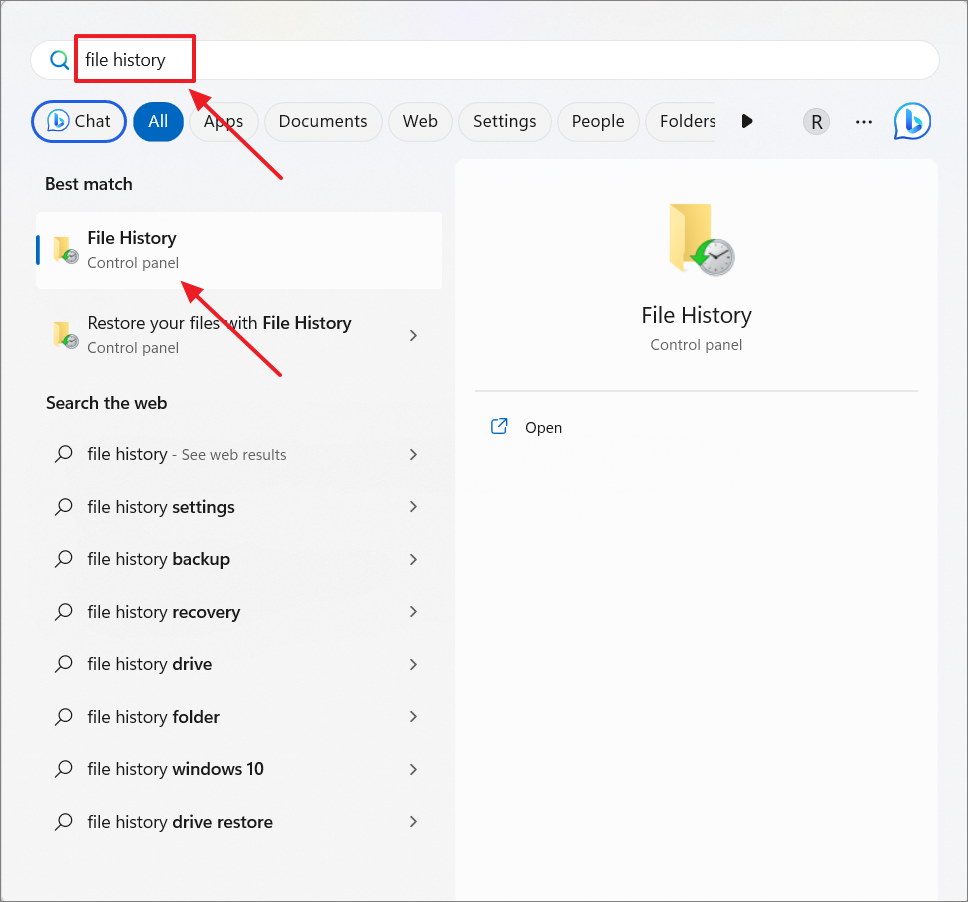
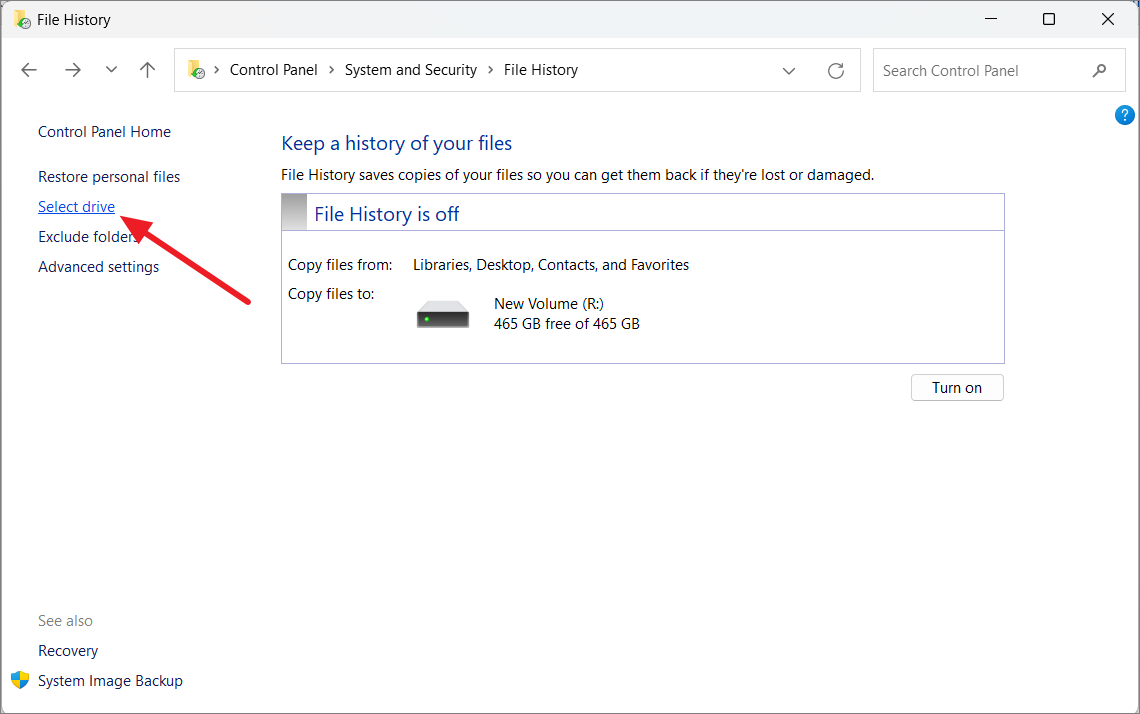
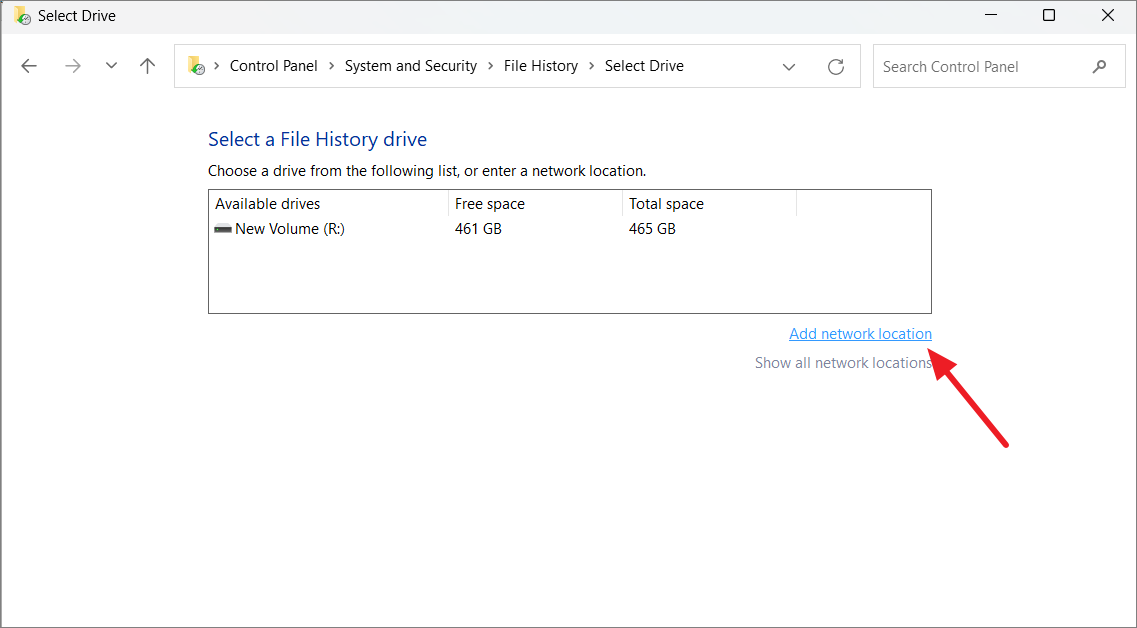
If the default drive isn’t to your preference or if no drive has been selected, you can choose a different one.
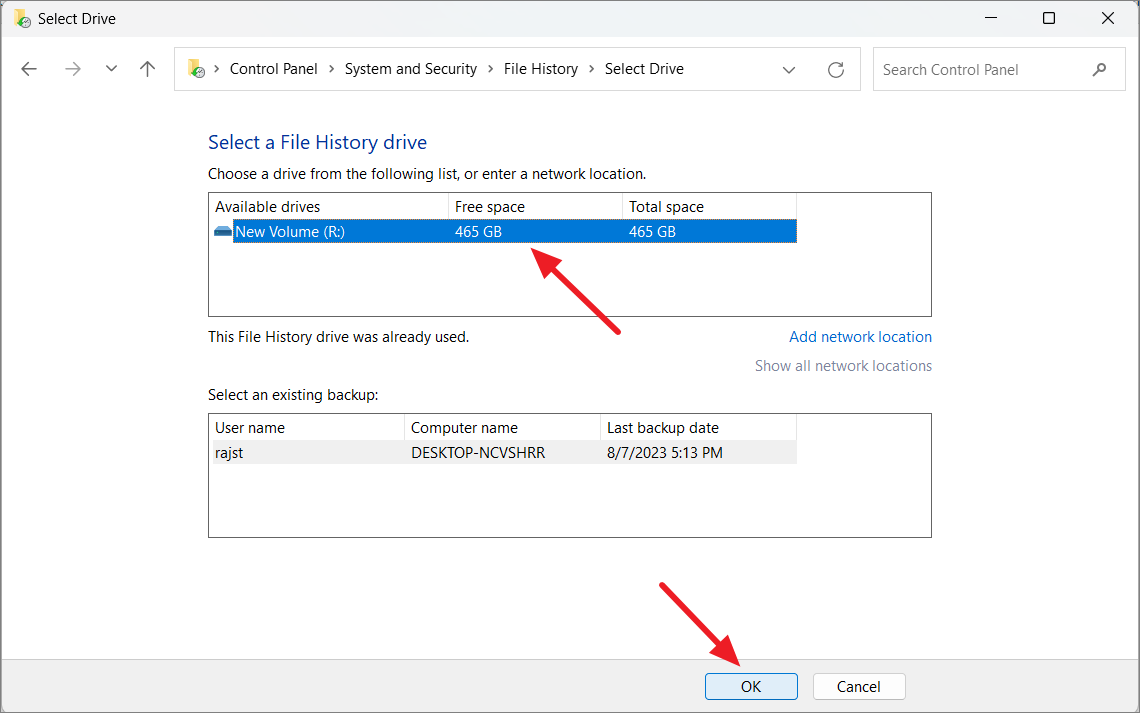
If prompted with ‘Do you want to move your existing files?’, you can select ‘Yes’ to transfer any previously backed-up files to the new drive, or ‘No’ to start fresh.
Note: If you prefer to back up your files to a network location, click on ‘Add network location’ and select the desired network folder.
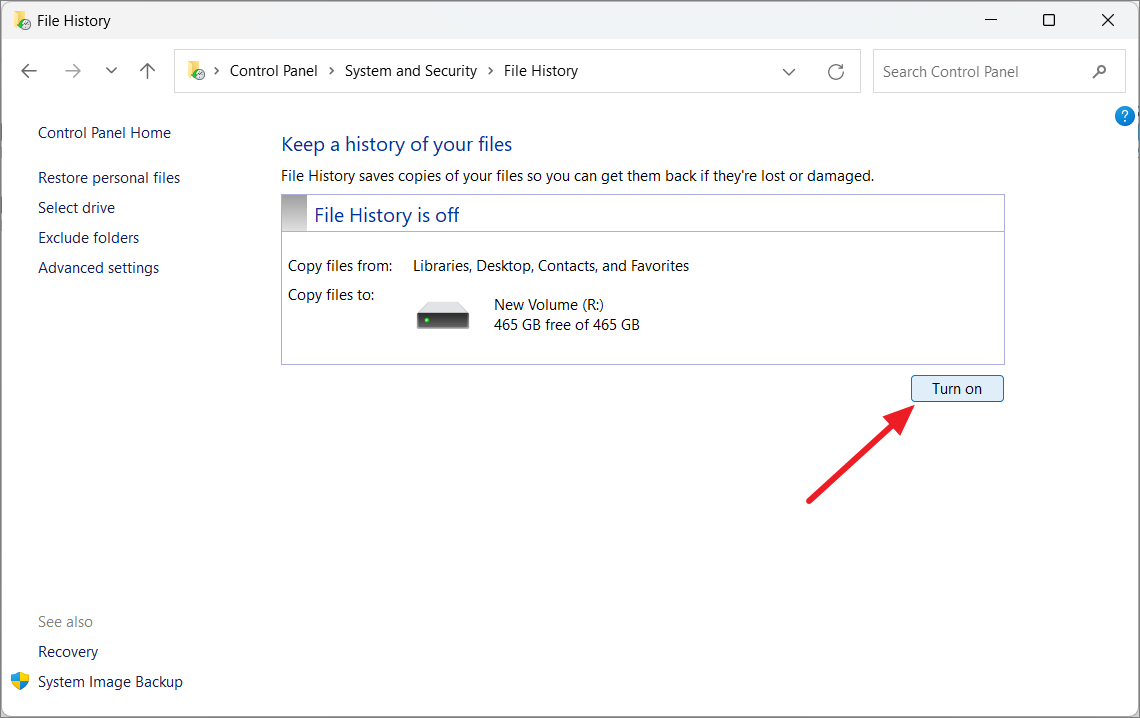
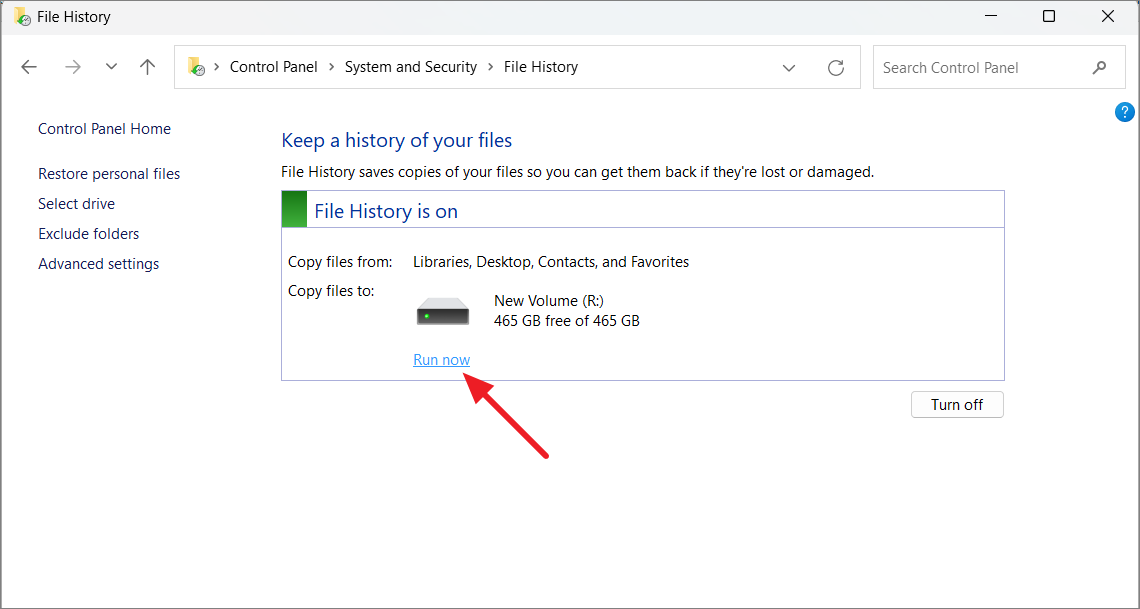
Once you’ve selected a drive, File History will commence backing up your files automatically to a folder named ‘FileHistory’ on that drive.
By default, File History backs up your files every hour. If you wish to initiate a backup immediately, simply click ‘Run now’.
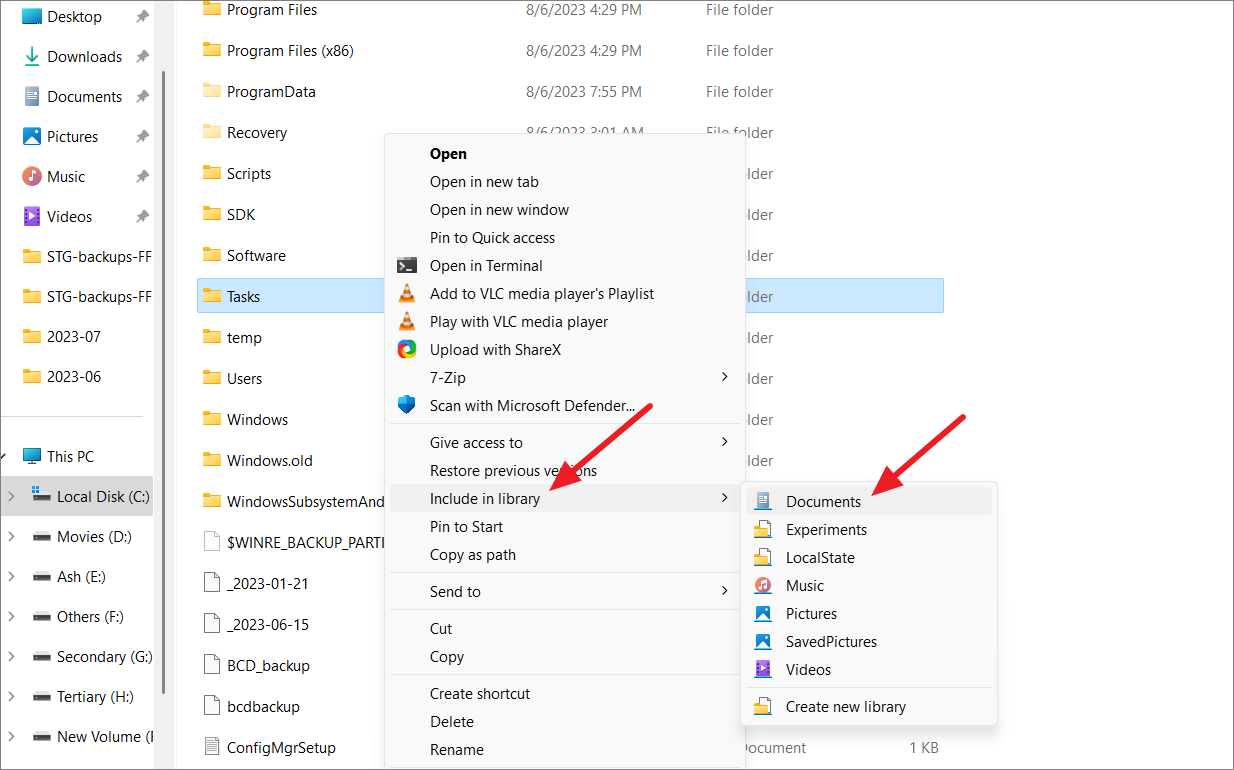
Add Folders to File History
While File History automatically backs up essential folders like Documents, Pictures, Videos, and Desktop, you might have other folders you’d like to include.

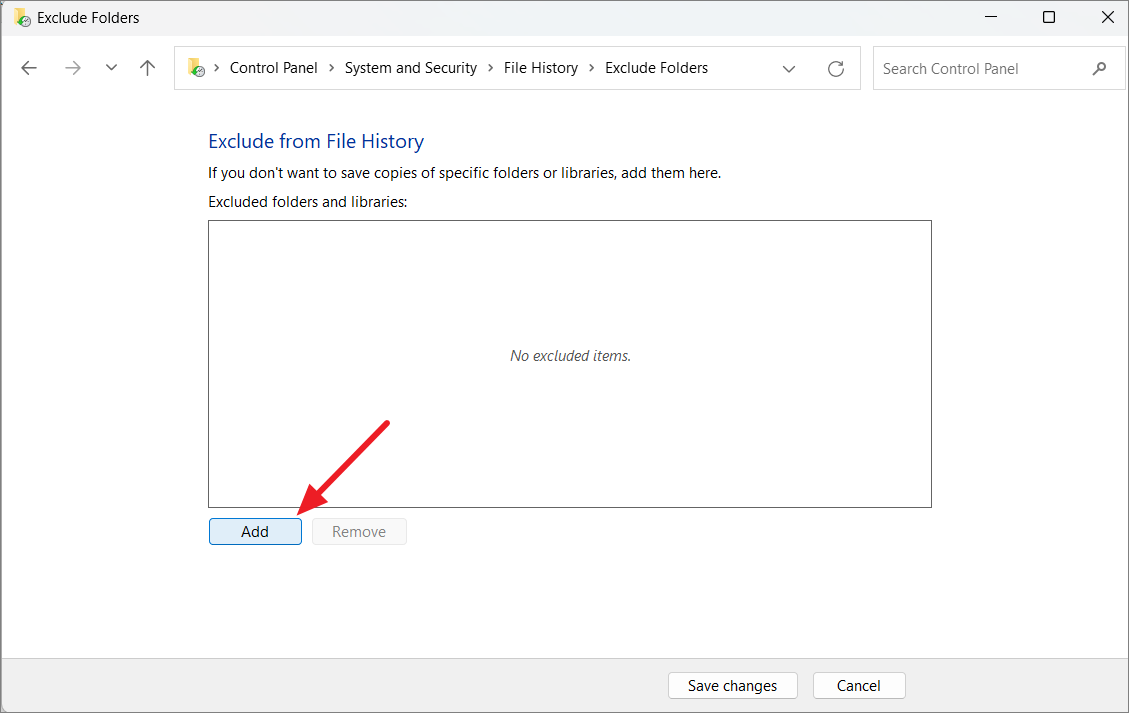
Exclude Folders from File History
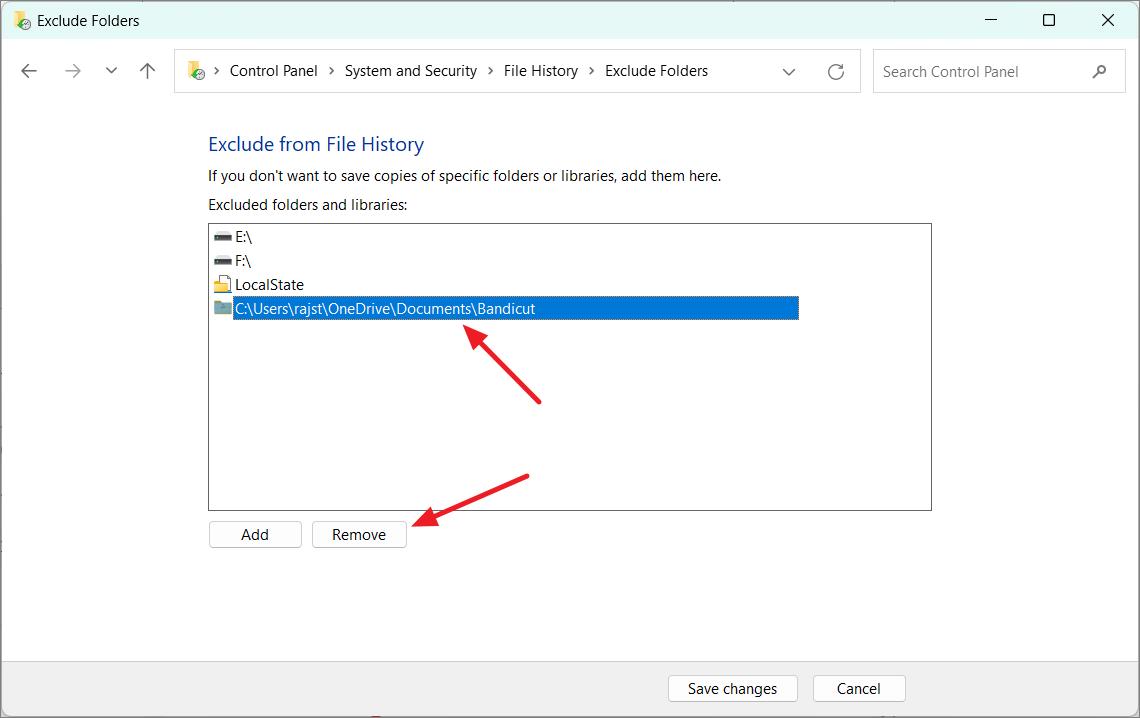
File History includes several default folders in its backups. If there are specific folders within these libraries that you don’t want to back up, you can exclude them manually.
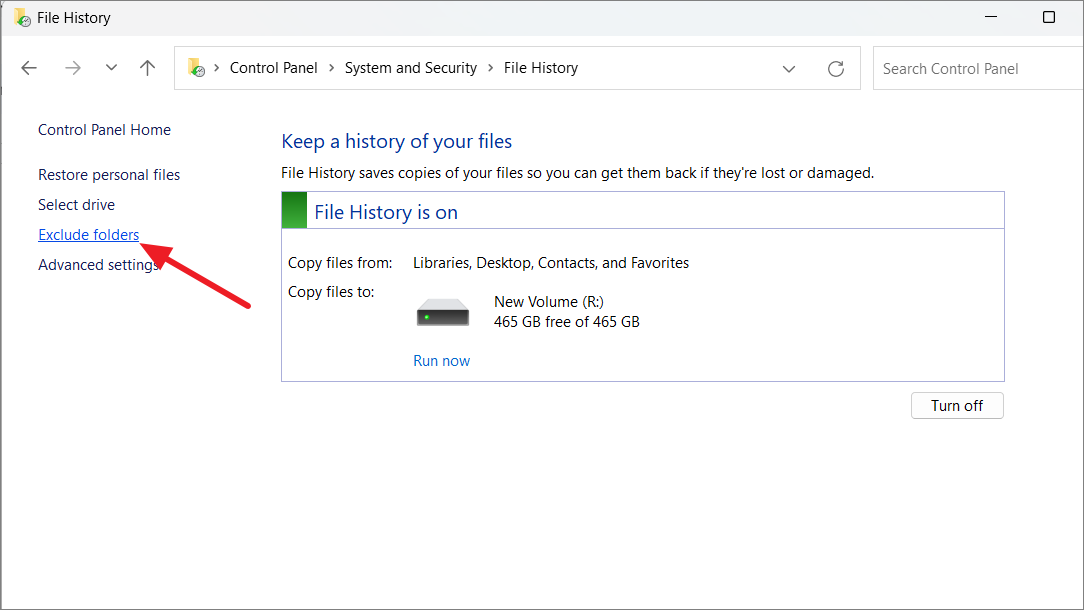
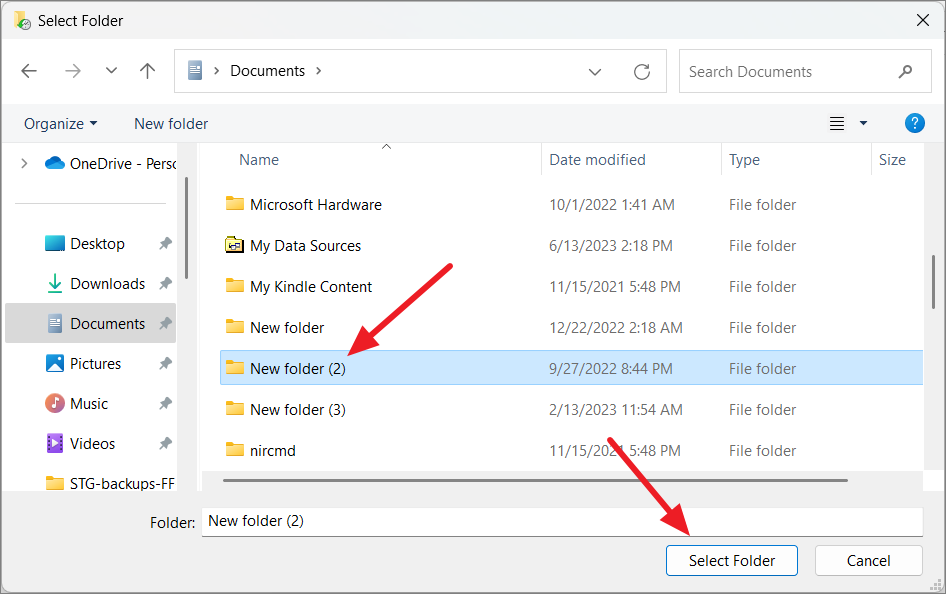
Repeat this process for any additional folders you want to exclude.
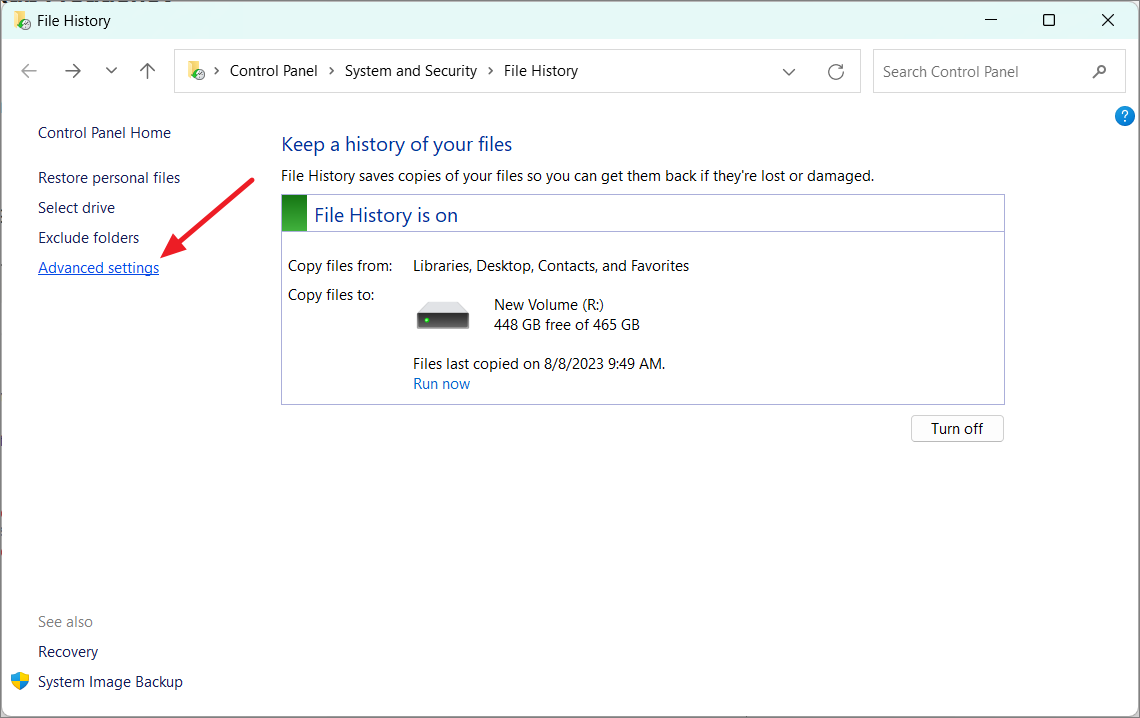
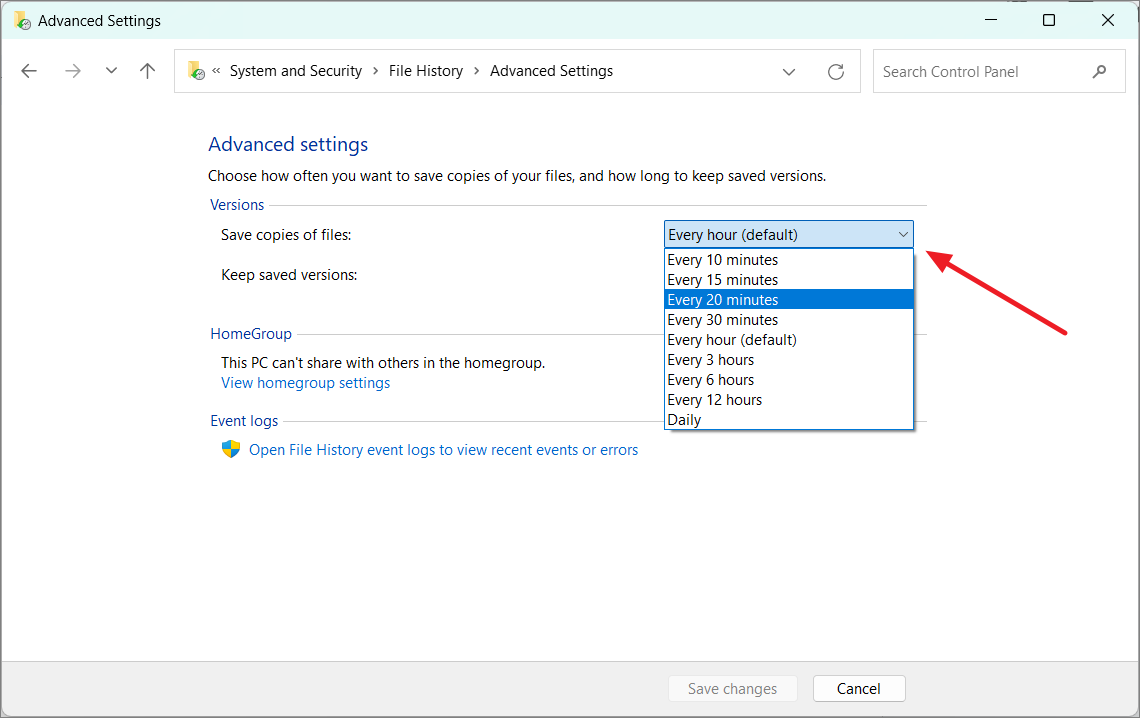
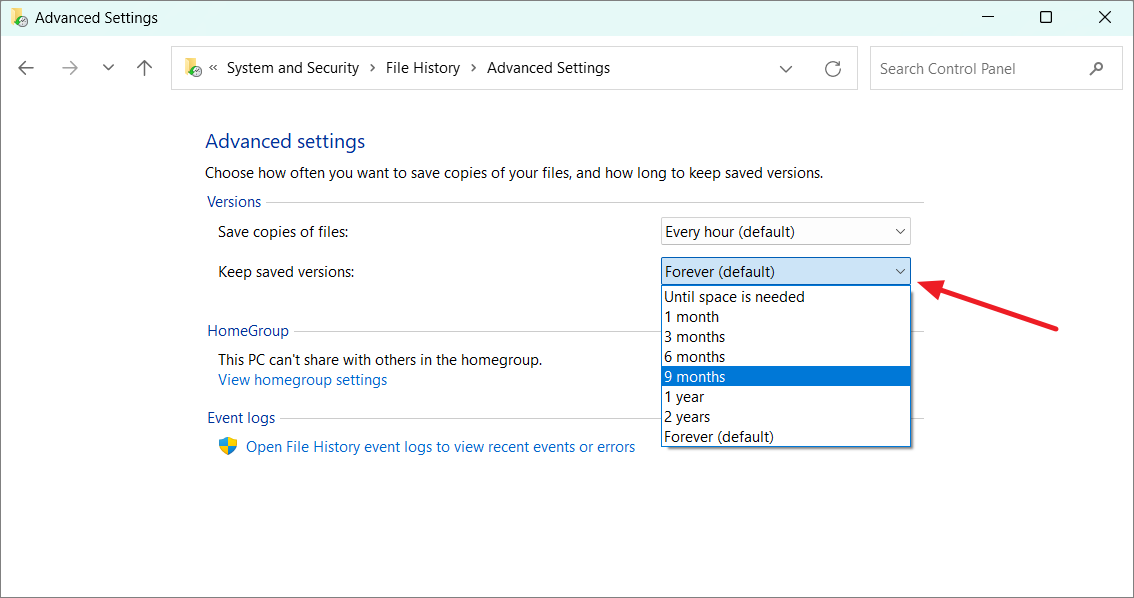
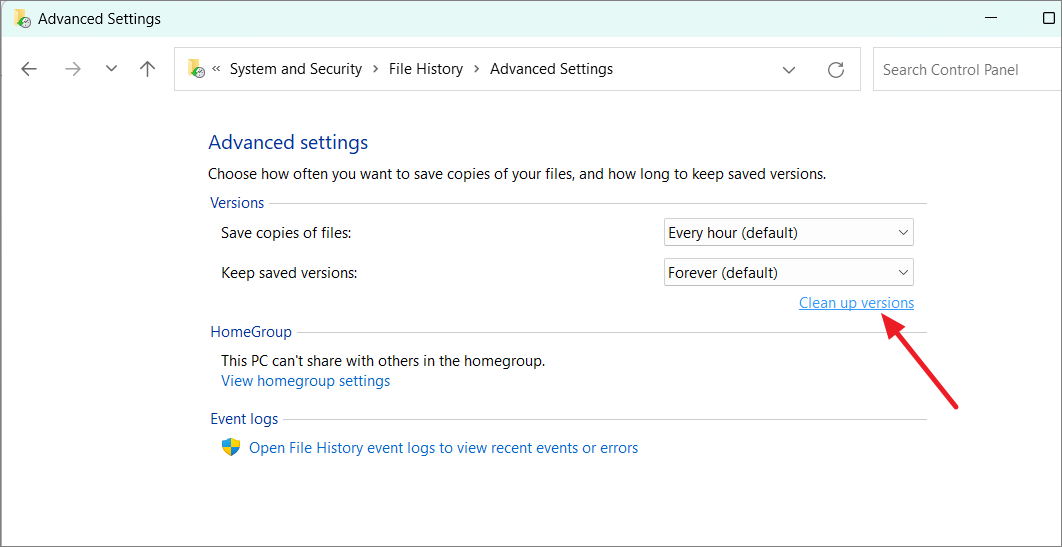
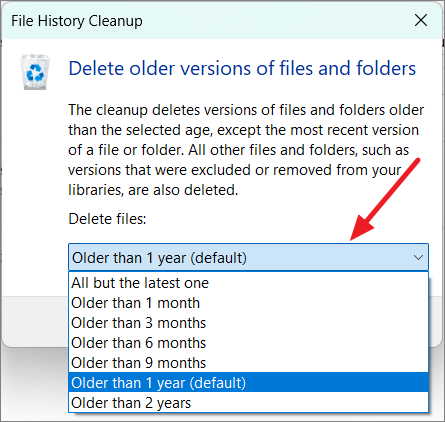
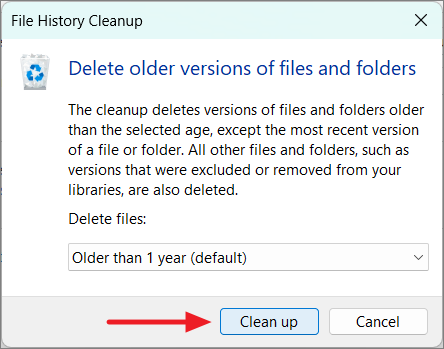
Change Backup Frequency
File History allows you to customize how often backups occur and how long versions are kept. Here’s how to adjust these settings:
Restore Files Using File History on Windows 11
If you need to recover lost or corrupted files, you can easily restore them from your File History backups.
Restore your files in the Windows Search and select ‘Restore your files with File History’.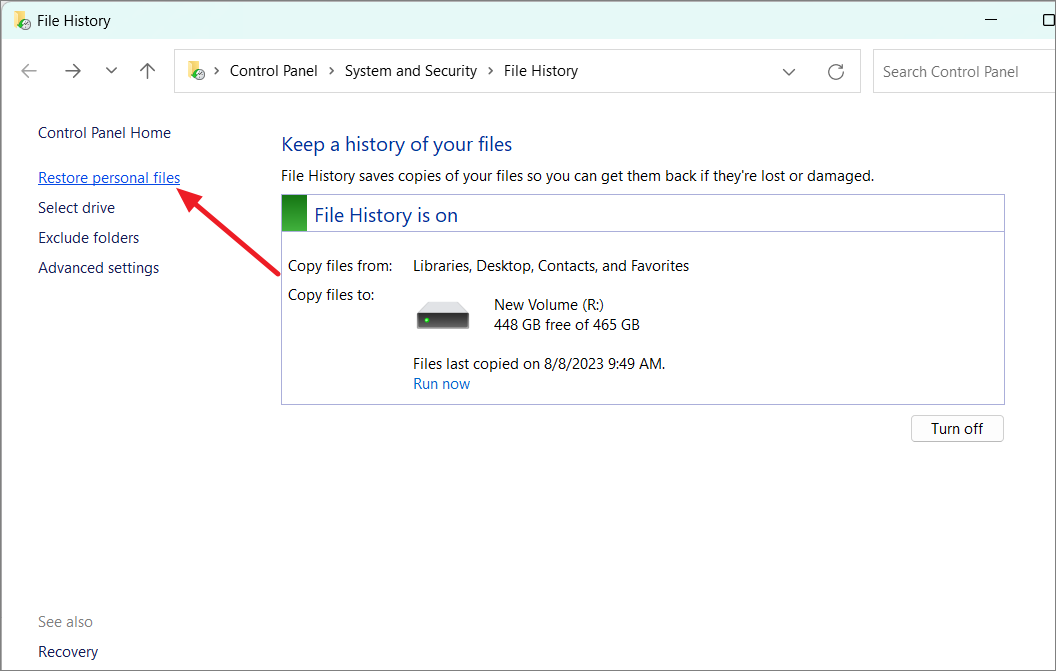
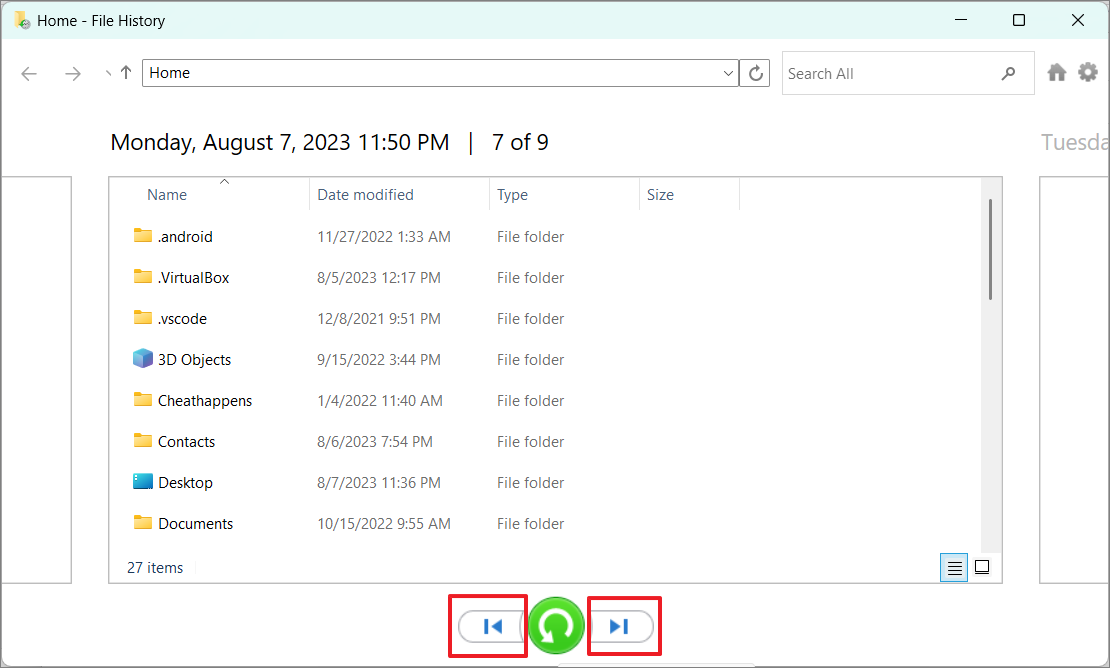
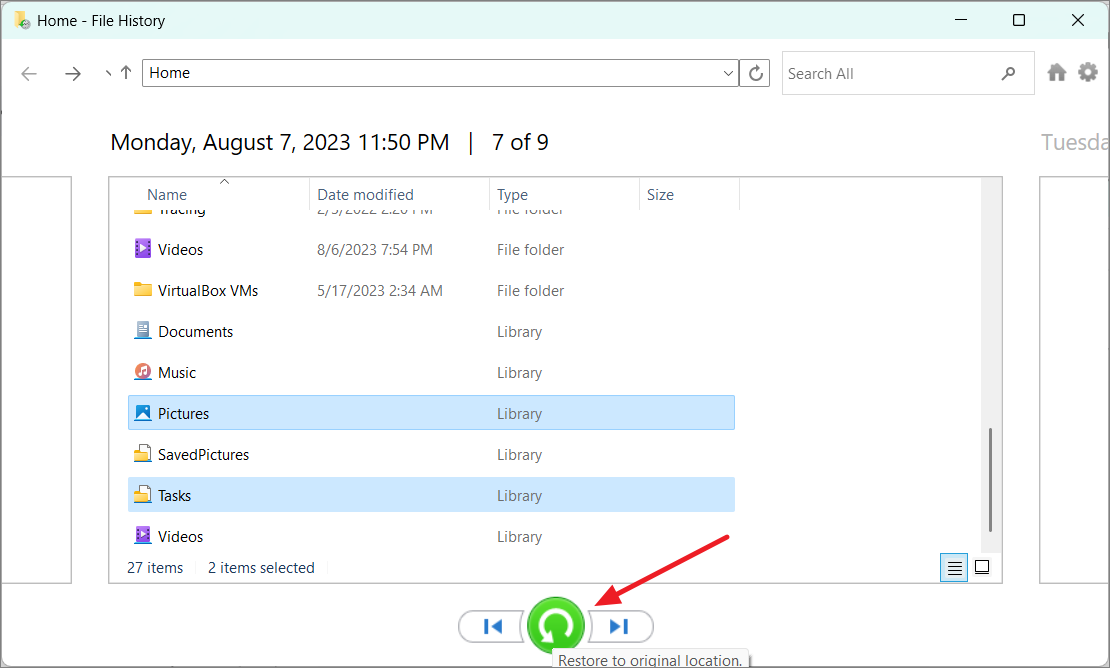
If the original file still exists in the location, you’ll be prompted to replace it, skip the file, or compare both versions. Choose the option that best suits your needs. If the original file is missing, File History will restore the backup file to its original location automatically.
While services like OneDrive offer file synchronization, using File History provides an additional layer of protection by keeping offline backups of your files. It’s one of several ways to secure your data on Windows 11. You might also consider other backup methods, such as creating a complete system image backup or setting up a system restore point to restore your computer to a previous state if needed.
By regularly backing up your files with File History, you can ensure that your important data is protected against accidental deletions, file corruption, or hardware failures.


