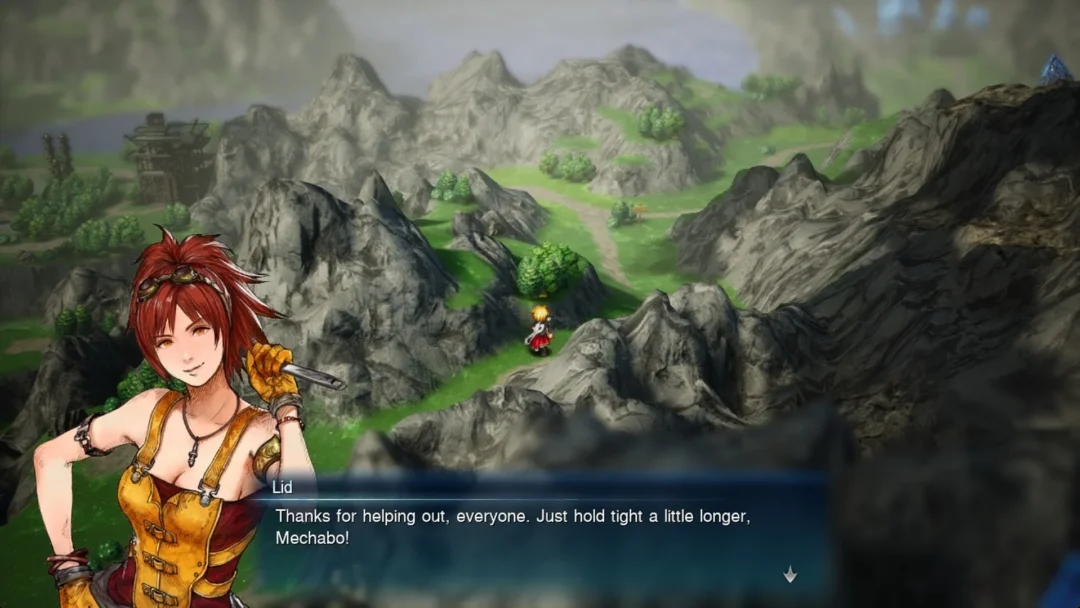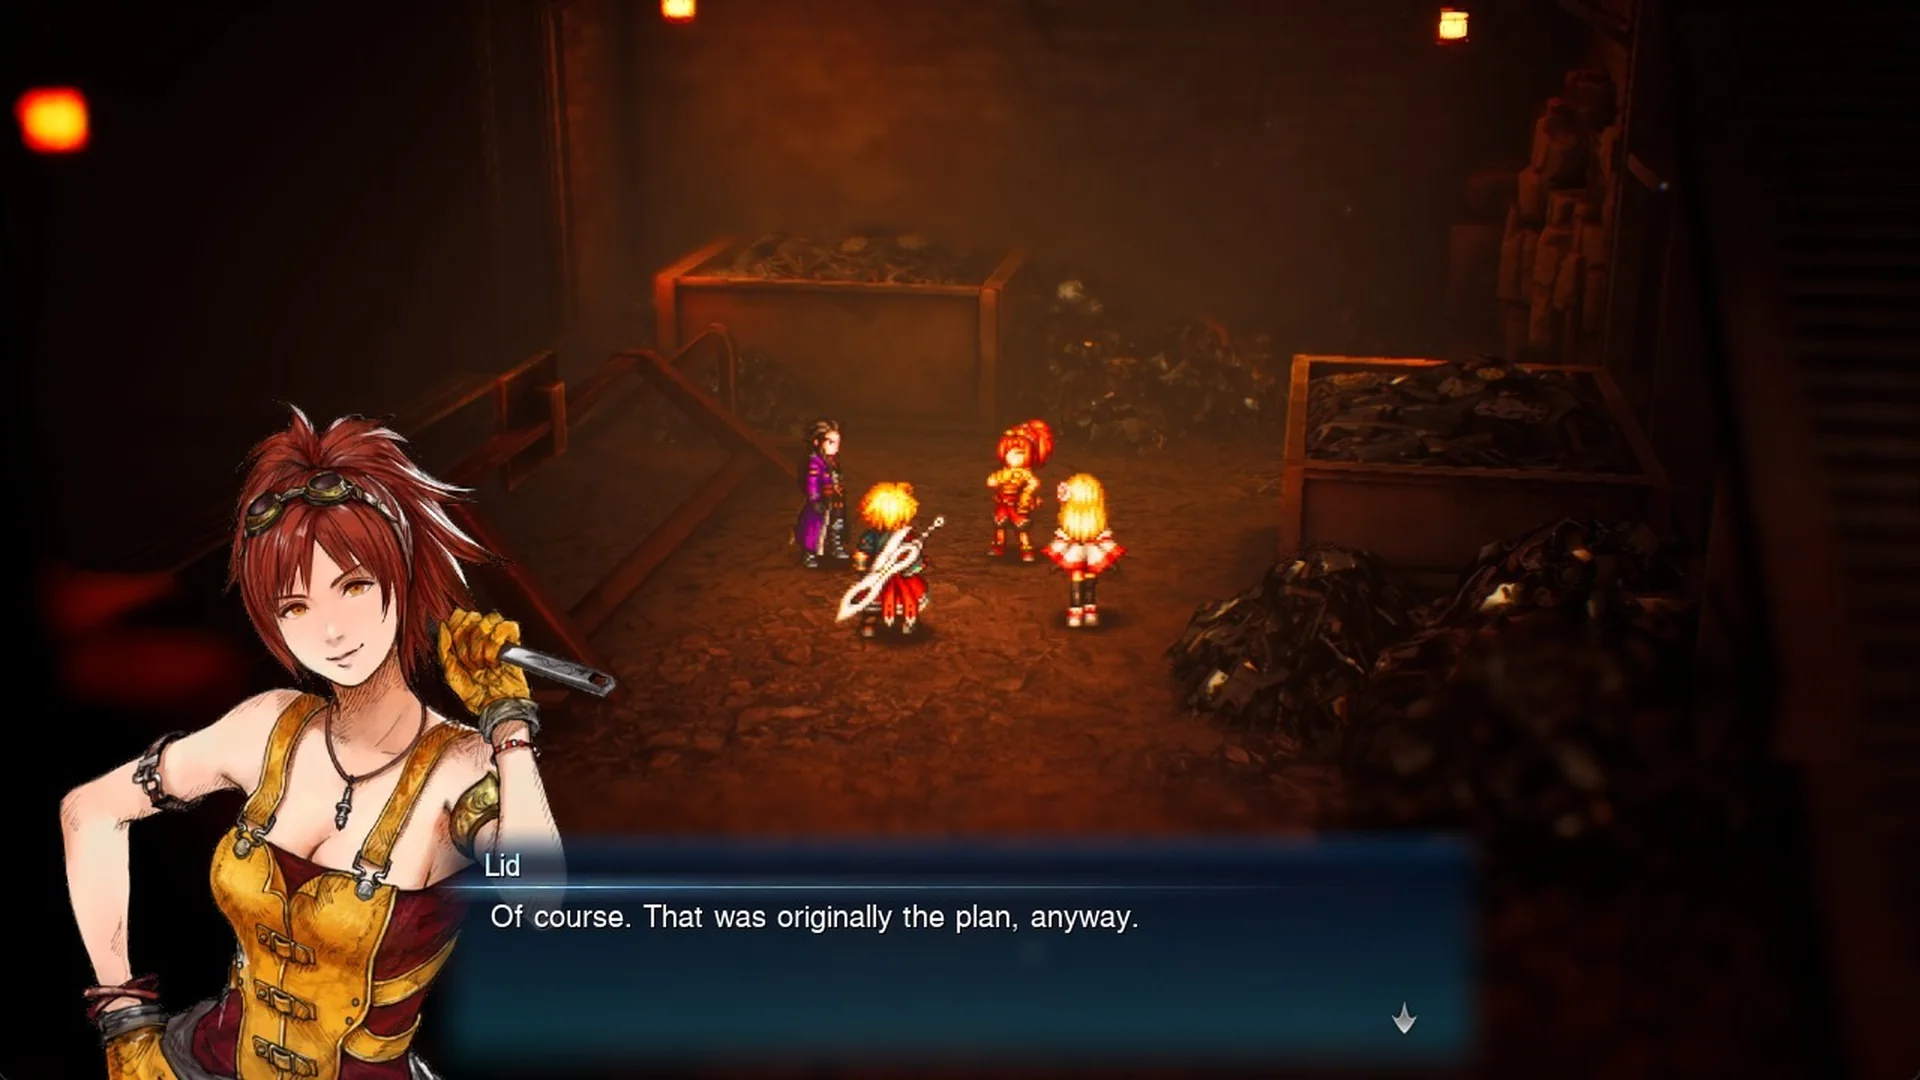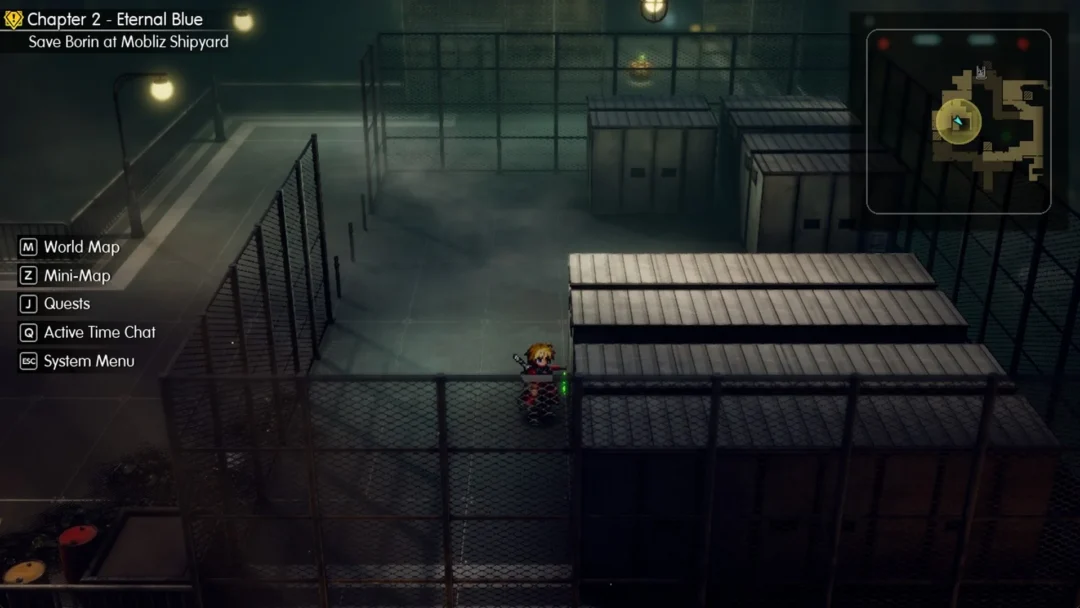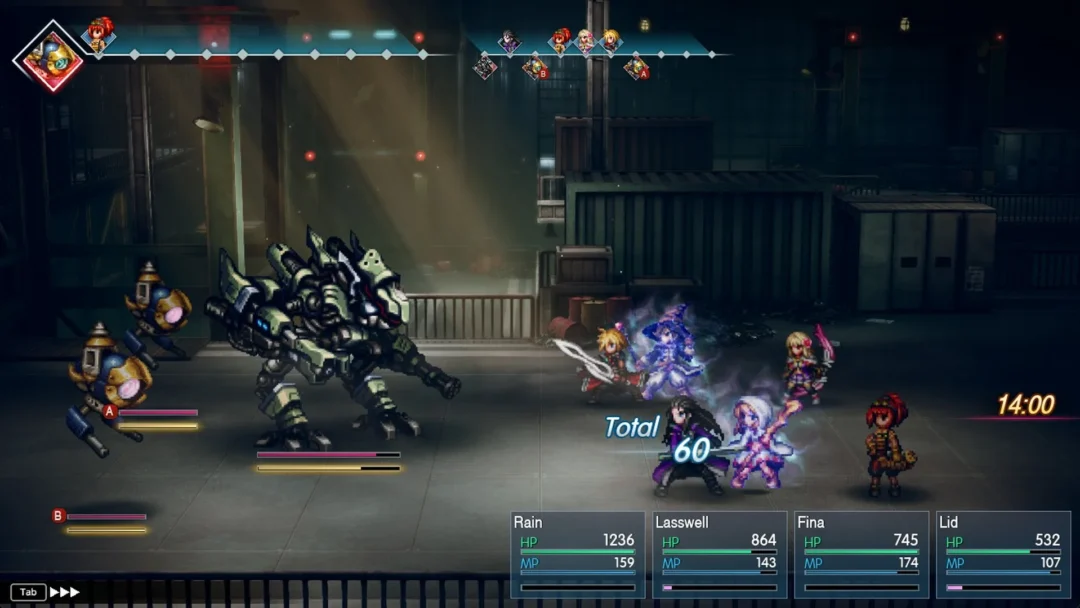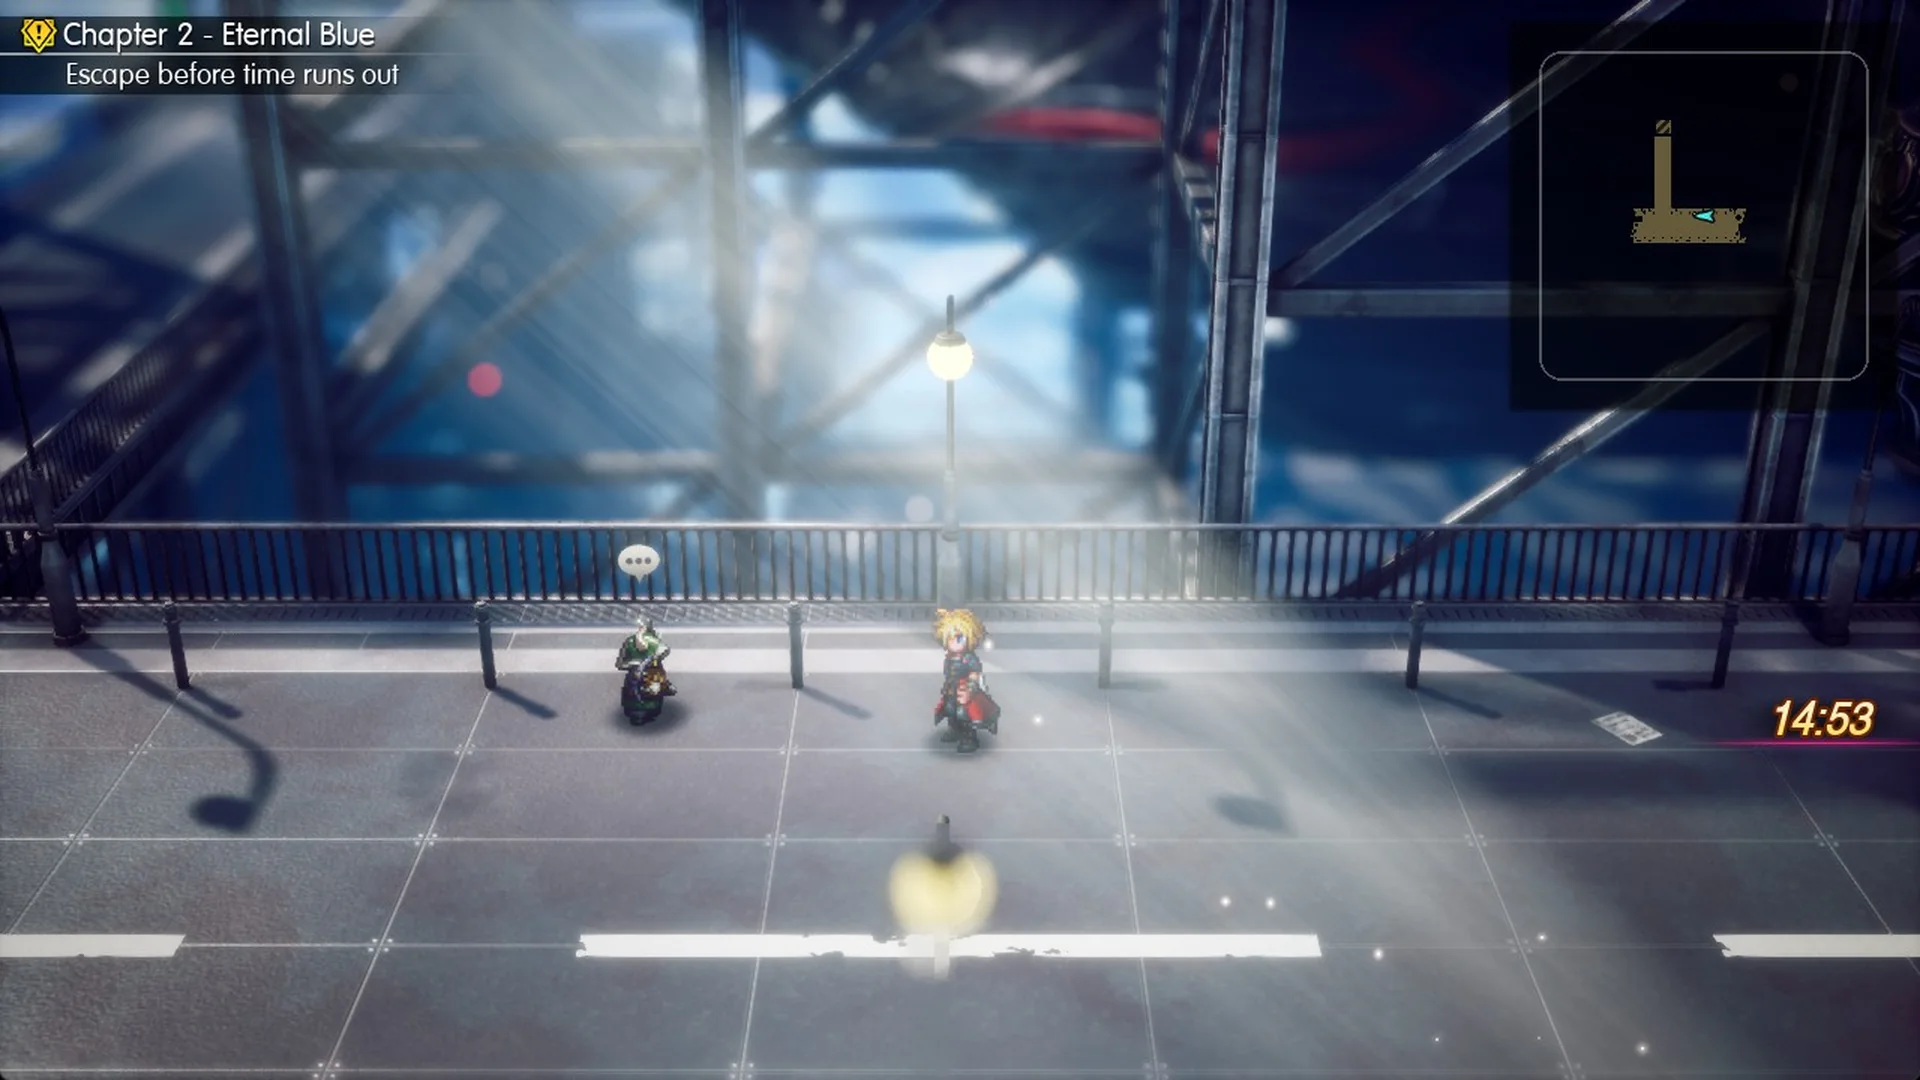
Chapter 2 of Final Fantasy Resonance, “Eternal Blue”, ends the Mobliz Shipyard with a race. On the roof, Borin warns, “If you don’t make it out in 15 minutes, the whole security system will attack at once!” A 15:00 countdown then appears on the right side of the screen. Before it runs out, you have to restore power to a lift by solving a lever puzzle and then defeat Epimetheus. The route below is for the launch version on PC, at Normal difficulty with keyboard controls, and assumes a party around level 17.
Quick answer: Go straight to the lever room, pull the lever labelled “16”, take the east lift down and Escape from every random battle. Reach Epimetheus in the ground-floor hall with about 4 minutes left, because that fight ends when the clock hits 00:00.
Dialogue and the System Menu stop the countdown. Movement and all battles—including time spent in command menus—do not. If the timer reaches zero, you are caught and returned to the roof with a new 15 minutes.
| Situation | Does the countdown run? |
|---|---|
| Walking and running | Yes |
| Battles, including command and target menus | Yes |
| Dialogue boxes and story scenes | No (paused) |
| System Menu (Esc) | No (paused) |
| Random battle still going at 00:00 | Battle continues; you are caught after it ends |
| Epimetheus still alive at 00:00 | Fight is cut off; you are caught |
| Time runs out | Back on the roof, 15:00 again, autosave |
Before you start: Save and prepare
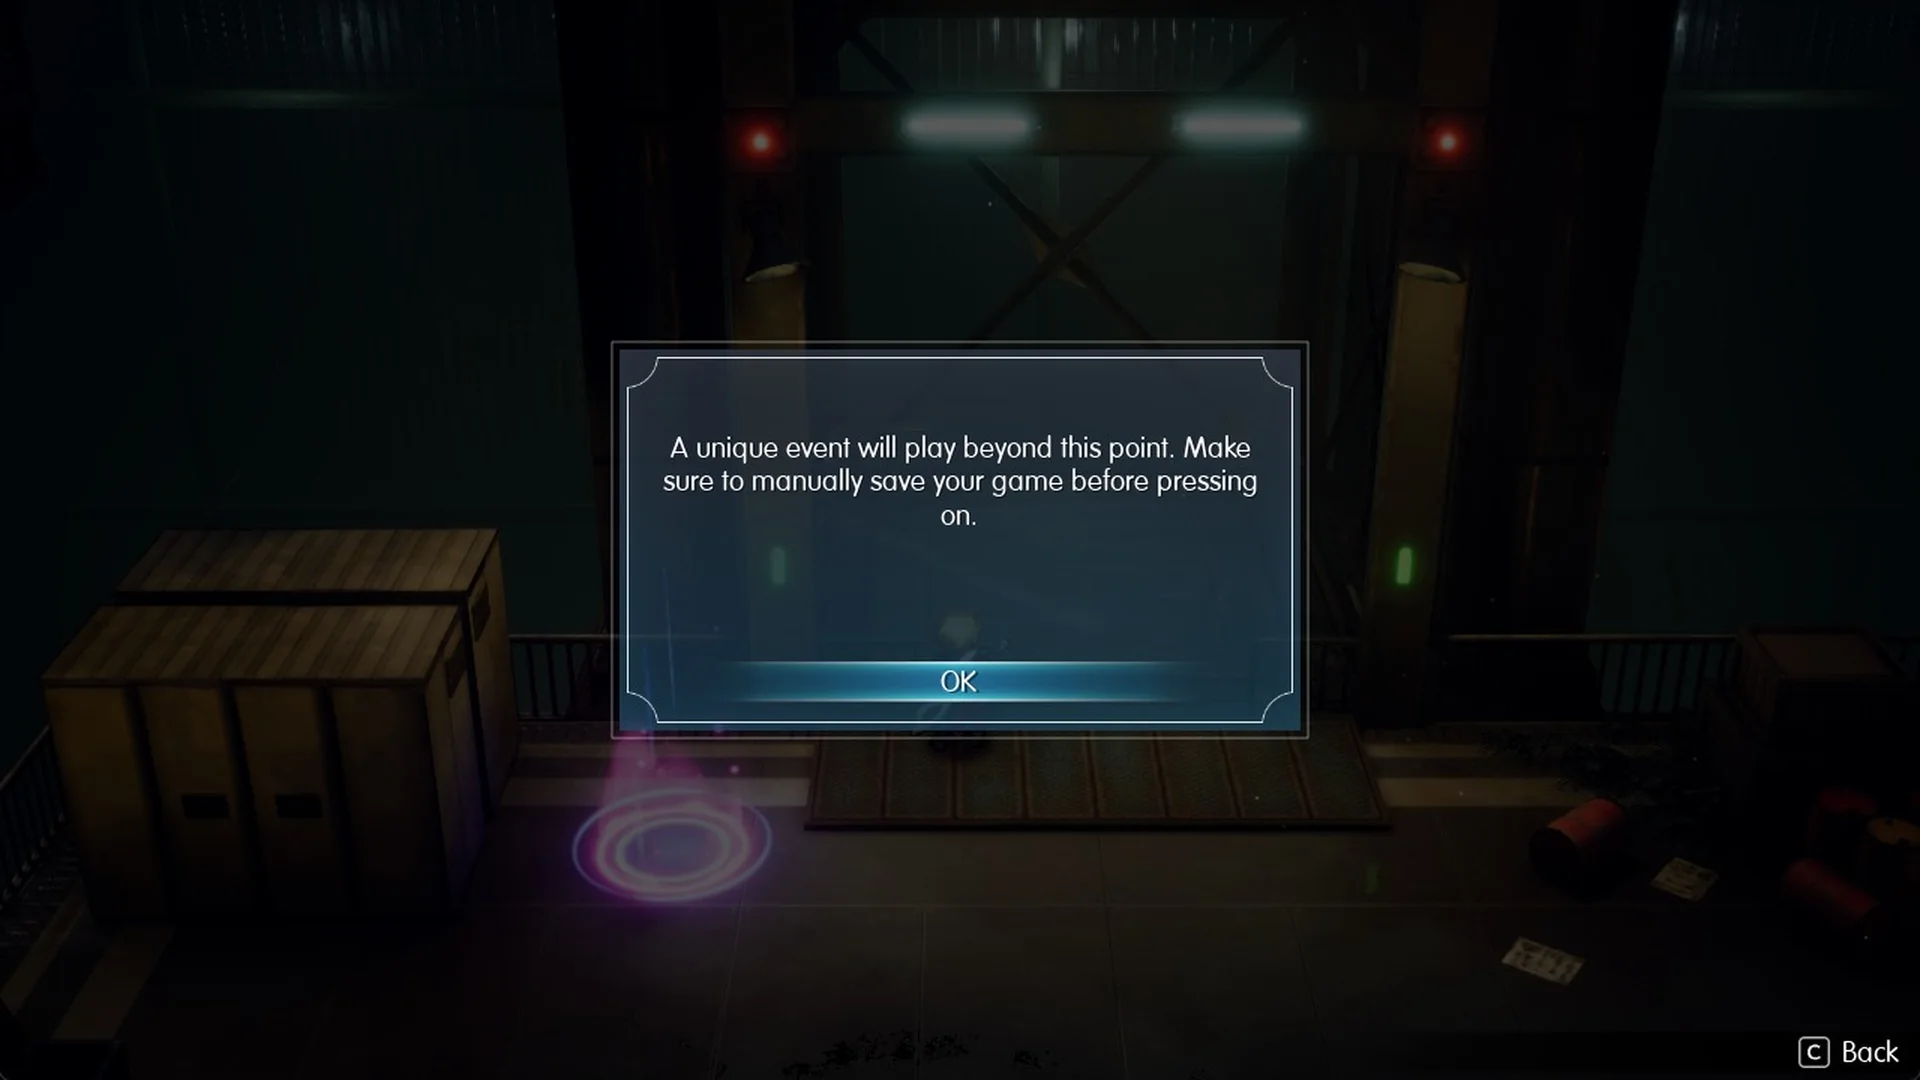
The countdown begins on the roof, which comes after the boss save point on the middle level. Just past that save point, the game warns you: “A unique event will play beyond this point. Make sure to manually save your game before pressing on.” Take that warning seriously and save in a slot of your own. If you have not done this before, see how to save.
Once you reach the roof, you cannot use another save point until after Adrastea. Epimetheus, the cargo train, and Adrastea all happen back to back. Before you take the roof lift, prepare with this short list.
- Use Ethers to restore MP (“Restores 50 MP.”) and heal your party.
- Open every chest and collect every Tablet Shard you want now. The Mobliz Shipyard walkthrough lists them. The escape leaves no time for side trips.
- Hold Left Shift to sprint. Options > Gameplay sets Sprint Type to Hold, Invert Sprint, or Toggle.
How the 15-minute timer works
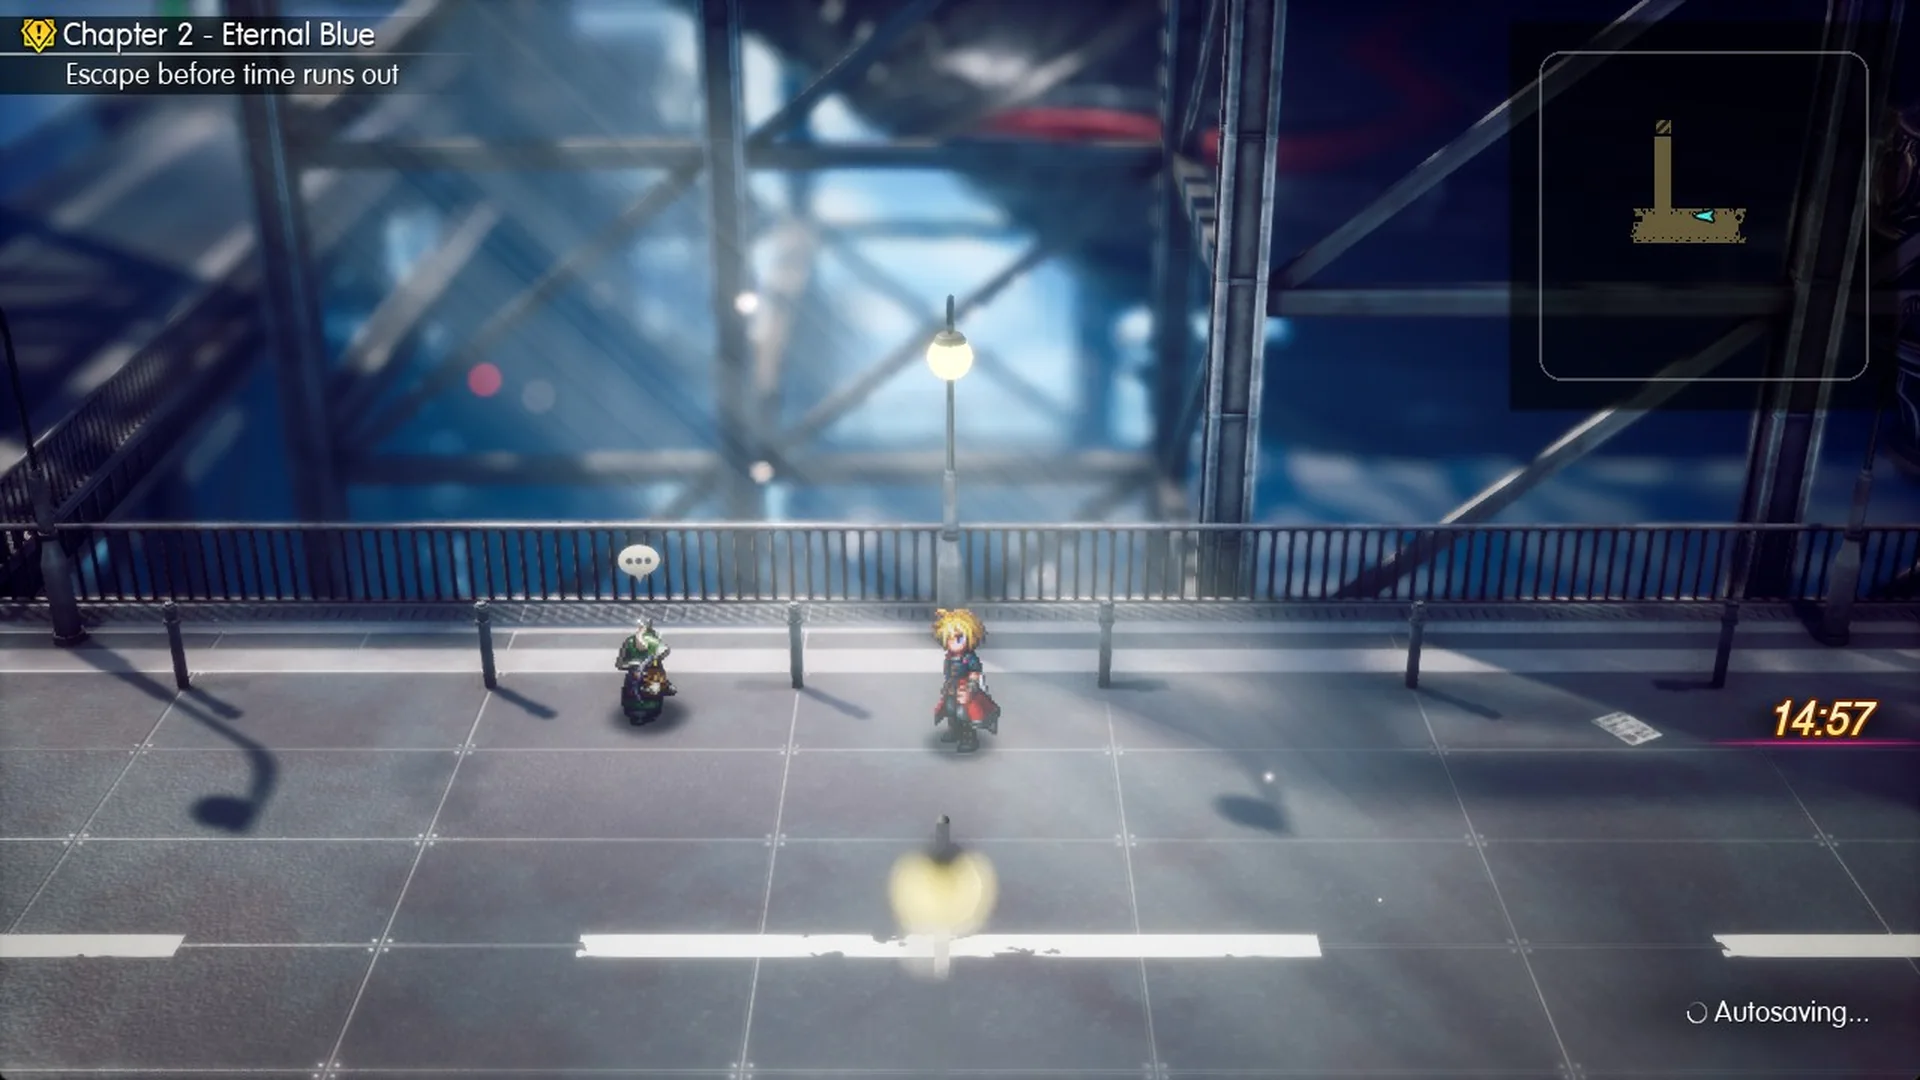
When Borin’s scene ends, the objective changes to “Escape before time runs out”, the 15:00 countdown appears, and the game autosaves.
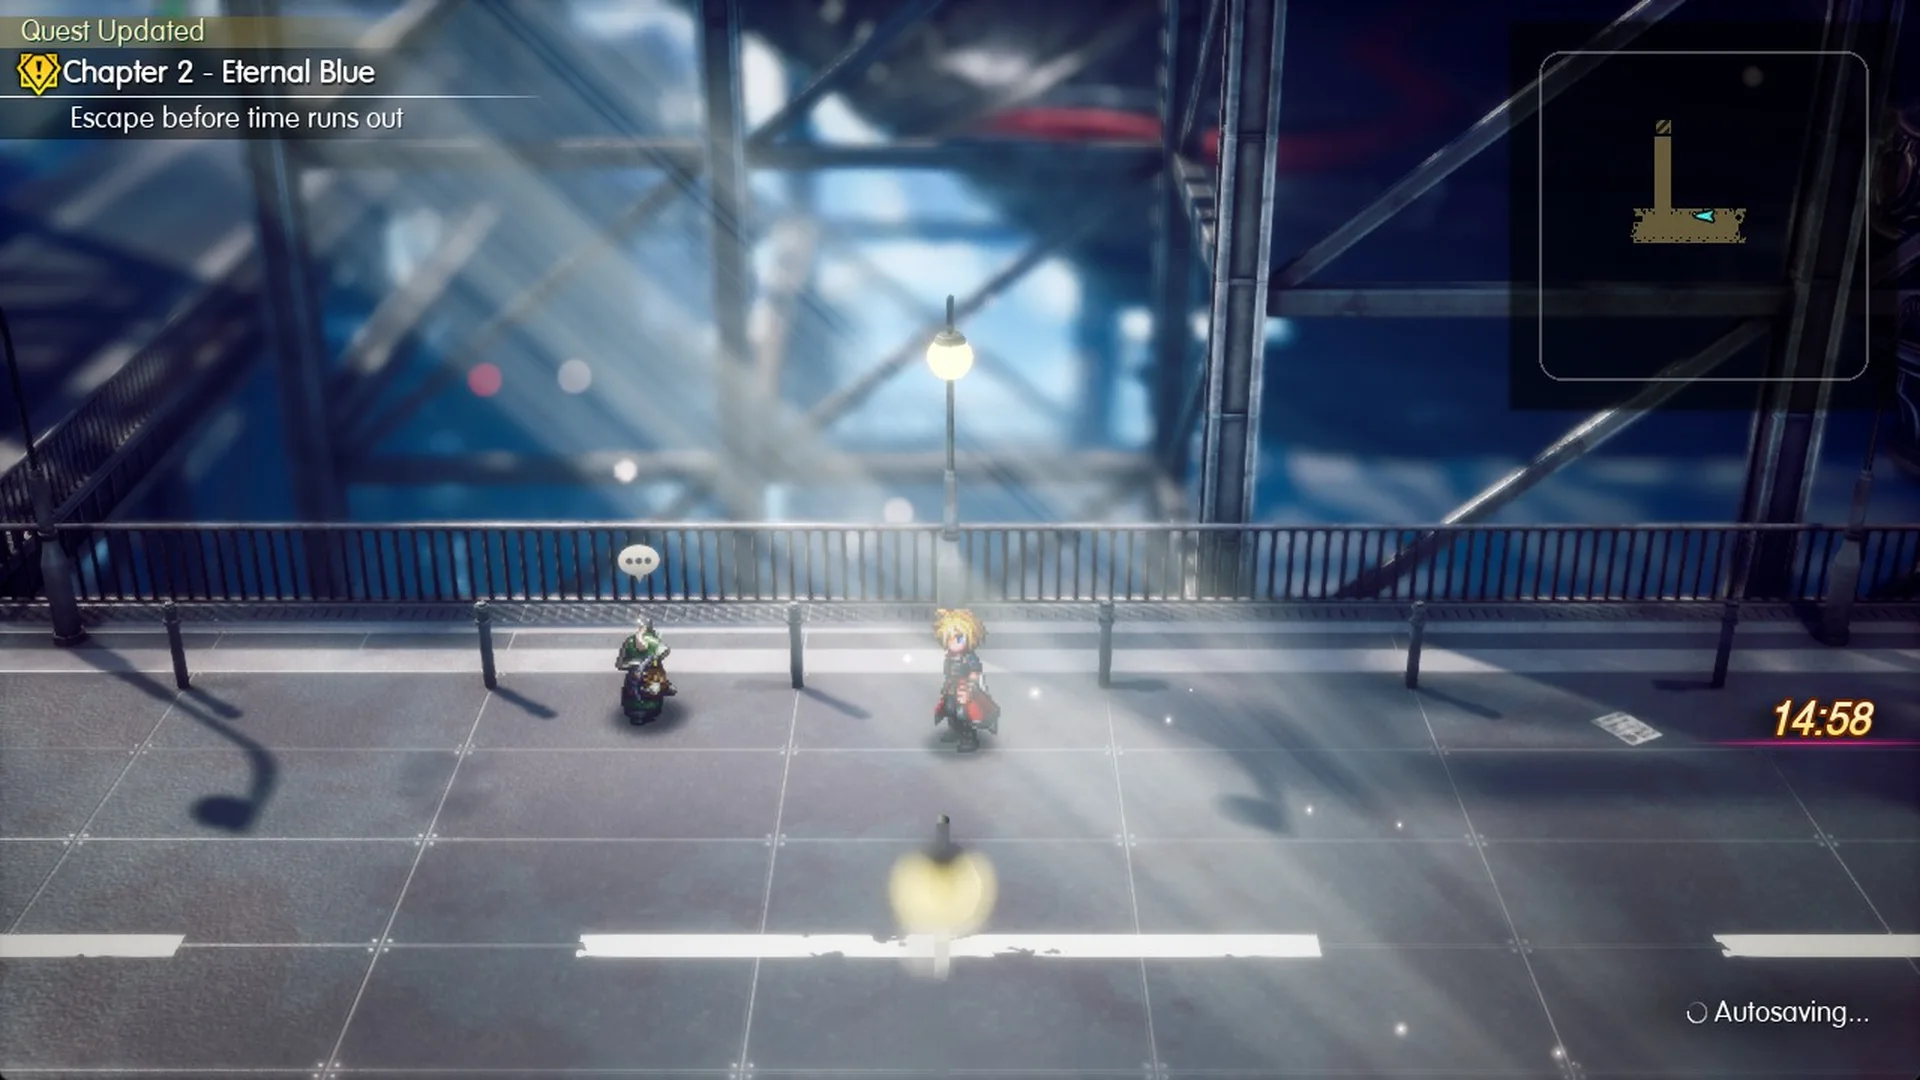
The clock stops whenever a dialogue box is on screen. It also stops while the System Menu is open. That means you can read every line without losing time, and you can pause safely with Esc.
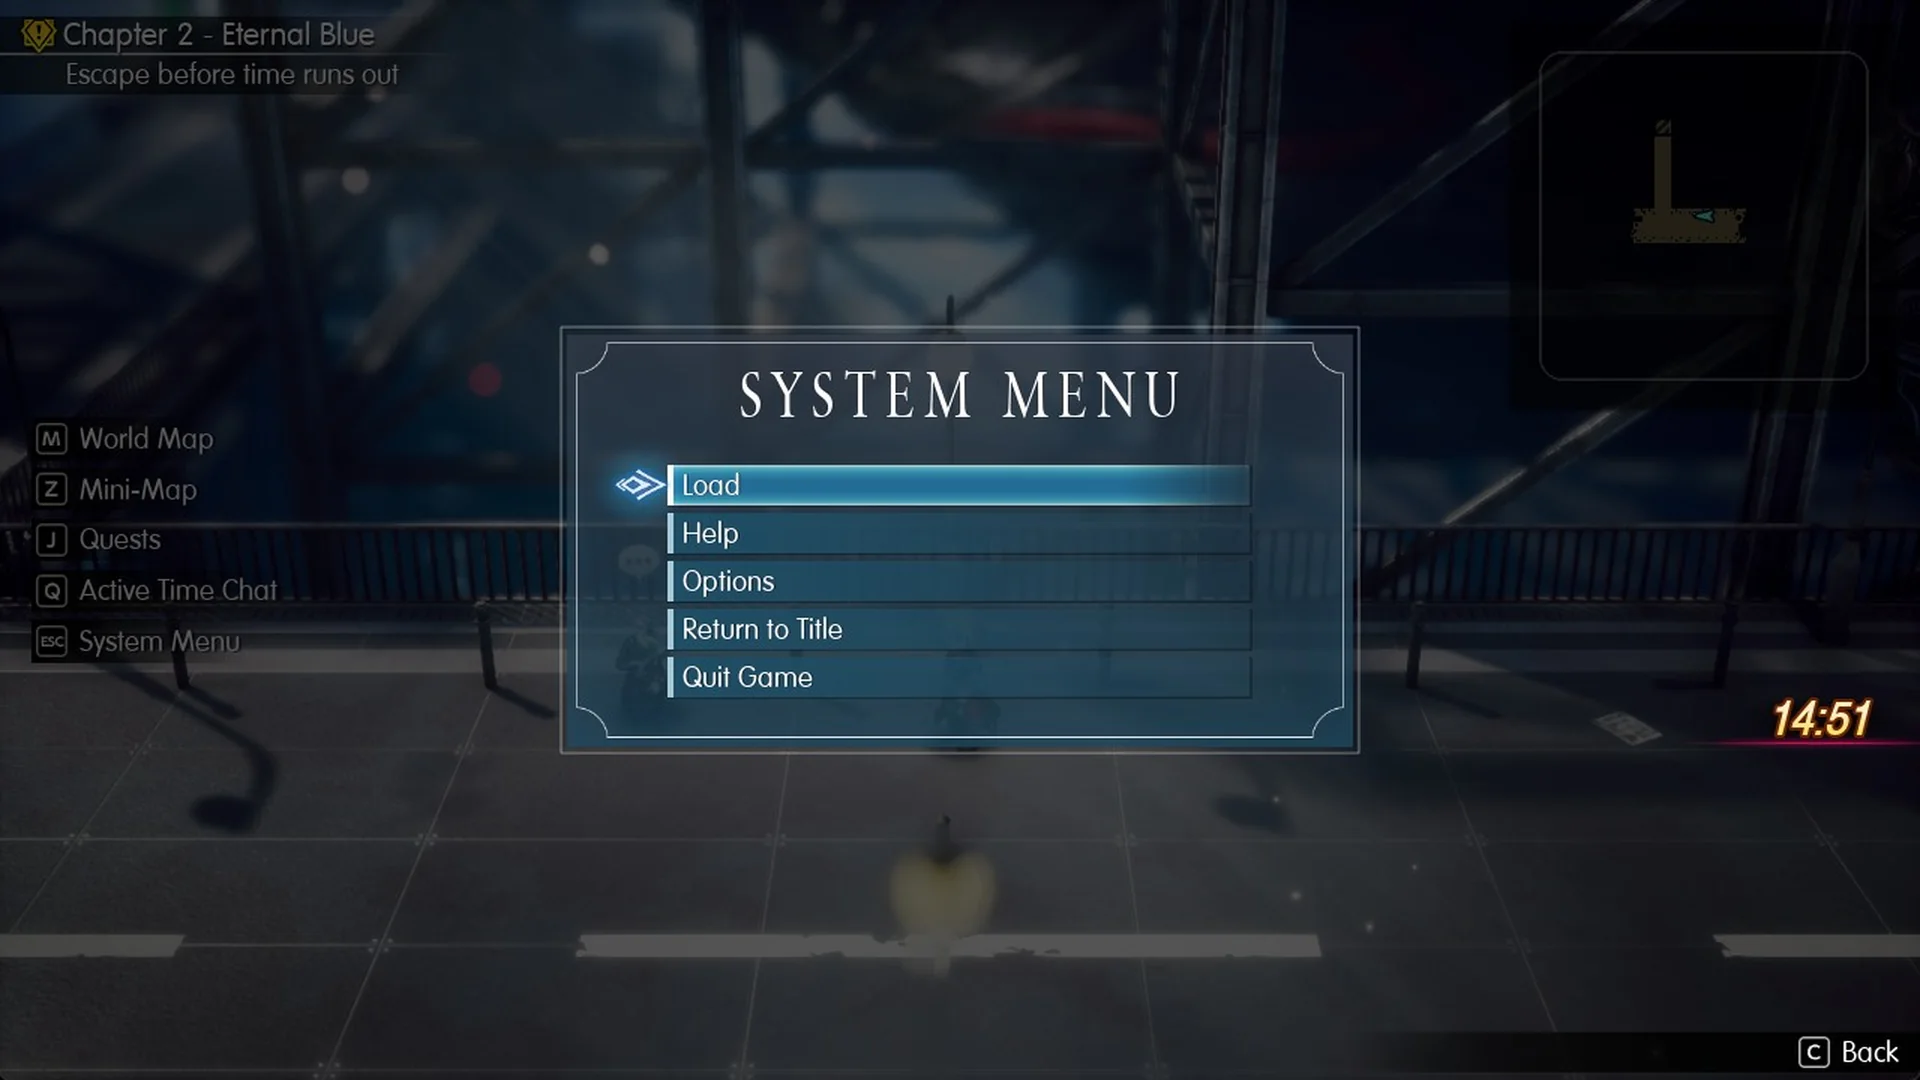
Fights consume the most time: the timer continues during battles, including while you select commands and targets. A random encounter fought to the finish may take minutes, but escaping takes only seconds. Loading the roof autosave puts you at the end of Borin’s final line; closing the dialogue starts the countdown again.
Step 1: Back down and up to the east lift
When the scene ends, retrace your steps across the roof to the lift you used to reach it. Use F on the panel to descend to the middle level. Go up the stairs to the east section of the upper floor, then follow the corridors until you reach the east lift’s upper entrance. Lid calls out, “What!? The power to the elevator’s been cut!”
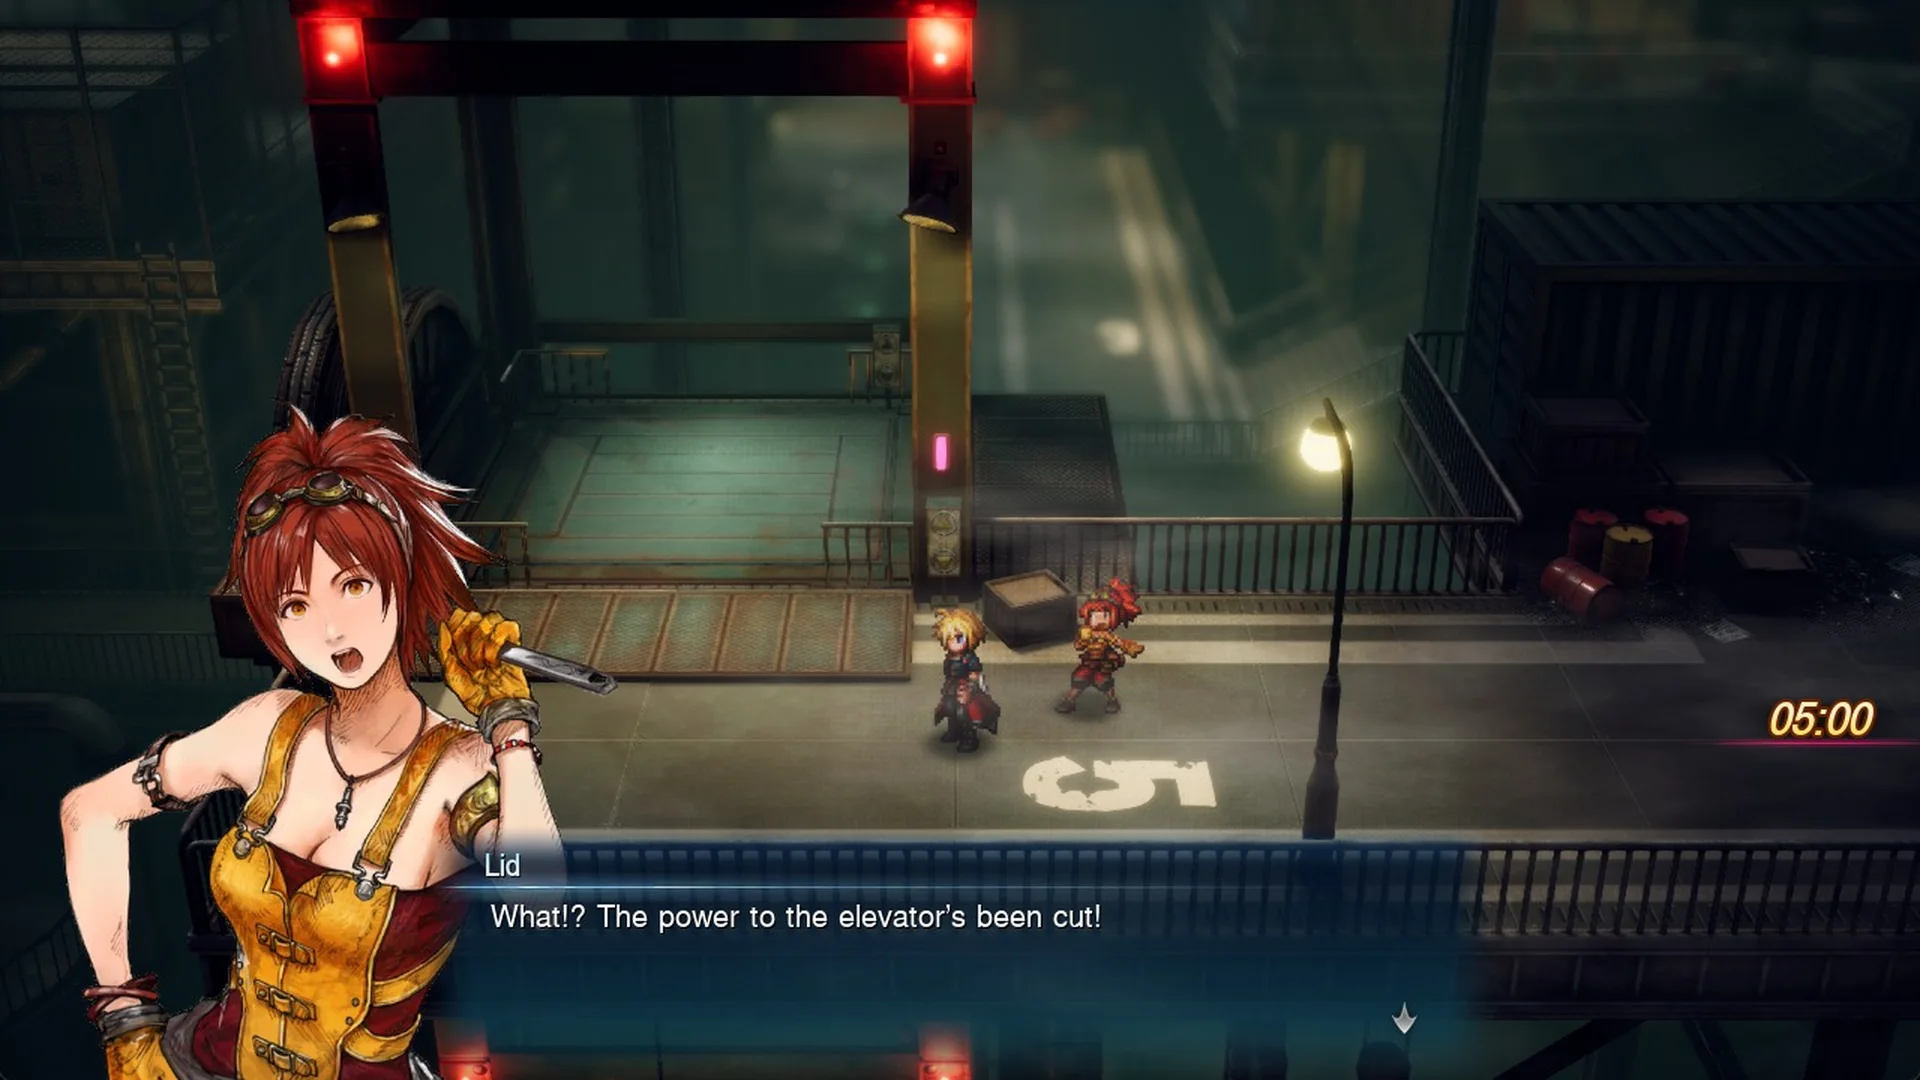
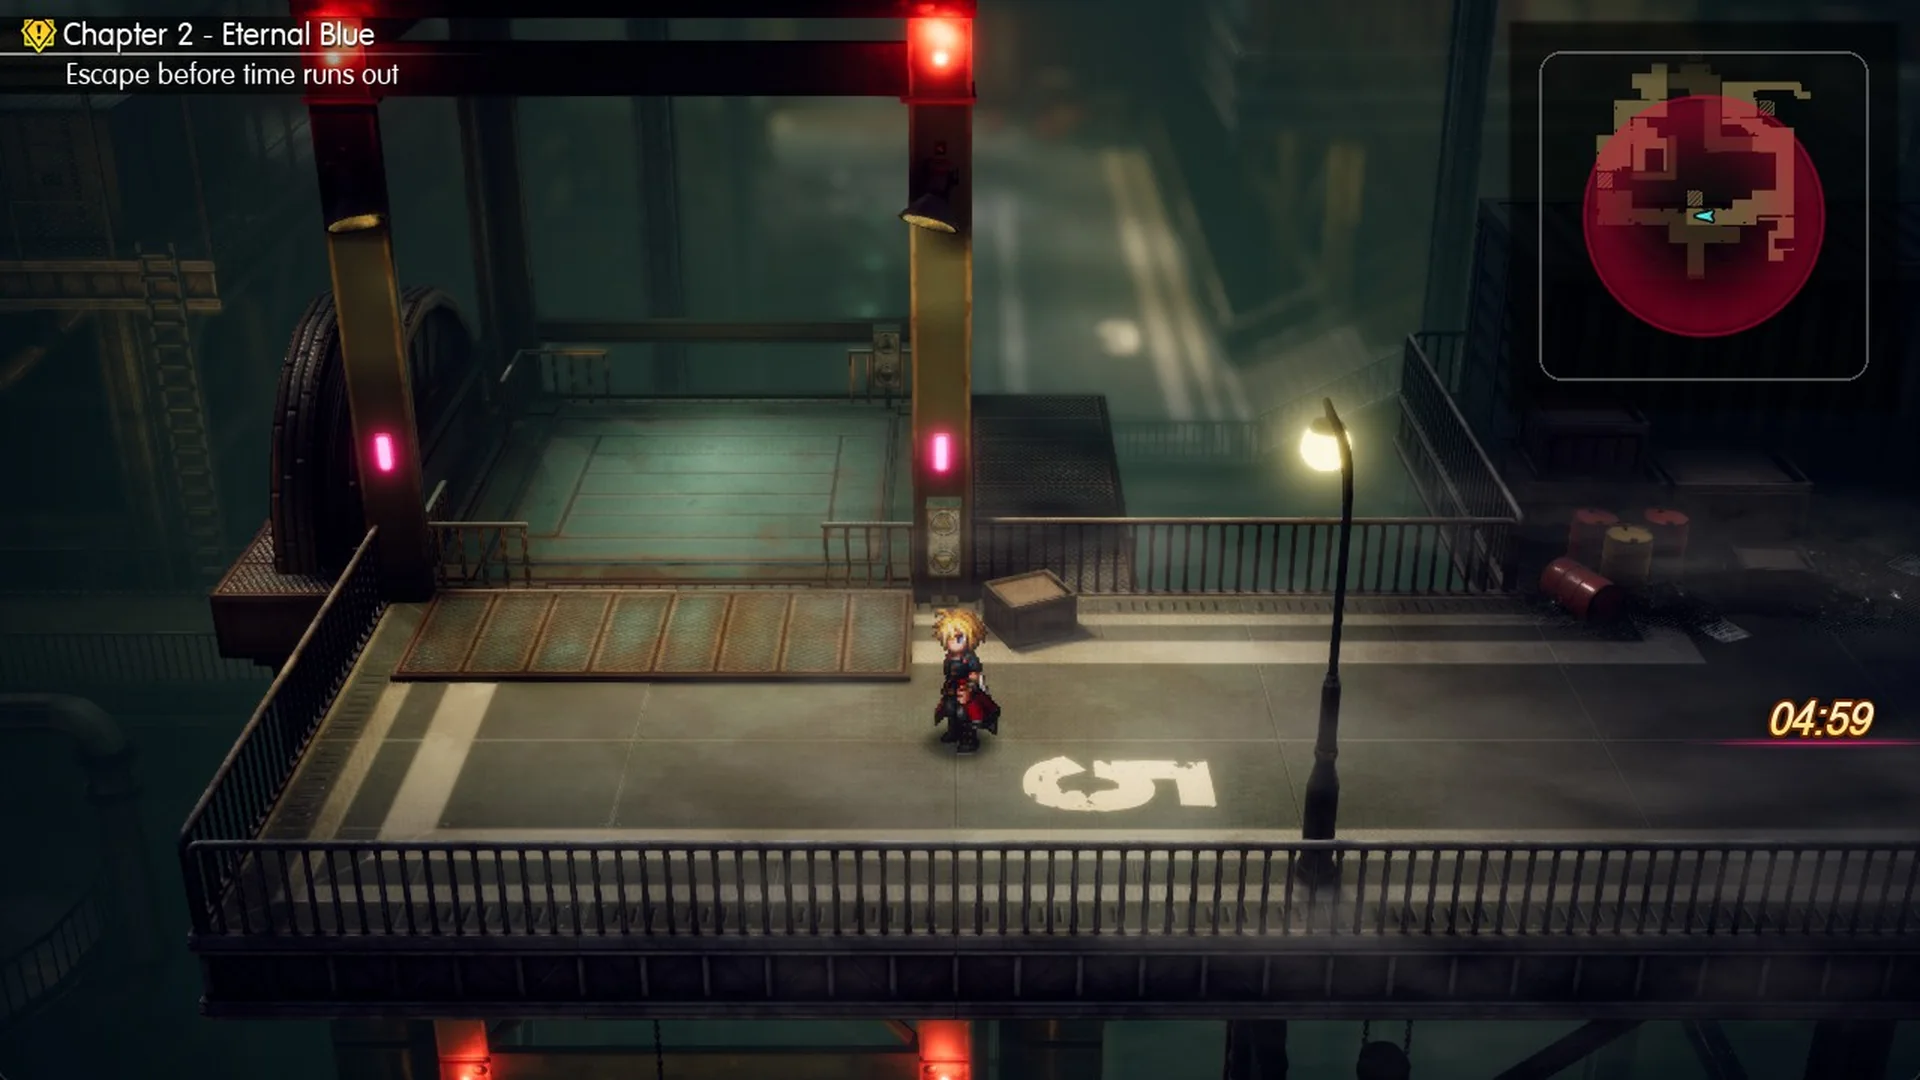
Check the floor beside the lift, where a large 5 is painted. This number is the first clue for the puzzle.
Step 2: The fence and Borin’s memo
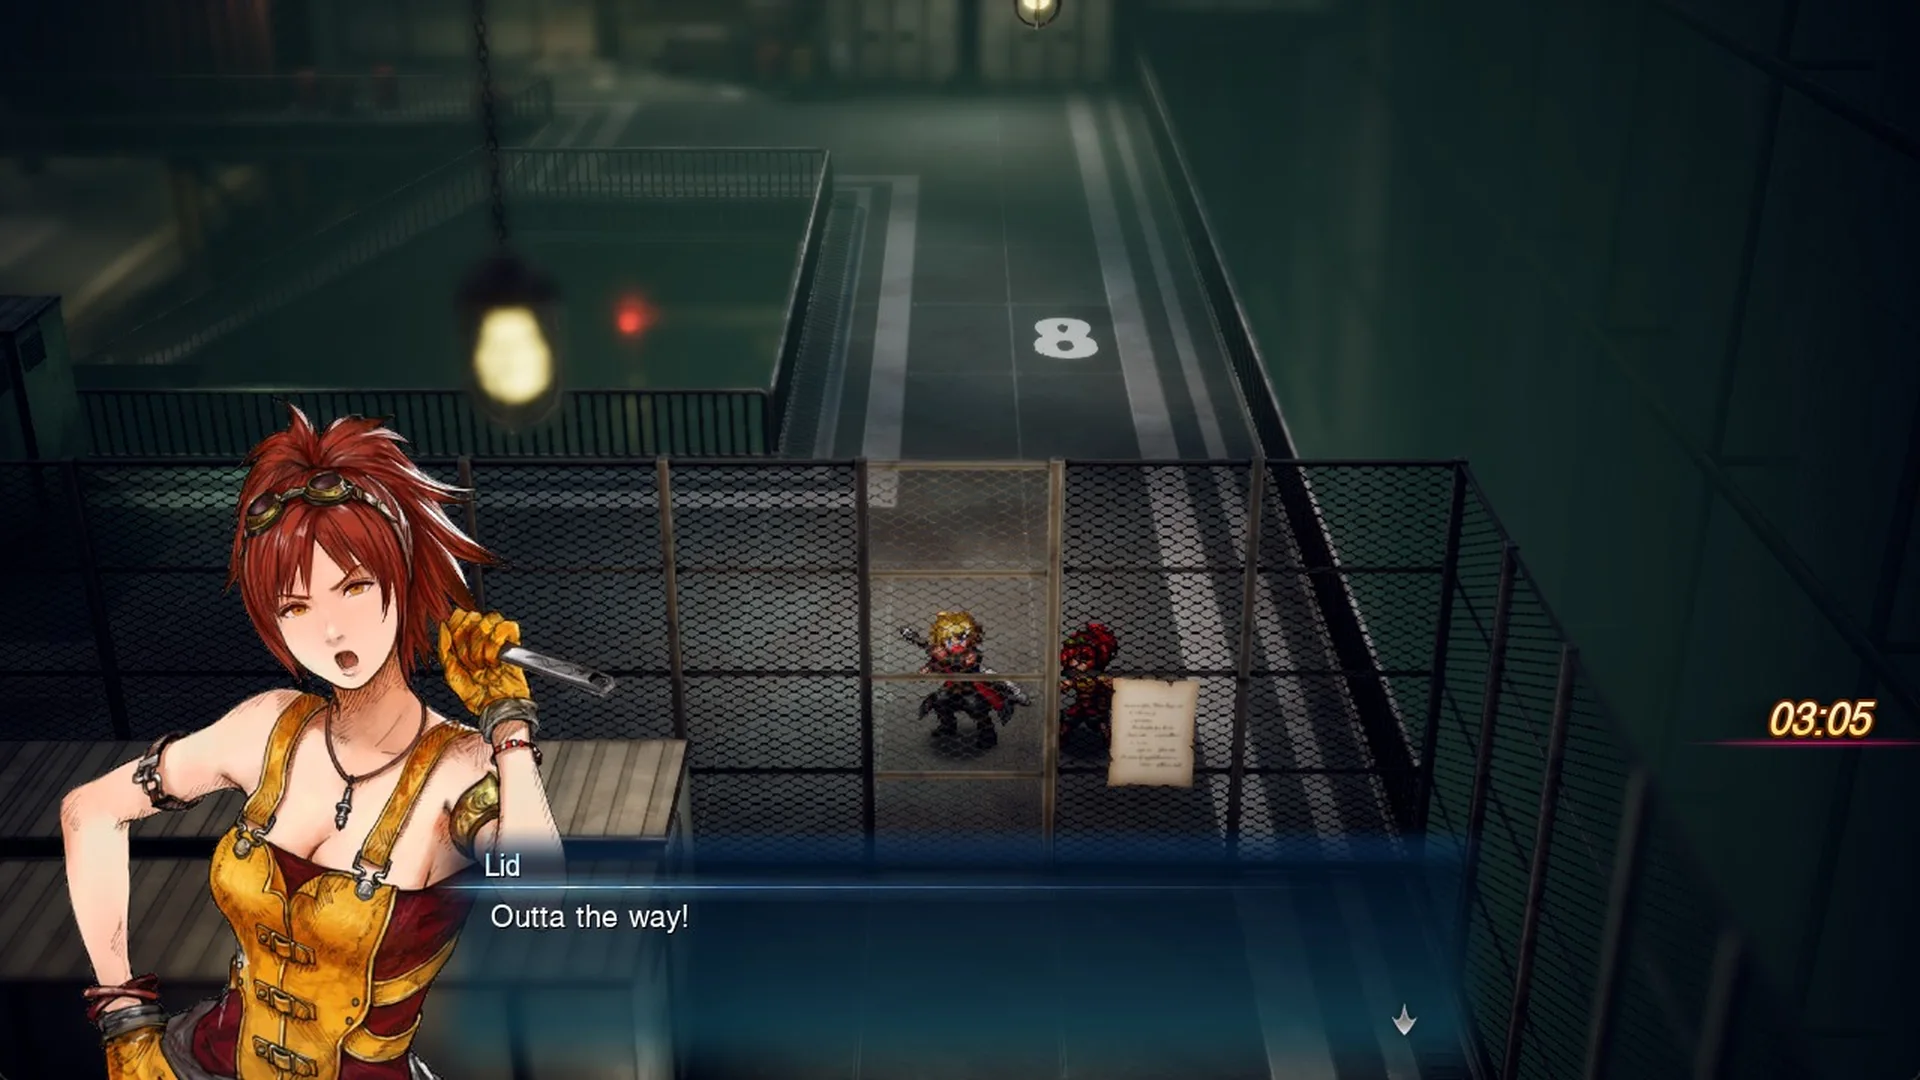
Head north to the fenced room you passed earlier. Lid yells “Outta the way!” and then “Mechabo! Break open this fence!” Mechabo smashes through the fence. When the party sees the levers inside, they groan, “WHY WOULD THEY EVER NEED THIS MANY LEVERS!?” A large 8 is painted on the floor north of the fence.
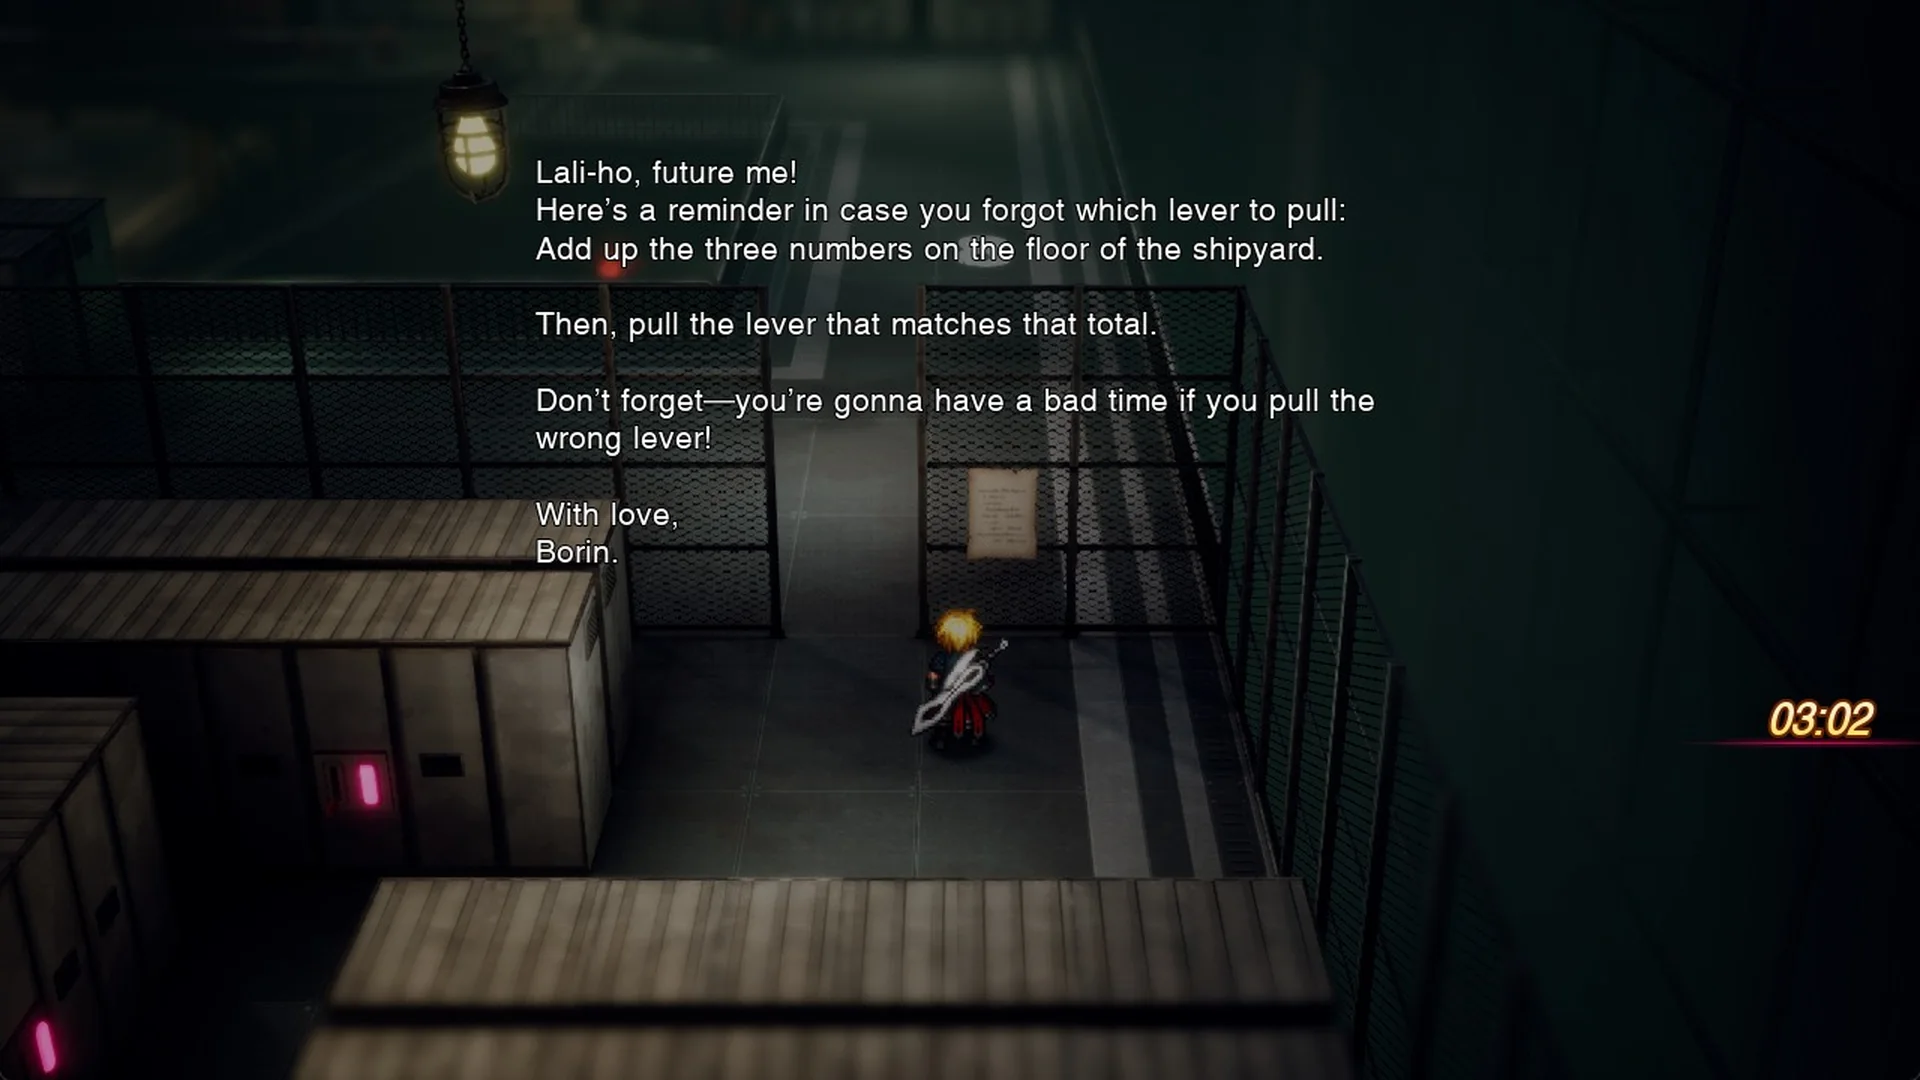
Just inside the room, examine Borin’s memo. It reads: “Lali-ho, future me! Here’s a reminder in case you forgot which lever to pull: Add up the three numbers on the floor of the shipyard. Then, pull the lever that matches that total. Don’t forget—you’re gonna have a bad time if you pull the wrong lever! With love, Borin.”
Step 3: Which lever to pull (16)
The correct lever is “16”. The room has five levers set among rows of lockers. Walk south from the memo and you reach a pair of levers near the south end of the room. Lever 16 is the one on the east side. Examine it, and the game asks “Pull the lever labeled “16”?”
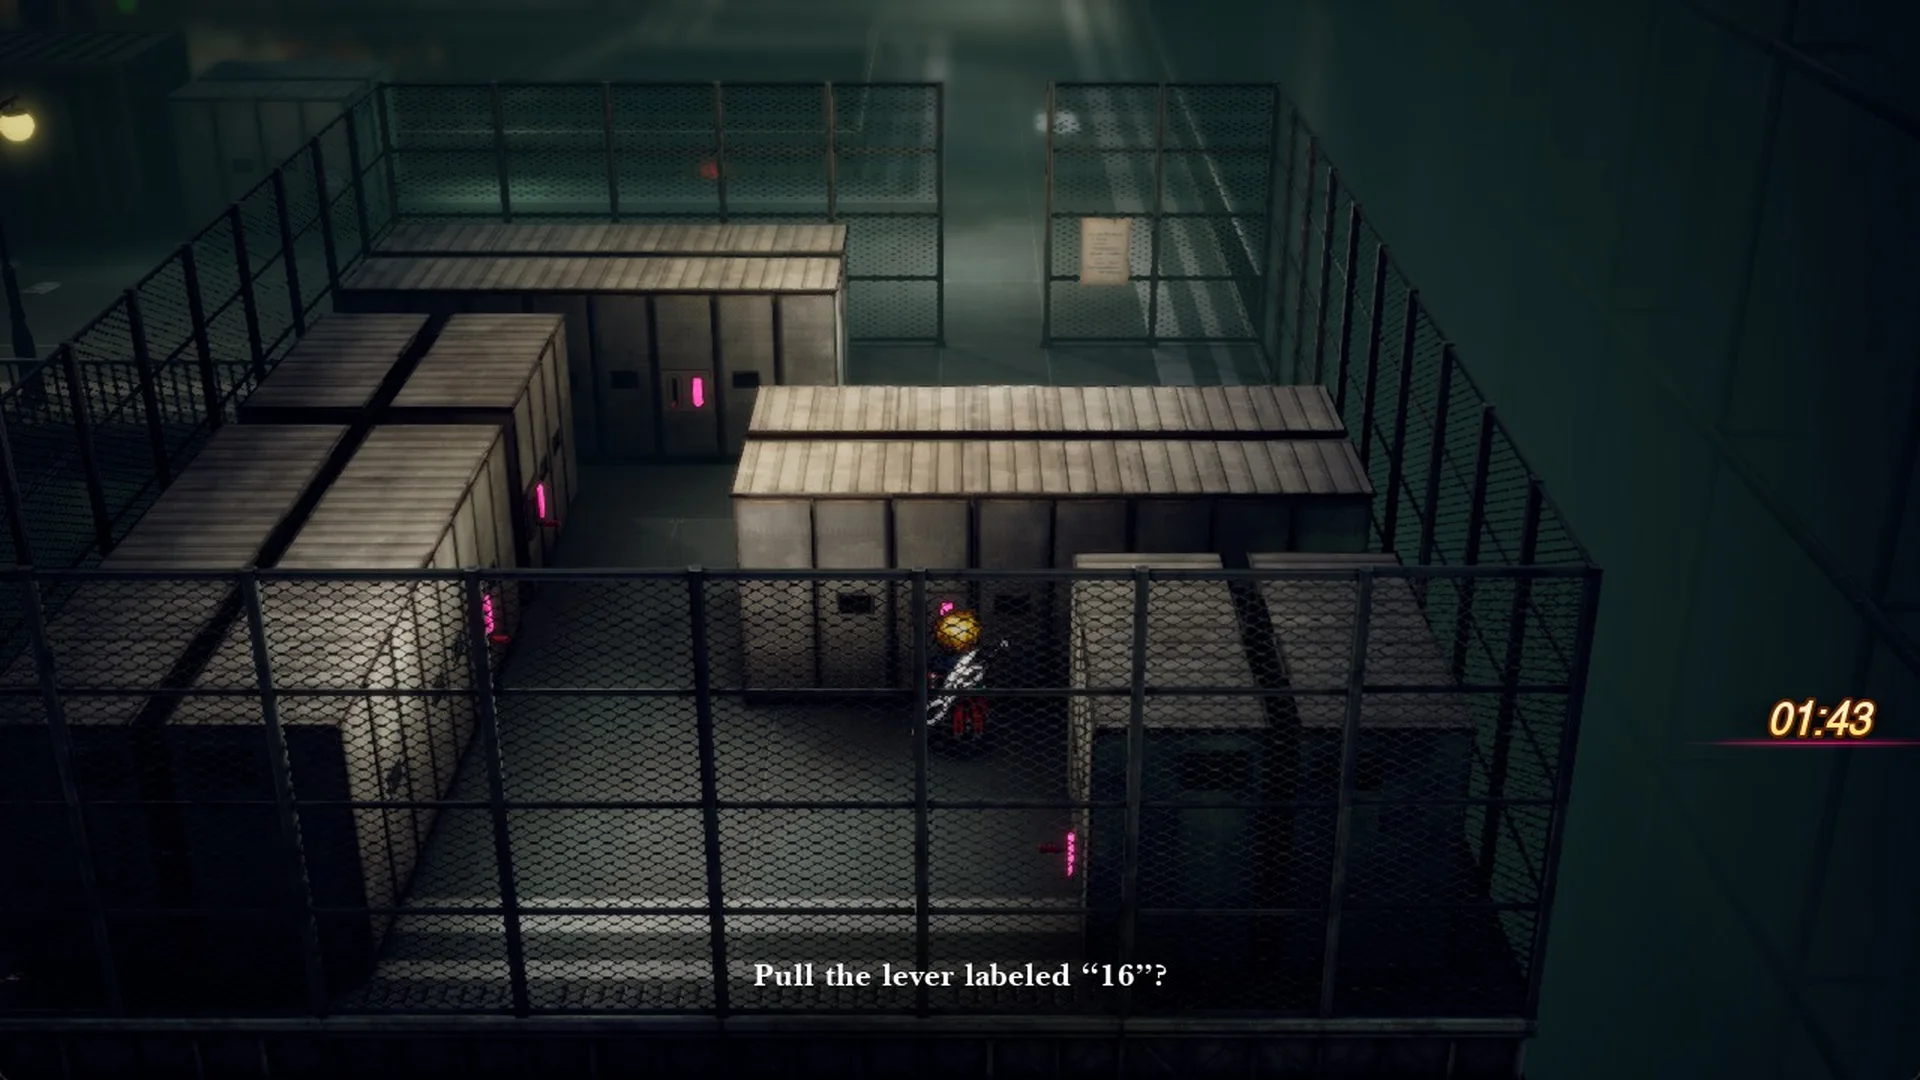
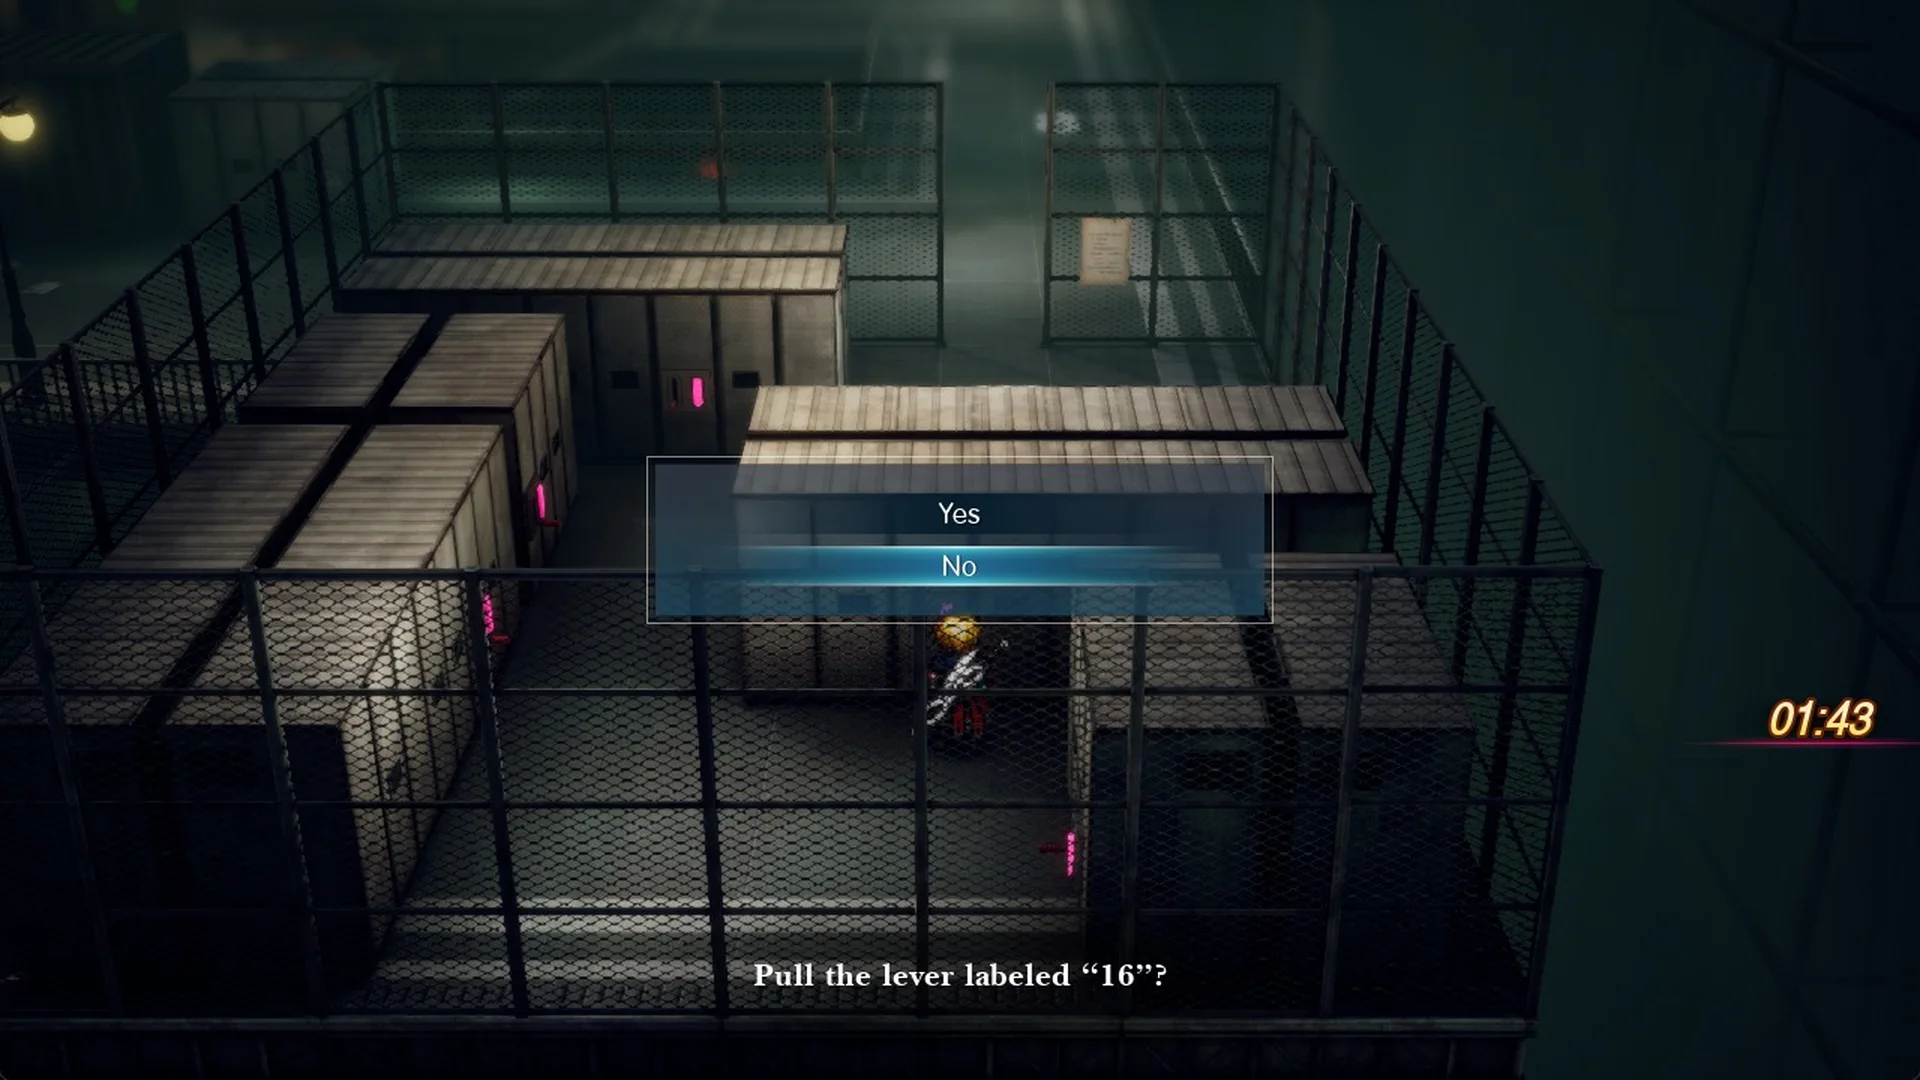
When the Yes/No box appears, its cursor starts on No; move it up to Yes, then confirm.
Rain says, “There, it’s back online!” and the lift powers up.
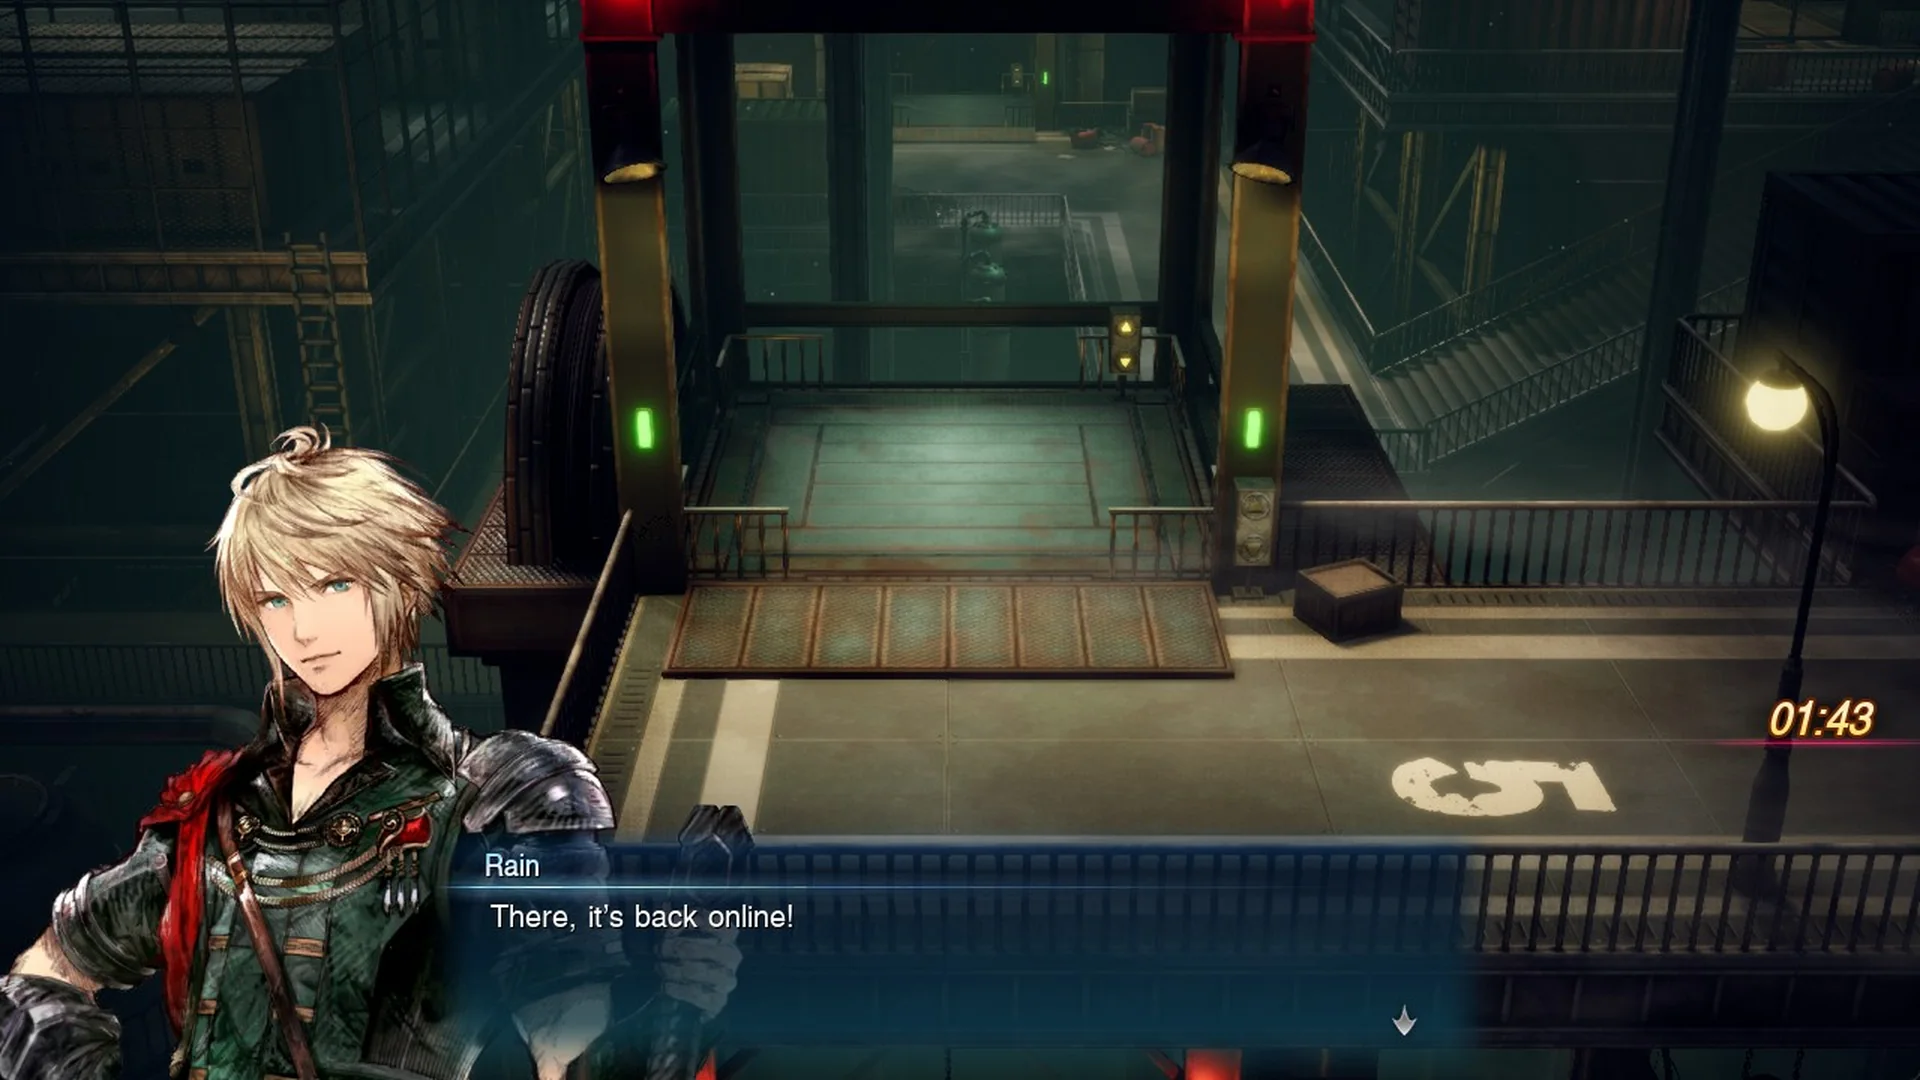
The floor shows 5 beside the east lift and 8 by the fence; the correct total is 16. Leave the remaining levers alone rather than testing them. Borin’s memo warns you will have “a bad time” if you choose incorrectly.
Step 4: Getting out of the lever room
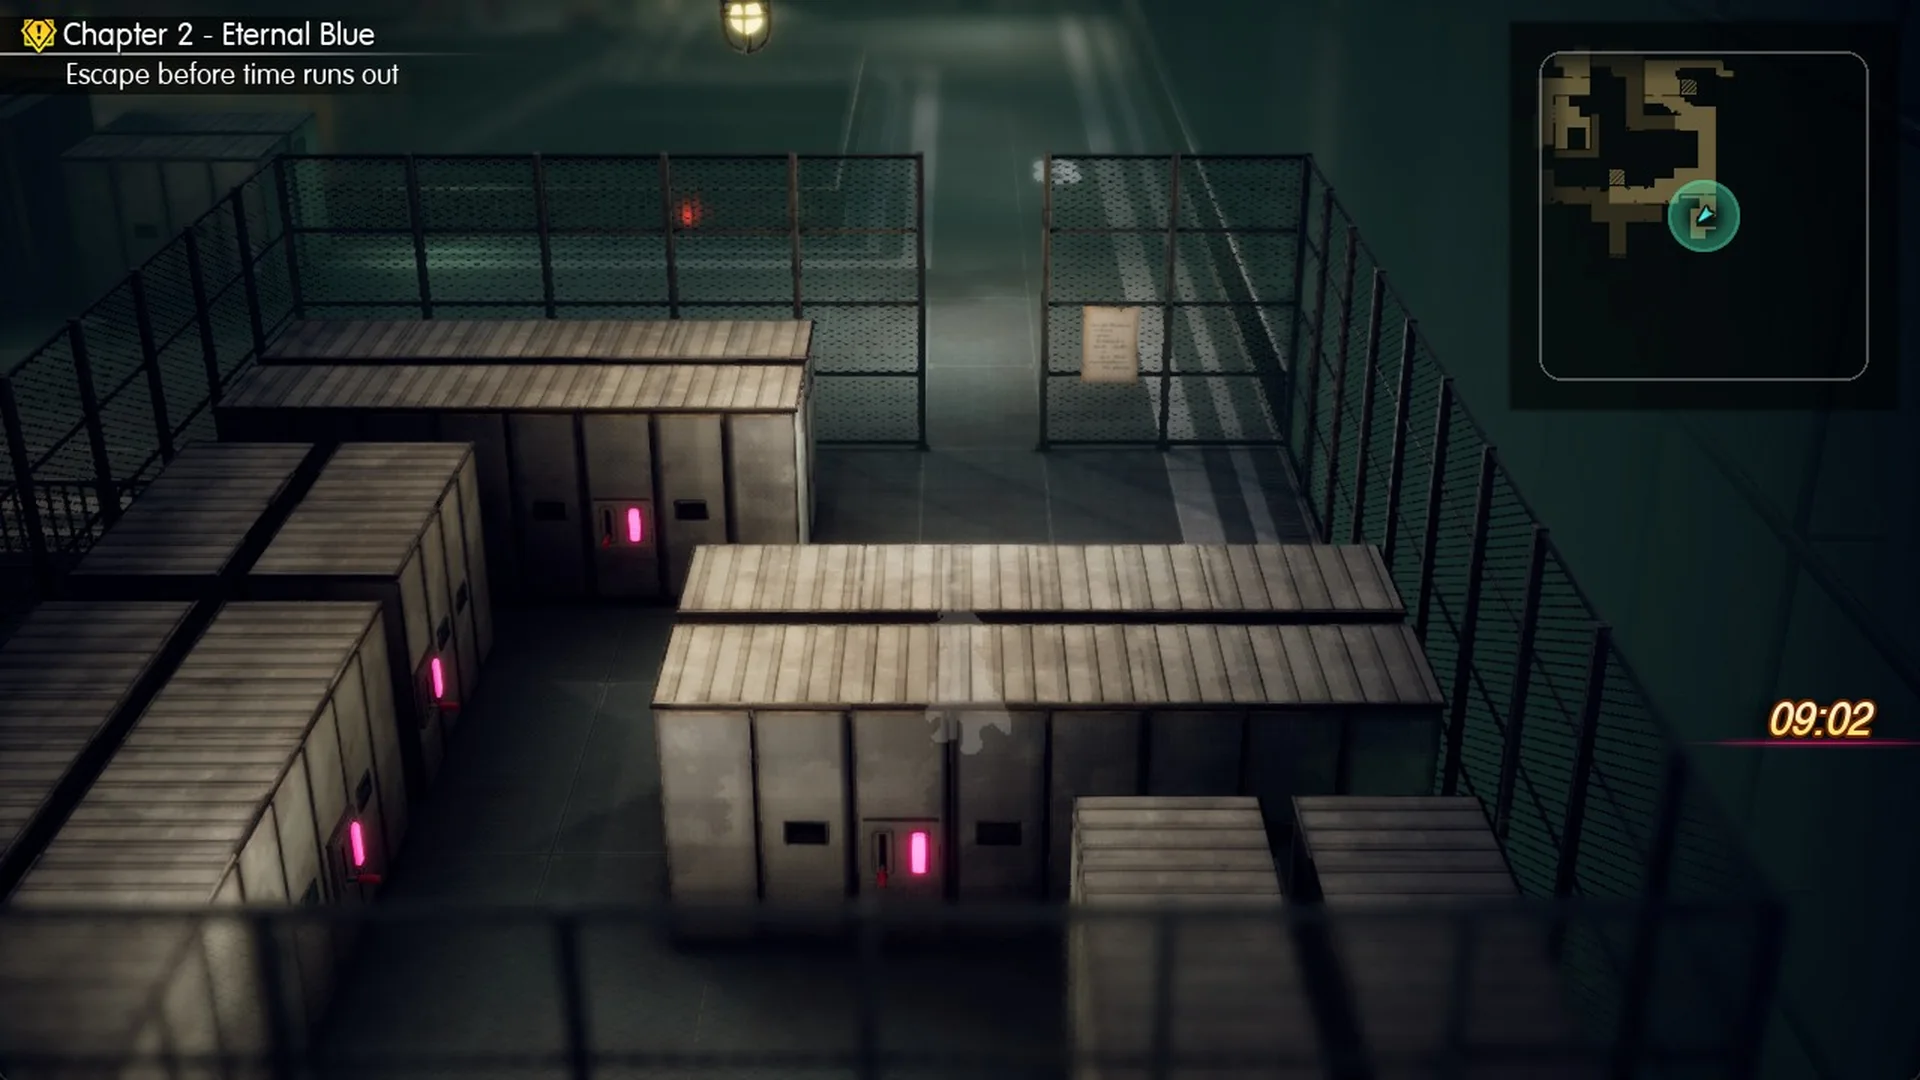
There are lockers just north of lever 16. If you walk straight north-east from the lever, you get stuck on them. Instead, step west to the lever next to it, walk north along that side of the room, and only then turn east toward the broken fence.
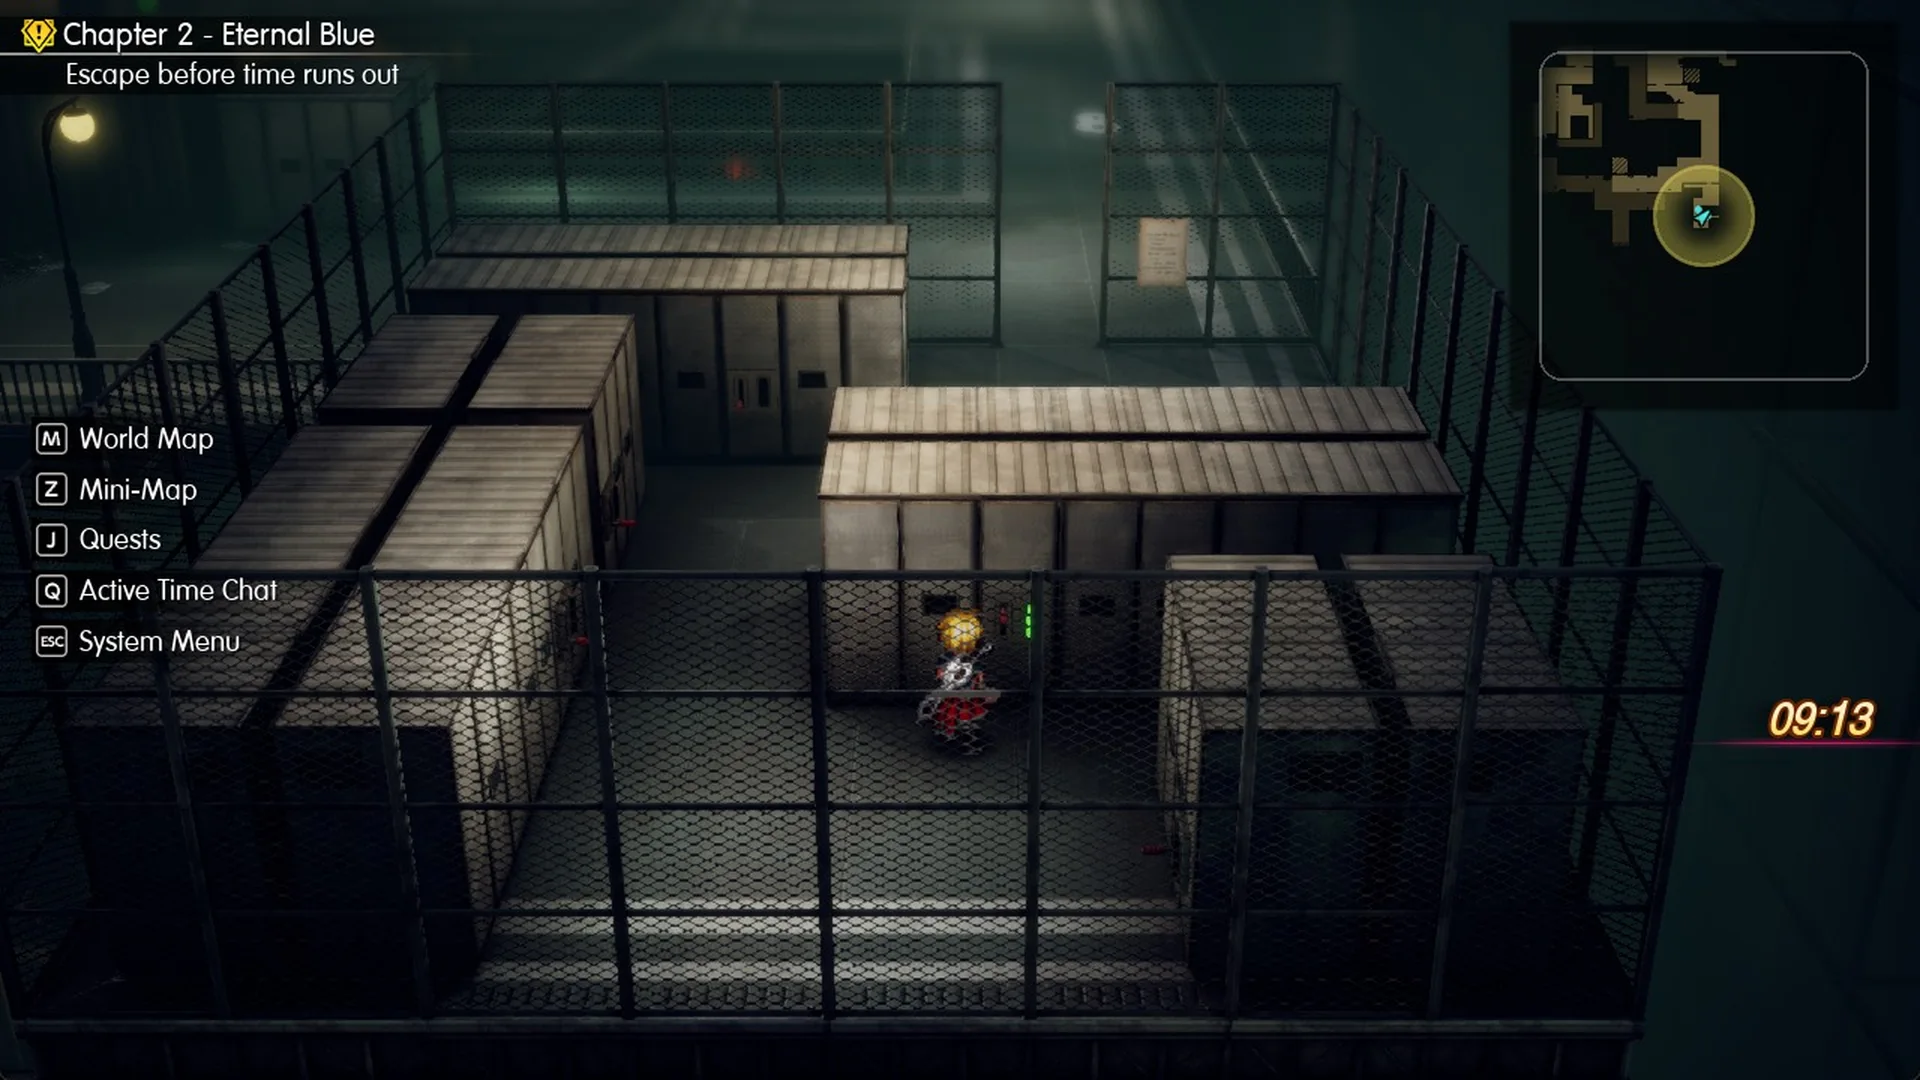
Return south from the fence to the east lift. Press F at the panel to descend to the ground-floor hall.
Escape from every random battle
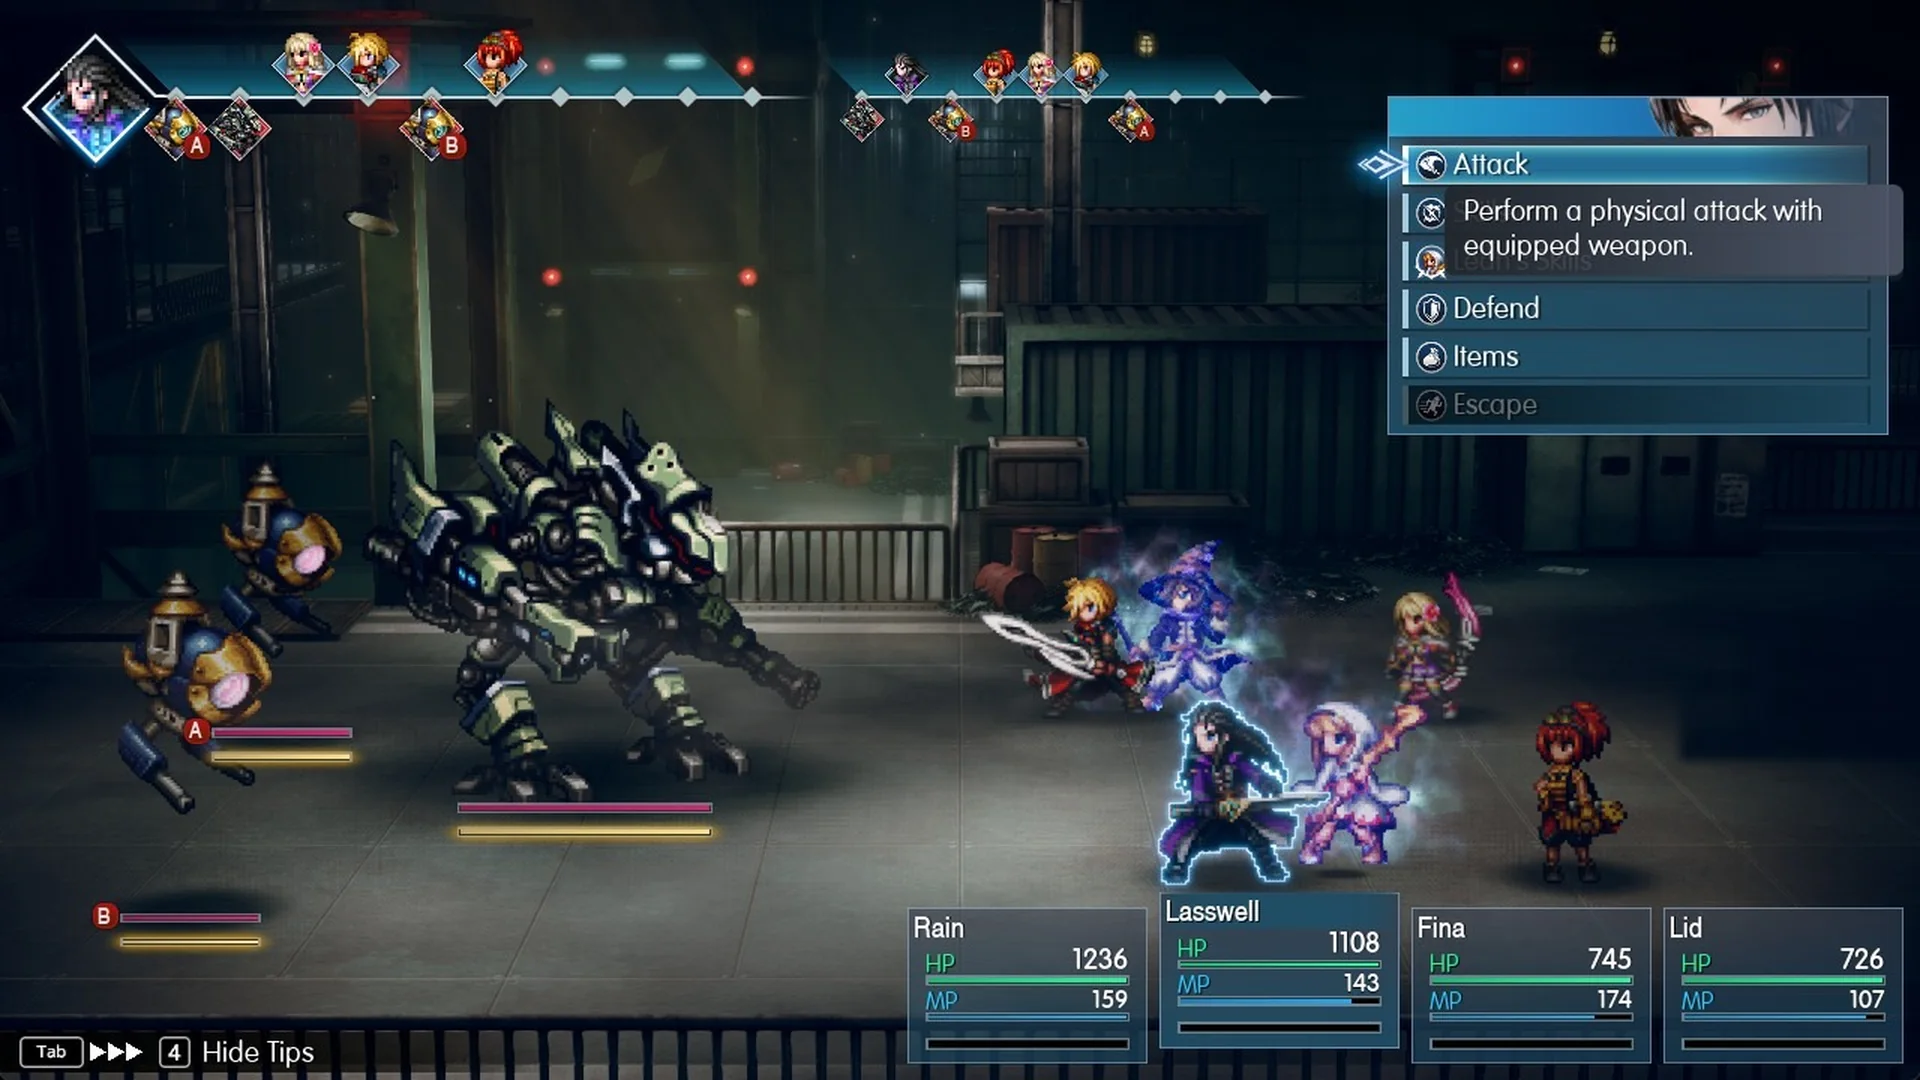
Random encounters continue during the escape. Escape, described as “Attempt to escape from battle.”, sits in the bottom row of the battle command menu. The menu starts with Attack selected; press W once to wrap the cursor to the last row, then press F and press F once more to confirm.
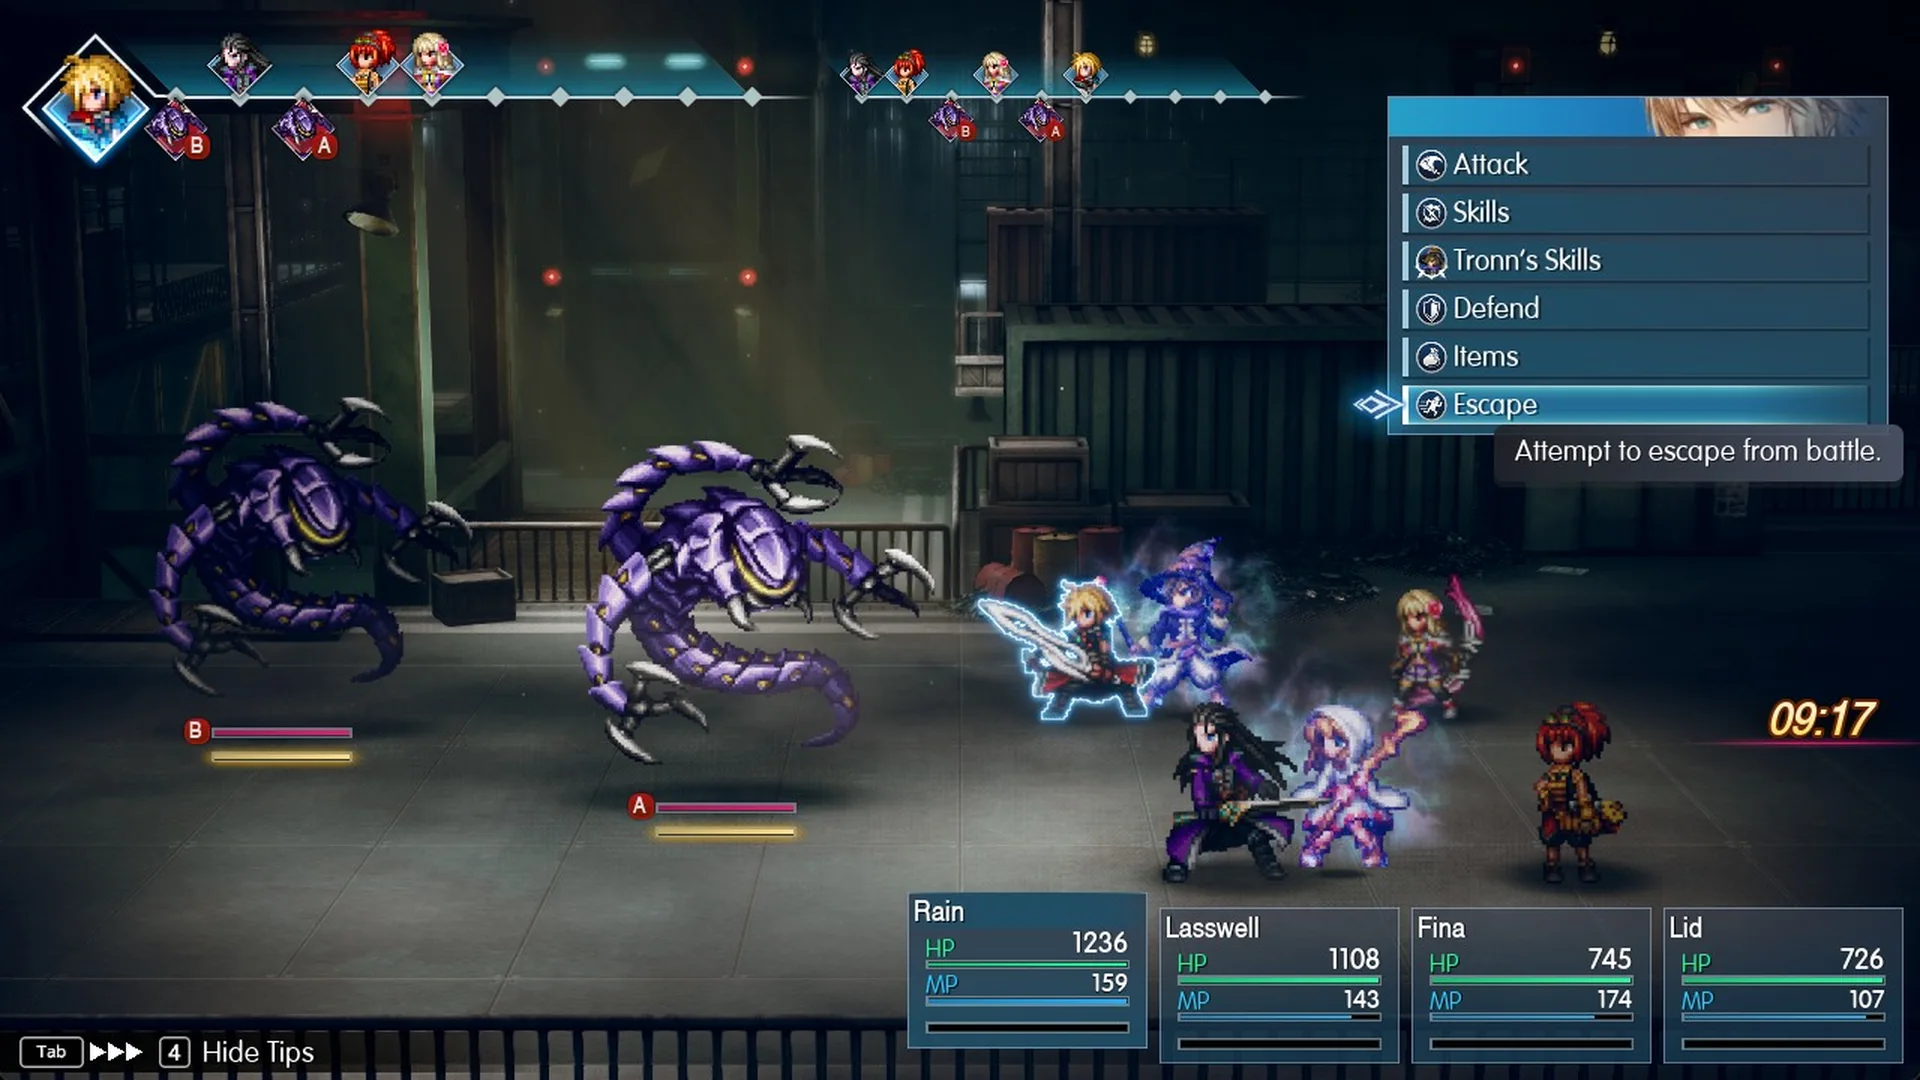
A successful Escape costs about 15 seconds of the clock and puts you back on the field.
Escape can fail, though. When it does, the Escape row is greyed out on your next turn and you have to fight.
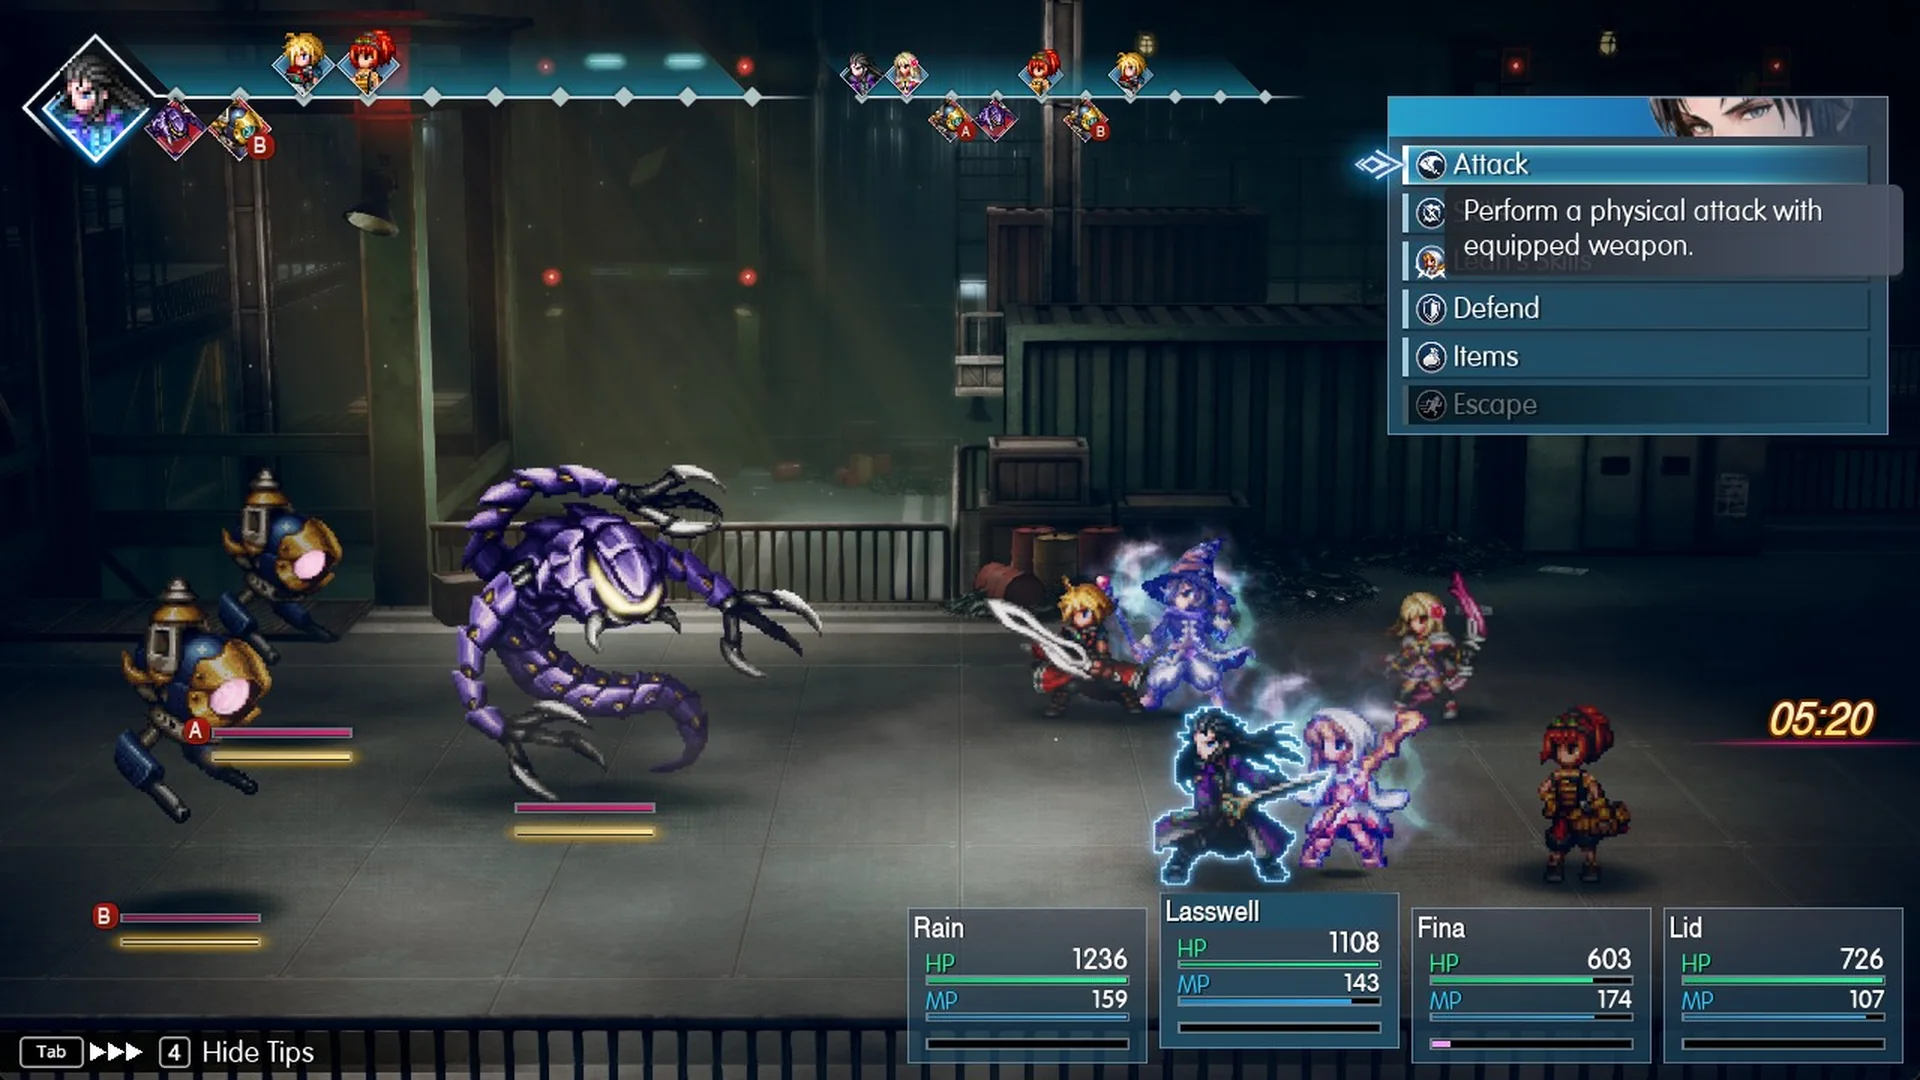
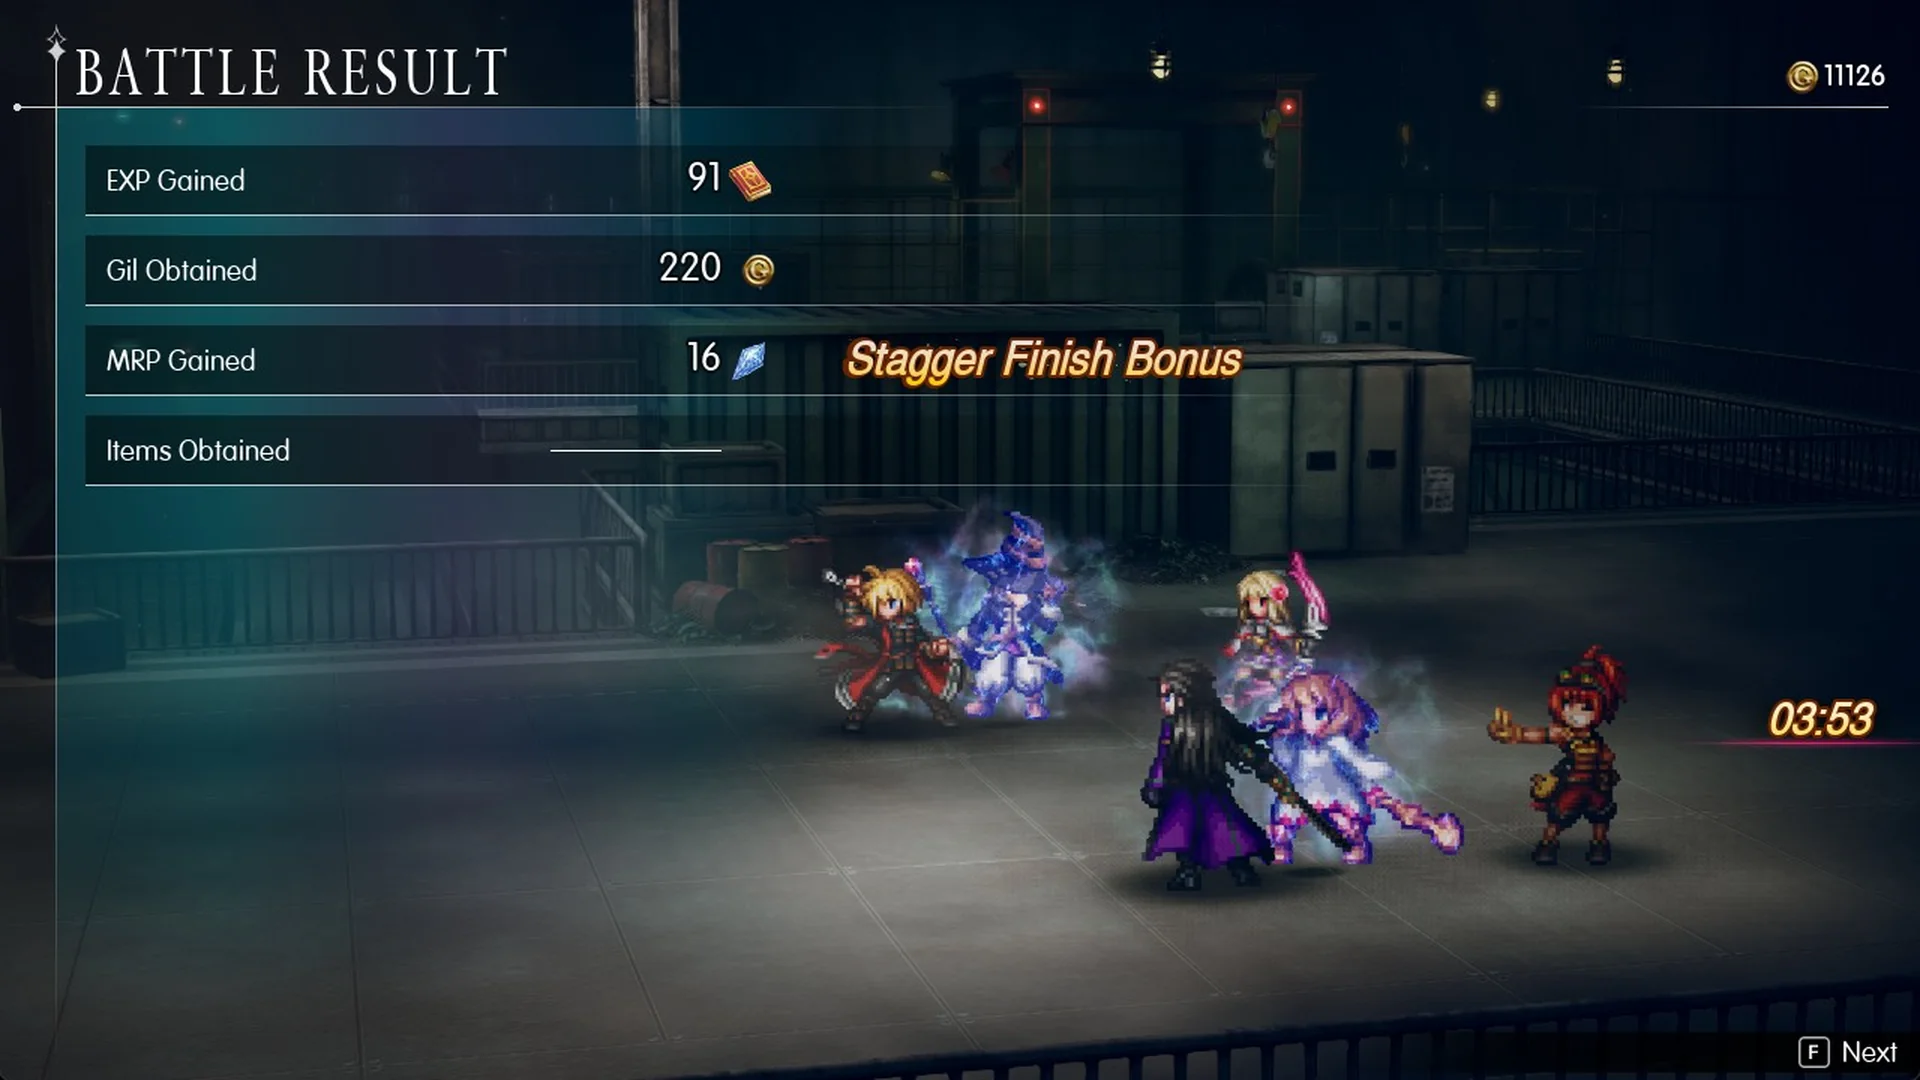
A Centipede group fought to the end took about two minutes and gave 91 EXP, 220 Gil, and 16 MRP.
Lid’s skill list also has Mechabo Escape (8 MP), described as “Escape from battle guaranteed.” Epimetheus cannot be escaped. Since a forced fight drains the timer every second, it is useful to know how to speed up battles.
Step 5: The entrance hall and Epimetheus
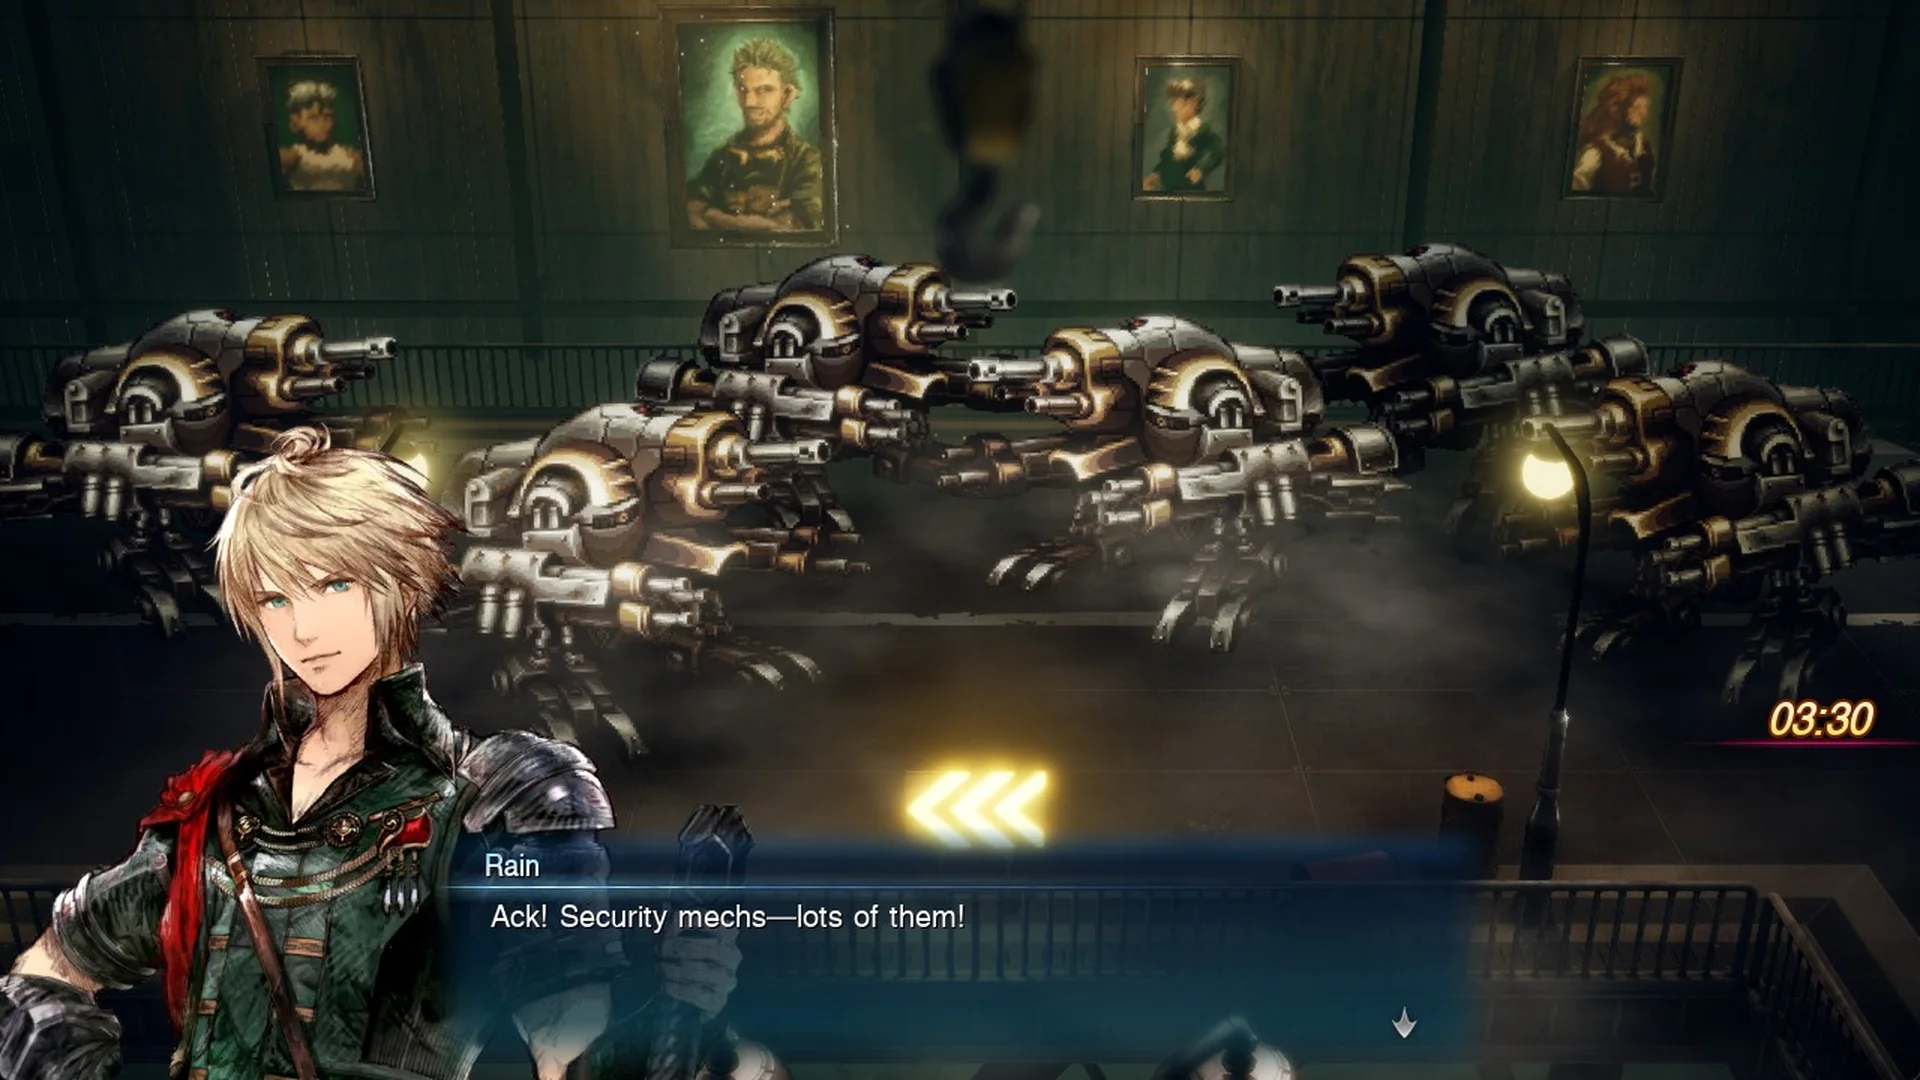
From the bottom of the east lift, cross the ground-floor hall to the west and take the passage to the entrance hall. As you walk in, Rain shouts “Ack! Security mechs-lots of them!” and Lid adds “They’ll spot us if we get any closer. Let’s find another way out.” Do not walk into the mechs.
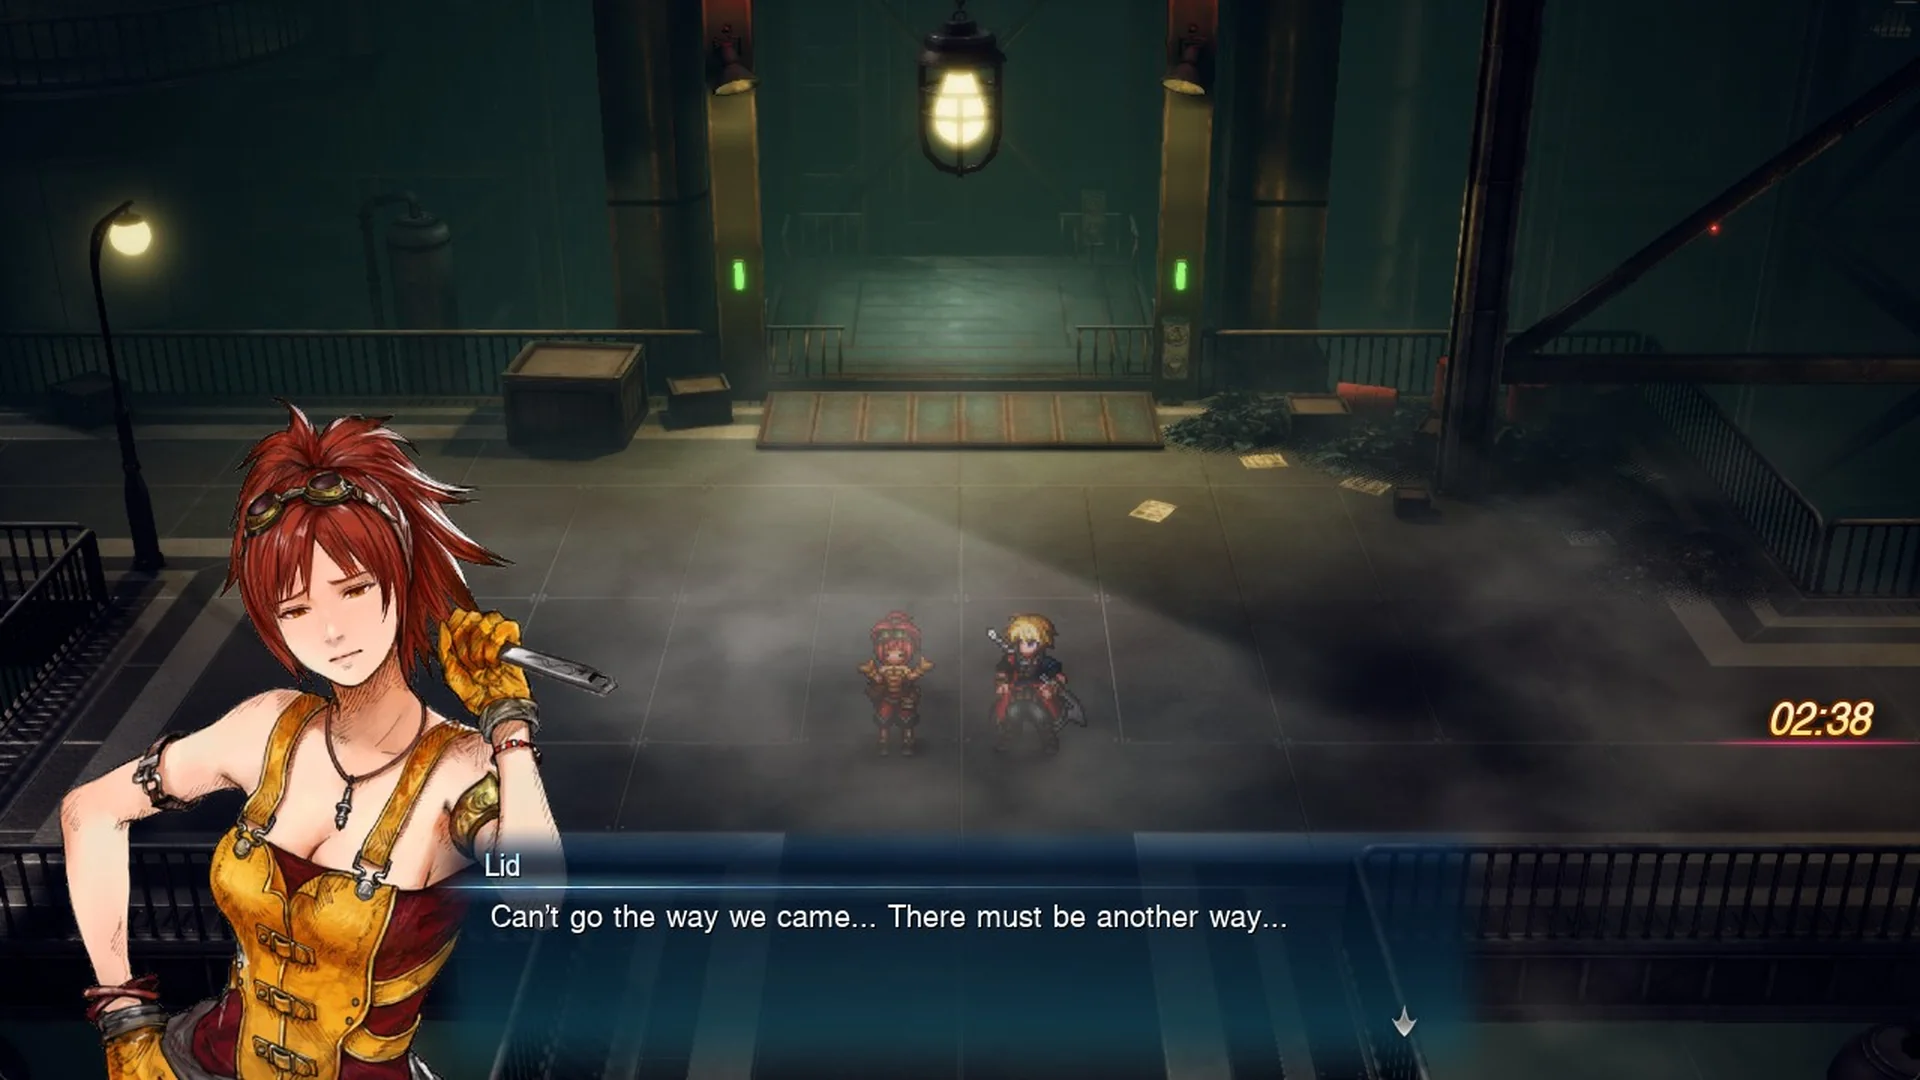
Turn back north into the ground-floor hall. Lid says “Can’t go the way we came… There must be another way…”
Then Epimetheus attacks with two Security Eyes. Escape is greyed out for the whole fight.
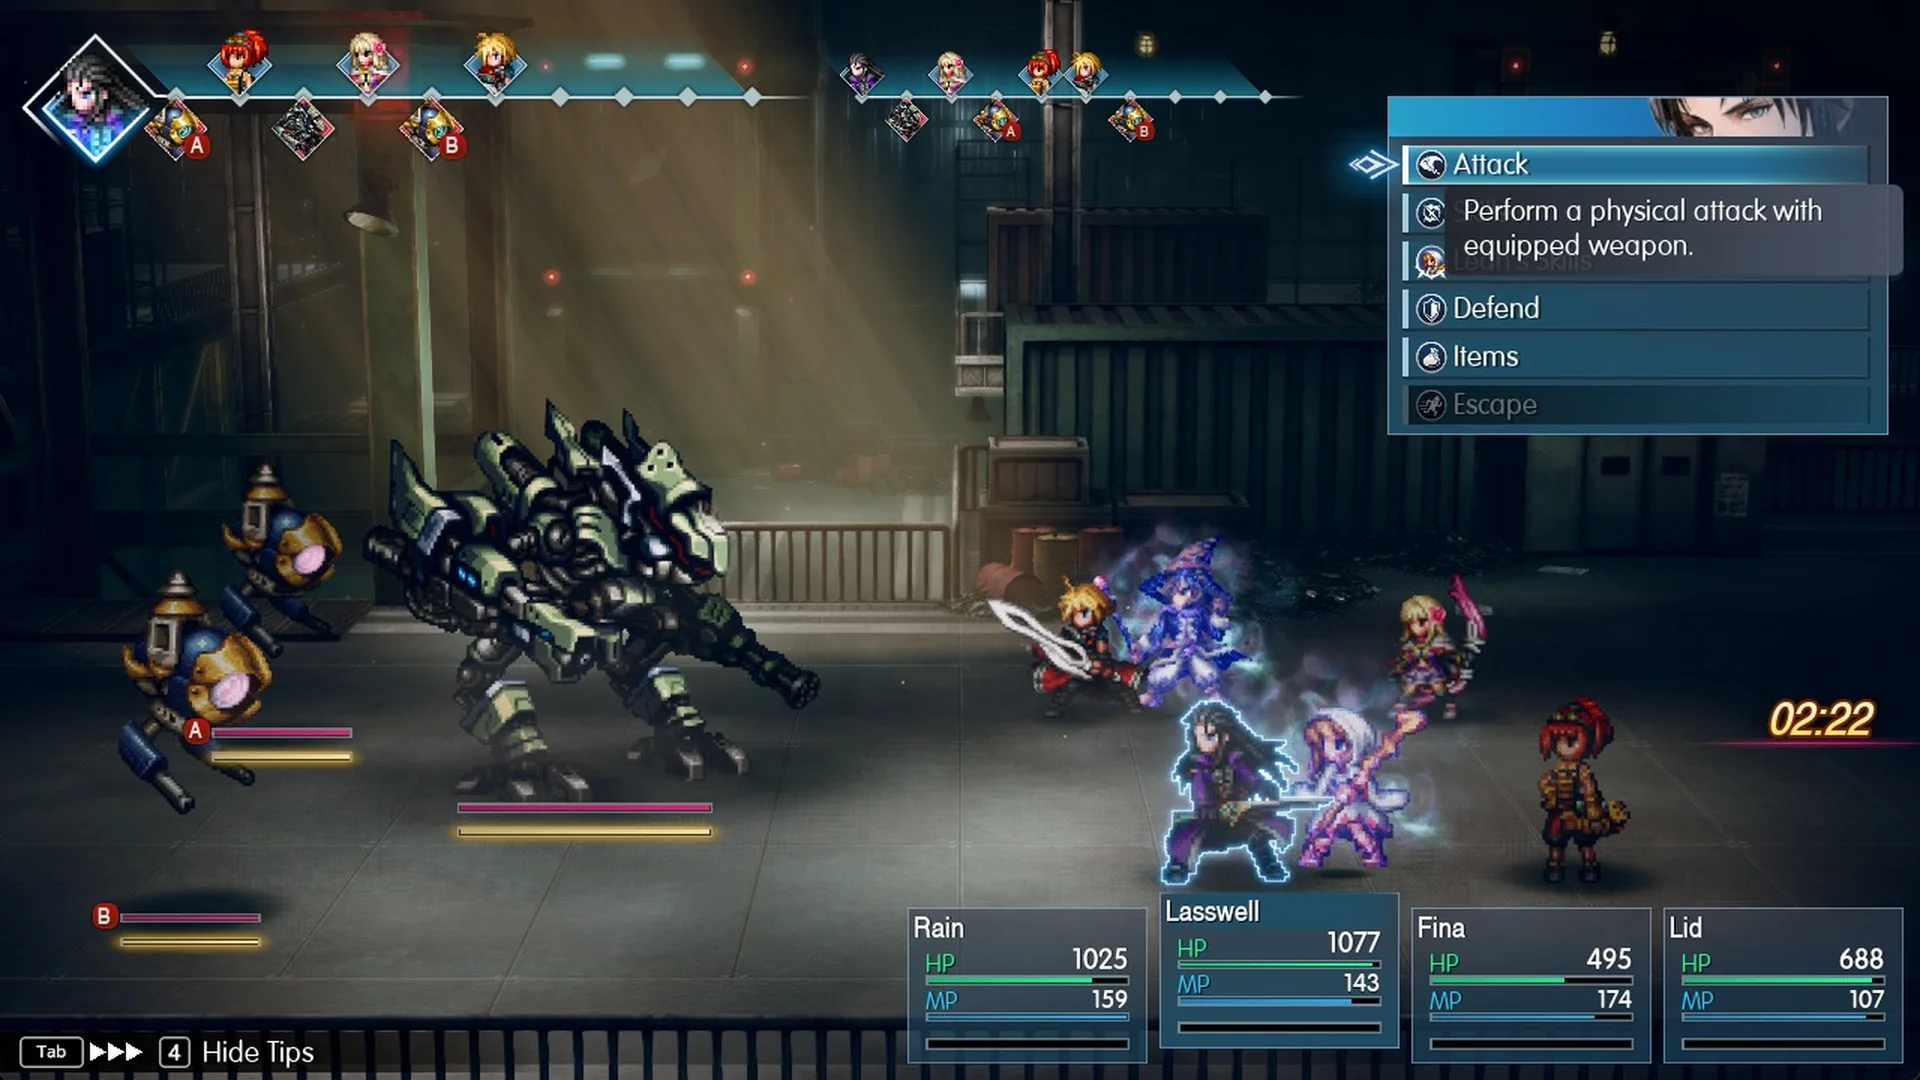
Try to start this fight with about 4 minutes left. In our run the fight started with 2:22 on the clock, and Epimetheus was still standing at 00:16. When the clock hits 00:00, the fight is cut off and you are caught.
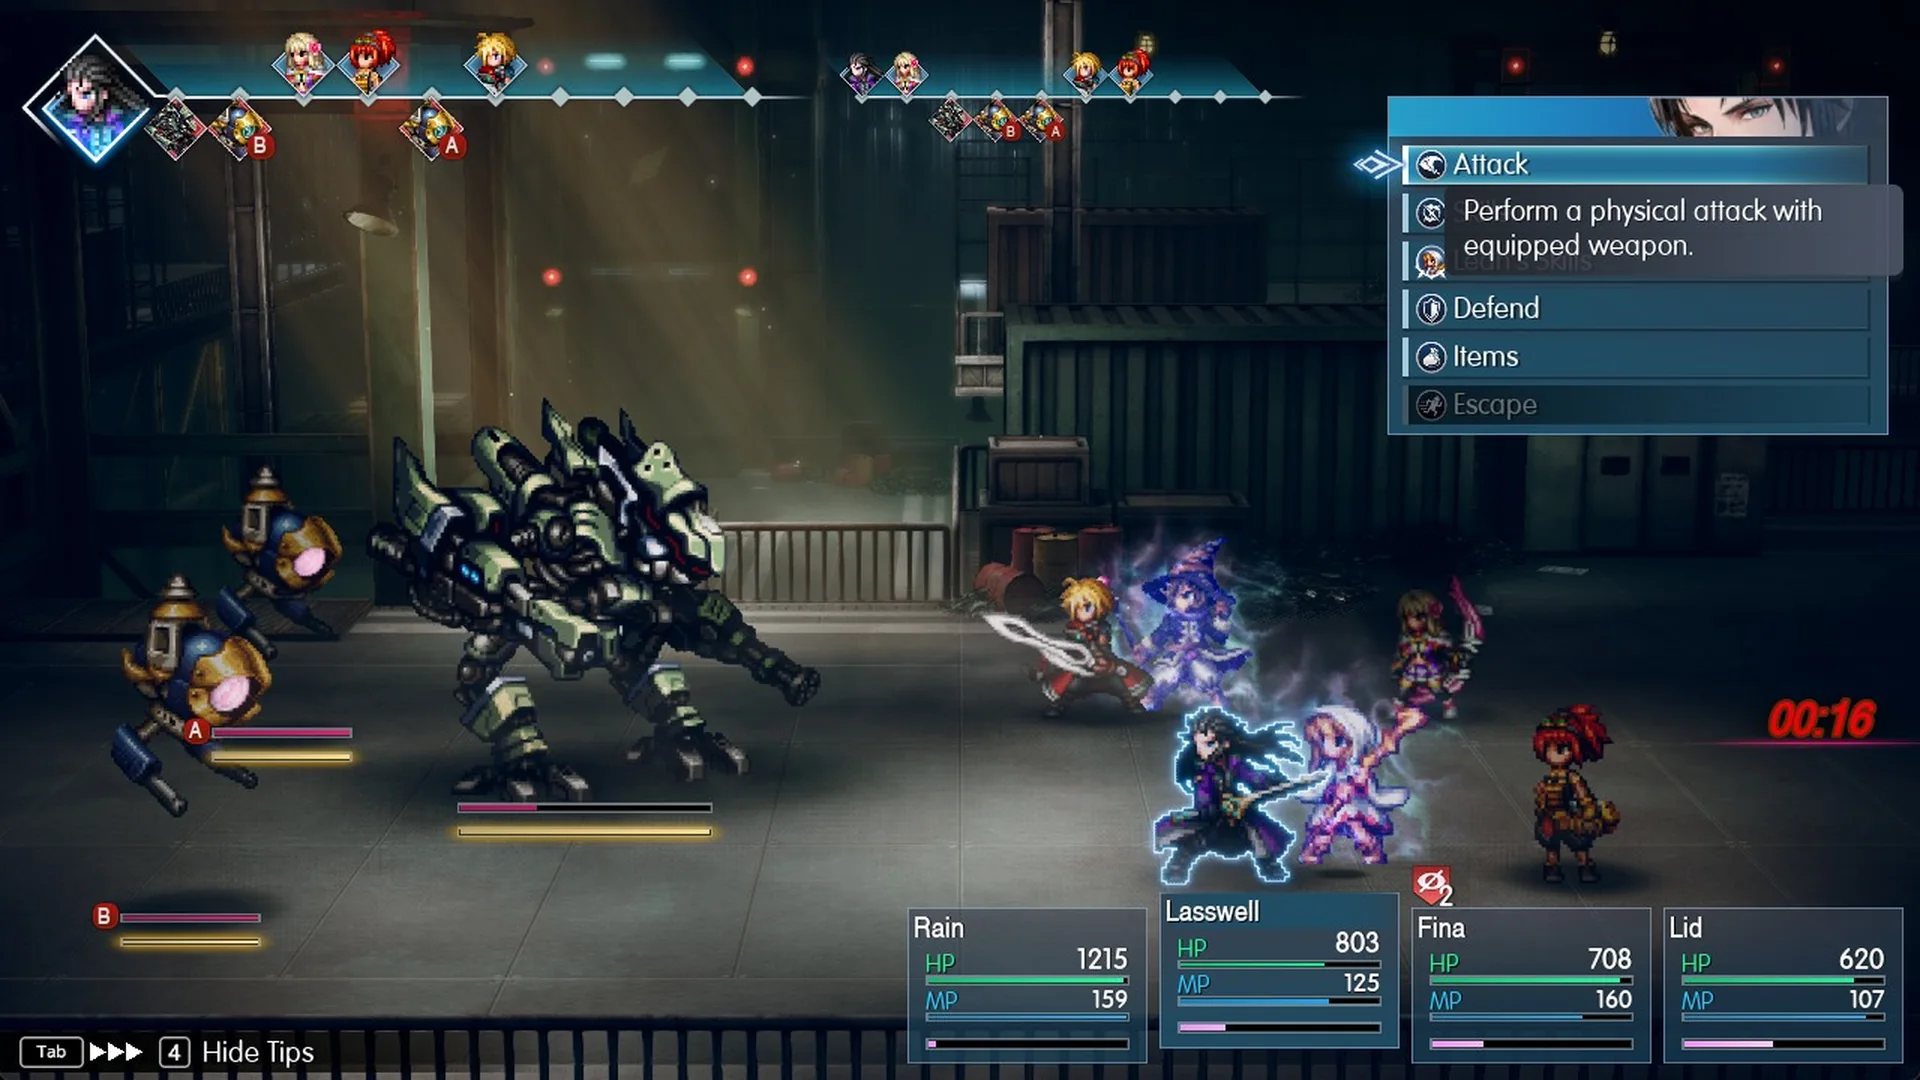
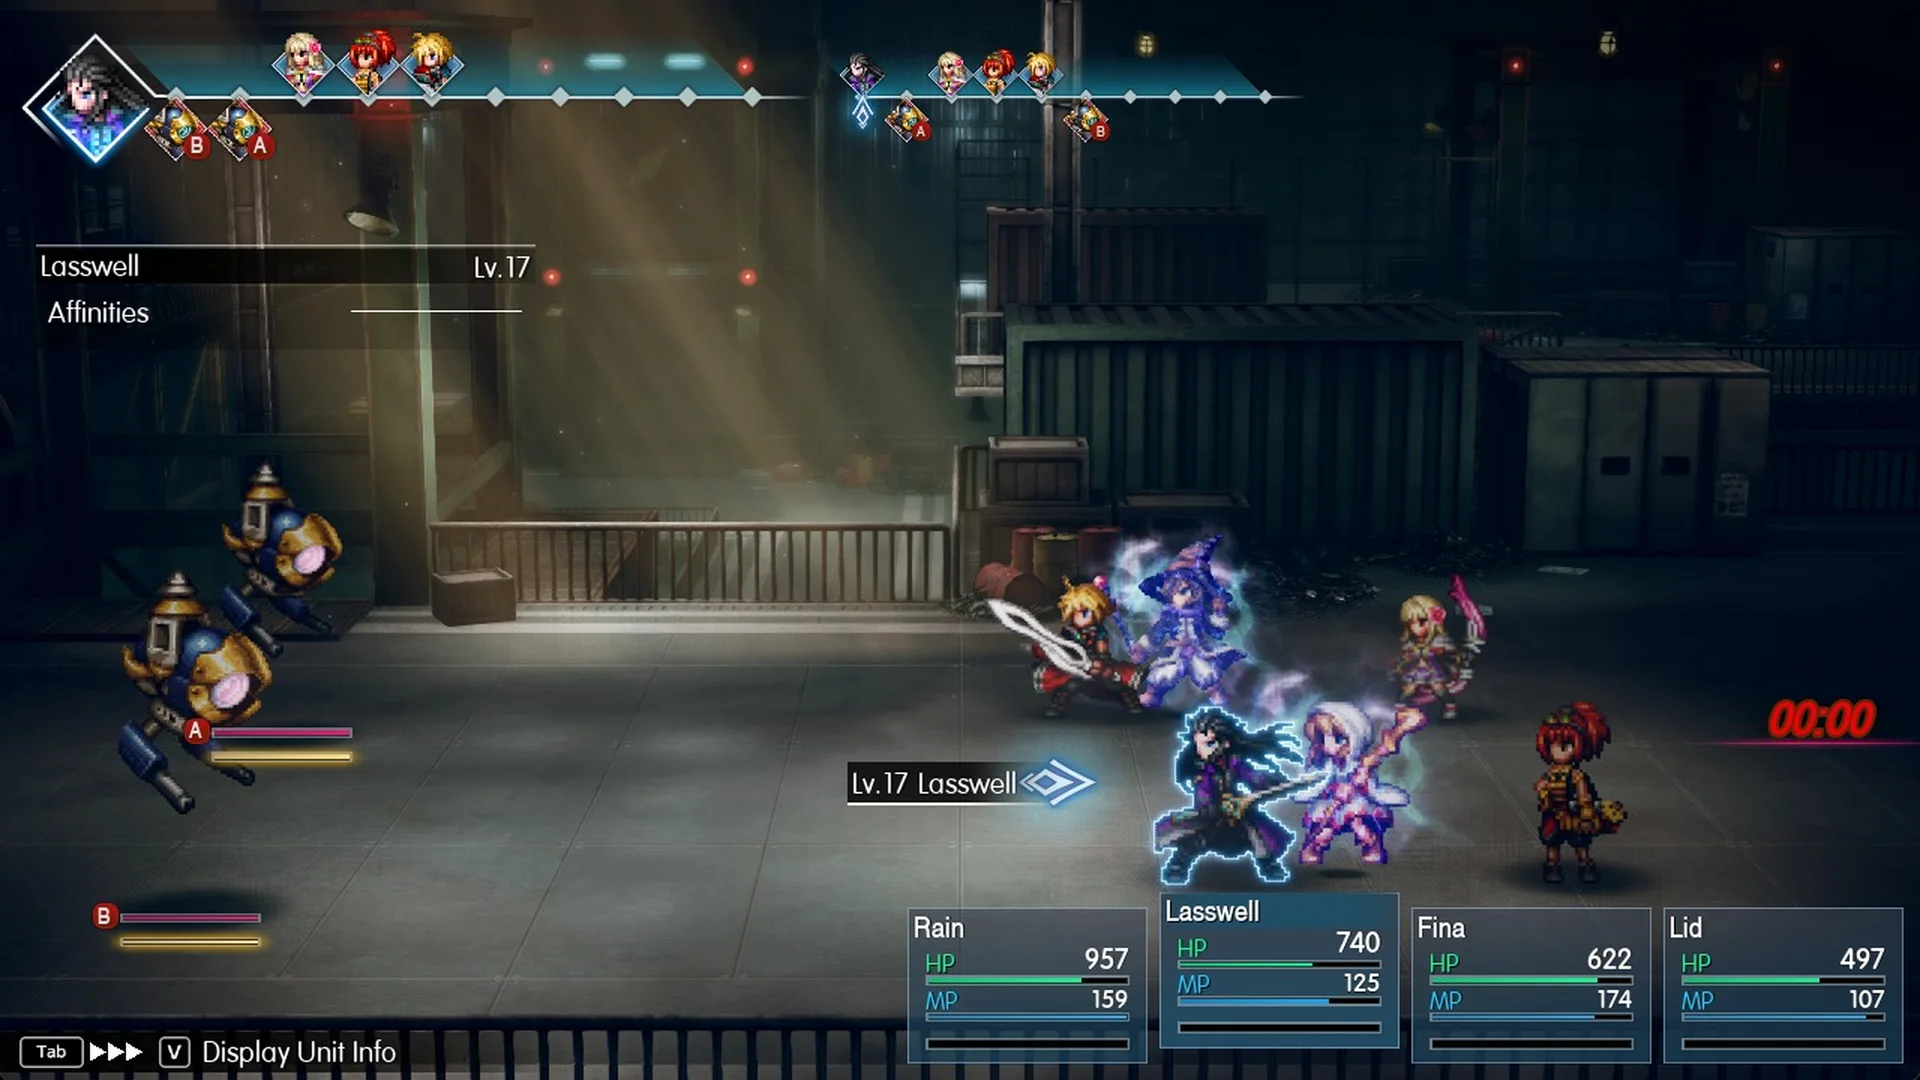
Random battles work differently. If the clock hits 00:00 during one, the battle keeps going, and you are caught only after it ends.
Epimetheus is weak to Thunder. For the full strategy, see how to beat Epimetheus.
What happens if time runs out
The screen goes black and shows “Rain and the others have been caught…” There is no Game Over screen and no retry menu. You are simply back on the roof at Borin’s warning, with the clock reset to 15:00, and the game autosaves.

The autosave preserves your HP and MP from the moment you were caught, without restoring either. For a fresh start, load a manual save from before taking the roof lift. The floor numbers and correct lever remain unchanged between attempts.
After Epimetheus
Once Epimetheus falls, the party heads for the elevator at the east end of the hall and rides it down to the cargo train in the tunnel below. Adrastea attacks on the train right away, with no save point in between. Here is how to beat Adrastea. For the rest of Chapter 2 and beyond, continue with the Mobliz Shipyard walkthrough and the full Final Fantasy Resonance walkthrough.