After Borin is taken from the Dwarven Forge, you head to the Mobliz Shipyard on Dirnado for the Chapter 2 (“Eternal Blue”) dungeon. The facility remains active, with security mechs, lifts and catwalks; Borin is on its roof beside an airship. Progress hinges on a single powered lift, and reaching the roof triggers a timed sequence, making your route order important.
Interactive map: Mobliz Shipyard map
Quick answer: Ride the west lift up, hit the switch that powers the east lift, then take the east lift up and work down to the boss save point and roof lift. Loot everything first, because Borin’s scene starts a 15-minute escape.
The escape finishes with two boss fights back to back, Epimetheus and then Adrastea, and there’s no save point between them.
| What | Where |
|---|---|
| Save point | Entrance hall, top of the entry corridor |
| Tablet Shard 1 | Entrance hall, railed platform at the west end |
| West lift | North-west room of the ground-floor hall |
| Switch (powers the east lift) | Upper floor, west block, just past the west lift |
| Citrine Pot | Upper floor, caged room at the west block’s north end |
| Chocobo Down Charm | Chest at the north tip of that caged room |
| Tablet Shard 2 | Lower strip below the west block (ladder), south end |
| Protective Overcoat | Chest at the north end of the lower strip |
| East lift | Ground-floor hall, east side (works after the switch) |
| Tablet Shard 3 | Upper floor, east block, north-east room by a red container |
| Lightning Scroll I x2 | Below the north-east corner of the east block, a small room is accessible by a separate lift |
| Eye Drops x3 | Chest in the west nook beside the boss save point |
| Boss save point | Middle level, top of the long corridor |
| Roof lift | Just past the boss save point (warning message first) |
How to get to the Mobliz Shipyard
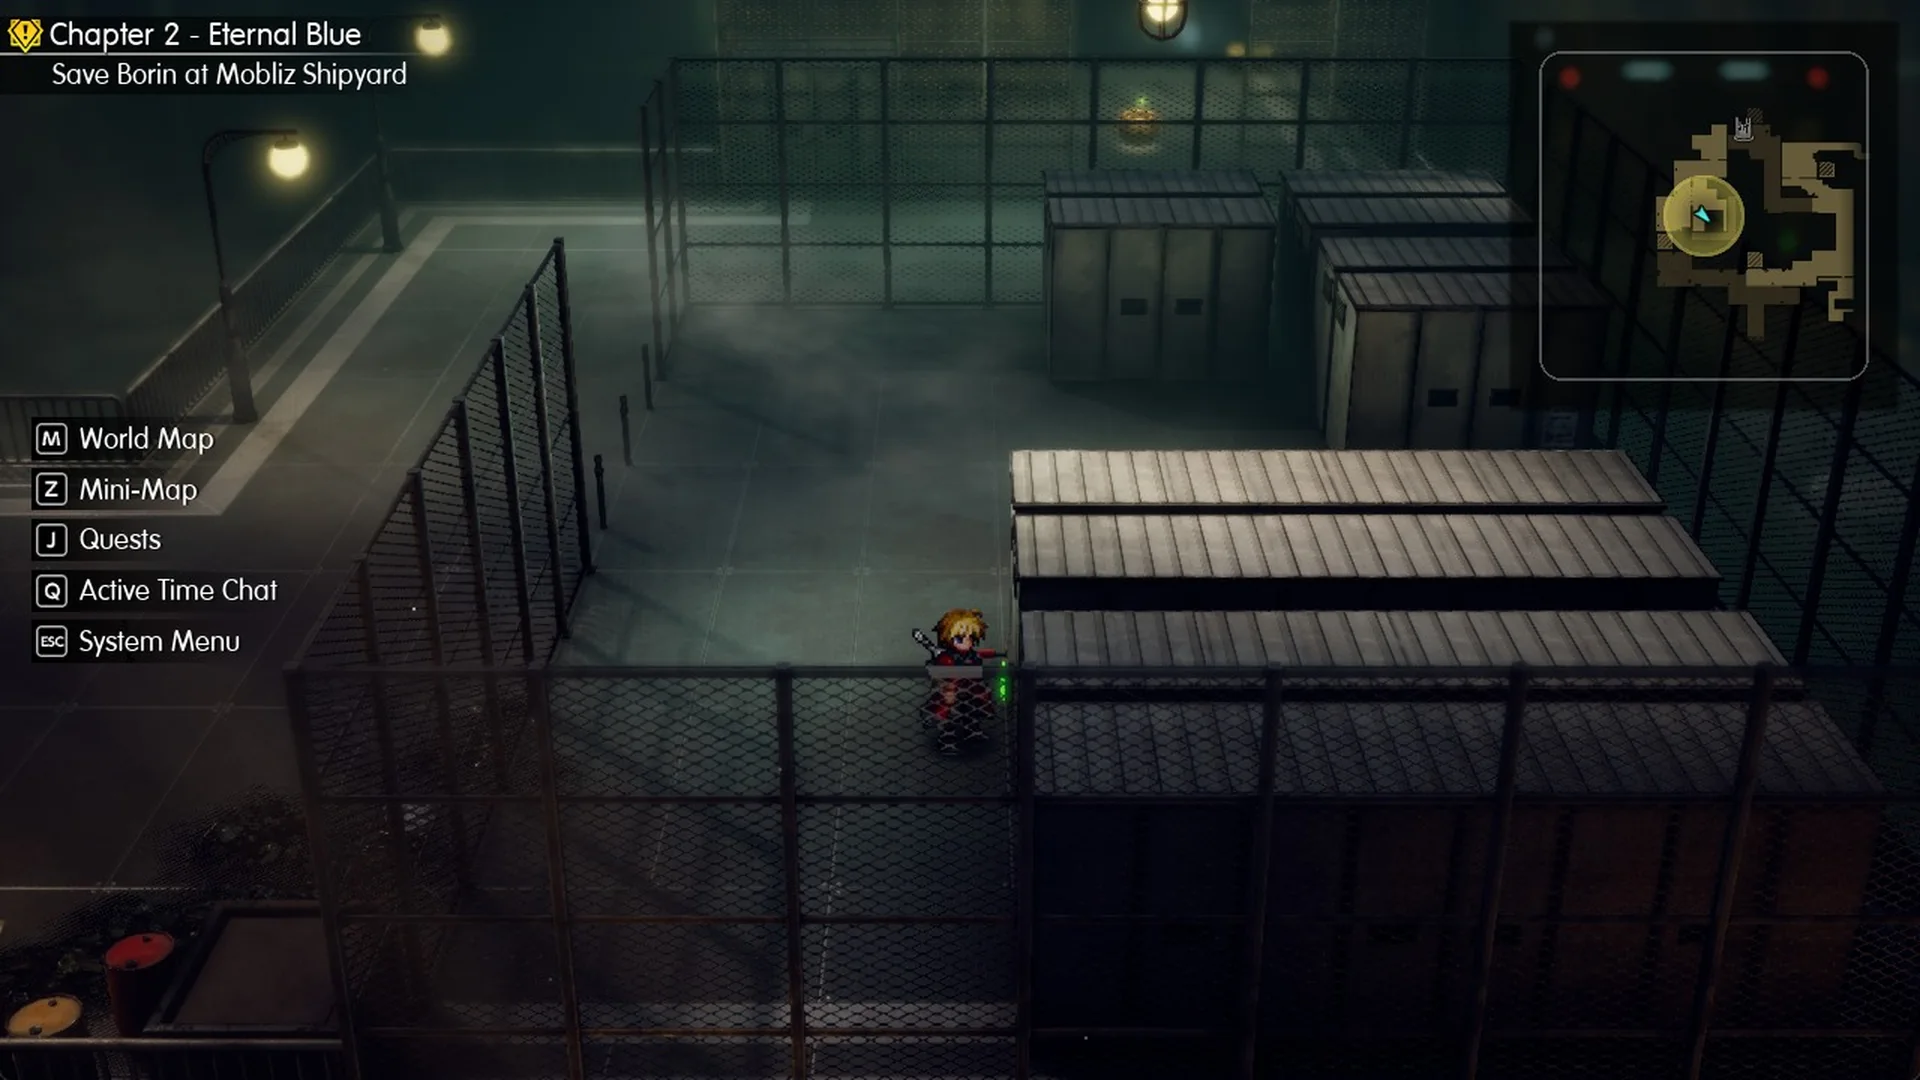
The shipyard opens up once Borin has been taken from the Forge, and your objective reads “Save Borin at Mobliz Shipyard”. If you’re still inside the Forge, the Dwarven Forge walkthrough covers everything up to this point.
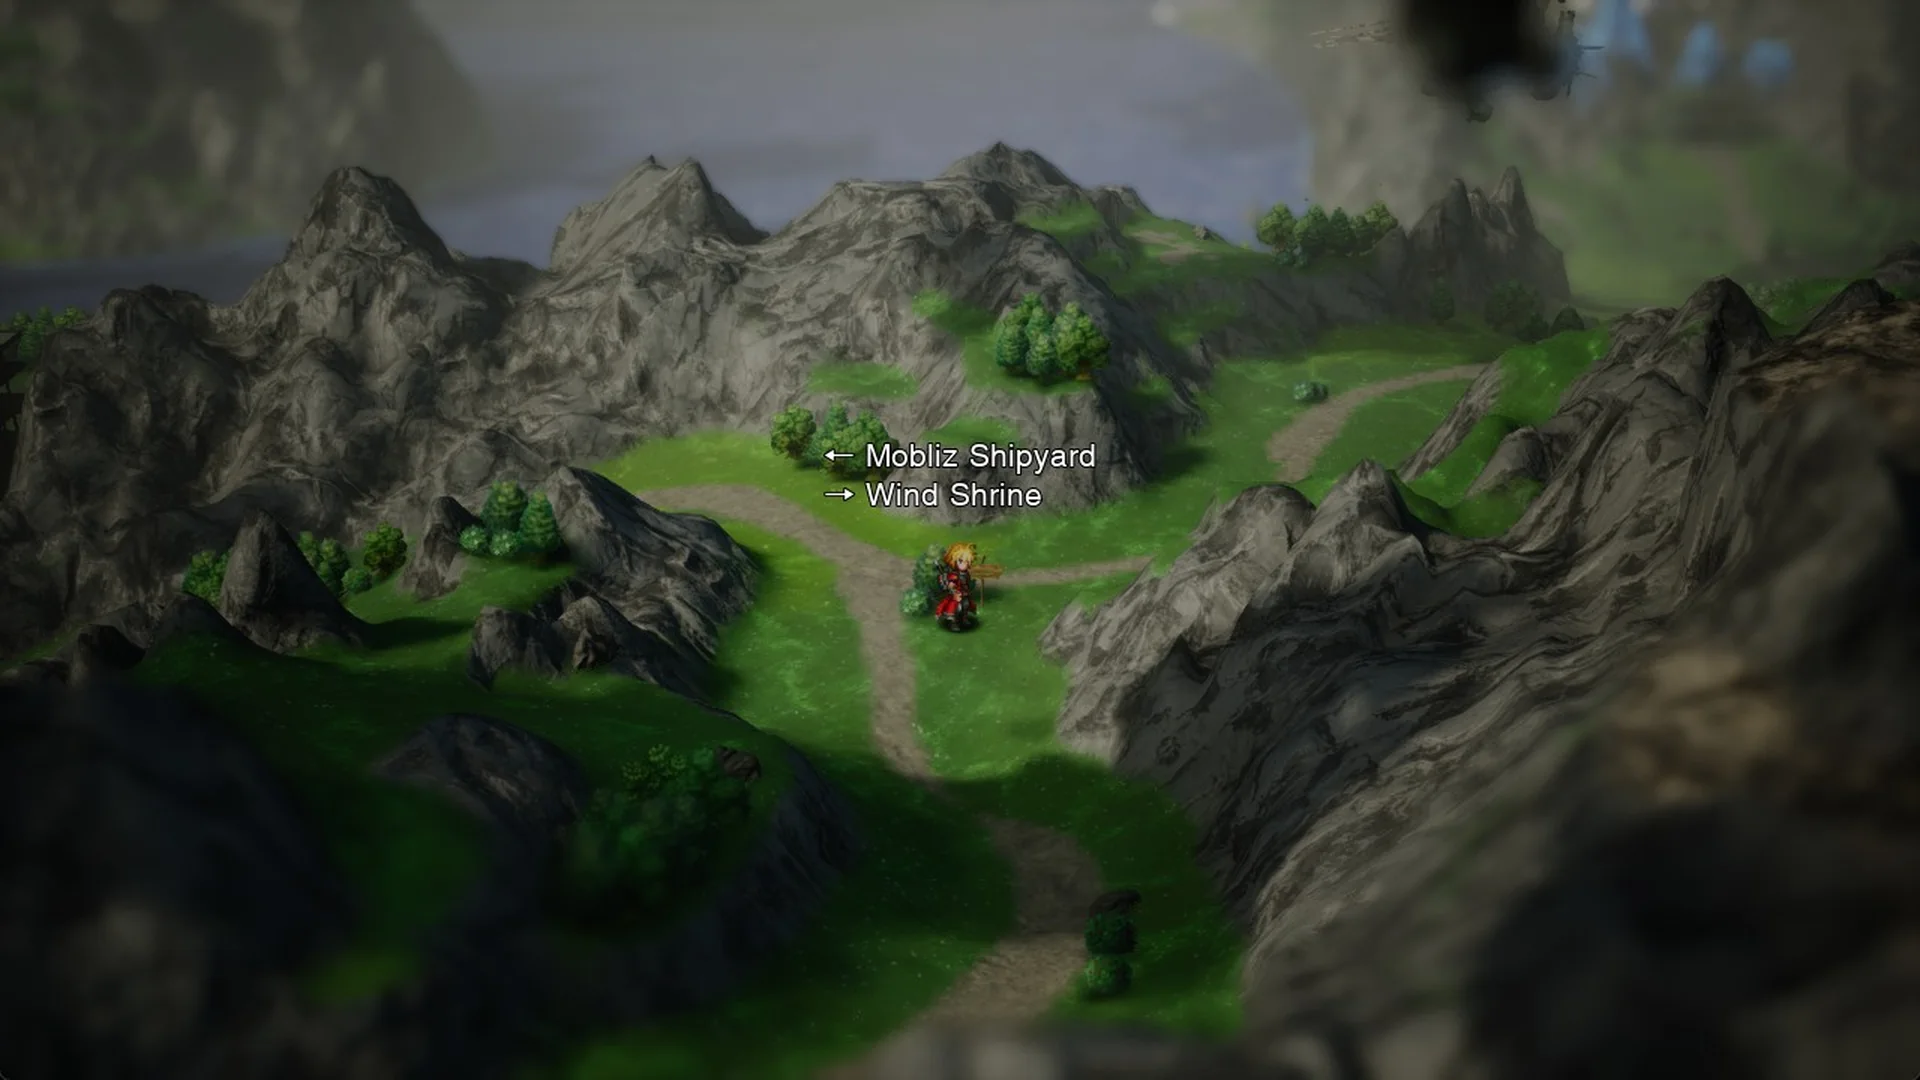
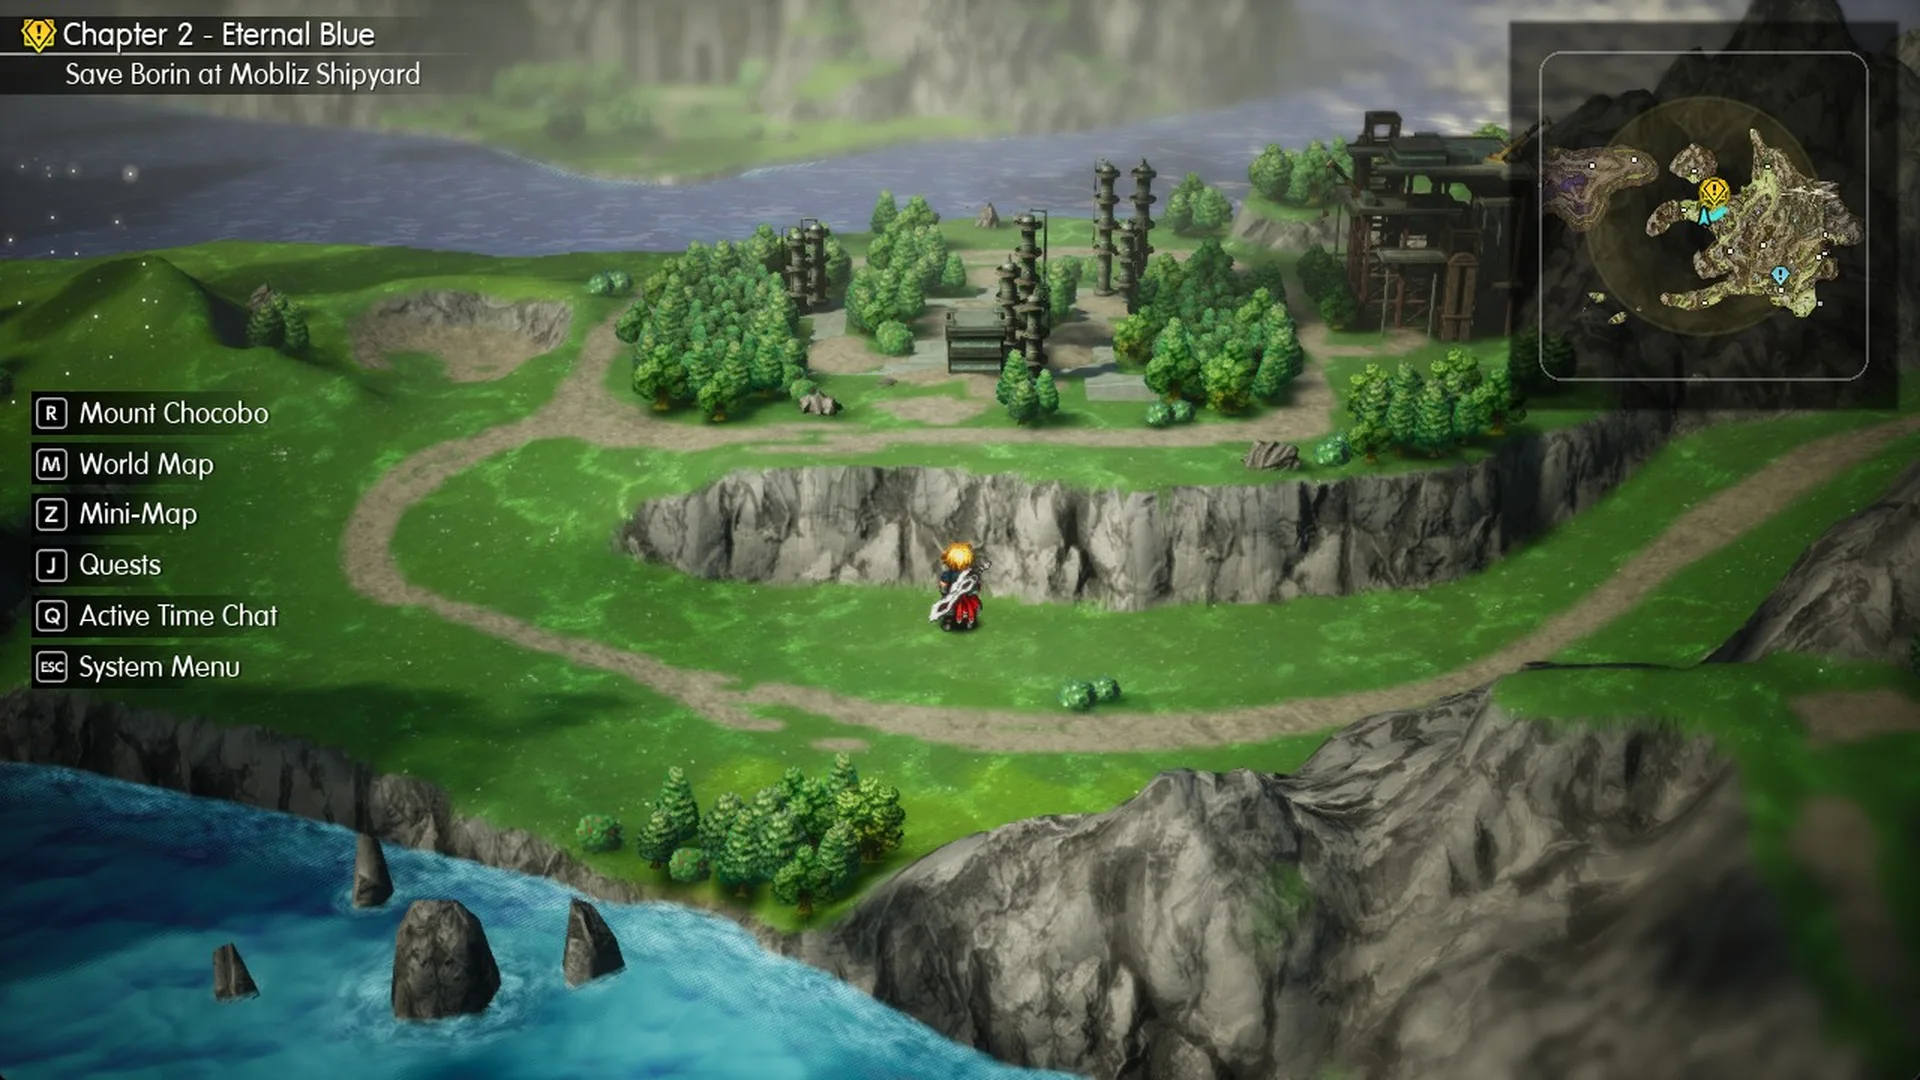
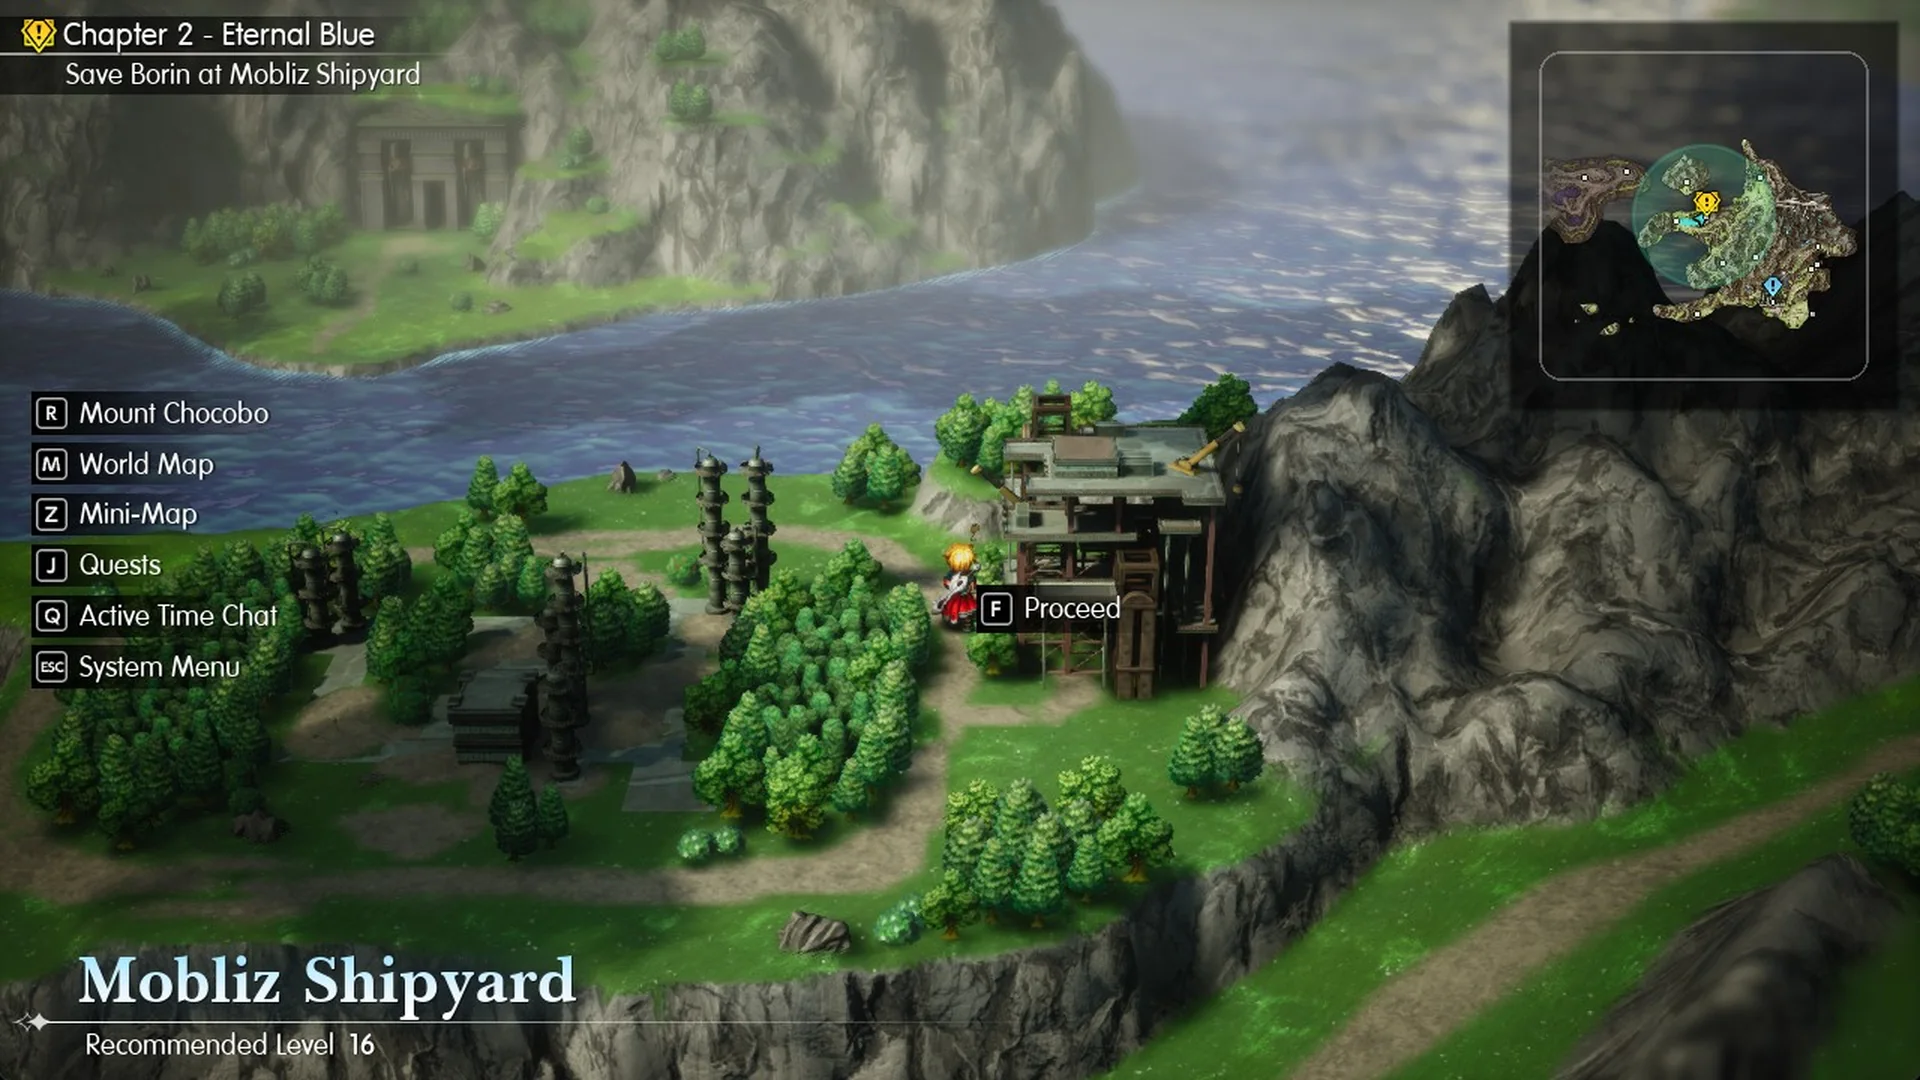
At the entrance, the door displays “Mobliz Shipyard, Recommended Level 16” with an “F Proceed” prompt. Press F to enter.
Arrival and the entrance hall
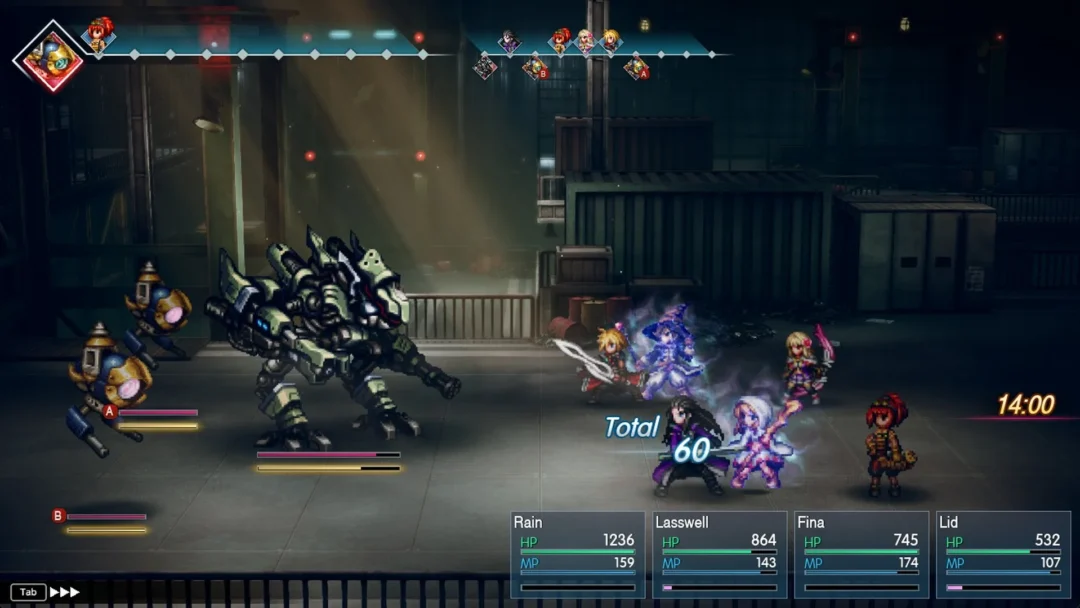
Lid notices right away that the place is still running: “Why is this shipyard still running? It’s supposed to be abandoned.” The hall wall is lined with Cid portraits (“Those are portraits of every Cid over the years”). Then a Security Mech announces “MONSTER TARGETS IN SIGHT. COMMENCING EXTERMINATION.” and two Security Eyes attack.
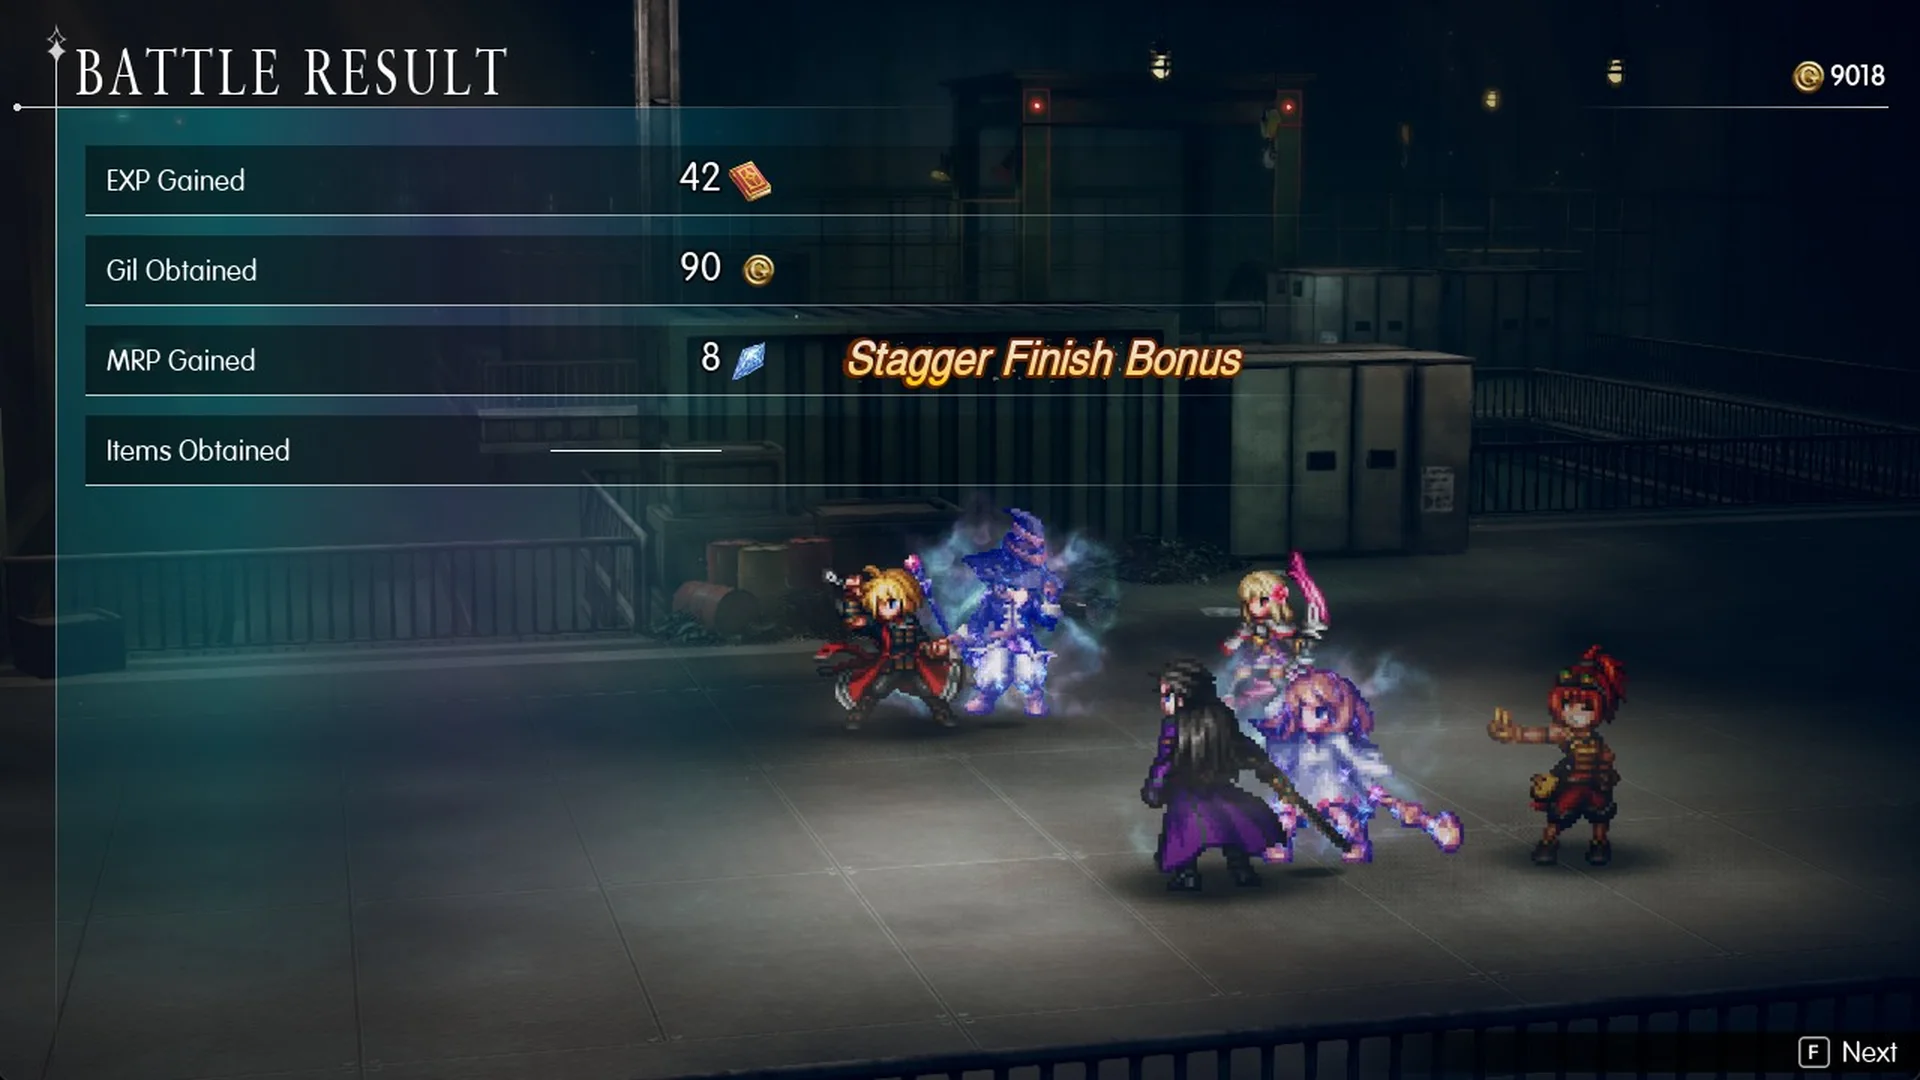
Each Security Eye is level 14 with 260 HP and is weak to Thunder. They’re easy to stagger and use Blind attacks. The fight pays 42 EXP, 90 Gil and 8 MRP with a Stagger Finish Bonus, and the game autosaves after the scene.
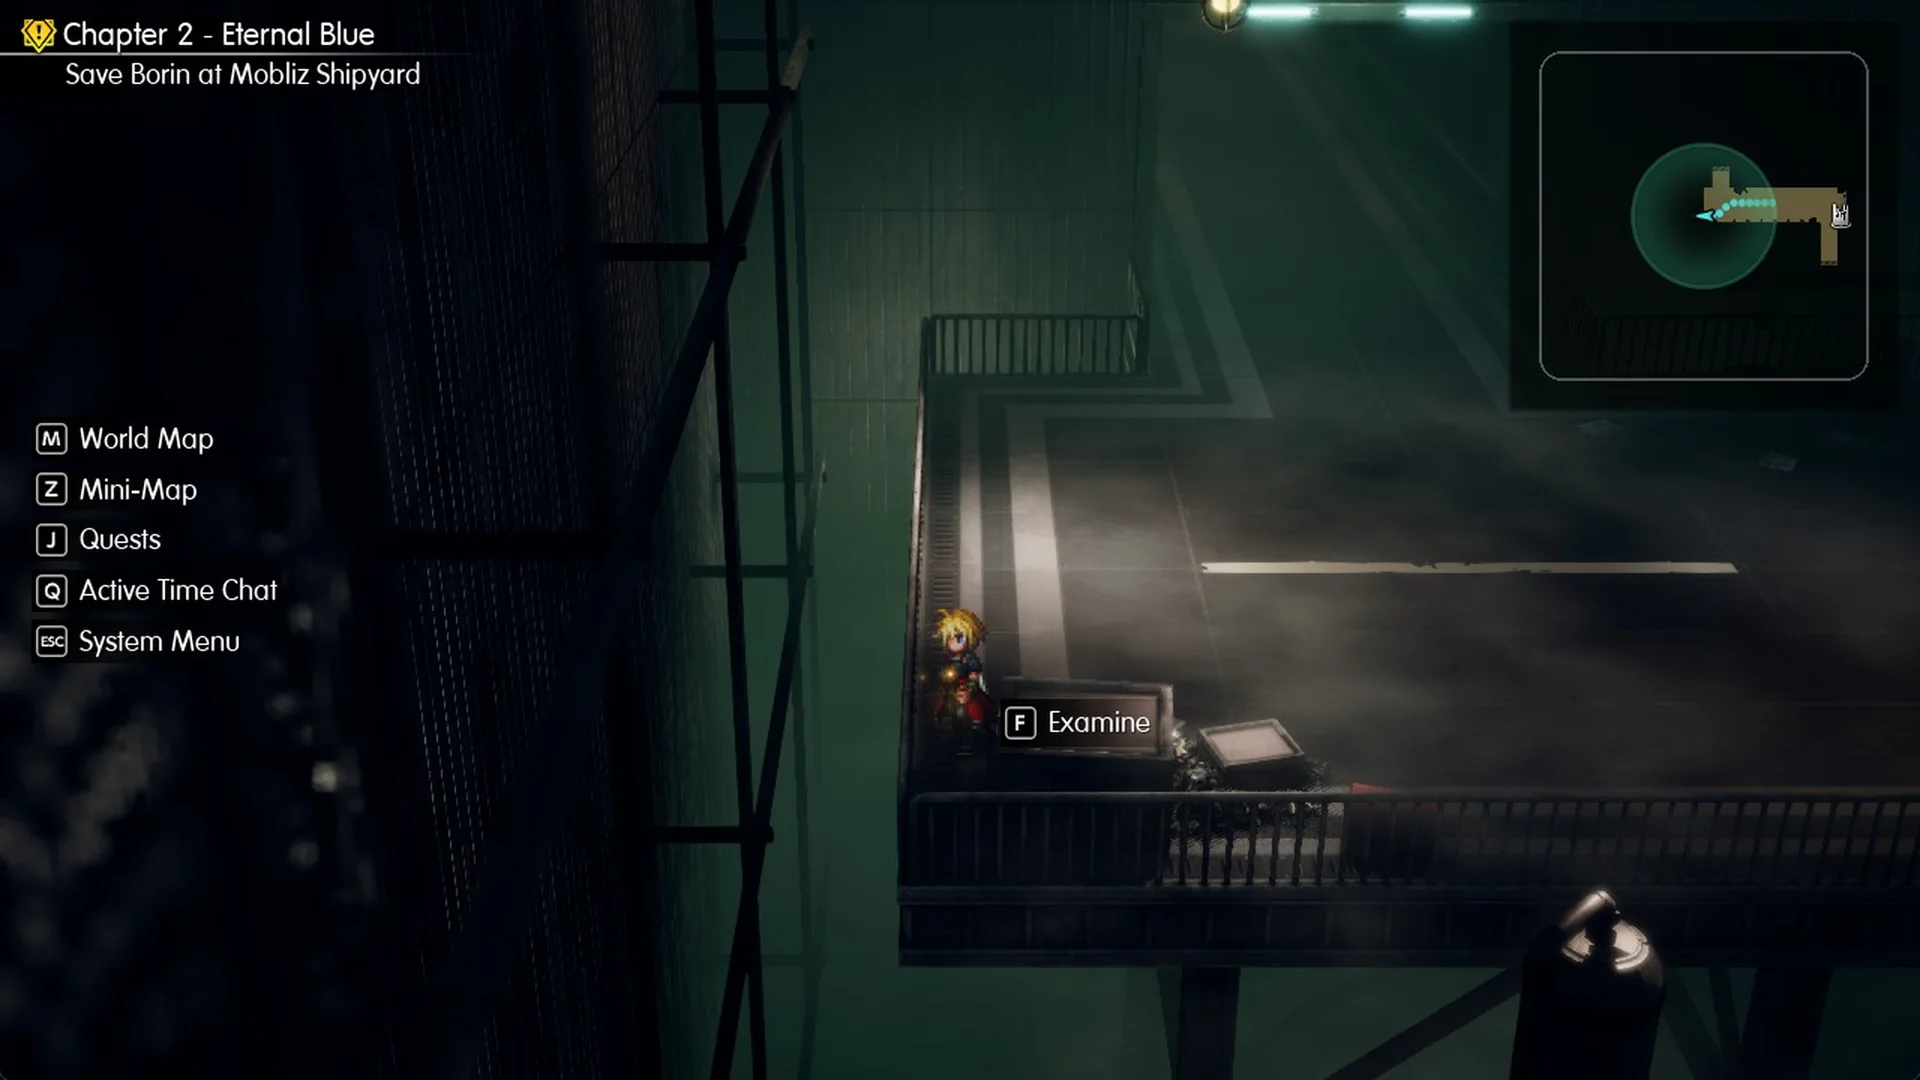
At the entry corridor’s upper end is the save point. The hall extends west, with the first Tablet Shard on a railed platform at its far end; use the “F Examine” prompt to collect it. From there, a short passage heads north into the large ground-floor hall.
Ground-floor hall and the west lift
A random battle can trigger in the passage before the hall. Once you’re inside, you’ll spot a lift on the east side with red lamps. It doesn’t work yet, so leave it.
Upper floor, west block: the switch, the Citrine Pot and the Chocobo Down Charm
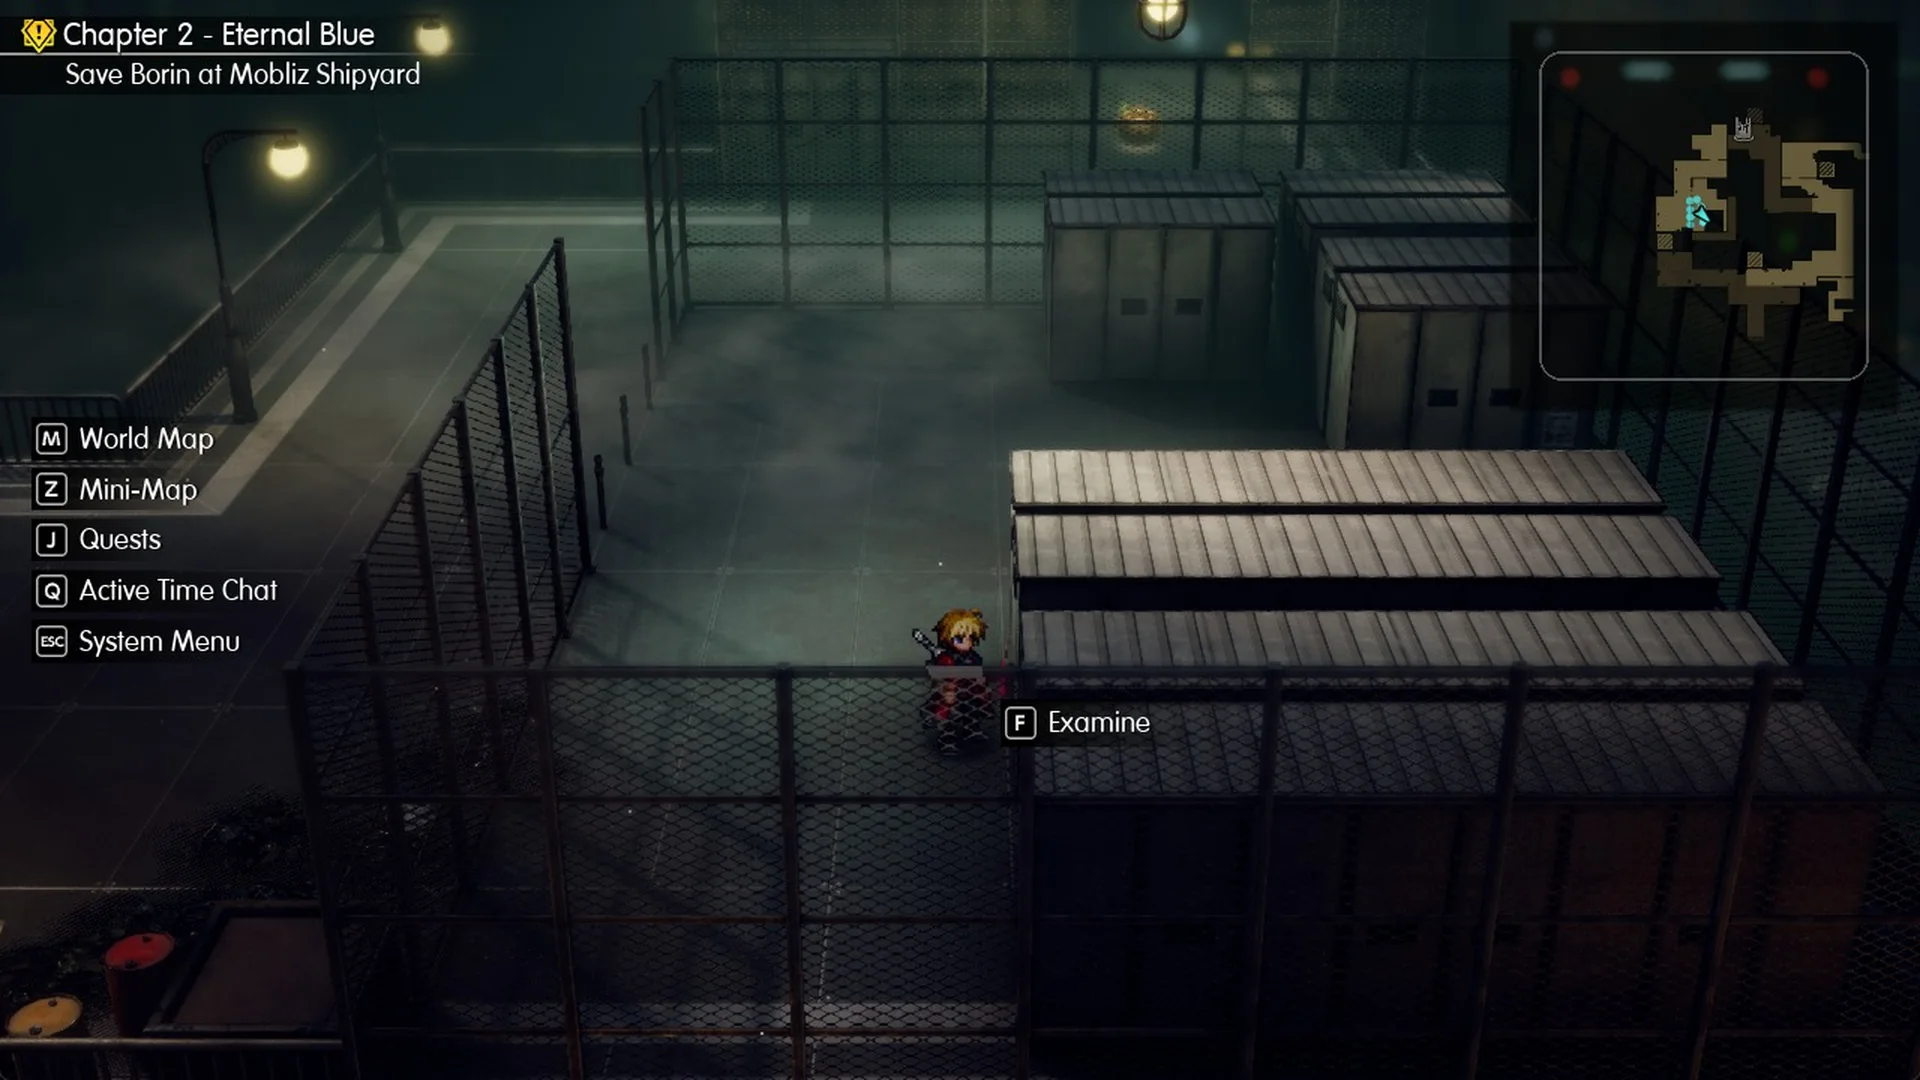
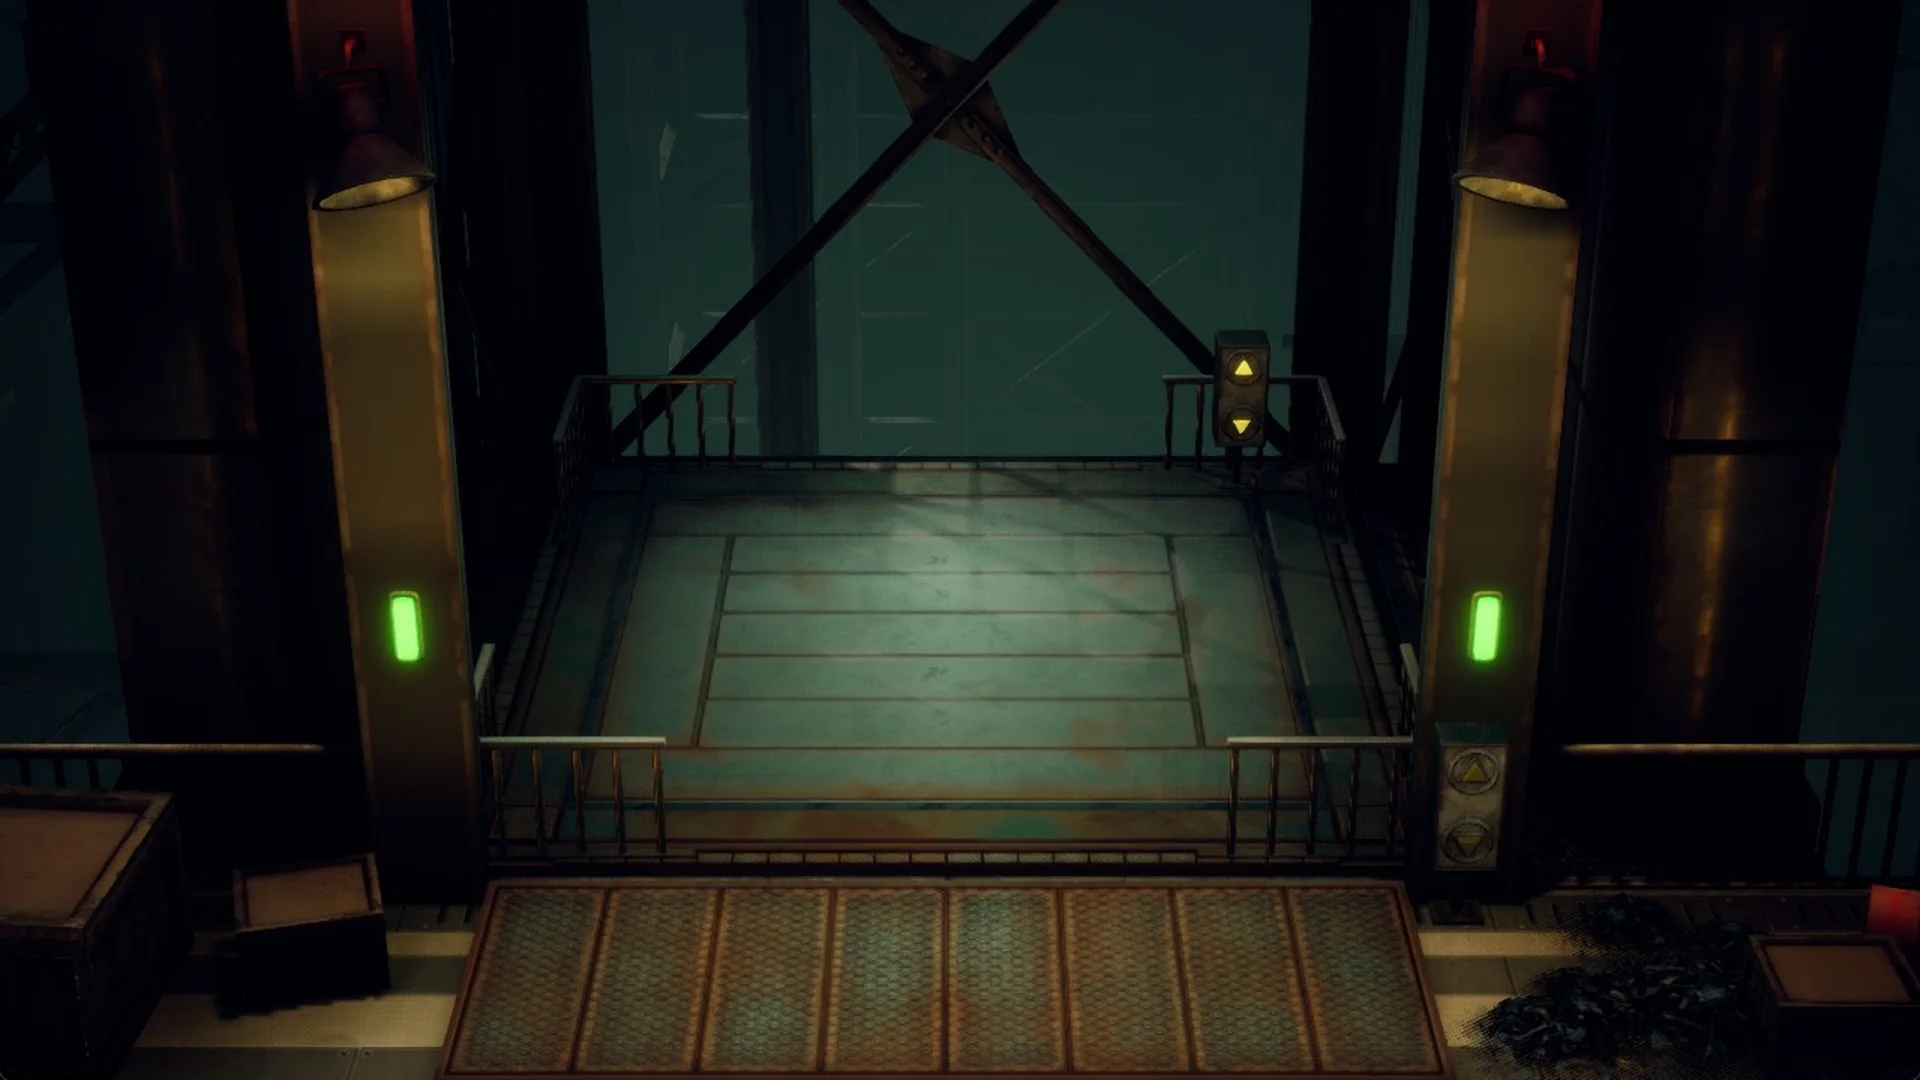
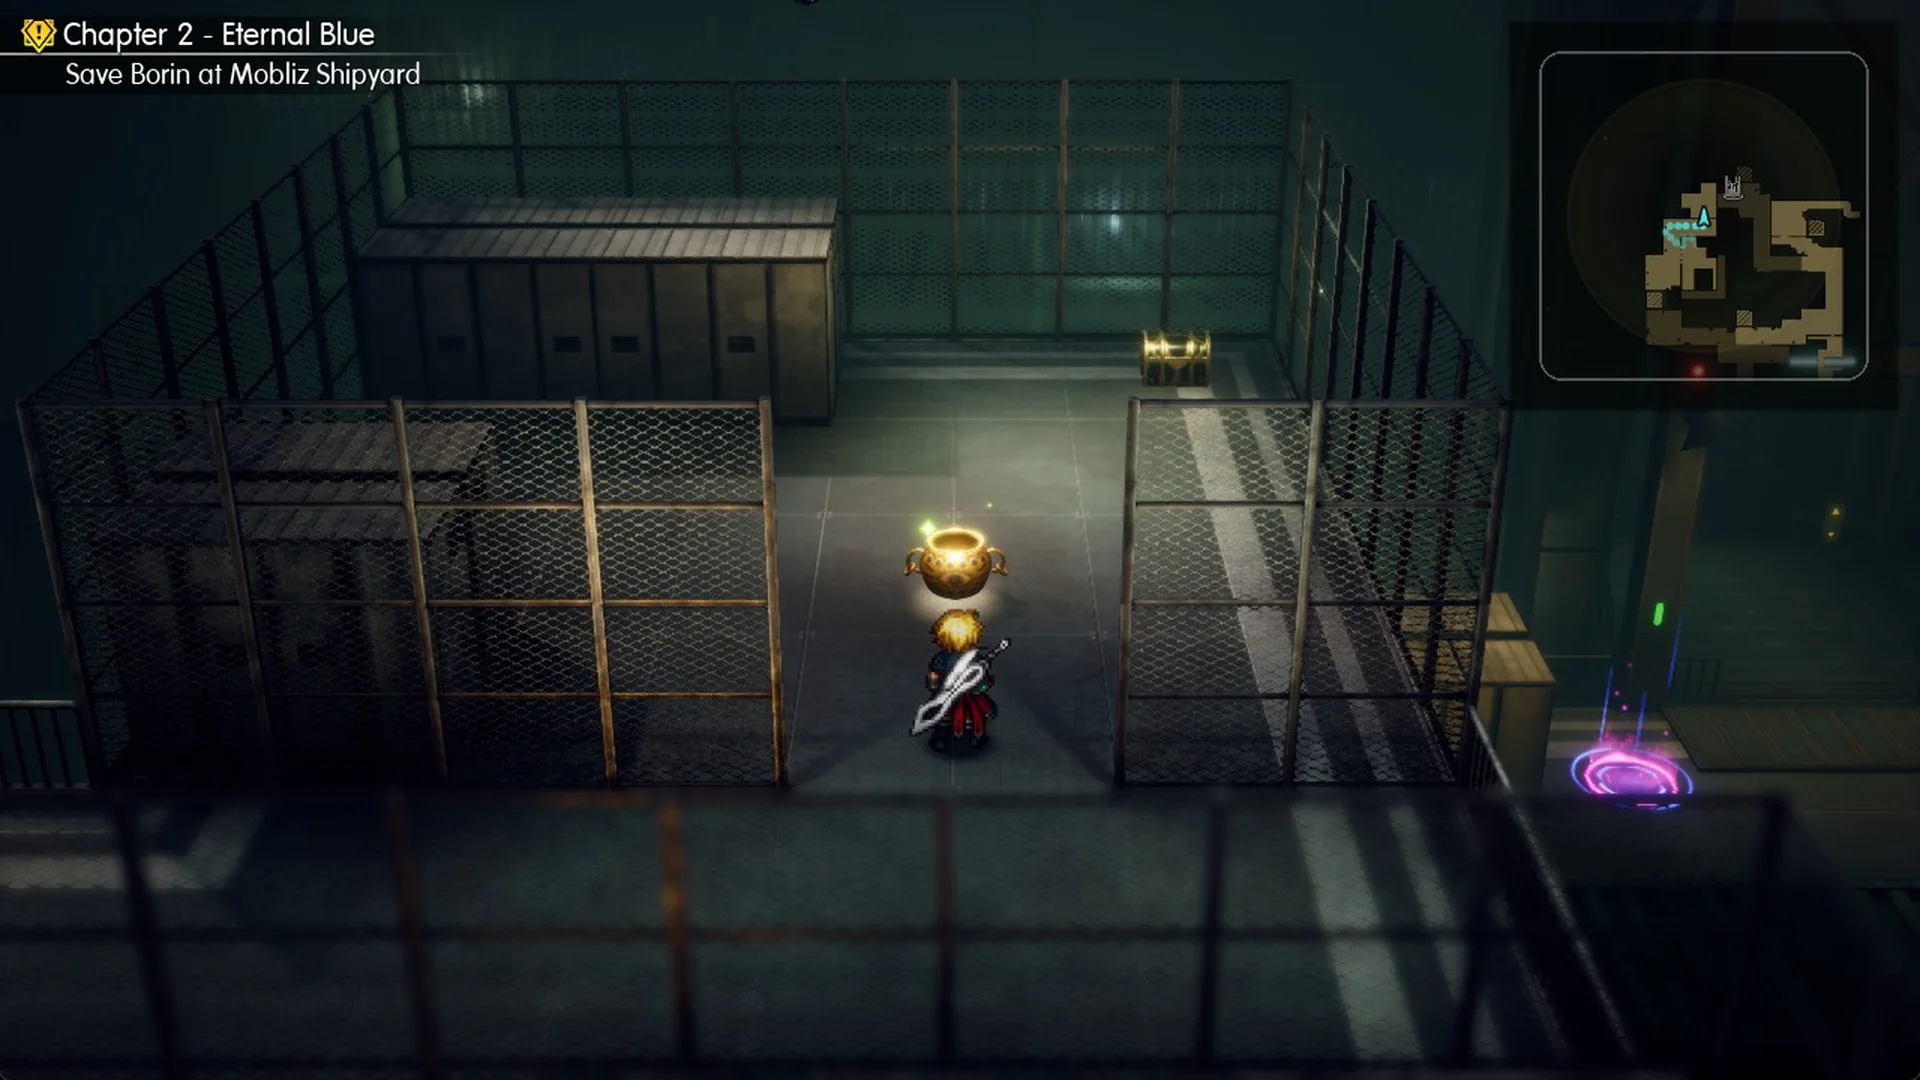
Using an Ether on the pot ends the fight as a win. For the full strategy, check how to beat the Citrine Pot, and the rest of the game’s pots are in the Pot locations list.
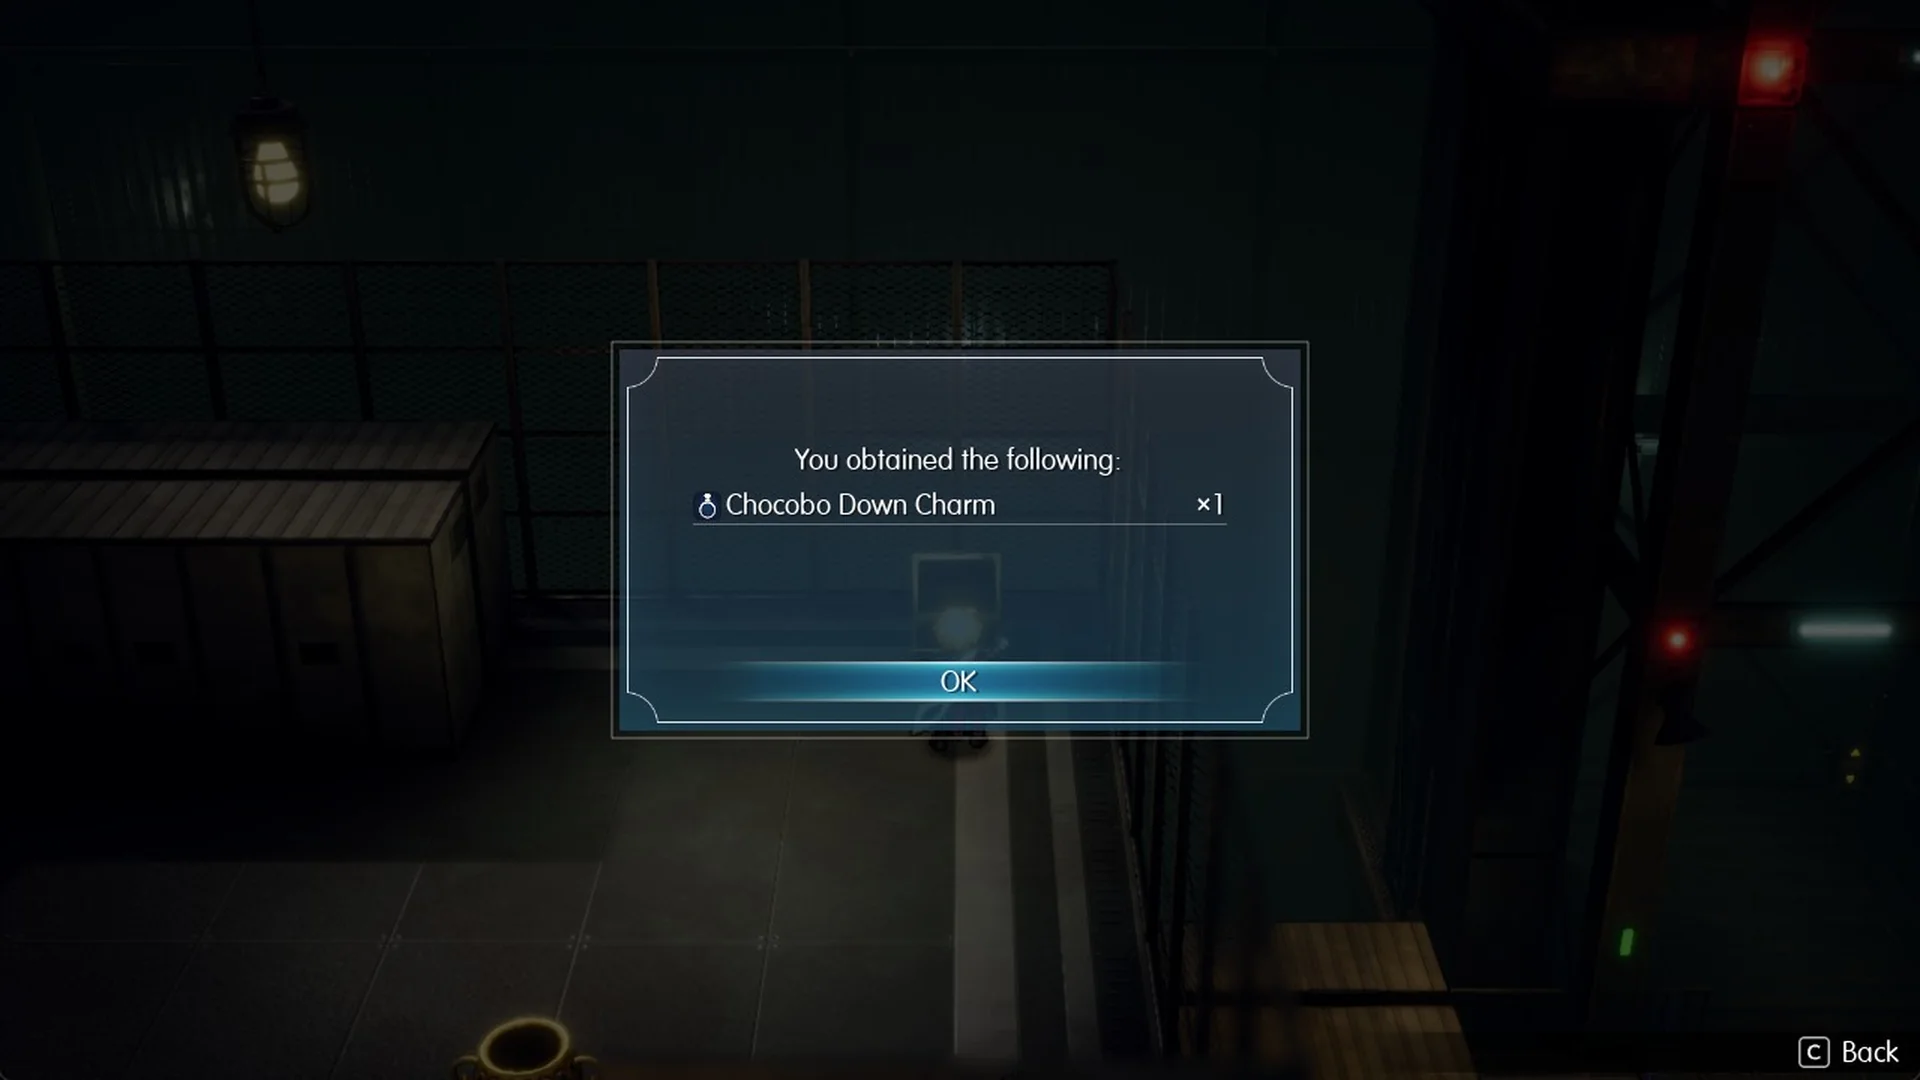
Just past the pot, a chest at the room’s north tip holds the Chocobo Down Charm. Its description reads “Grants the ability to survive with 1 HP upon receiving damage exceeding HP once per battle.”
The lower strip: second Tablet Shard and the Protective Overcoat
In the west block, a ladder around the middle descends to a narrow strip below.
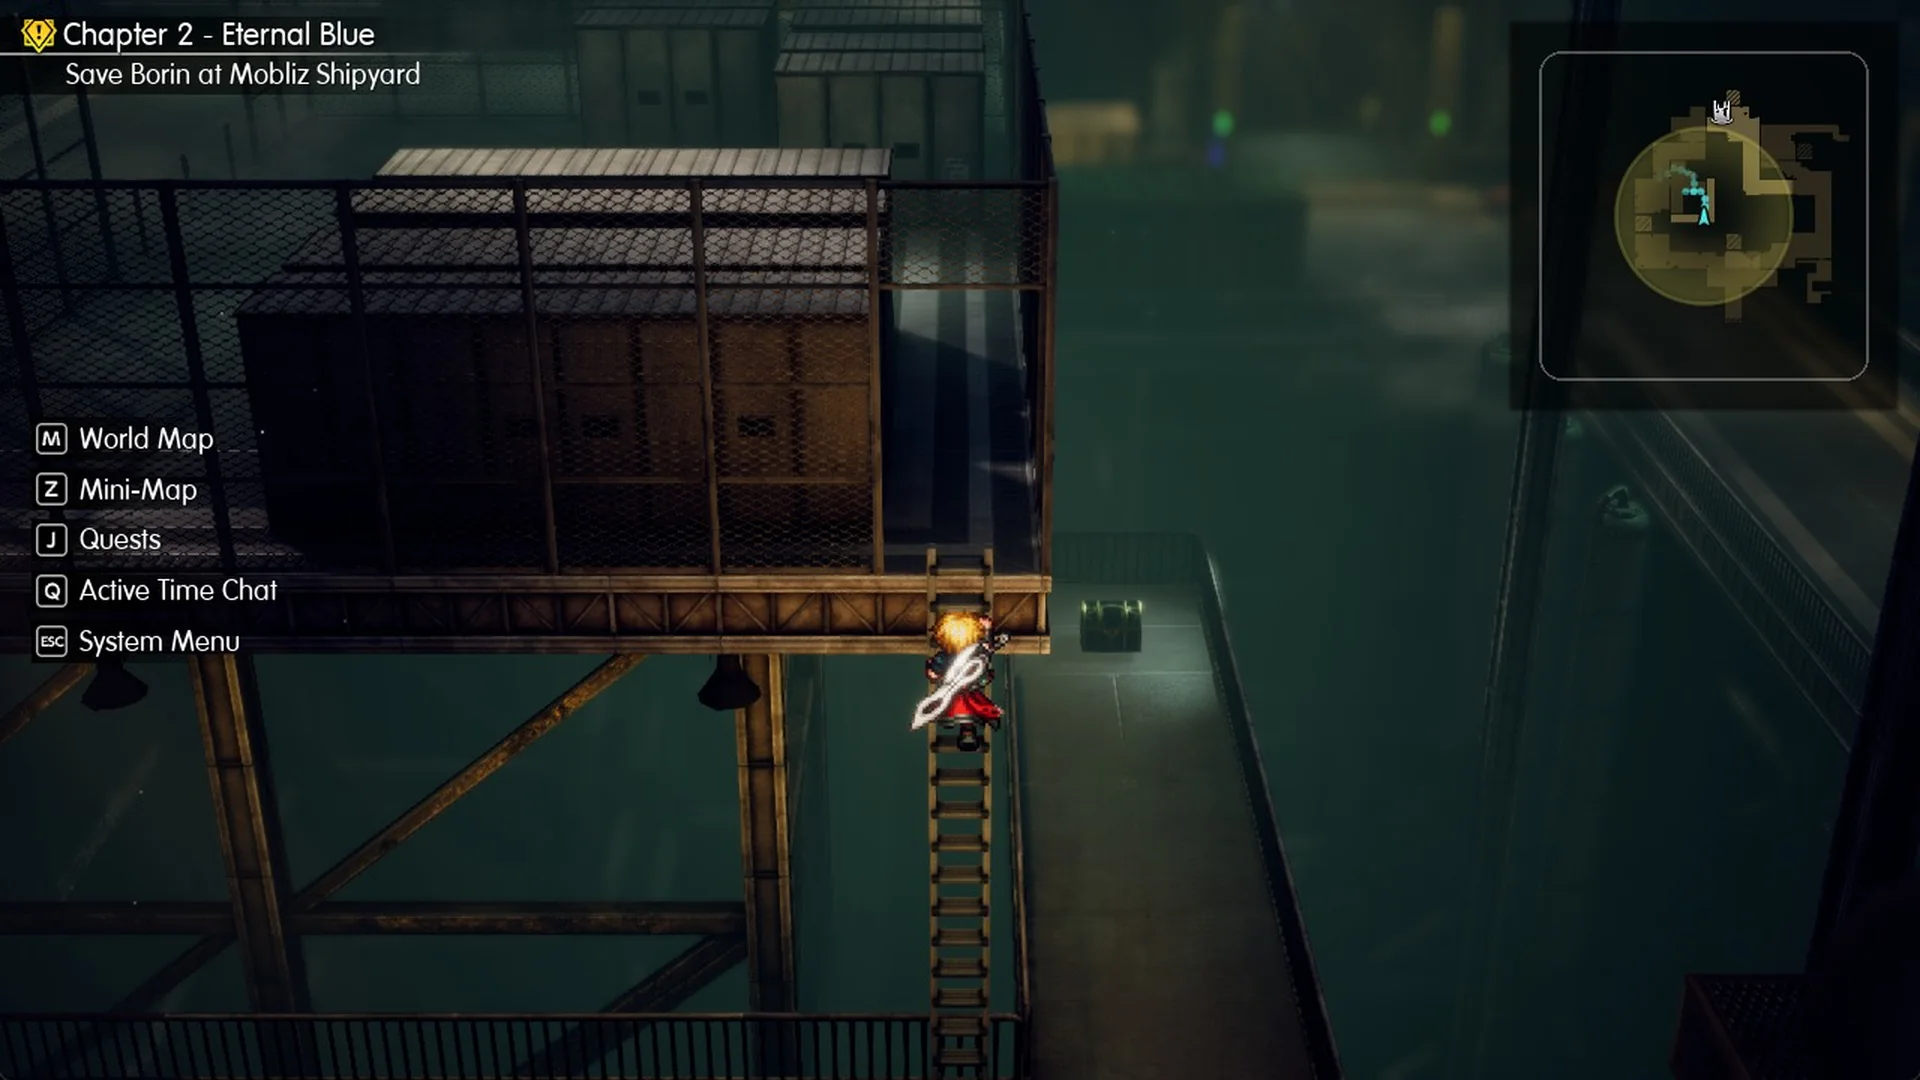
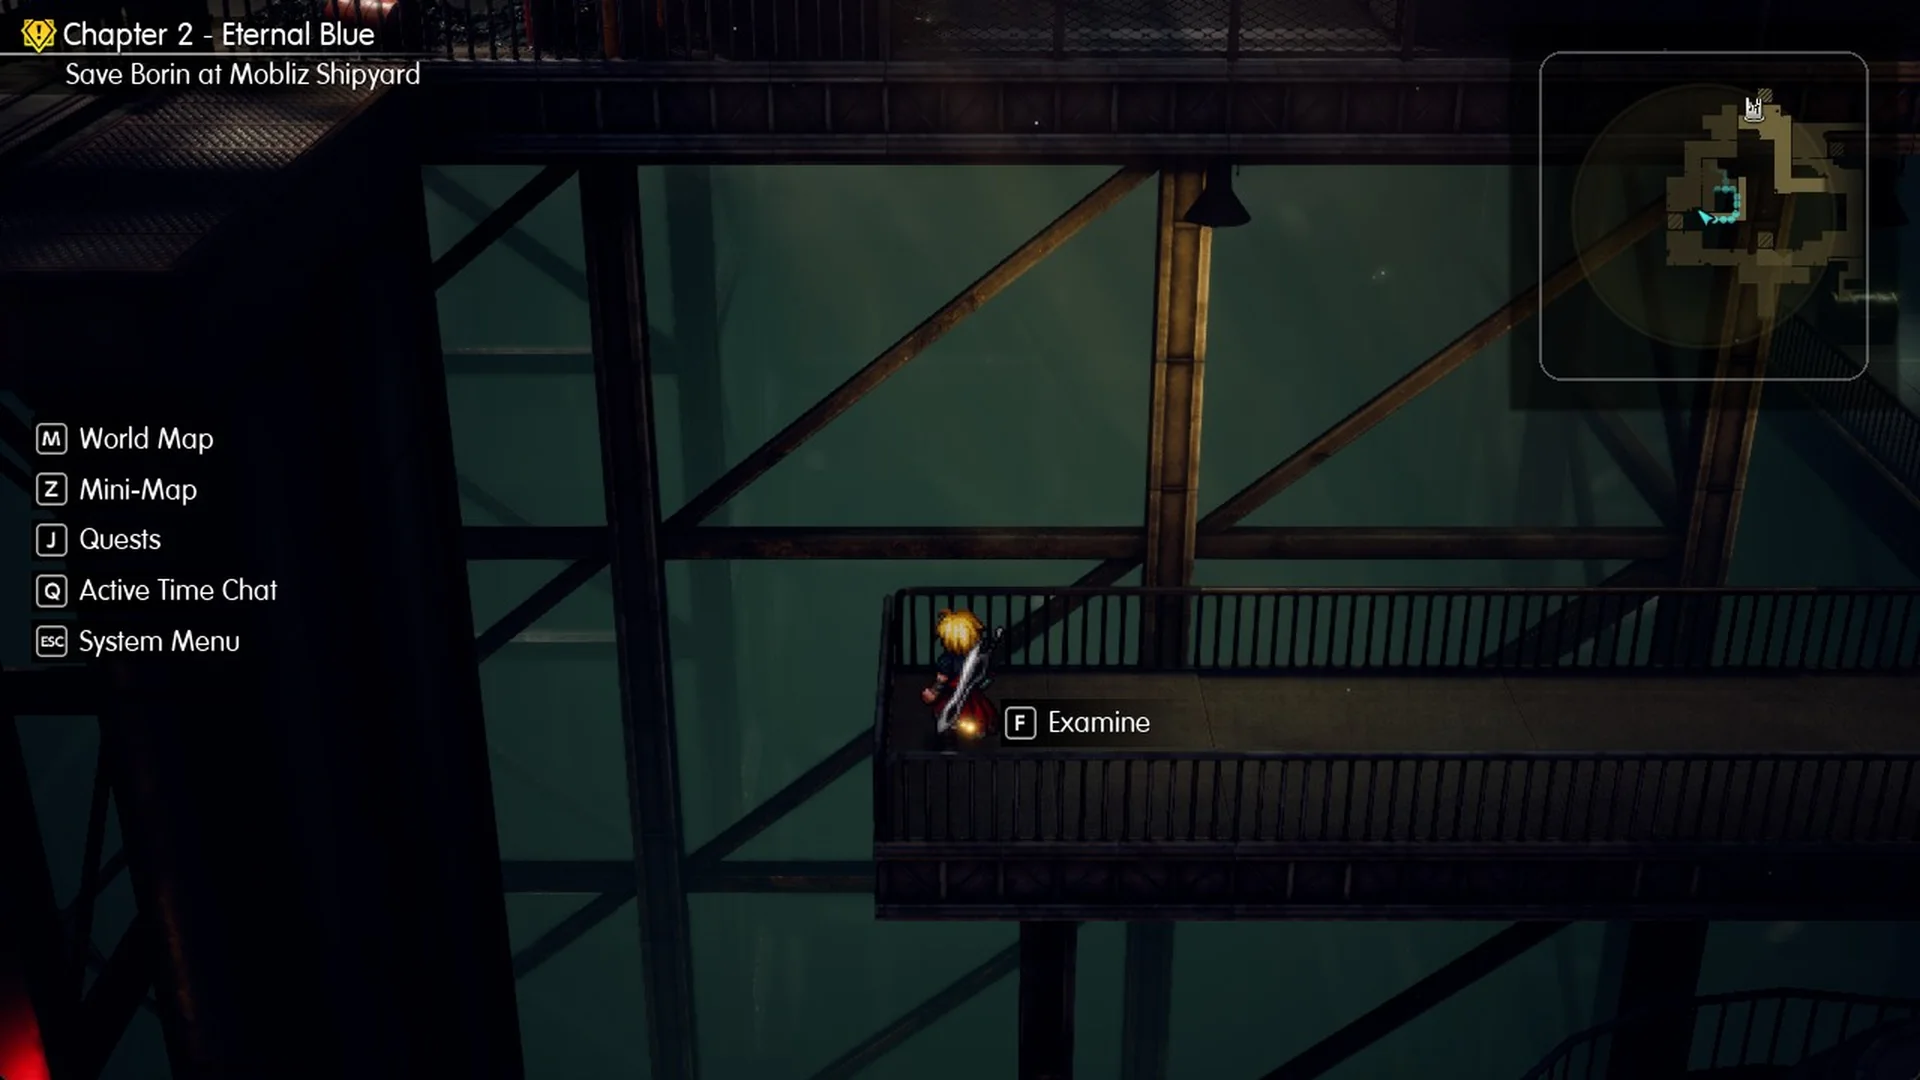
Use the “F Examine” prompt to pick up the second Tablet Shard at the strip’s southern end.
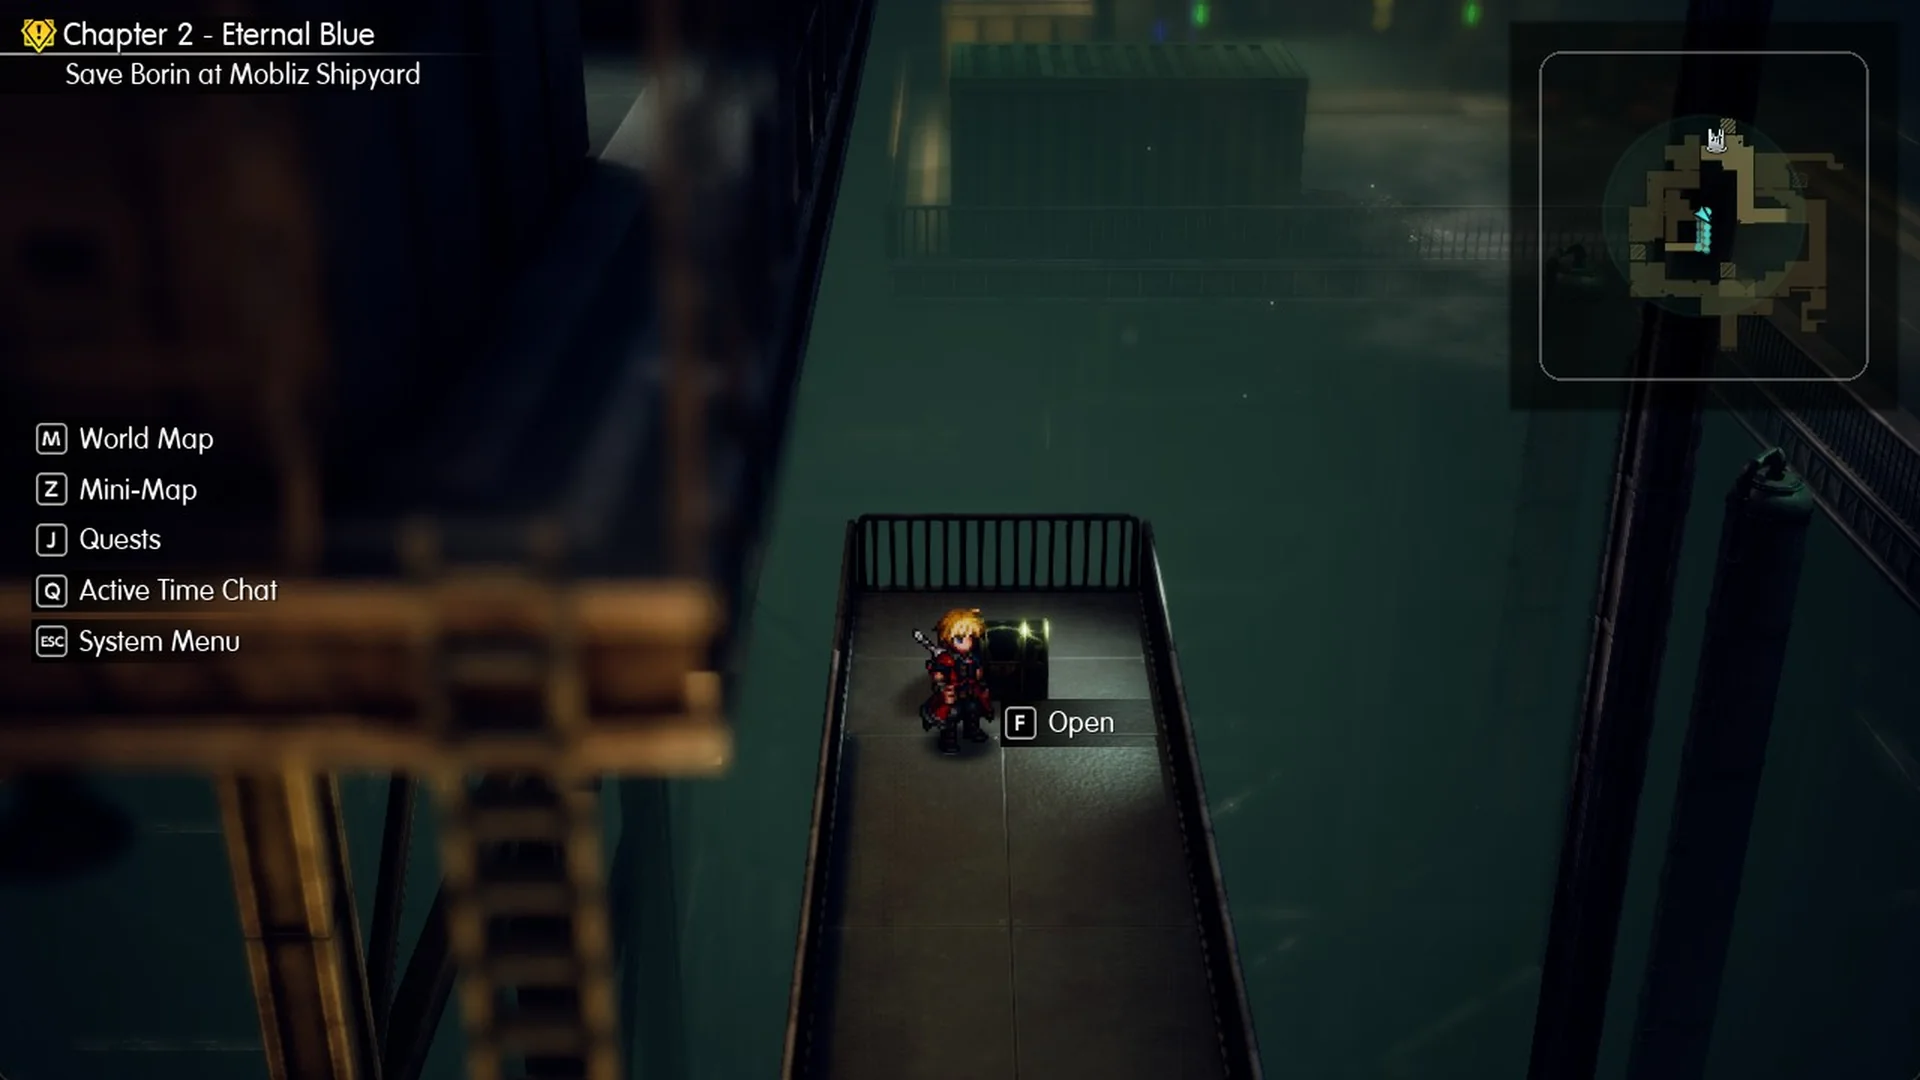
A chest at the northern end contains the Protective Overcoat, which is body armor.
Random battles can trigger here too. A group of 2 Pawns and 2 Iron Bats pays 134 EXP and 350 Gil, and Pawns can petrify, so have a cure ready.
There’s no way through from the strip’s end. Go back up the ladder, take the west lift down, then head east through the ground-floor hall.
East lift and the upper floor’s east block
The east lift now shows green lamps. Board it and press F on the panel along its east side, as you did with the other lift.
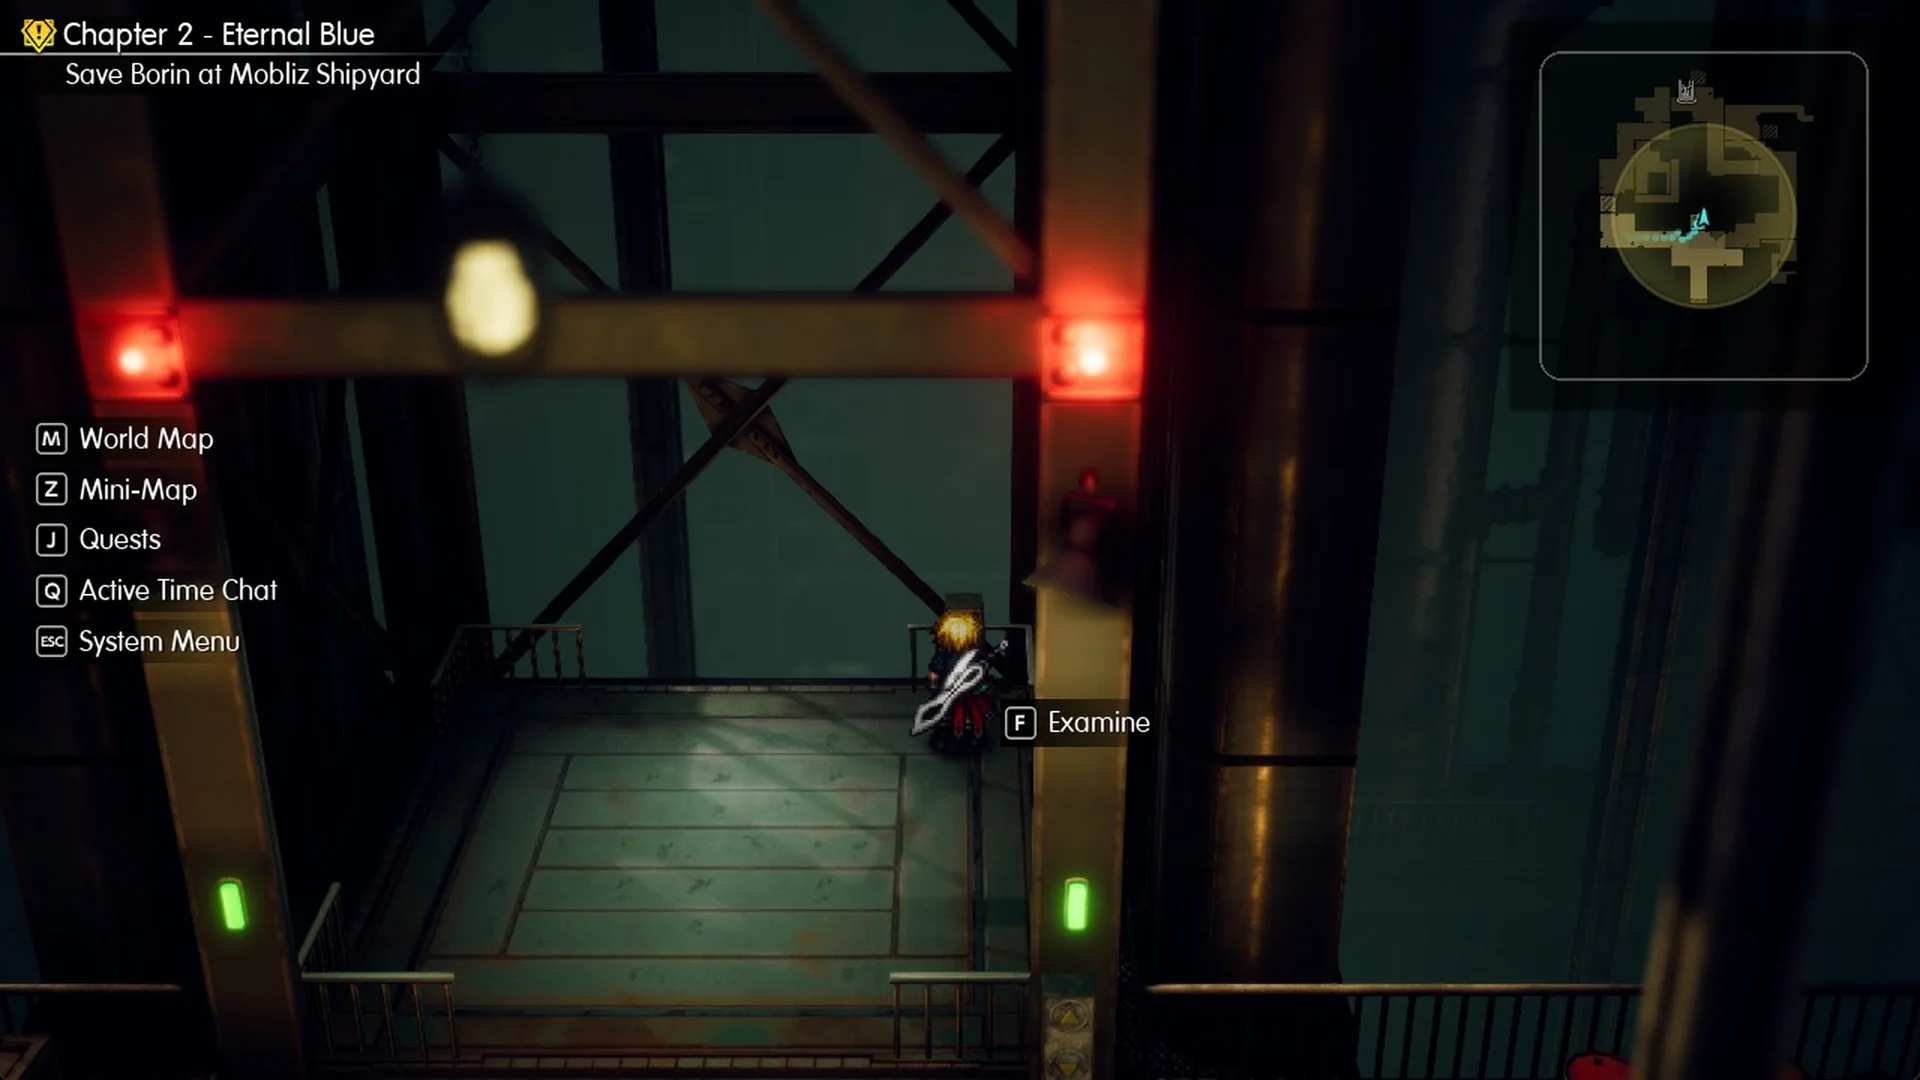
At the top, follow the corridor south and east, then north up the long east corridor to the north-east room. The third Tablet Shard sits next to a red container behind an “F Examine” prompt.
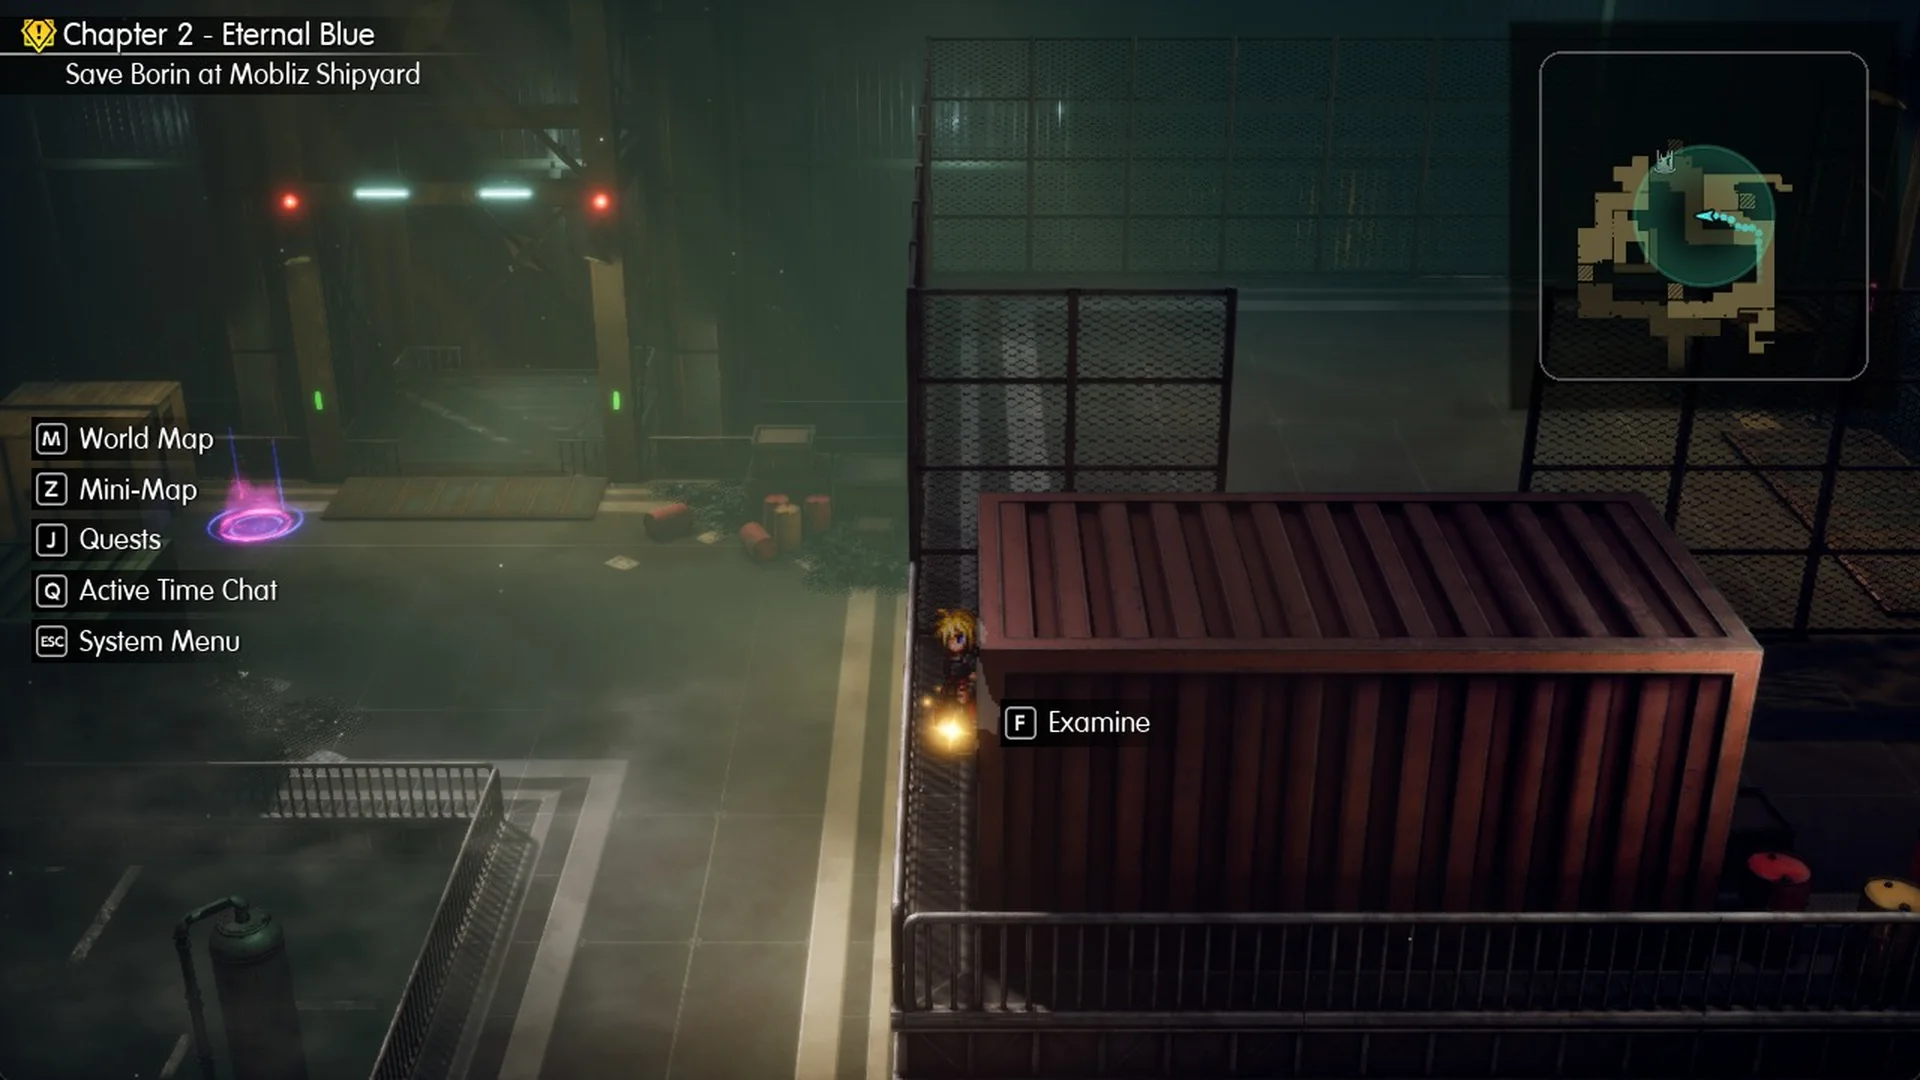
That’s all three of the shipyard’s shards. The rest are covered in the Tablet Shard locations list.
One more chest, holding Lightning Scroll I x2, is in a small room below the east block’s north-east corner, reached by a separate small lift that needs its own switch at the block’s far north-east tip.
The fenced room beside the east lift is inaccessible at this point; it becomes available during the escape. When you’ve finished, descend the stairs on the long corridor’s west side to reach the middle level.
Middle level: Eye Drops and the boss save point
Walk west along the arm and north up the long corridor. The chest in the west nook next to the save point holds Eye Drops x3.
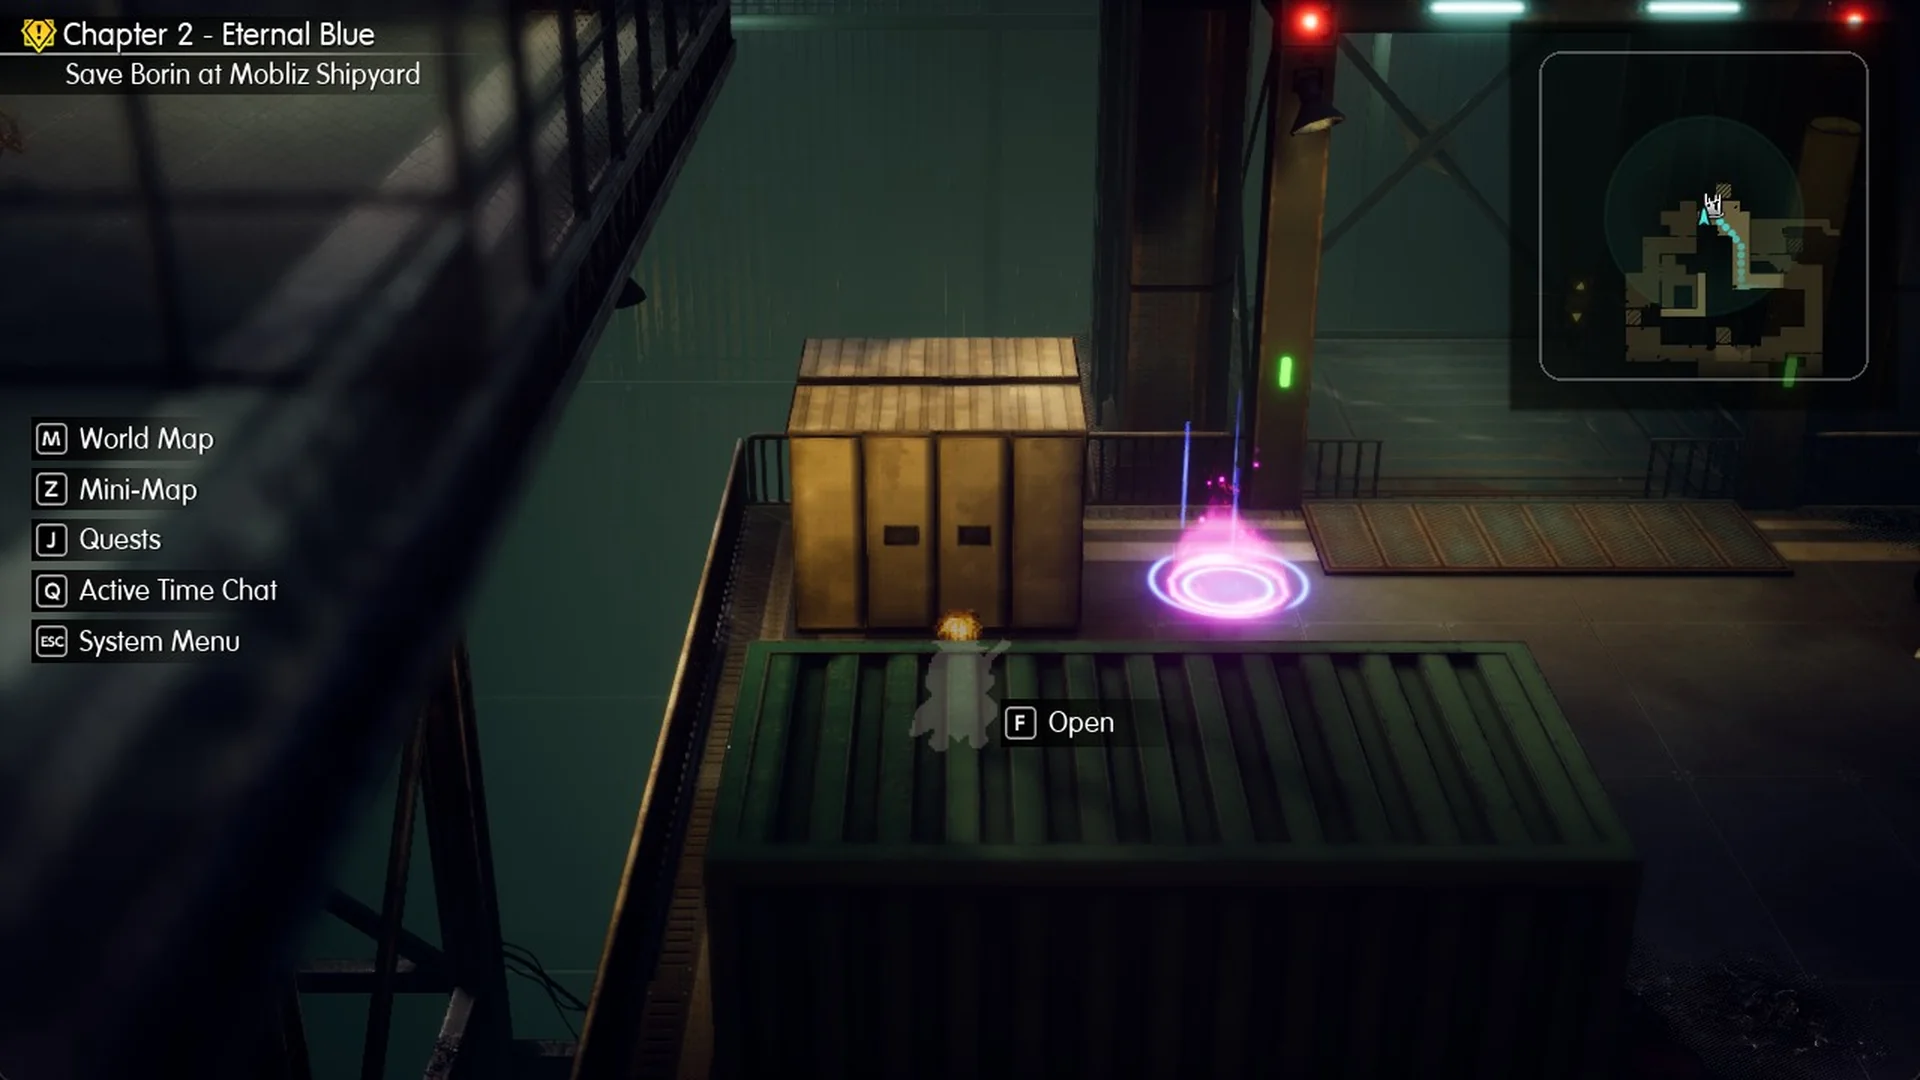
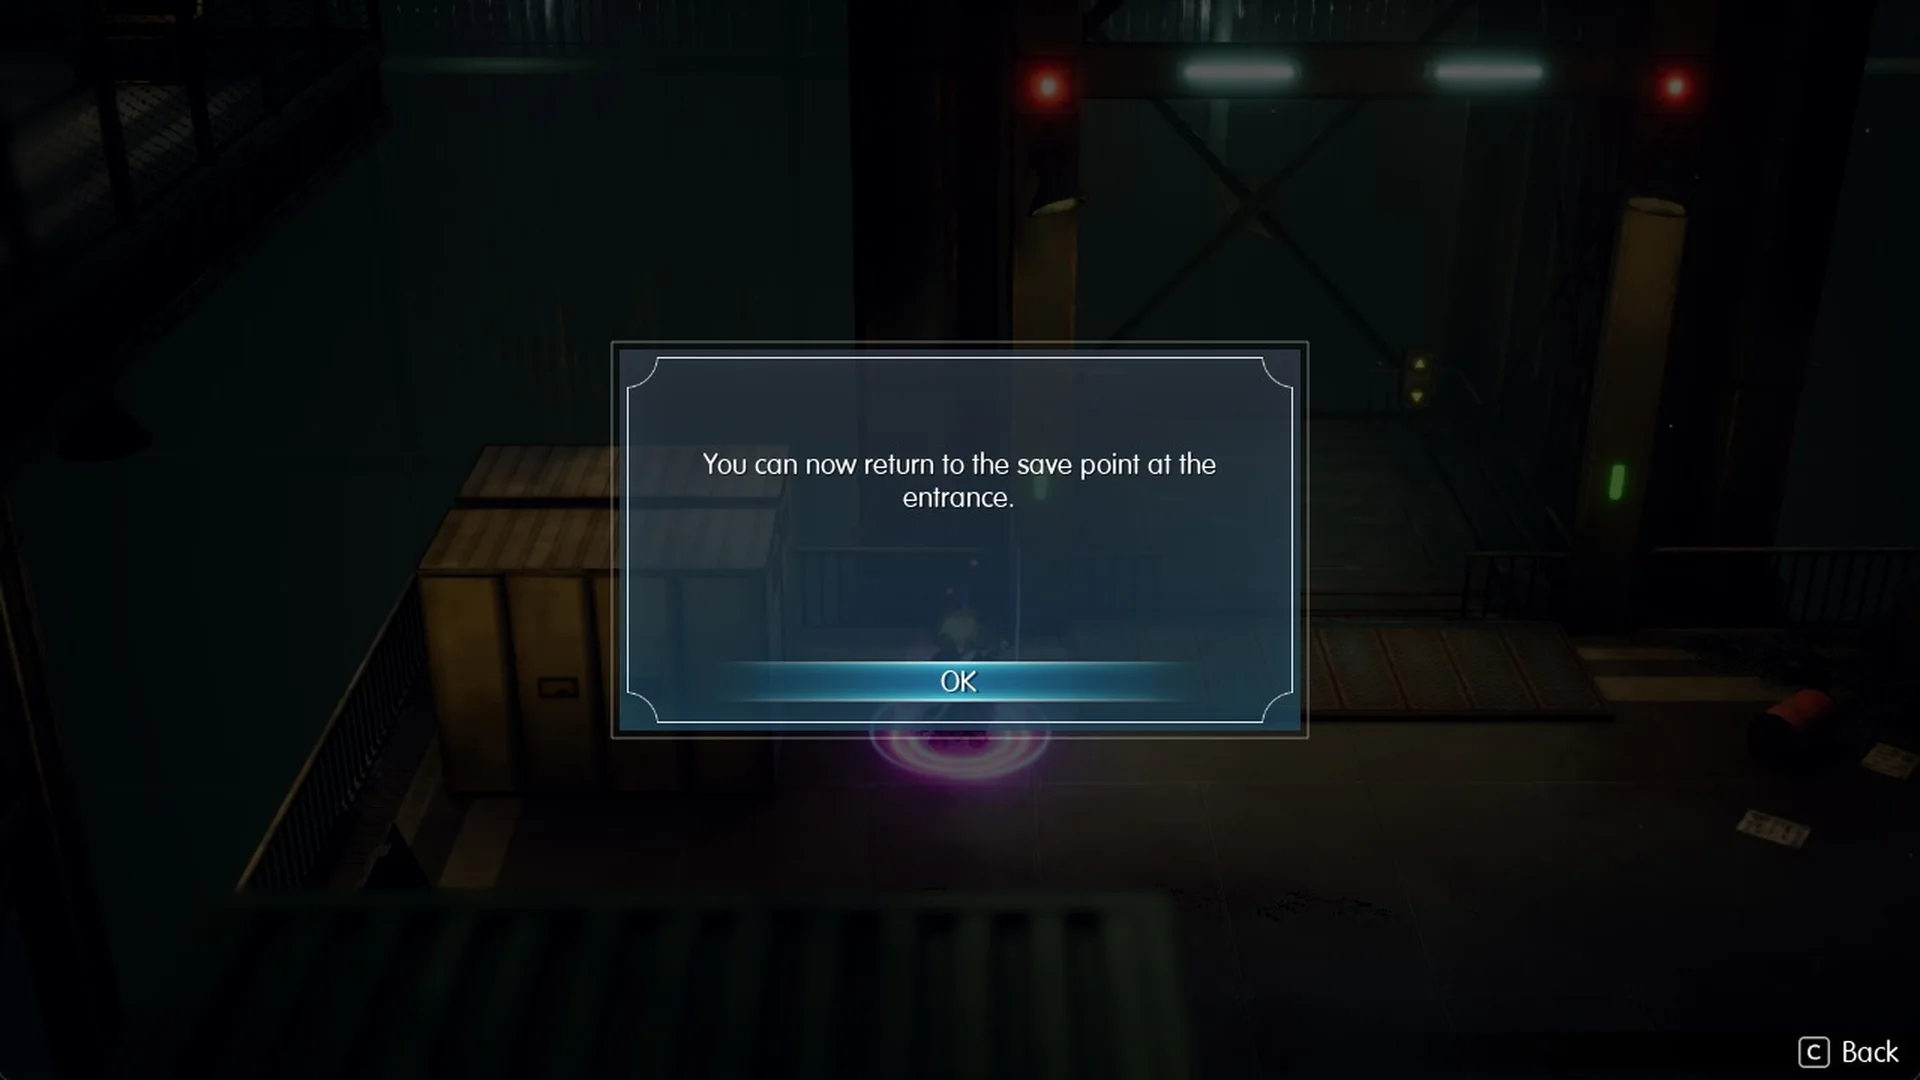
Touch the save point at the top of the corridor and the game confirms “You can now return to the save point at the entrance.” That lets you teleport between the two. If the party is low, use a Tent or Ether here.
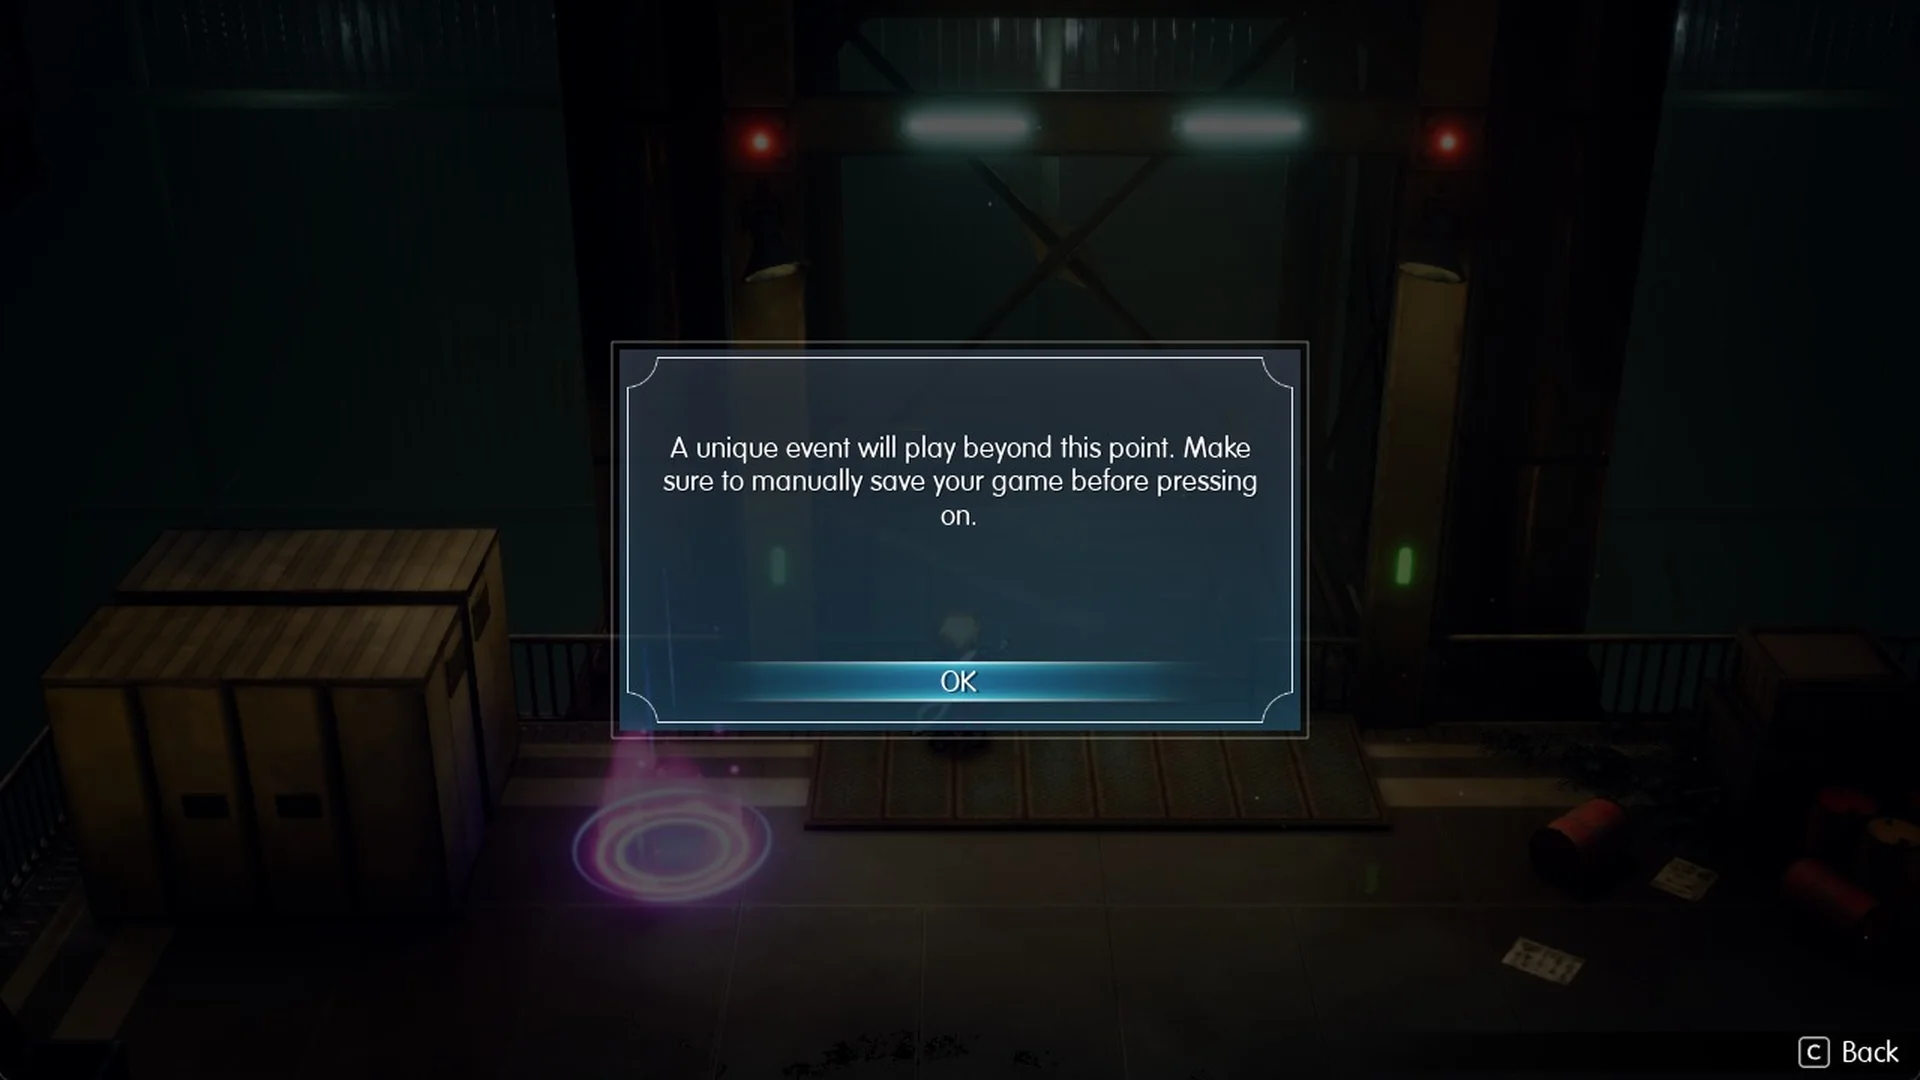
Then save manually. If you’re not sure how, here’s how to save. Just past the save point, the game warns you: “A unique event will play beyond this point. Make sure to manually save your game before pressing on.” The roof lift is right behind that warning, and you press F at the panel on its east side to ride it.
The roof: Borin and the 15-minute escape
The lift takes you up to the roof, where an airship is parked. Lasswell says “Haven’t seen an airship like this one before.” Lid knows it as the Invincible, “a very faithful replica”.
Borin is here. He explains that the Invincible “was dug up from the ground” and needs the “Heart of Babel” to fly. He also says the workers “are here ‘cuz they wanna be” and that the party has “been identified as trespassers”. You don’t get a choice in this scene.
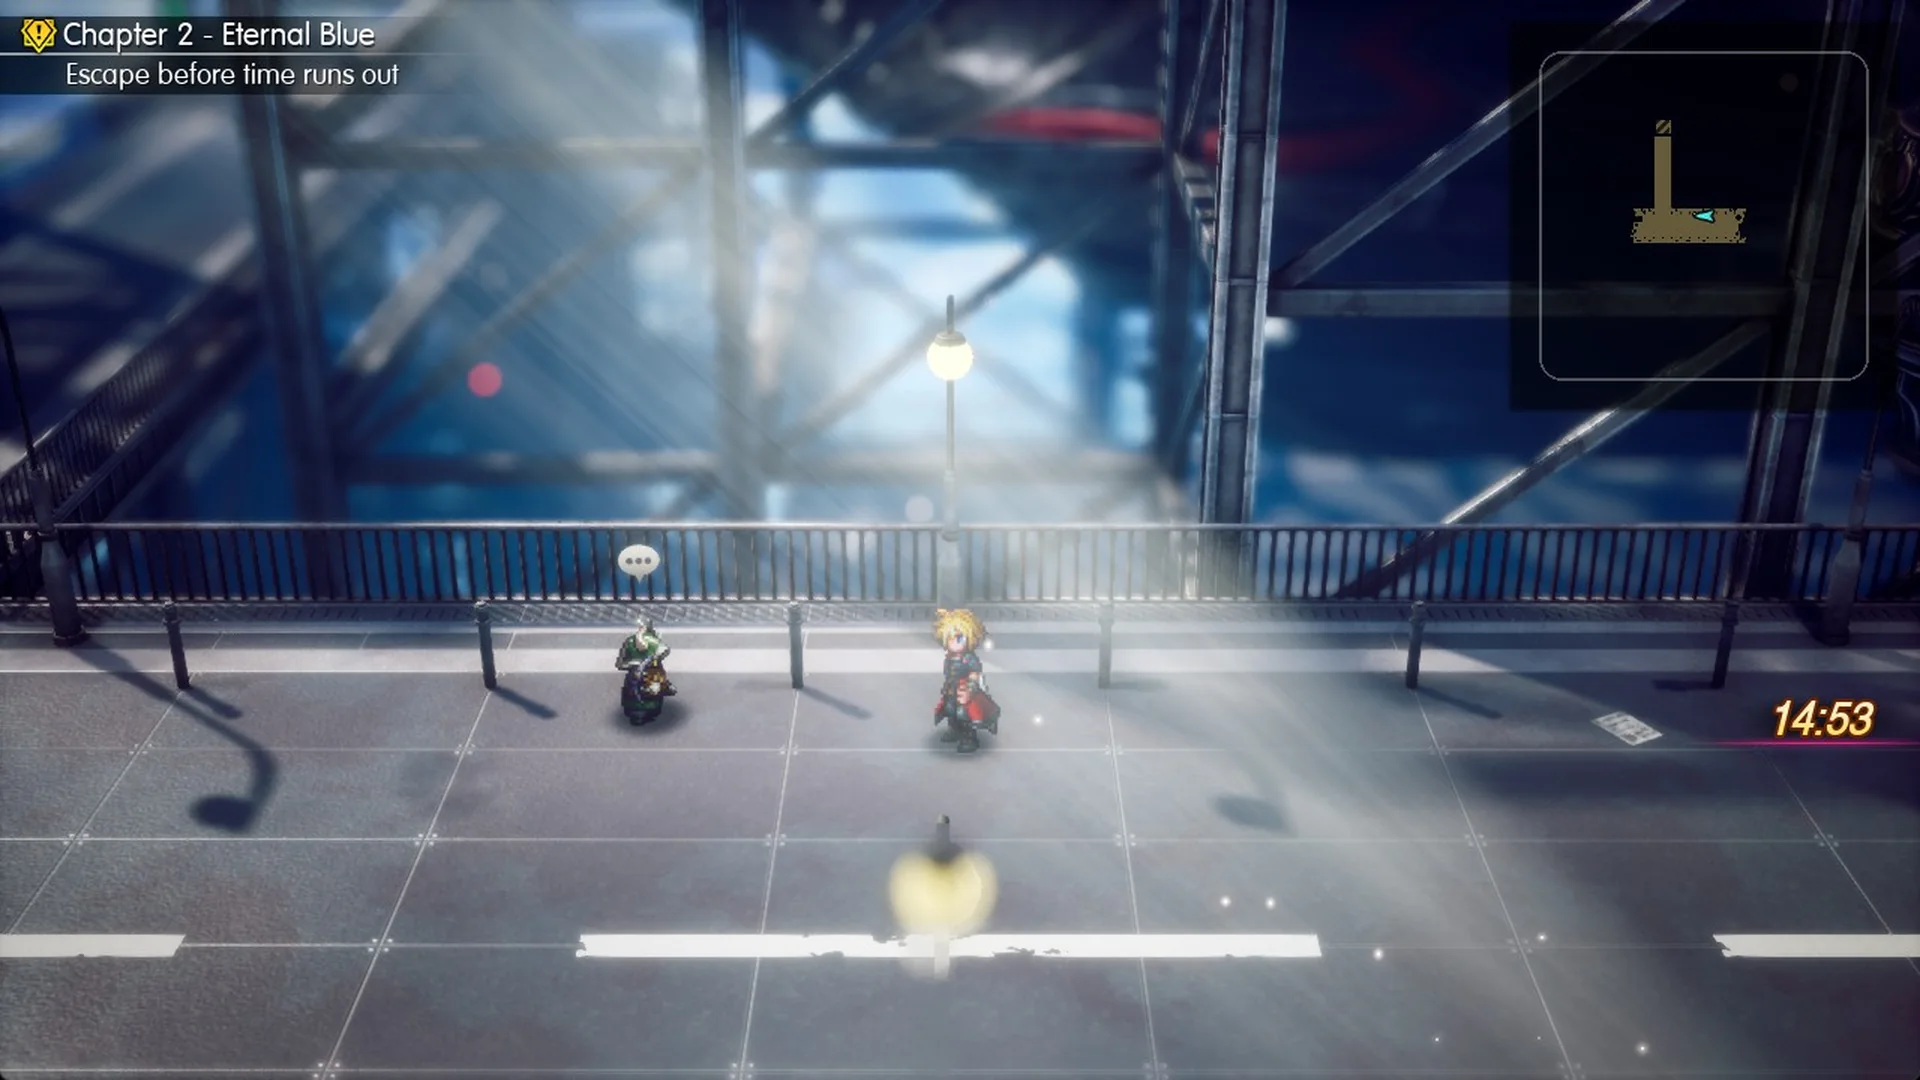
His warning is blunt: “If you don’t make it out in 15 minutes, the whole security system will attack at once!” The objective switches to “Escape before time runs out”, a 15:00 countdown appears on the right of the screen, and the game autosaves.
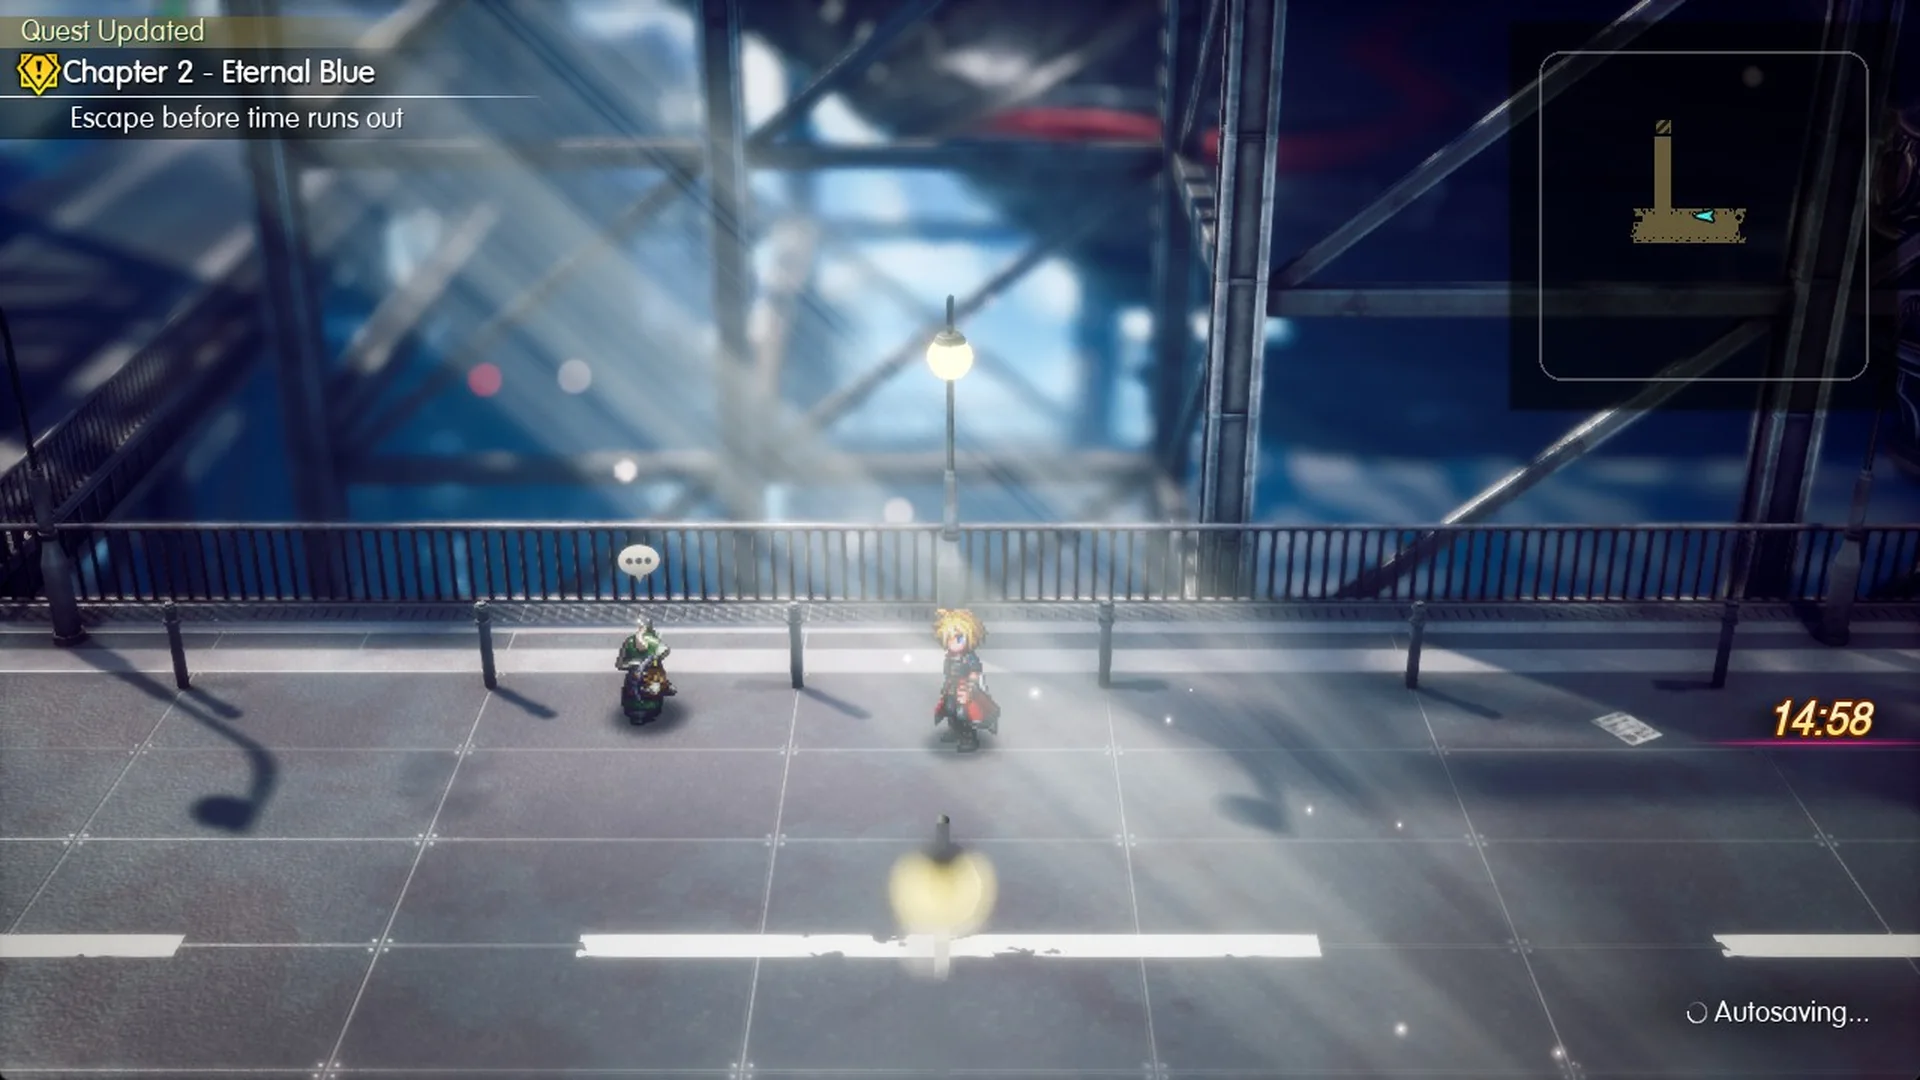
Before taking the roof lift, collect all the chests and shards and deal with the pot. Once the countdown begins, detours aren’t practical, and you’ll have no save point before defeating both bosses.
Escape route in short
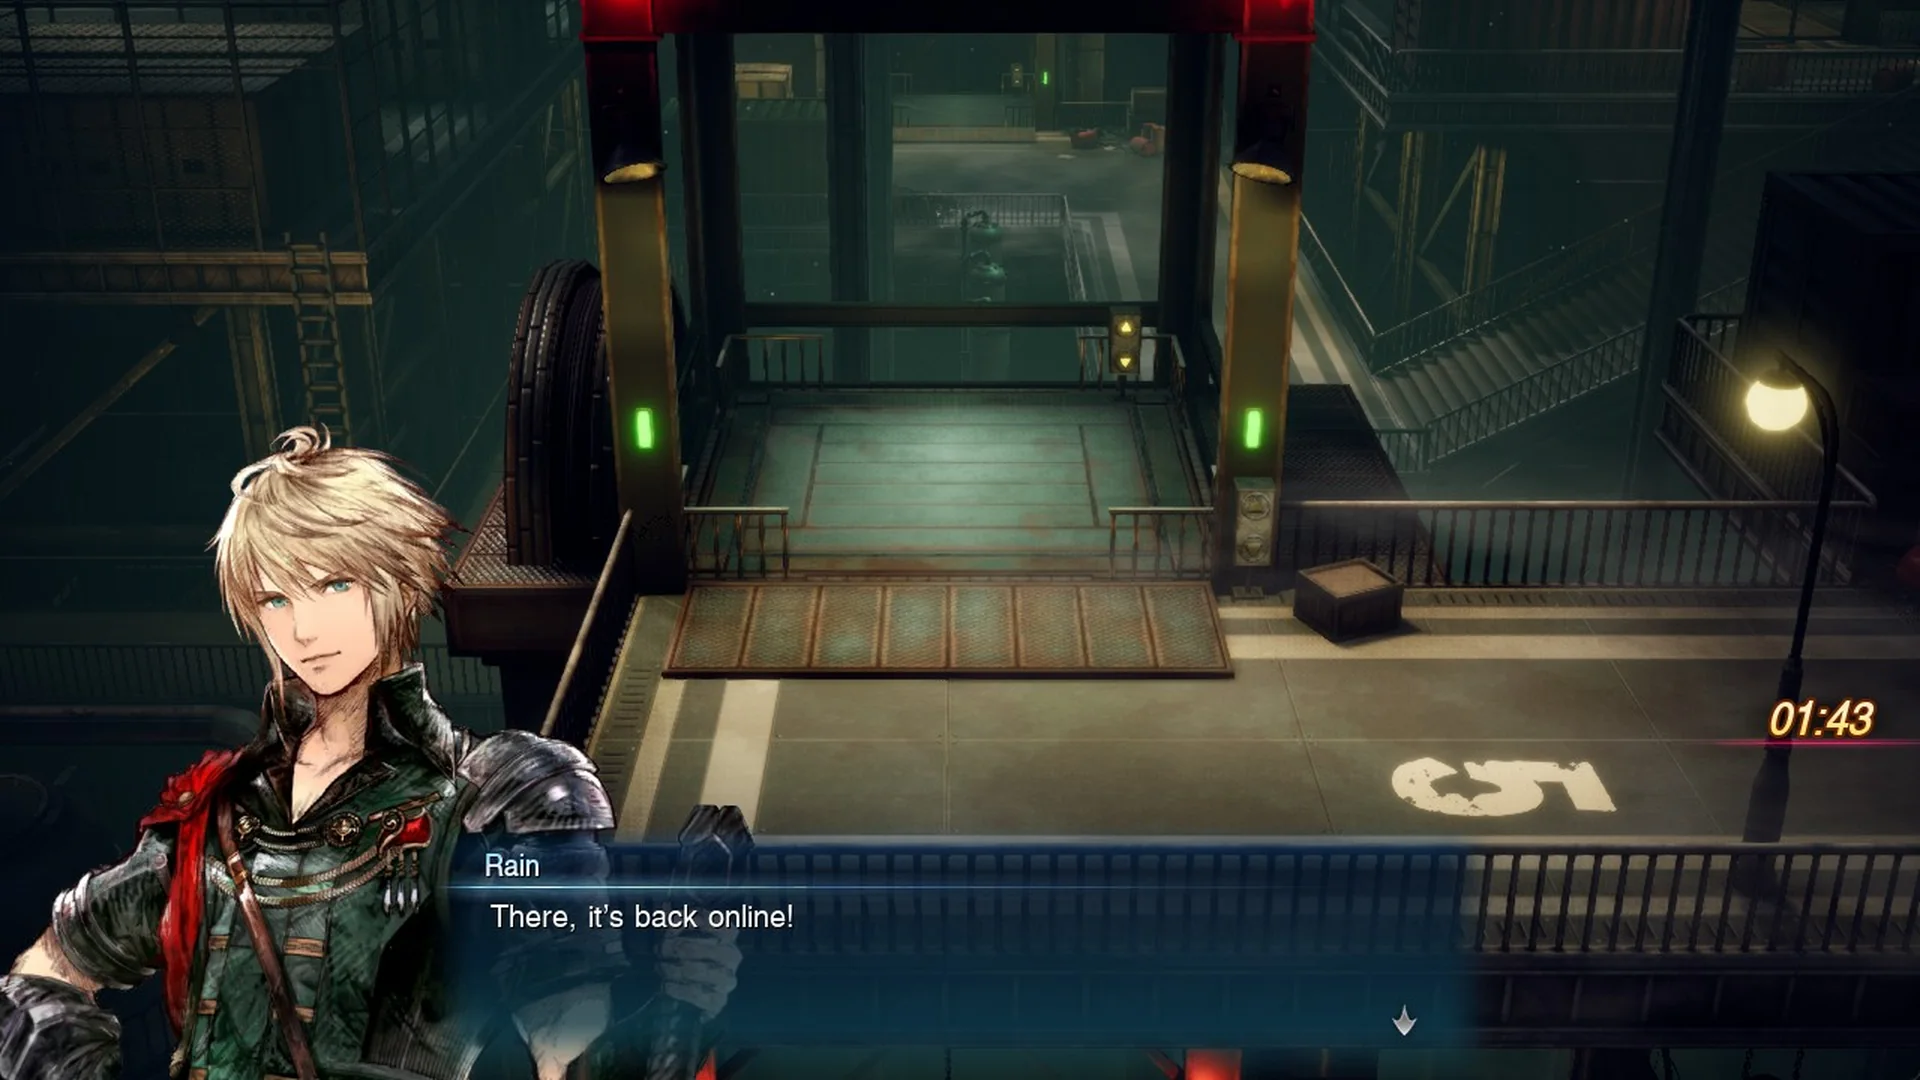
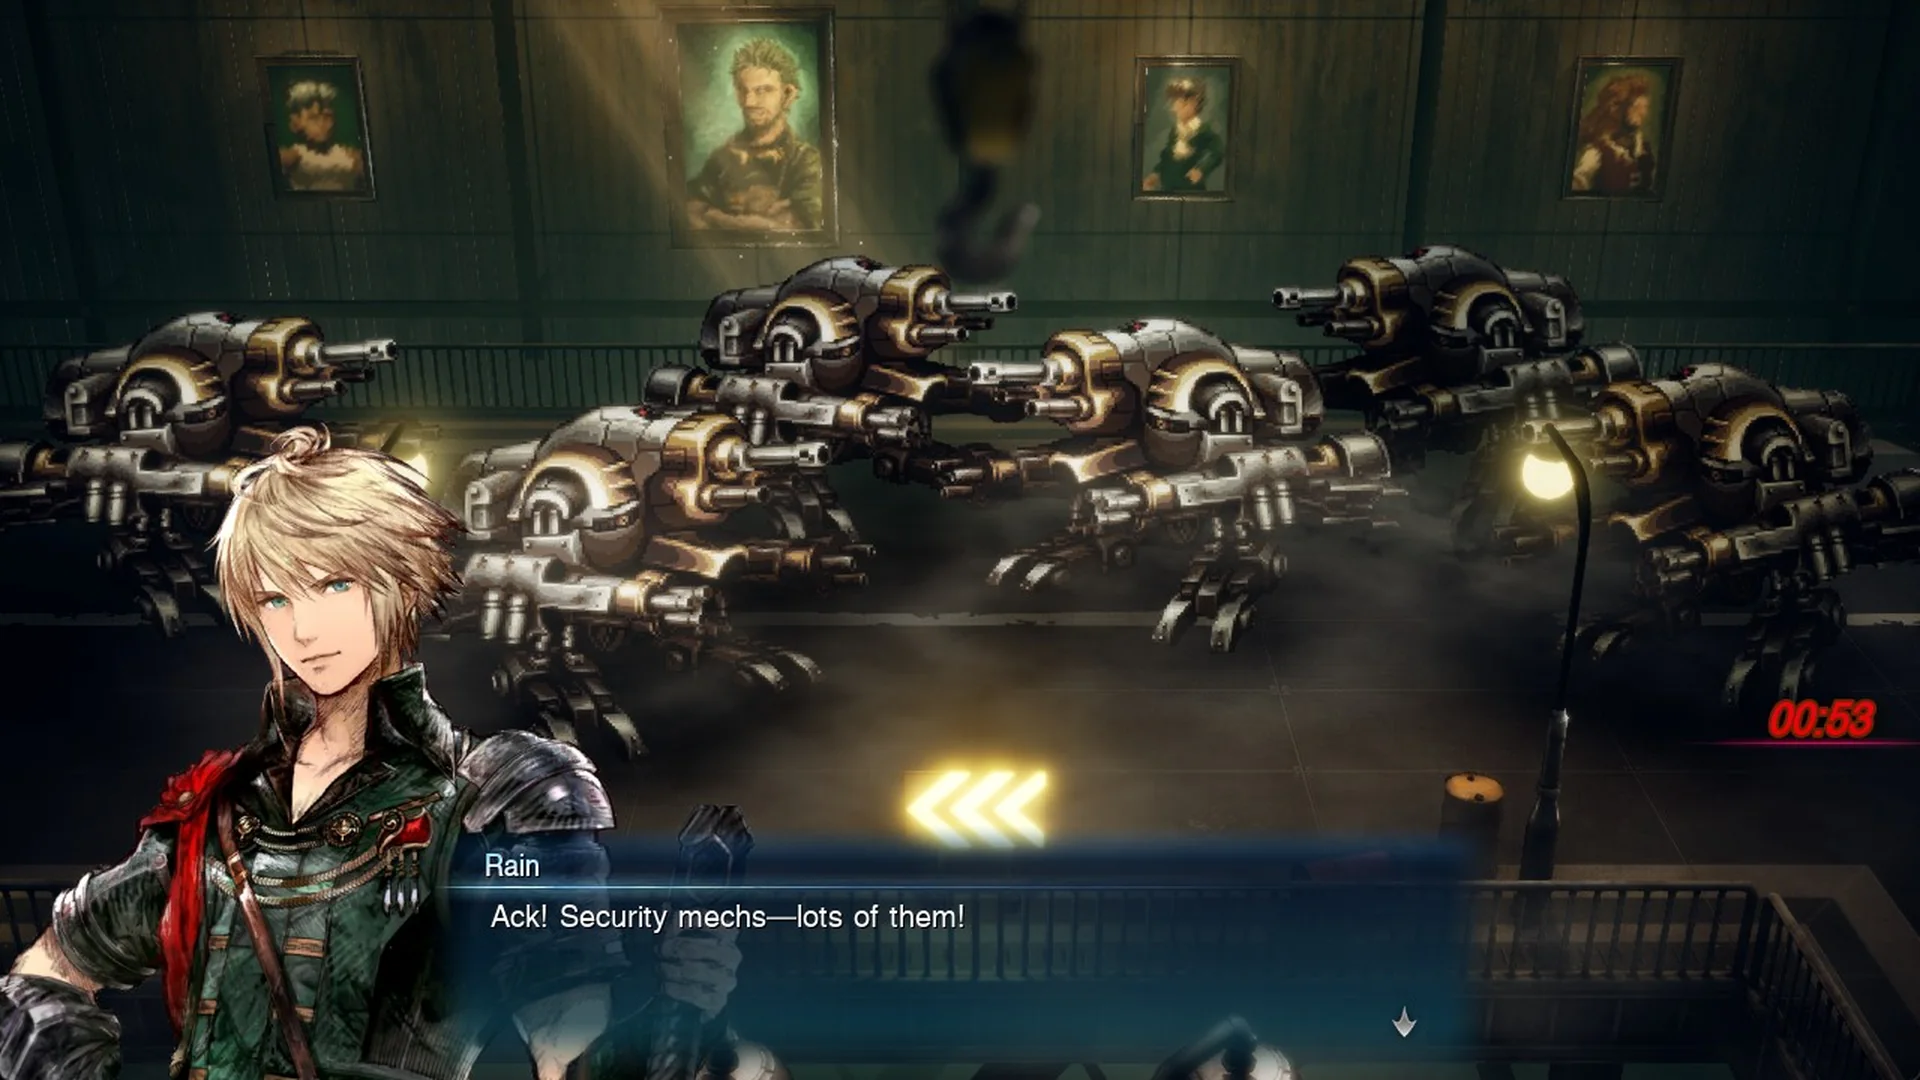
When the timer reaches zero, you’re captured and returned to the roof with a new 15 minutes. This won’t cause a Game Over. The Mobliz Shipyard escape guide covers the countdown and lever puzzle in detail.
Epimetheus and Adrastea
| Boss | Level / HP | Weakness | Rewards |
|---|---|---|---|
| Epimetheus | 16 / 3,645 | Thunder | 592 EXP, 708 Gil (+188 Overkill Bonus), 52 MRP (+13 Stagger Finish Bonus) |
| Adrastea | 16 / 25,000 | Thunder, Water | 1,013 EXP, 1,351 Gil, 23 MRP, Lightning Scroll II x1 |
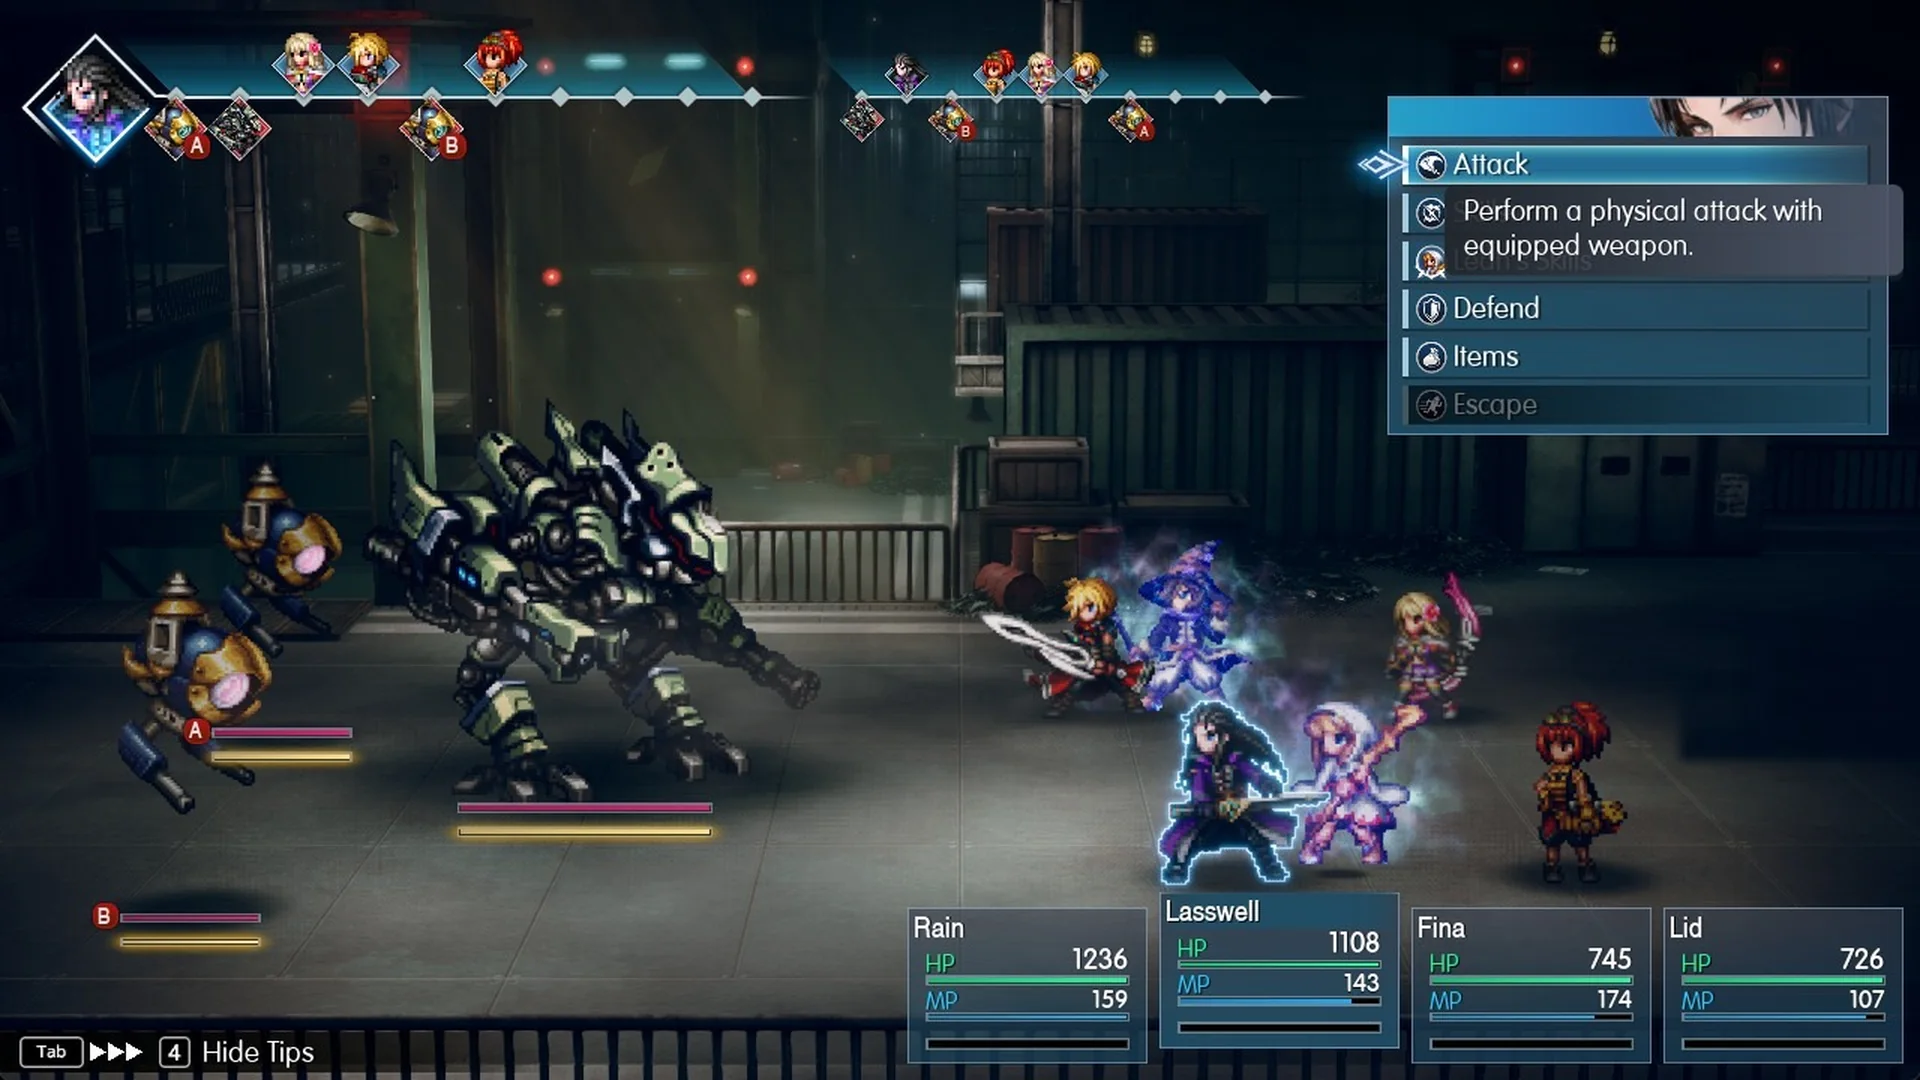
Epimetheus comes with two Security Eyes, and you can’t escape the fight. The details are in how to beat Epimetheus.
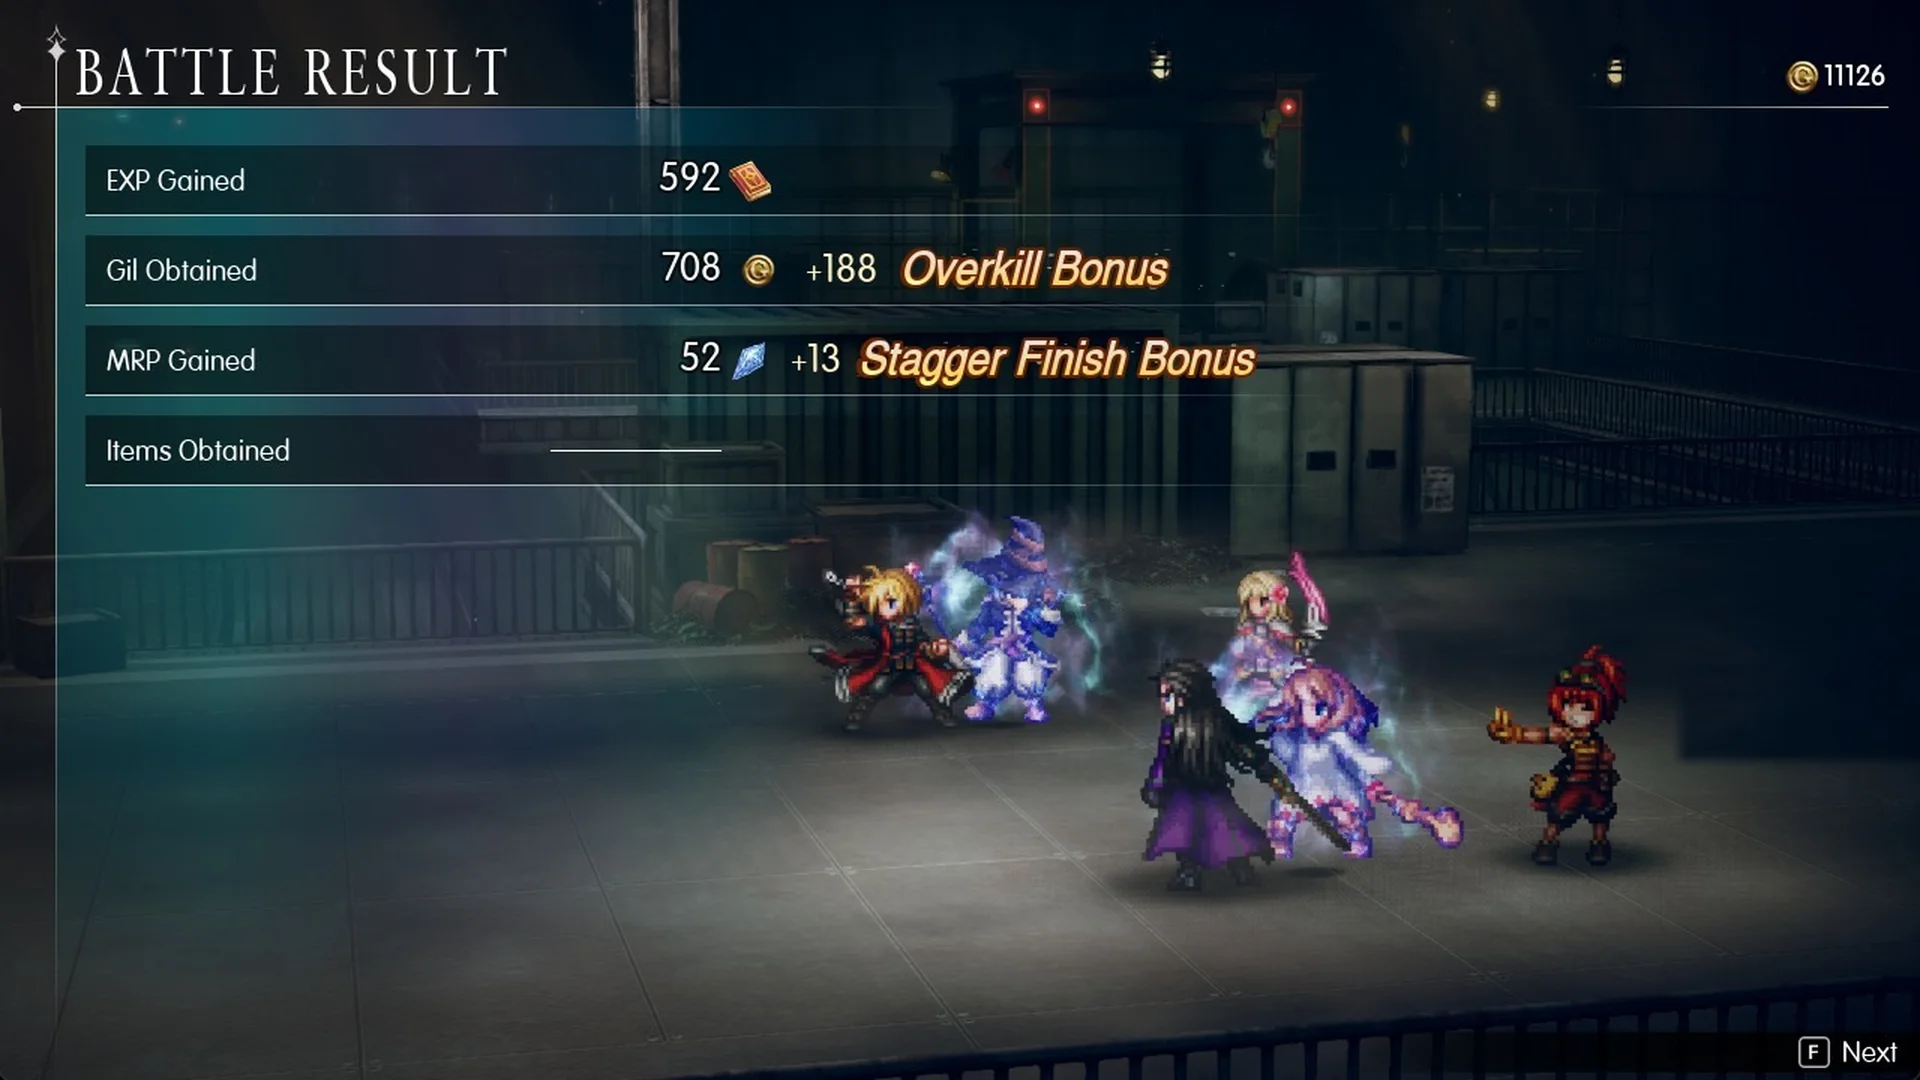
Immediately after the victory, the party travels through the tunnel below aboard a cargo train, as the large machine Adrastea beams Mechabo.
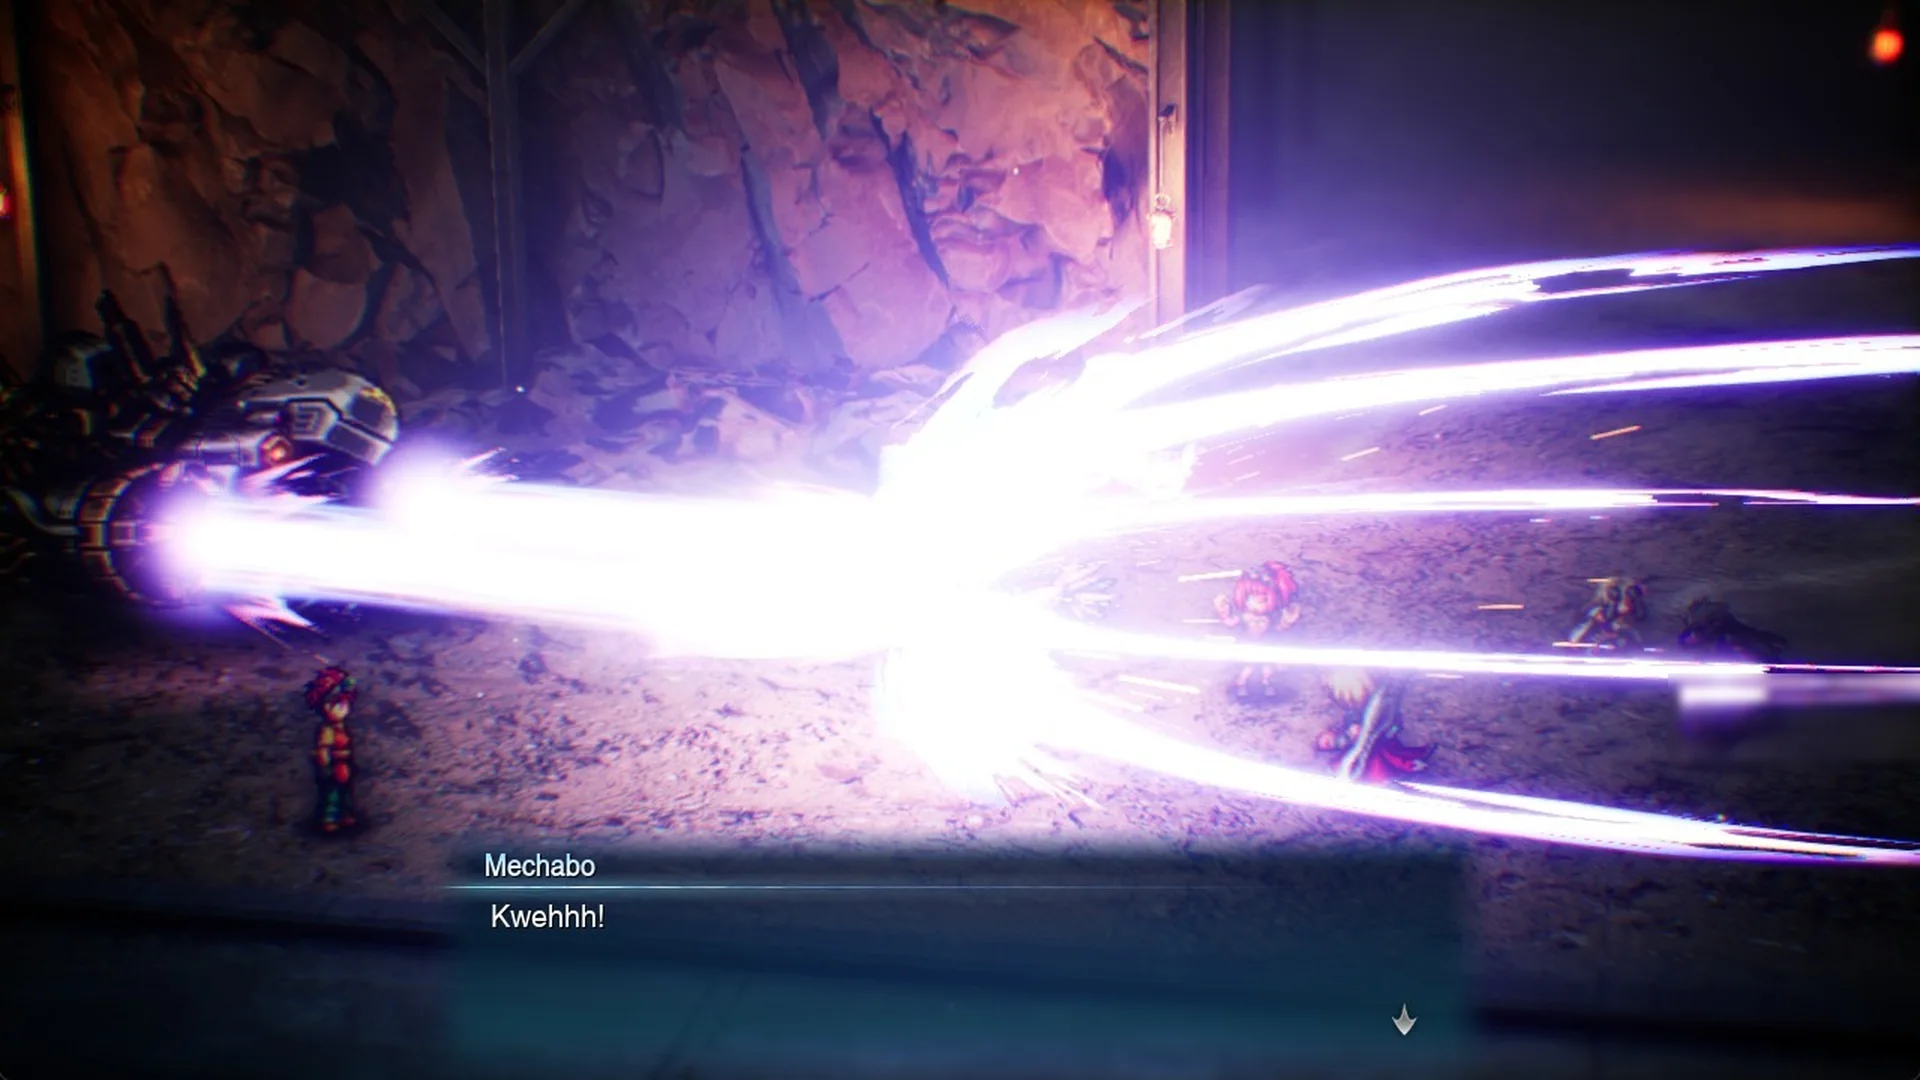
The battle with Adrastea begins on the train right away, without a save in between. See how to beat Adrastea for the strategy.
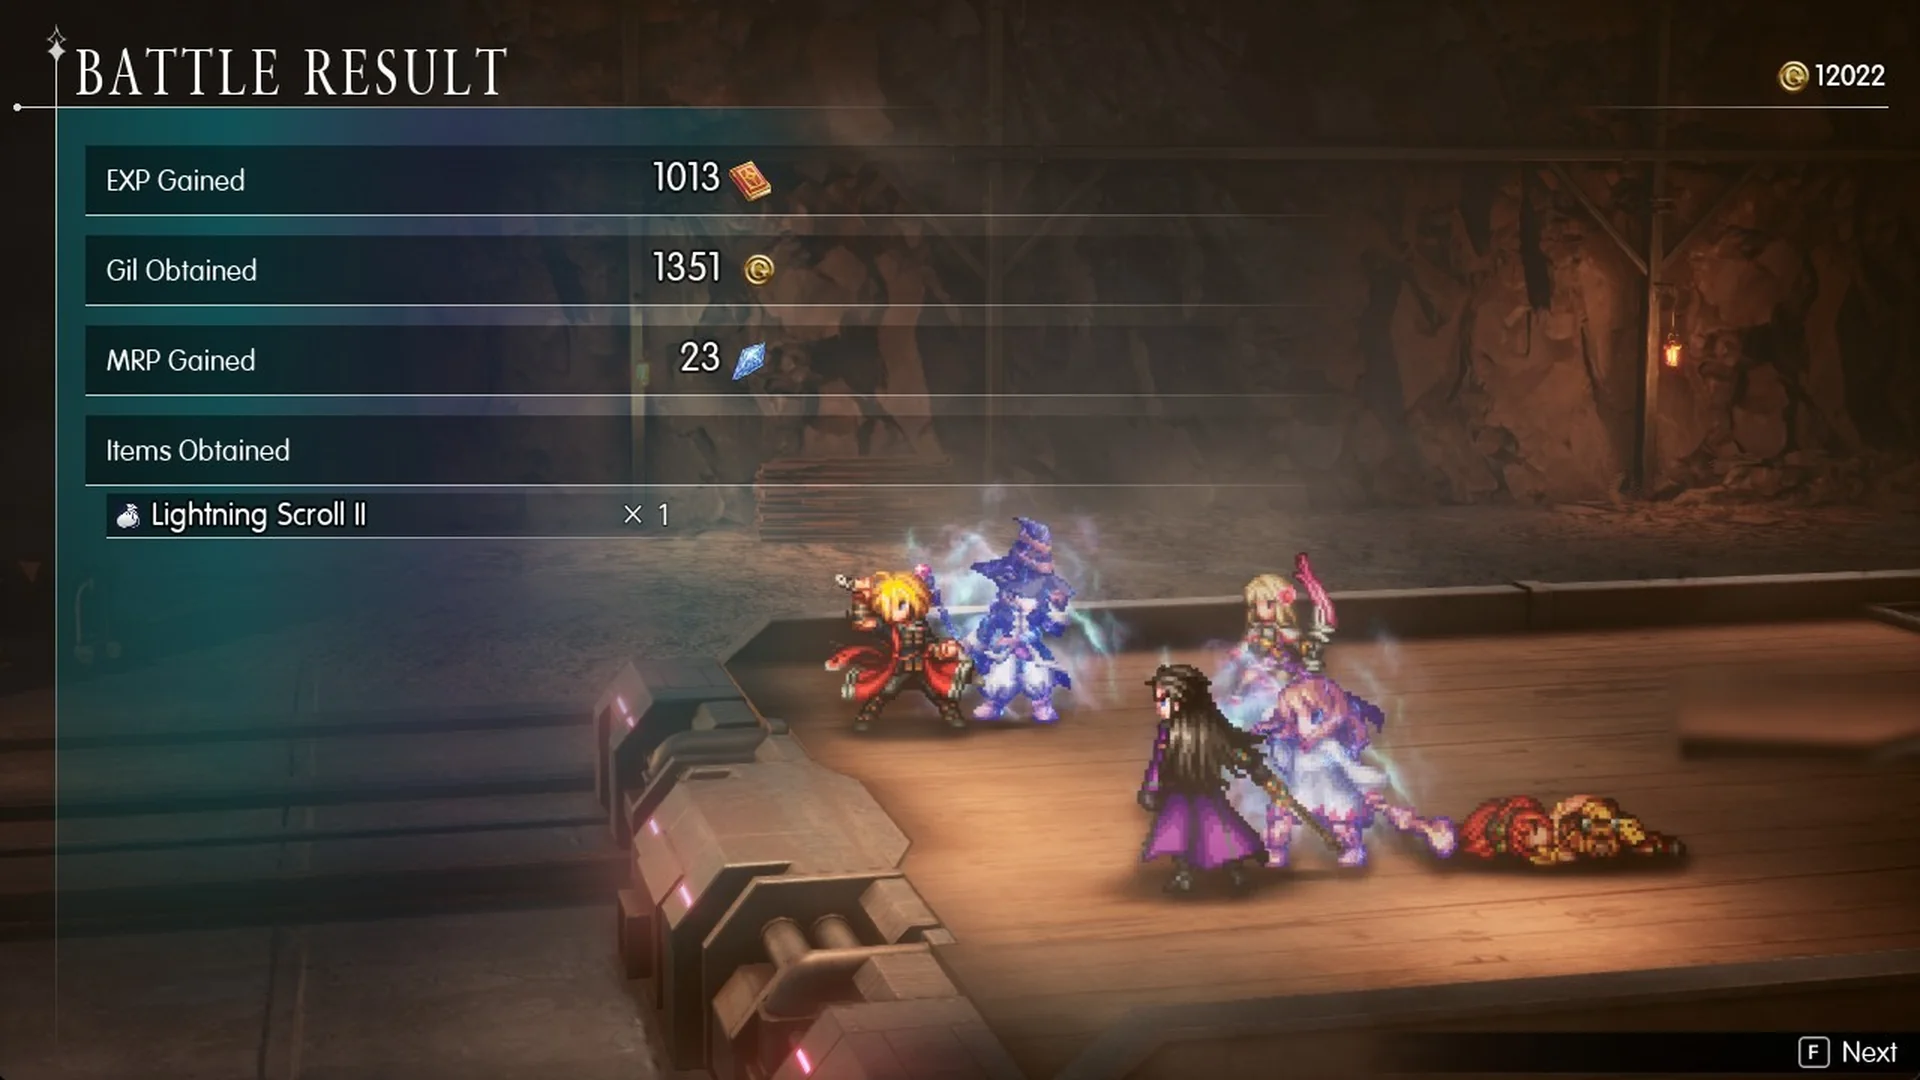
After the shipyard
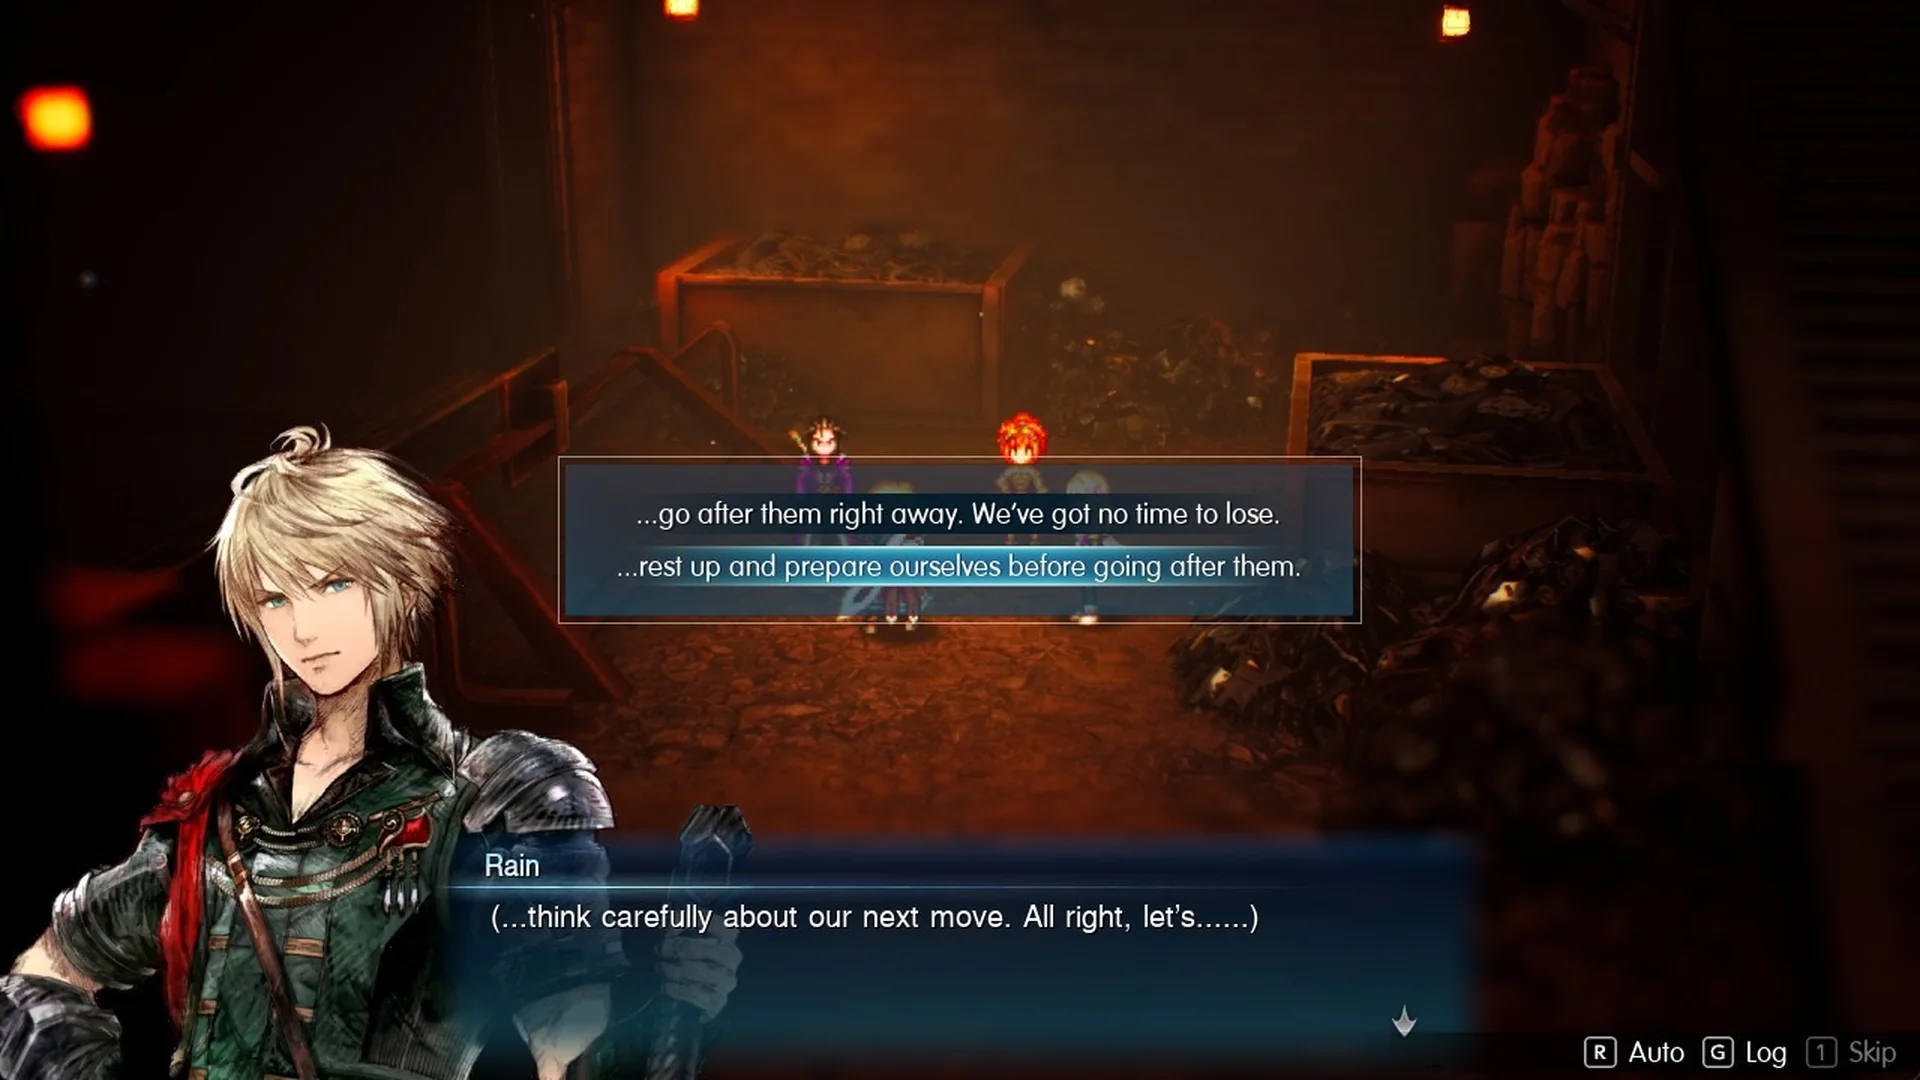
The train crashes, and the party wakes up in the Dwarven Forge, which an old tunnel connects to the shipyard. Rain then chooses between “…go after them right away. We’ve got no time to lose.” and “…rest up and prepare ourselves before going after them.” For more on this choice, see go after them or rest up. After it, the objective becomes “Go to the Wind Shrine”.
Verun, the blacksmith, offers to fix Mechabo, beginning the side quest Arise, Mechabo! To see every room on one screen, use the interactive Mobliz Shipyard map. Continue Chapter 2 with the full walkthrough.