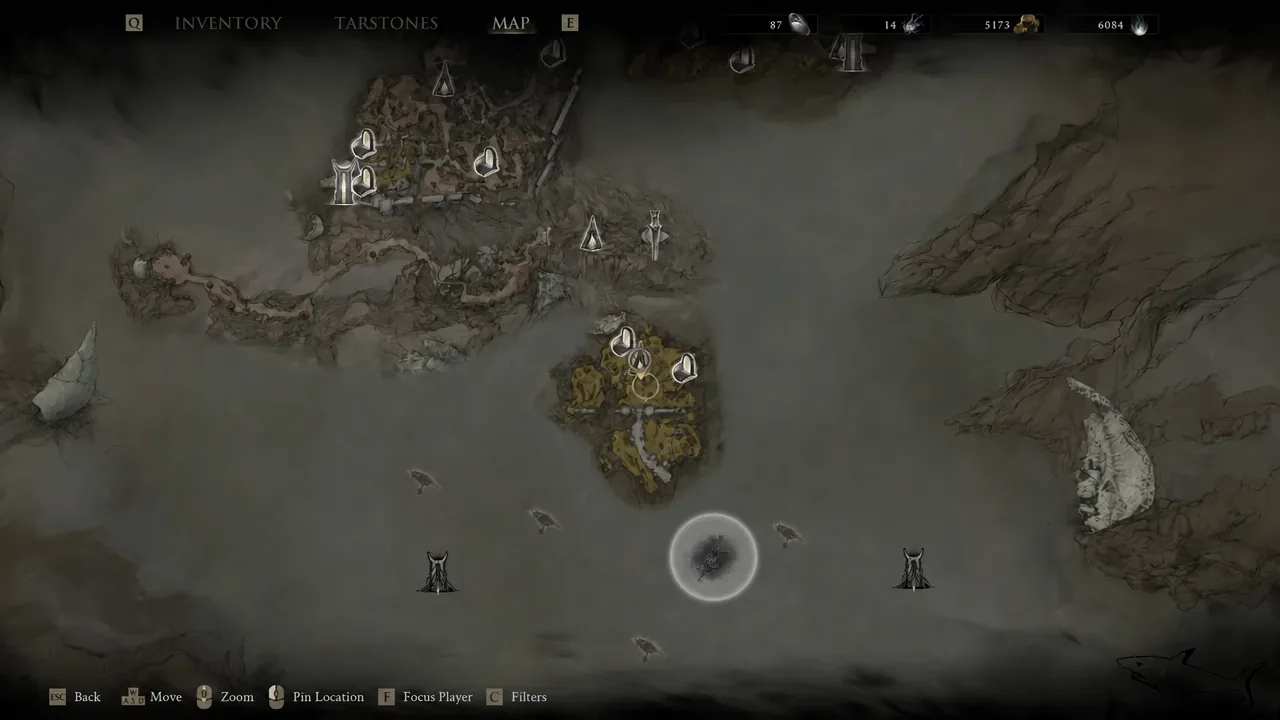
The Headsman’s Stone is a Support Tarstone in Mortal Shell 2 that increases melee Critical Damage. It sits in a hidden chest in the Ruins of Mammon, and reaching it takes a short descent from the Outskirts of Mammon beacon rather than a boss fight. You can grab it early once you have cleared the corruption blocking the Marrow Keep portal.
Quick answer: Unlock Mether’s Breath, cleanse the corrupted path in upper Marrow Keep, fast travel to the Outskirts of Mammon, then head southeast down the Road to Absolution and drop to the lower cliffside ruins. The chest is behind a large tree next to a stone altar structure.
What you need before you go
The stone is not gated behind a merchant or a fight, but one progression item stands in the way. You need Mether’s Breath to remove the corruption barrier that blocks the portal leading toward the Outskirts of Mammon.
| Requirement | Detail |
|---|---|
| Item type | Support Tarstone |
| Required unlock | Mether’s Breath |
| Starting point | Outskirts of Mammon beacon |
| Area | Road to Absolution |
| Chest landmark | Stone ruins behind a large tree near the cliff edge |
To get Mether’s Breath, collect Ovum by progressing through the game, unlocking beacons, and clearing the areas around them. Bring the Ovum to the Gloom Siphon in Marrow Keep and turn it in. The interface shows “1 Ovum Siphoned” during the exchange, and Mether’s Breath appears once it becomes available. Its inventory description reads, “A wisp of Mether’s breath which escaped the Gloom Siphon.”
Route to the Headsman’s Stone chest
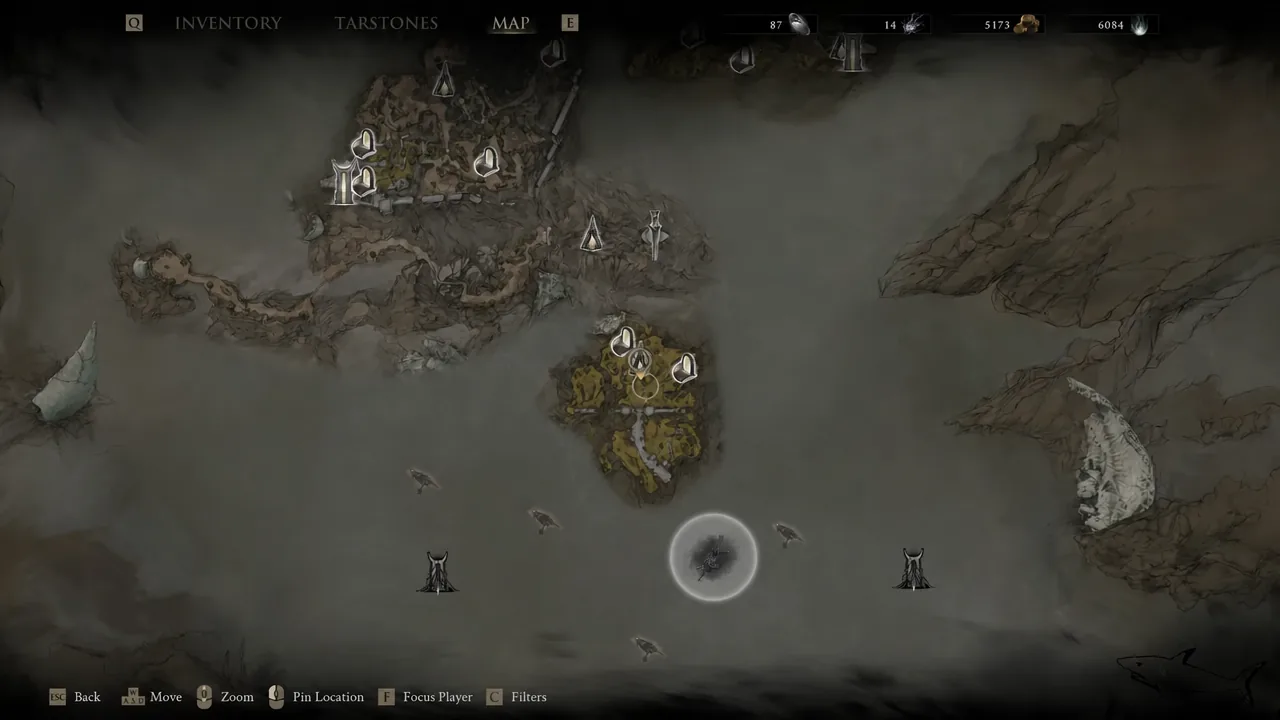
Note: The enemy groups along this route are optional. If you only want the Tarstone, sprint past them and keep moving toward the Road to Absolution.
Headsman’s Stone effects by level
The Headsman’s Stone raises the damage of successful melee critical hits. It does not create crits on its own, so it works best on a setup that already lands criticals often. Check the current Tarstone screen in game before planning upgrades, since the values shown there are what apply to your save.
| Level | Effect |
|---|---|
| Level 1 | Melee attacks deal +50% Critical Damage |
| Level 2 | Melee attacks deal +80% Critical Damage |
| Level 3 | Melee attacks deal +100% Critical Damage |
It is a shell-compatible Tarstone and works with melee weapons including the Axatana, Axe and Dagger, Black Needle, Clockwork Scythe, Great Martyr’s Blade, Obsidian Hammer, The Iconoclast, and Veteran’s Battle Axe. Keep it out of ranged-focused builds, since the bonus applies only to melee critical damage. For ranged critical damage, the Deadeye Stone is the equivalent option.
Best pairings for a crit build
Extra critical damage only pays off when you crit consistently. Pair the Headsman’s Stone with an effect that raises crit chance or guarantees crits, then let the extra damage stack on top of every successful hit.
| Tarstone | Why it pairs |
|---|---|
| Auspicious Stone | Raises melee Critical Chance so more attacks crit |
| Grudge Stone | Guarantees a Critical Hit on its attack cycle (every 5th attack at max level) |
The Grudge Stone works with both melee and ranged, and combining it with the Headsman’s Stone turns each guaranteed crit into a much larger hit. On a melee shell that already spikes crit chance, this stacks into a reliable damage boost against tougher enemies and bosses.
How to upgrade the Headsman’s Stone
Upgrades run through Franz at the Tarforge in Marrow Keep, but you need to expand his options first. Hand Franz the Etching Needle, a quest item that unlocks higher Tarstone upgrade tiers.
The Etching Needle is looted from a chest right before the Magdalena, the Lady of the Woods boss fight. When you see Ruk past the bridge, jump down through the opening and turn right before the tunnel to reach a small section with a bone chest. Loot it for the Etching Needle.
After that, equip the Headsman’s Stone and slay enemies to fill its experience bar. Once the bar is full, return to Franz to push it to the next level. Each upgrade costs Coin.
If you cannot reach the portal, the corruption barrier has not been cleared, which means Mether’s Breath is still needed. Once the stone is in your inventory it appears under Support Tarstones in the menu, confirming the pickup. Equip it on a melee shell alongside a crit-chance source, and every landed critical will hit noticeably harder.