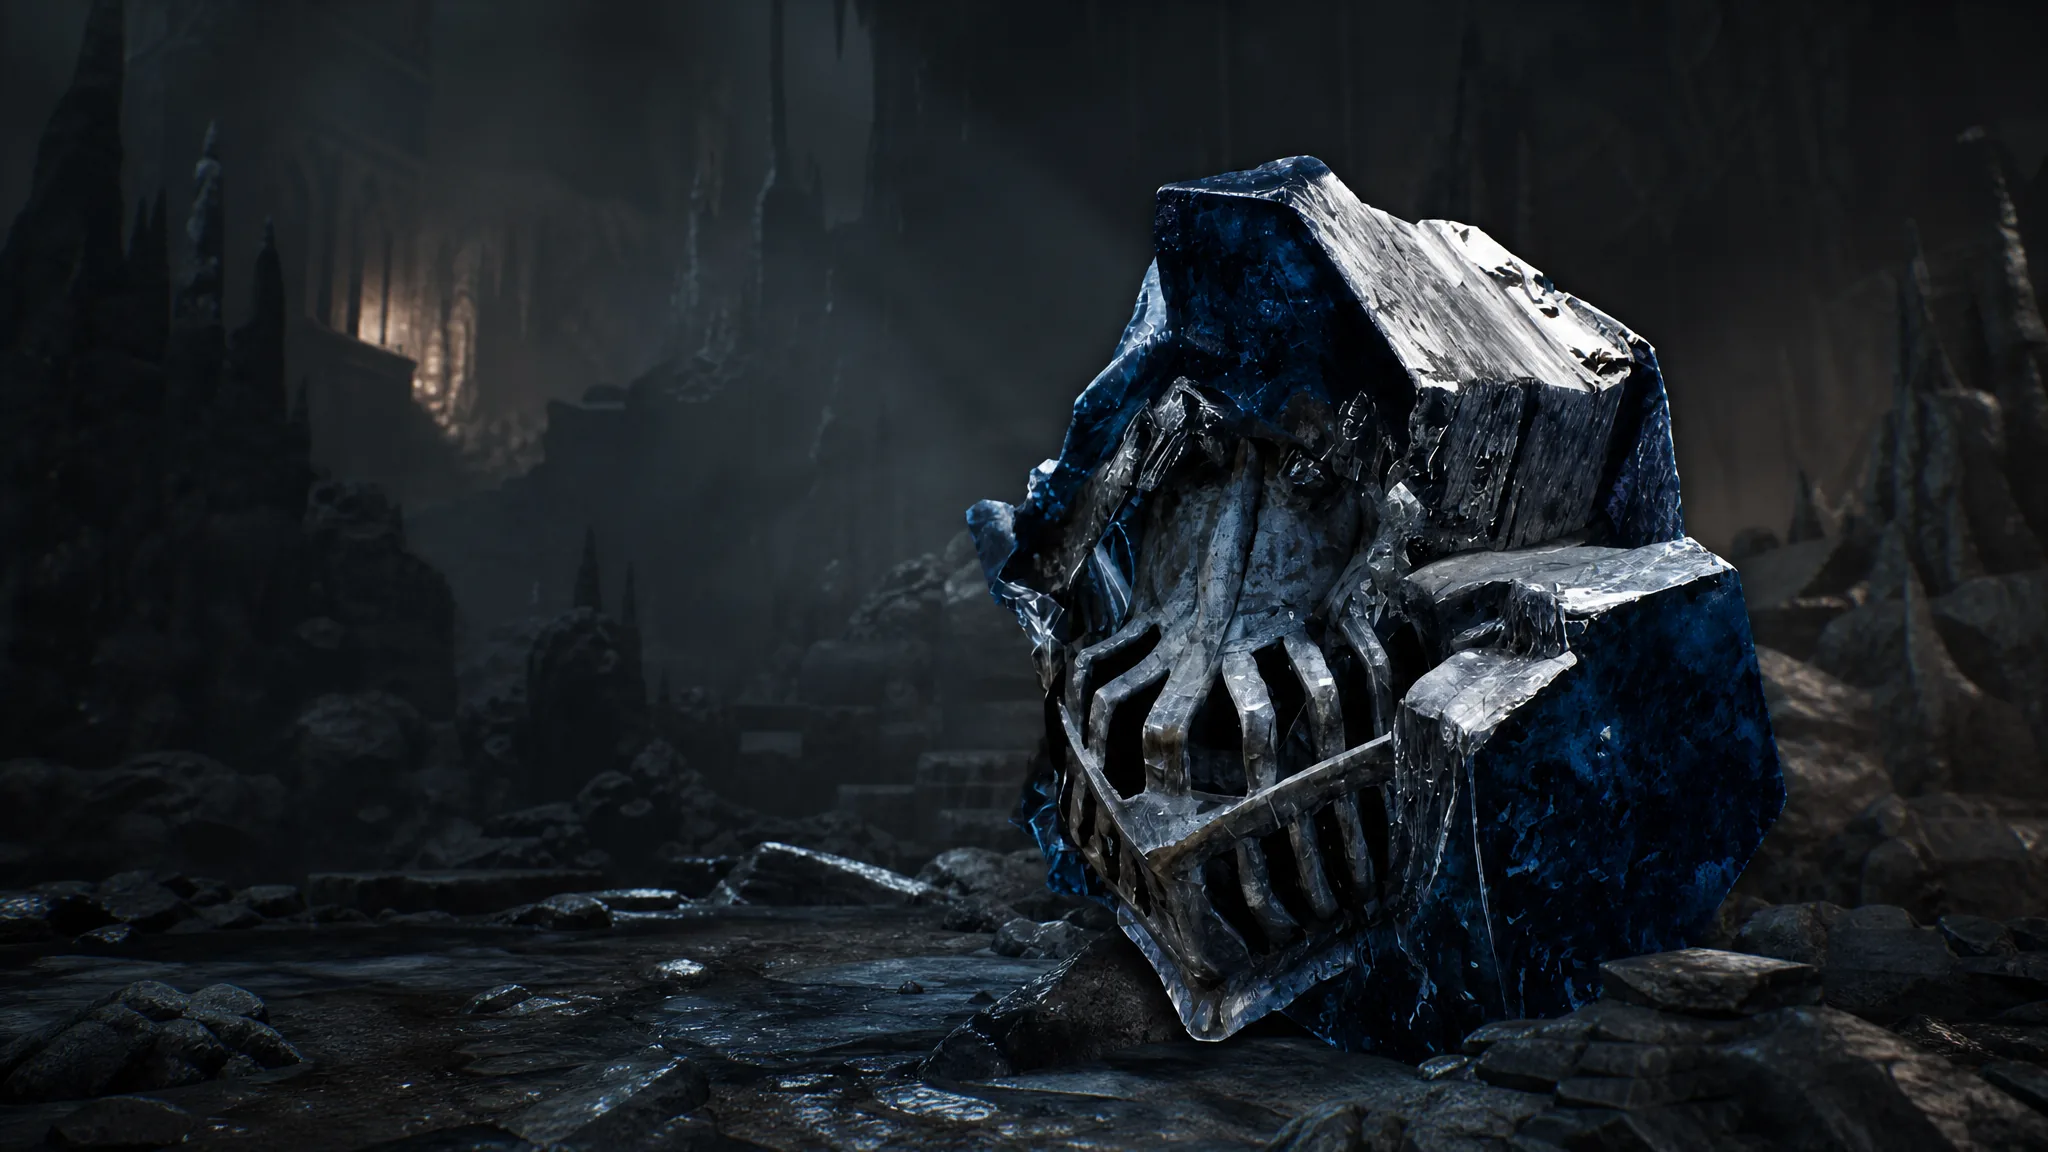
The Warden’s Stone is an Infusion Tarstone in Mortal Shell 2 that only works with the Great Martyr’s Blade. It coats the slow greatsword in Frost, letting it freeze enemies after enough hits land. That crowd control is what turns the weapon from a cumbersome slab into a reliable heavy-control option, and it pairs directly with Eredrim’s Frost skills.
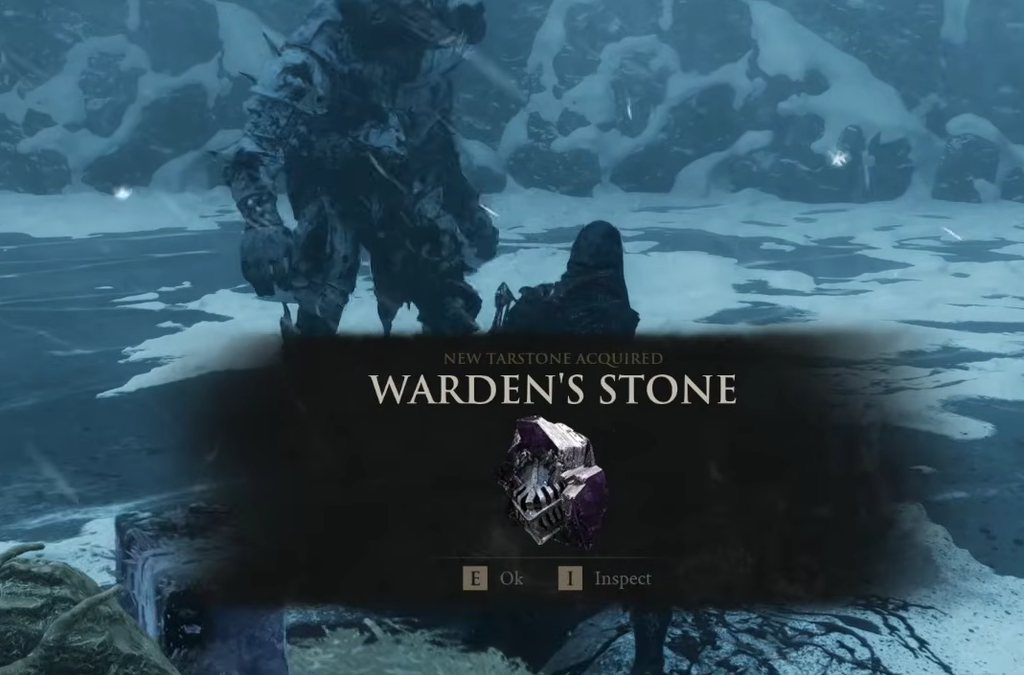
Quick answer: Defeat Urrig the Executioner near the Winterglass Lake Beacon inside the Conqueror’s Domain to receive the Warden’s Stone. You reach that region through the cleansed Corrupted Gate at Sester’s Gate in the Abbey.
Warden’s Stone effect and upgrade levels
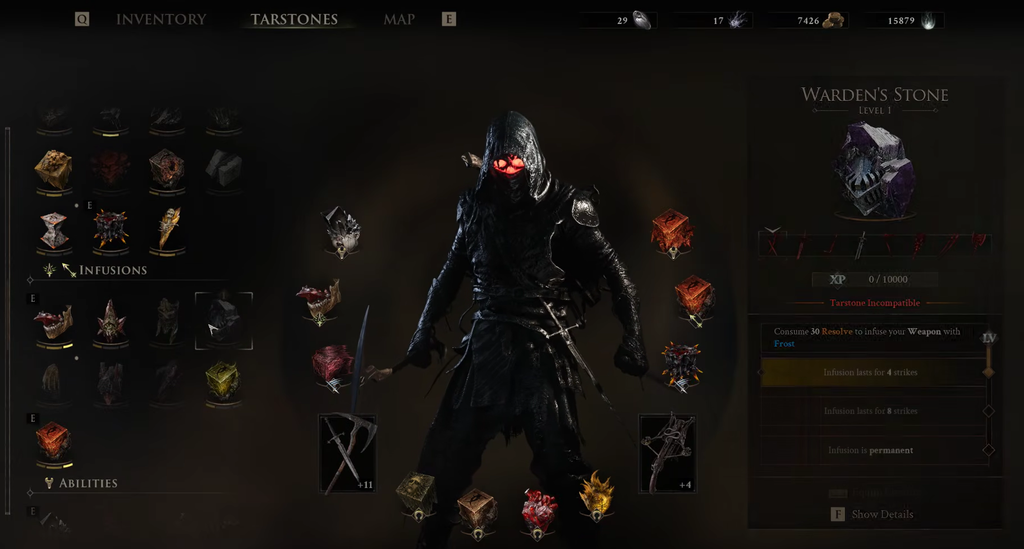
The Warden’s Stone costs 30 Resolve to activate and infuses the Great Martyr’s Blade with Frost. Once active, repeated strikes build up until the target freezes solid, opening a large punish window. Fully upgrading the stone removes the strike limit and makes the Frost infusion permanent, so you no longer need to re-spend Resolve mid-fight.
| Level | Frost infusion duration |
|---|---|
| Level 1 | Lasts for 4 strikes |
| Level 2 | Lasts for 8 strikes |
| Level 3 | Permanent (no strike limit) |
This is one of the strongest Tarstones you can slot onto the Great Martyr’s Blade. Use the weapon’s sprinting attack to gain invulnerability and cut through packs, then once a target freezes, commit your full attack combo while it can’t retaliate. The Frost effect also lands on the large majority of bosses.
How to reach the Conqueror’s Domain
The Warden’s Stone sits behind a boss in a high-level area, so make sure your build can handle the fights along the way before committing. Everything runs through the Abbey region, southeast of Marrow Keep.
Ring the bells at Winterglass Lake
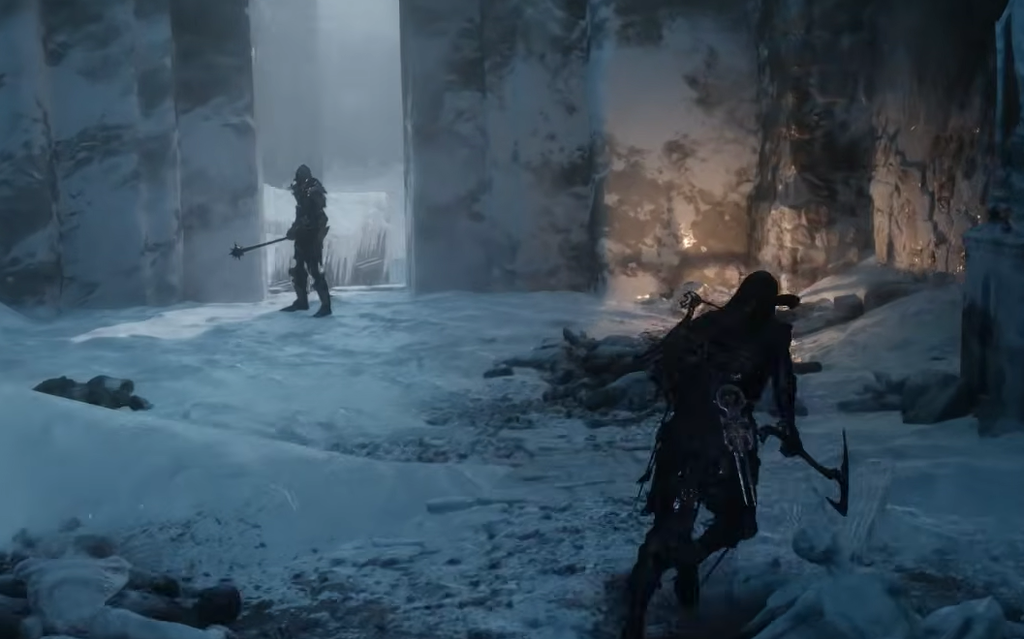
Inside the domain, you’ll drop into a snowy mountain biome. Keep pushing forward until you reach the frozen lake. The Winterglass Lake Beacon is next to the stairs just before the broken bridge, so rest there first to restore your resources.
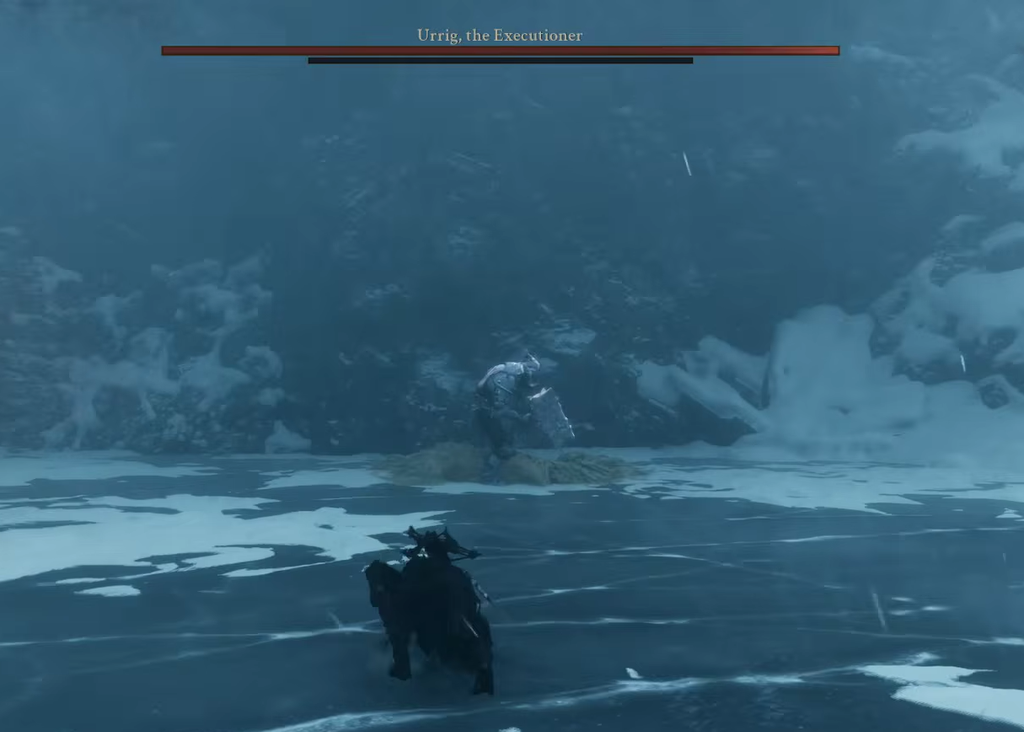
Beat Urrig the Executioner
Urrig isn’t especially tanky, but he leans heavily on unblockable attacks, and stacking hits from him will freeze you solid. Stay patient, dodge his moves rather than trying to parry them, and punish the recovery after his swings. Defeating him drops the Warden’s Stone directly into your inventory, confirming the unlock.
Why the Warden’s Stone pairs with Eredrim
The freeze itself is valuable, but it also switches on the third effect of Eredrim’s Apathy skill, which deals 200% more damage to frozen enemies. Running the Great Martyr’s Blade with the Warden’s Stone on Eredrim means each hit against a frozen target lands for roughly triple its usual damage.
That combination is why the slow greatsword becomes a genuine heavy-control weapon. You’re not trying to make the sword faster. You freeze the enemy first, remove its ability to punish your commitment, and then convert one opening into a very large chunk of damage.