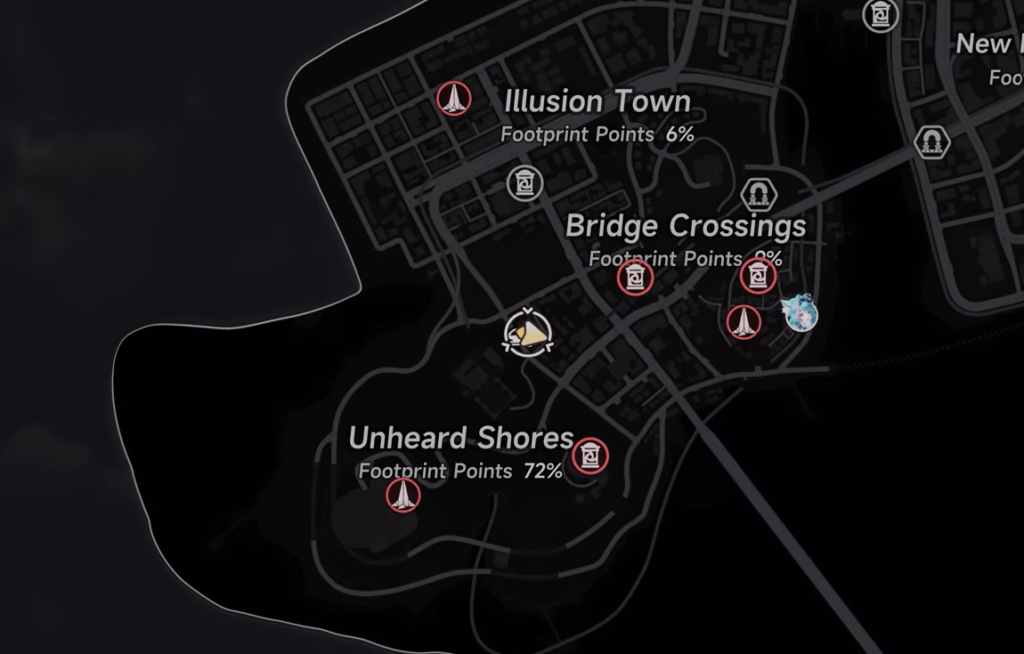
Bridge Crossings in Neverness to Everness holds six Check-in Points, the camera spots you photograph to earn Footprint Points toward the district’s exploration rewards. Clearing all six is part of reaching 100% completion in the area.
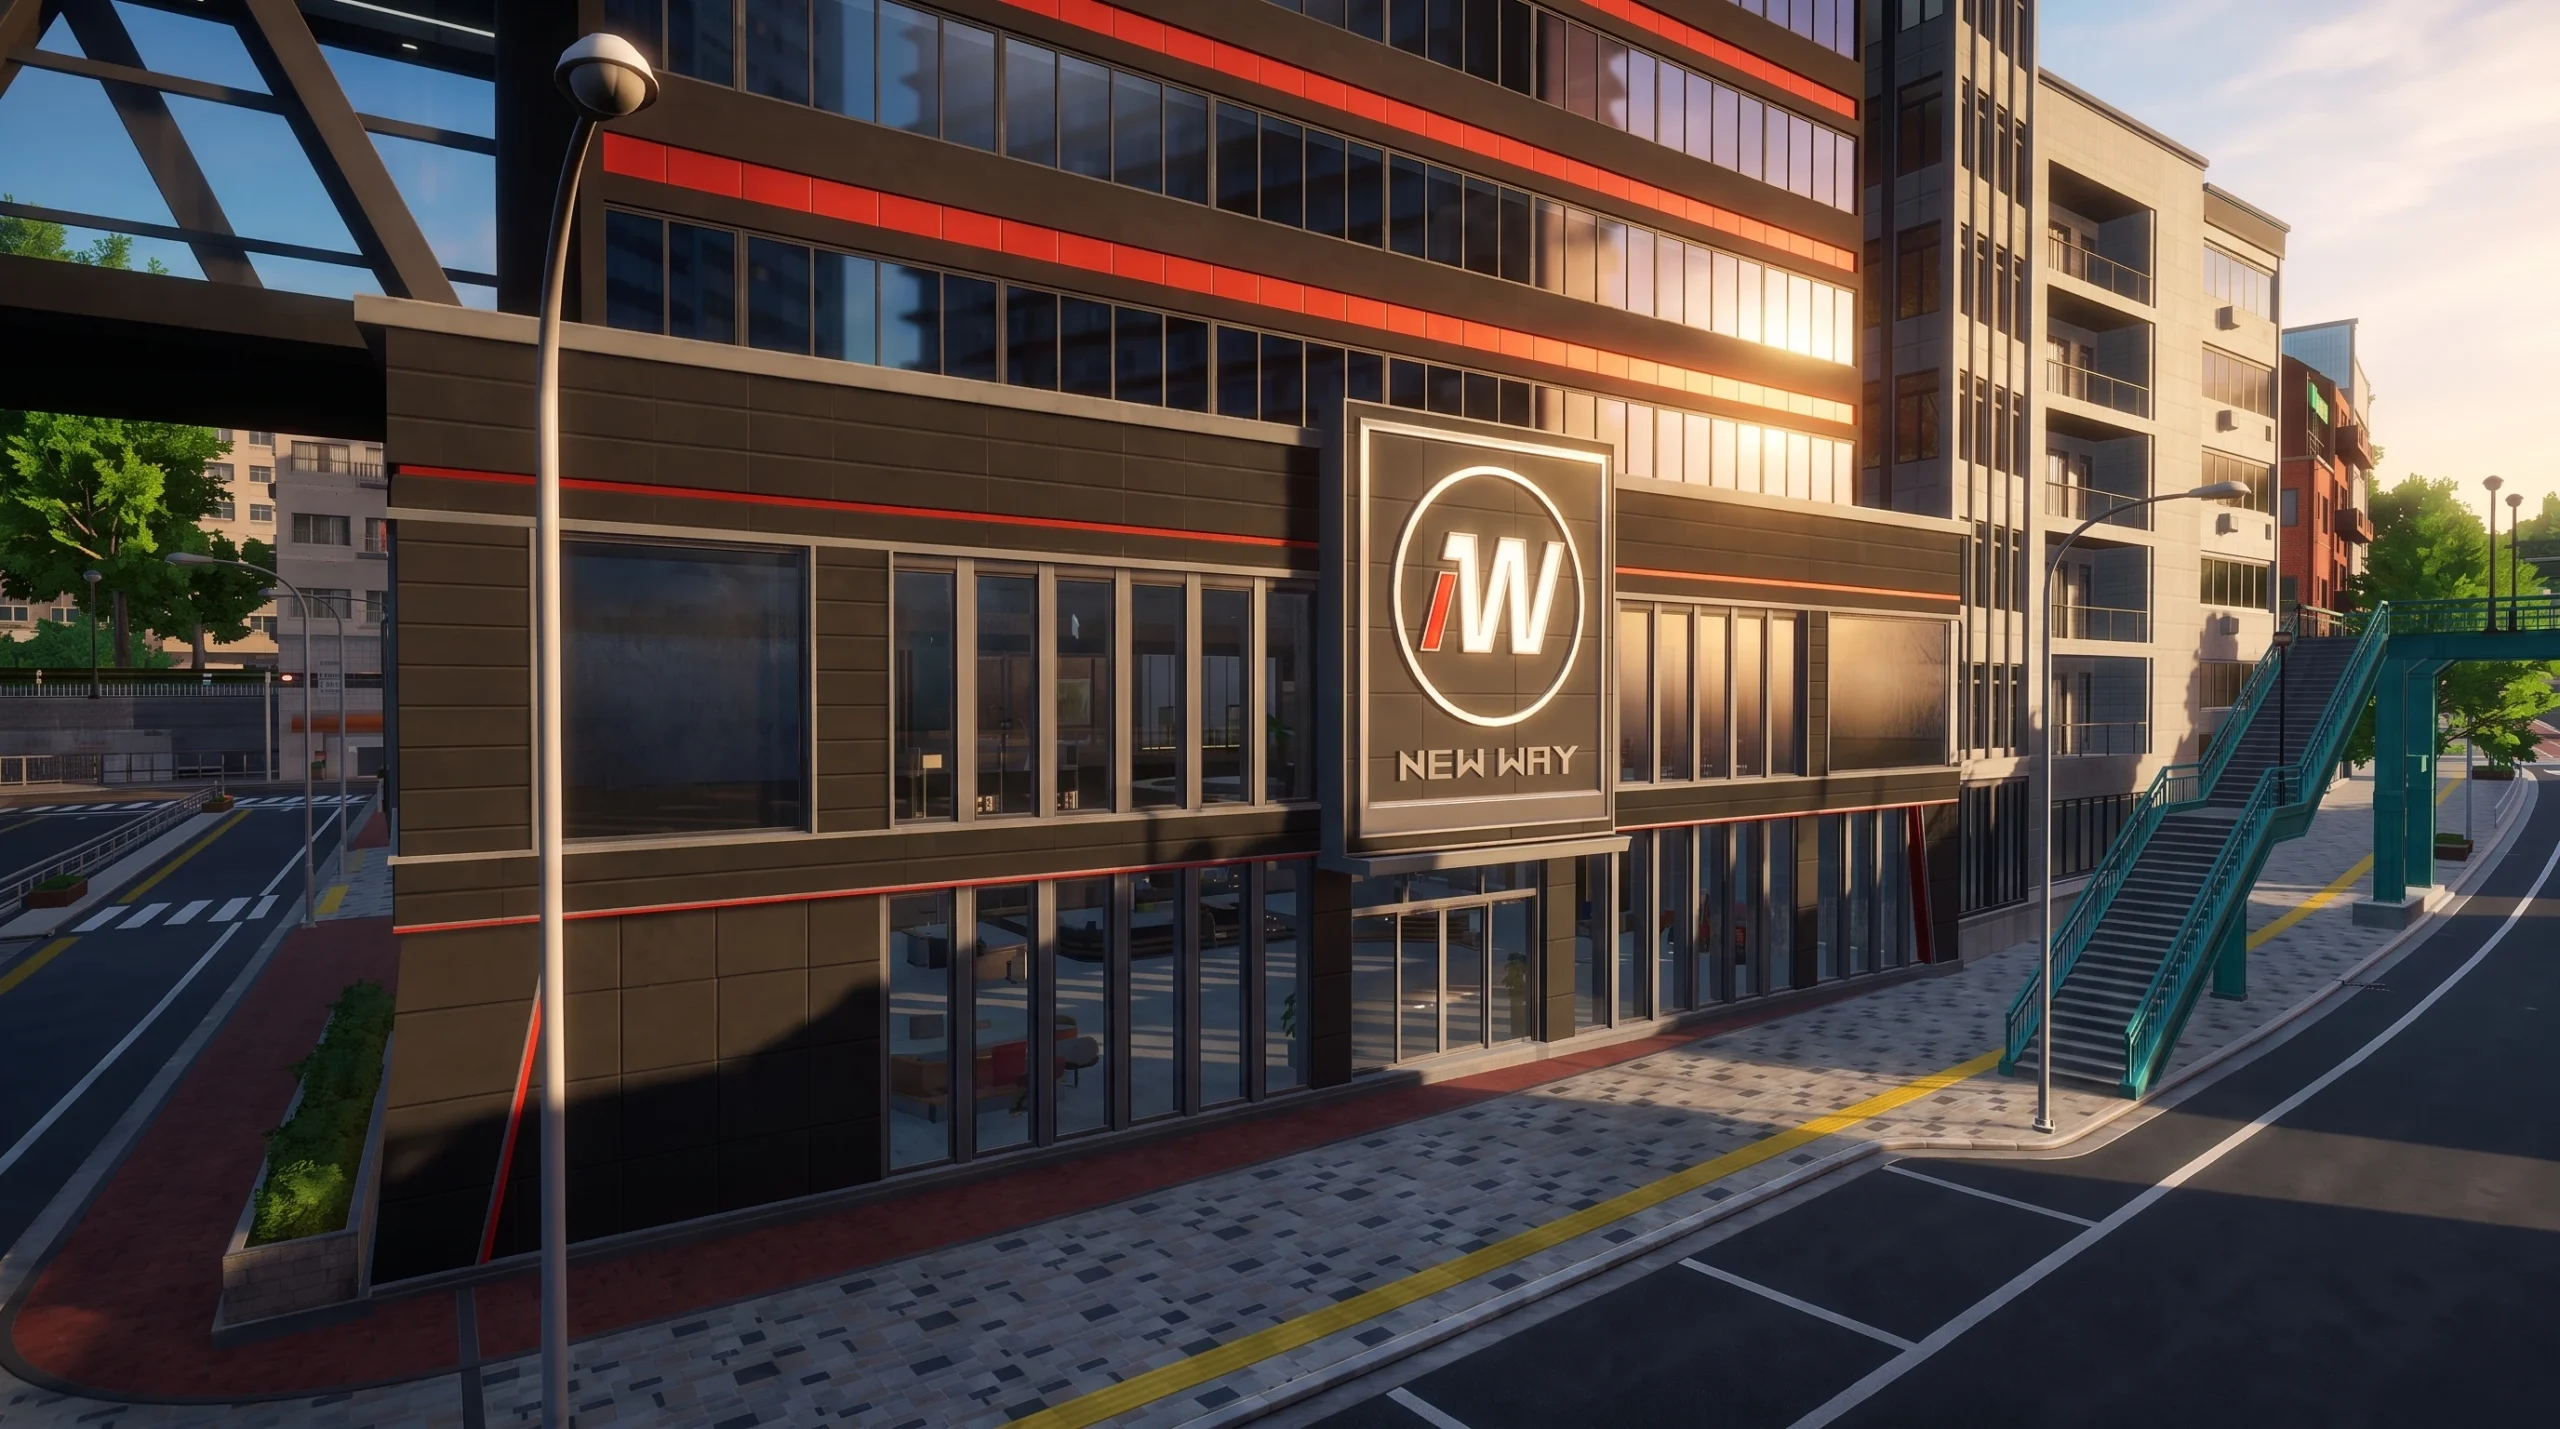
Quick answer: Visit these six spots and take a photo at each to register the Check-in: Green Wall Slope Observatory, Sterry Express, Eibon Antique Shop, The Witch’s House, New Way, and Bridge Crossing Commercial District.
All 6 Bridge Crossings Check-in Points
Each Check-in Point is marked on the map by a camera icon. Bridge Crossings has exactly six, and none of them require a fight or a puzzle. Walk up to the spot, open the camera, and take the shot to lock it in.
| # | Check-in Point |
|---|---|
| 1 | Green Wall Slope Observatory |
| 2 | Sterry Express |
| 3 | Eibon Antique Shop |
| 4 | The Witch’s House |
| 5 | New Way |
| 6 | Bridge Crossing Commercial District |
How to register a Check-in Point
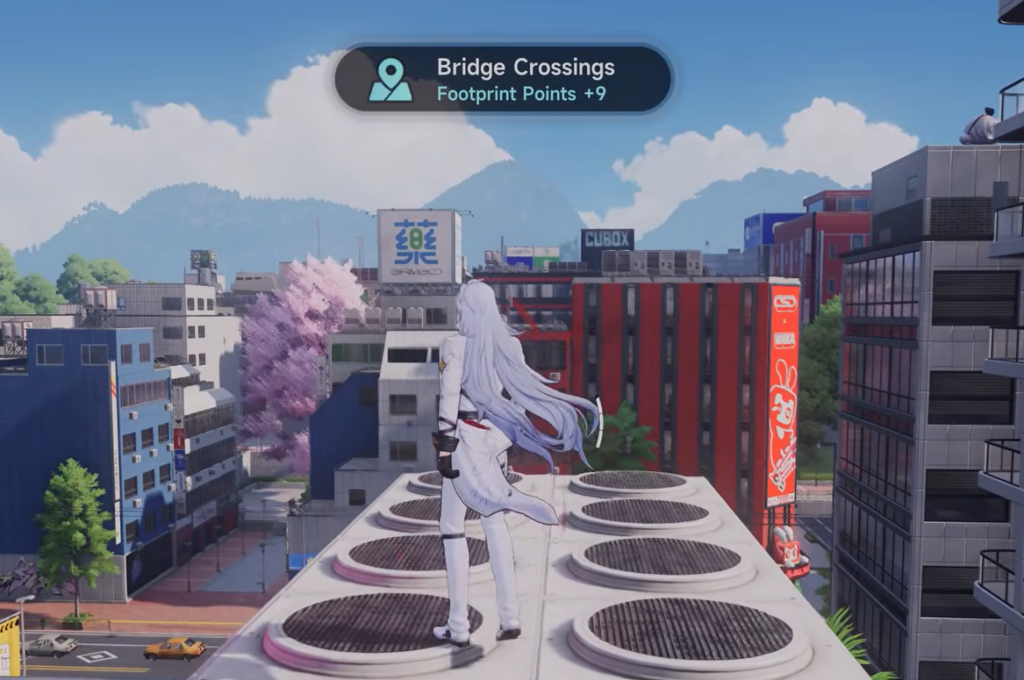
You know it worked when the reward pop-up shows the Footprint Points you just earned. That confirms the Check-in is counted for the district.
What Check-in Points do
Every Check-in awards Footprint Points, tracked in the Wanderer’s Journal. Each of Hethereau’s districts has its own Footprint Point total, and the more you accumulate, the more rewards you can claim from the Journal. The six Bridge Crossings spots feed directly into that district’s tally.
The photos are also stored in-game. Your album keeps up to 36 photos and videos for 15 days. If you want to keep a shot permanently, save it to a local folder using the button in the bottom-right of the photo view, which is also how you export images to share.
Photos left only in the in-game album disappear after 15 days, so save anything you care about locally before then.
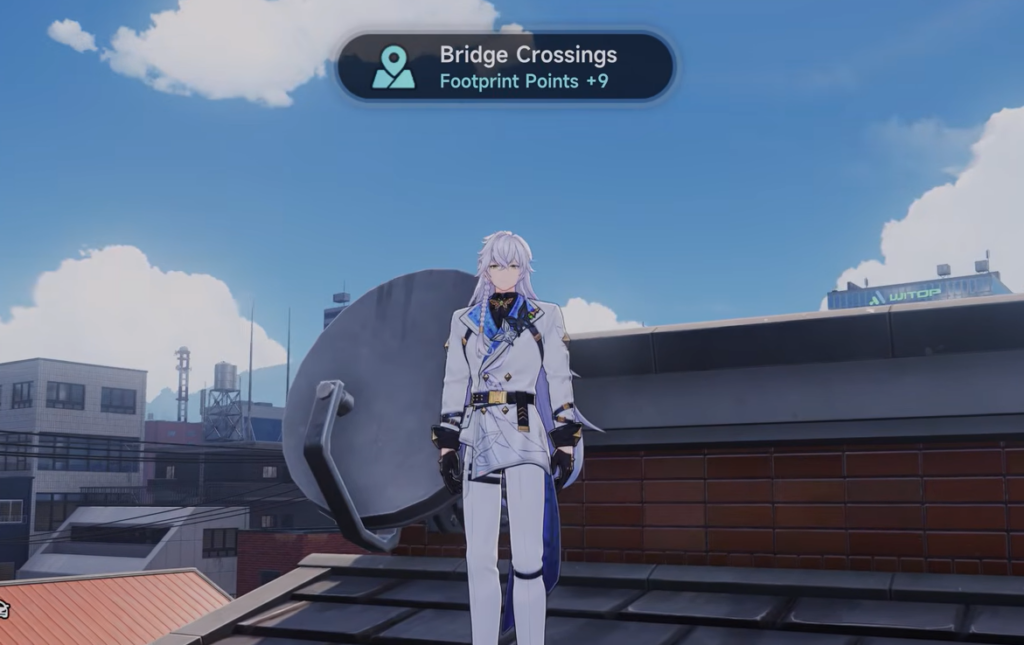
Once all six Check-in Points are photographed, they stop appearing as pending on your map, and their Footprint Points are added to the Bridge Crossings total. From there, keep collecting the district’s Oracle Stones, Gifts from “21,” and other markers to push toward full exploration.