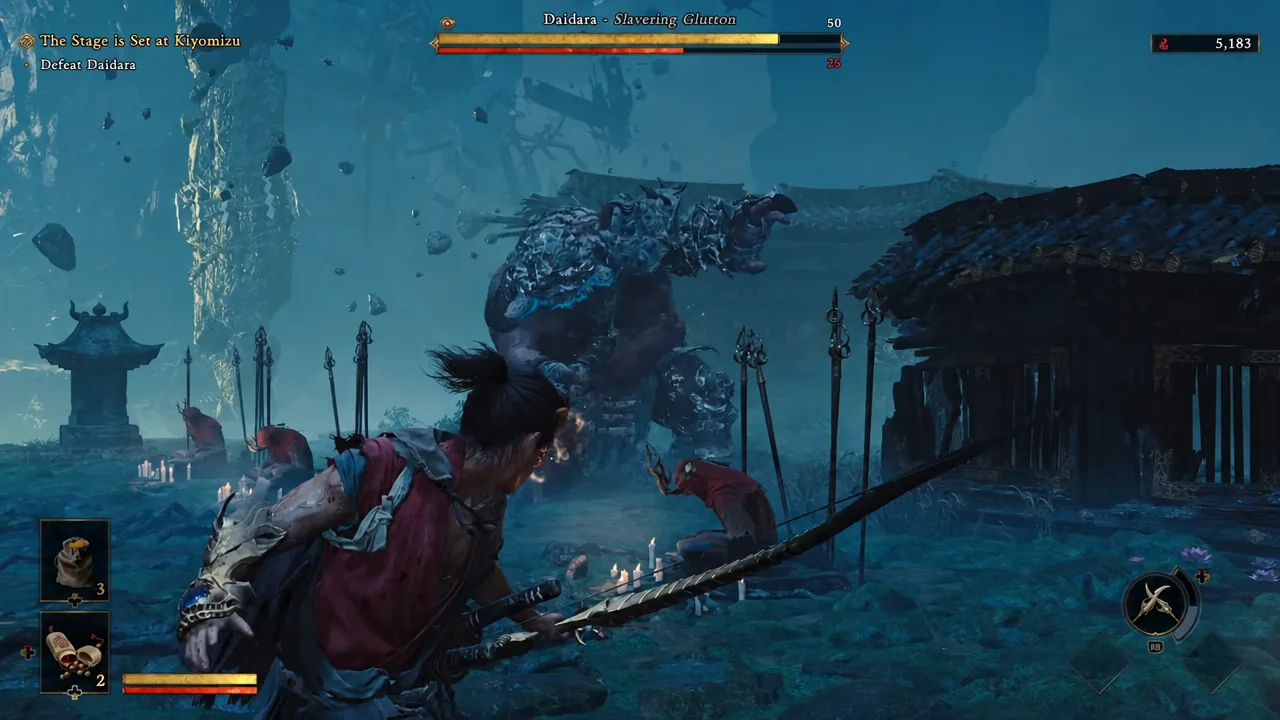
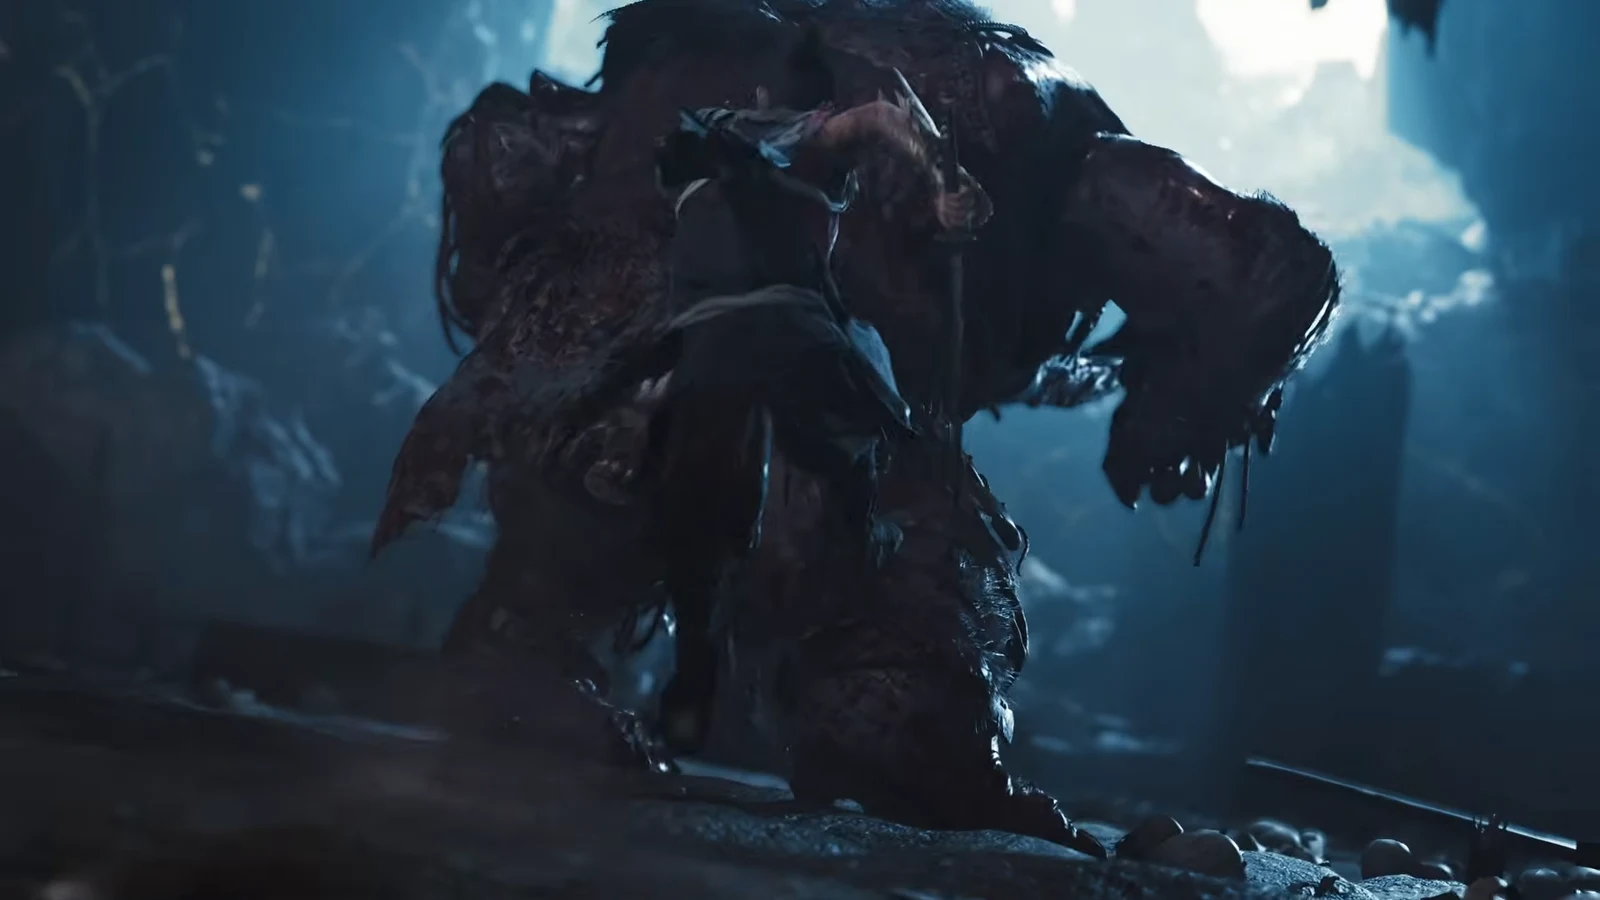
Daidara, the Slavering Glutton, is the giant armored Genma that caps off the Oni Refuge in Onimusha: Way of the Sword. It hits hard, it staggers you if the first swing of a combo lands, and — unlike anything you have fought up to that point — it eats the souls you knock loose. Beating it is less about out-damaging a huge health bar and more about controlling the arena floor.
Quick answer: At the start of each phase, shoot Daidara’s head, arms, and legs with the Oni Bow to break off its armor and drop its defense, parry the full club combo (the last swing matters most) to stagger it, perfect-dodge the grab, and vacuum every loose soul with the Oni Gauntlet before Daidara can swallow them.
Where Daidara appears in Onimusha: Way of the Sword
Daidara waits in the Oni Refuge, the otherworldly stretch of floating islands, odd gravity, and ruins that materialize out of nothing that Musashi reaches after his duel with Sasaki Ganryu at Kiyomizu-dera Temple. The encounter closes out the mission The Stage is Set at Kiyomizu, which makes Daidara the second boss you meet and, in the demo, the final one.
The setup is a misty courtyard littered with debris, where hooded figures wearing antler-like headpieces kneel and mutter to themselves. Daidara crashes down on top of them, crushes one, and claims that every Oni in the area belongs to it.
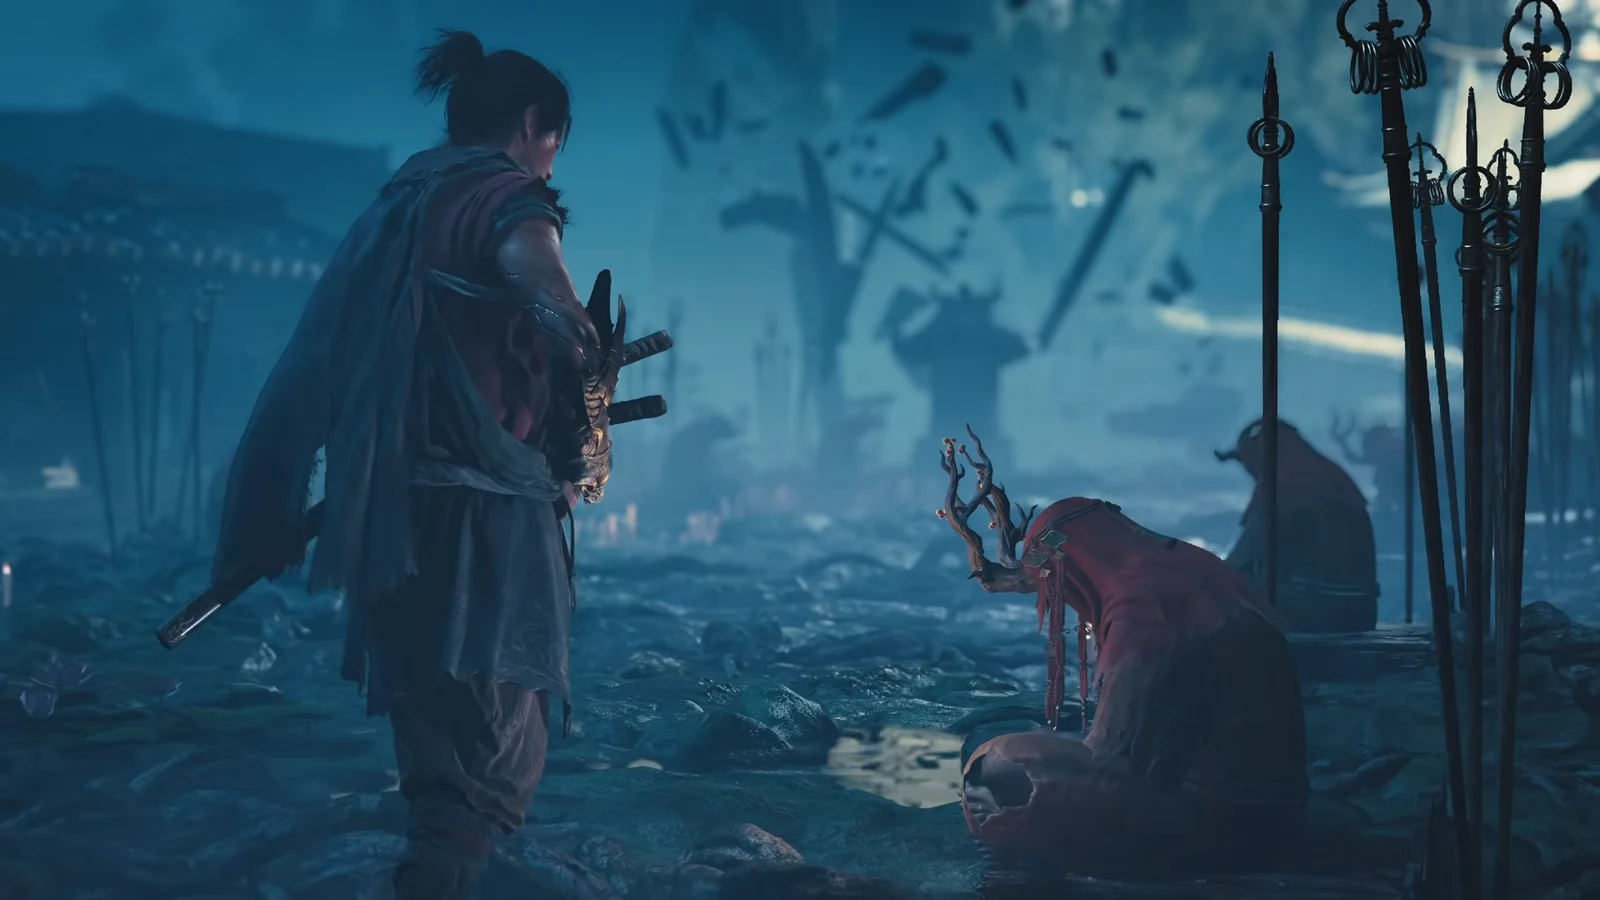
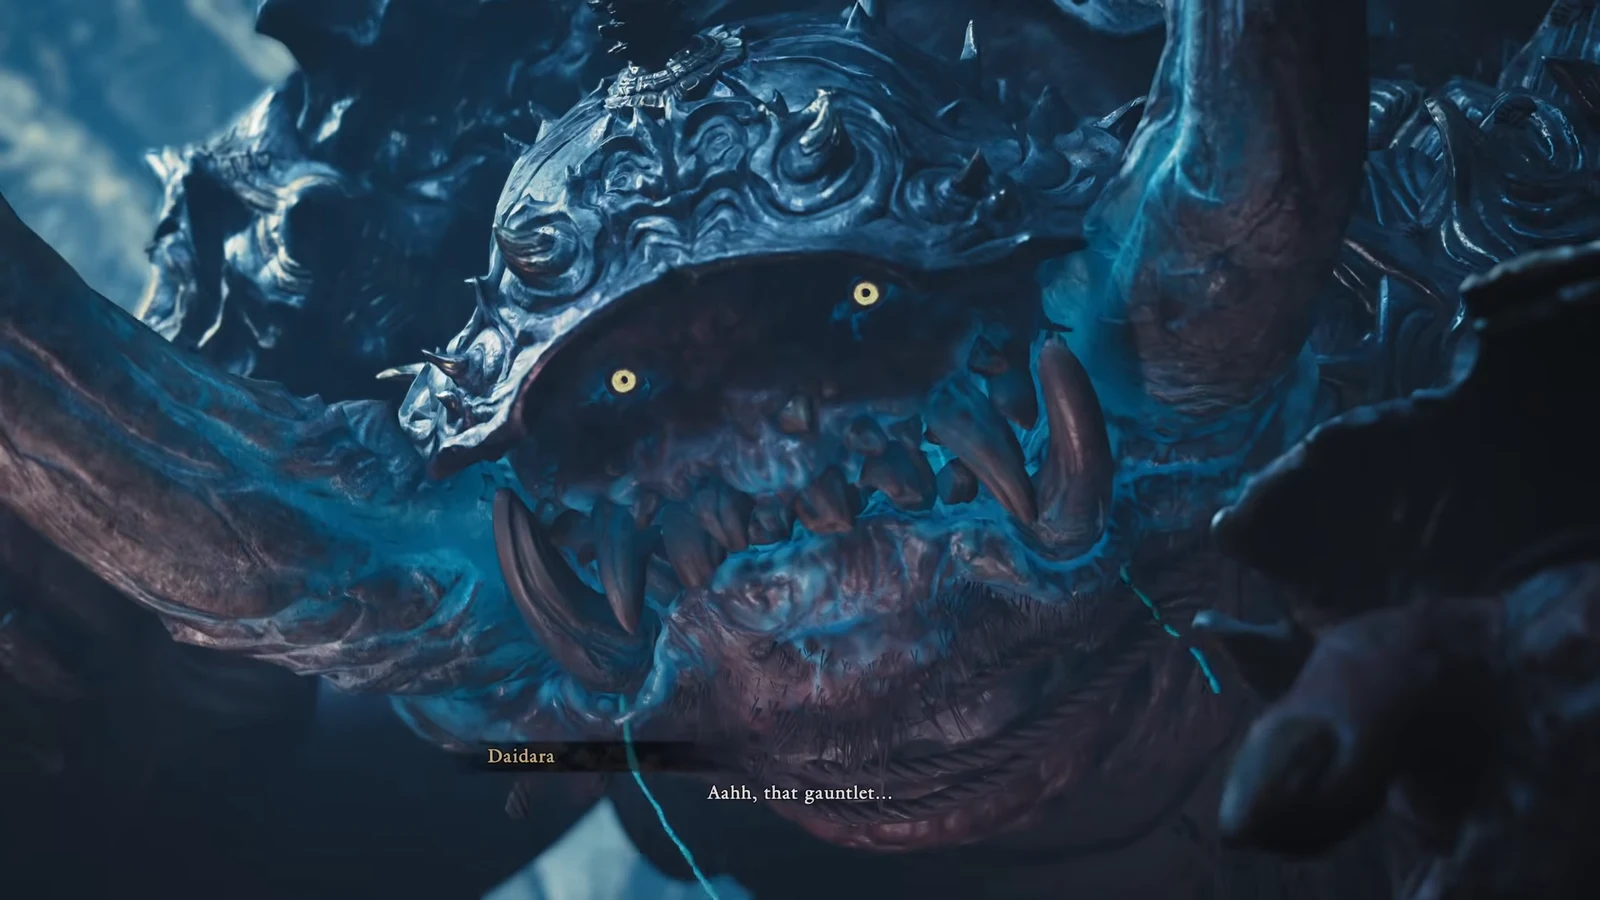
Then it spots the Oni Gauntlet on Musashi’s arm, works out what it is, and the fight starts. That reaction is the whole point of the encounter, because the gauntlet is the tool you will be racing Daidara with for the next several minutes.
The soul race: How Daidara powers itself up
Fighting generates souls, and those souls sit on the ground until someone picks them up. Daidara can eat them. When it does, it enters an enhanced state — its belly and mouth glow — and its attacks start doing noticeably more damage.
The counter is simple to describe and hard to hold to under pressure: absorb souls with the Oni Gauntlet before Daidara gets to them. Treat every soul on the floor as a timer. A short attack string followed by a retreat and a collection pass is worth more than an extra hit at the end of a combo, because souls also feed your equipment upgrades and ability unlocks alongside the treasures you find.
The safest windows to collect are the recovery frames after Daidara commits to a big swing, and the moments when it backs off to reposition. There is no fixed rotation here — you are reading its animations, not following a script.
The grab attack is the other way it drains you. If Daidara catches Musashi, it takes your souls directly, cutting your HP, Stamina Bar, and Oni Gauge in one go.
Daidara’s attacks and how to counter each one
Daidara is slow, but everything it throws takes a large chunk of health. The club chain is the attack you will see most, and parrying it cleanly is what buys you offense time.
| Attack | How to handle it |
|---|---|
| Three-swing club chain | Parry all three. Nailing the final swing keeps Daidara staggered for a long window. Eating the first hit leaves you wide open for the rest. |
| Four-hit combo (second phase) | Same approach, but there is a deliberate pause between the third and fourth swing. Do not release your guard early. |
| Charge | During the wind-up, put a wall behind you. Dodge as it closes so it slams into the wall and staggers itself. |
| Grab | Perfect Dodge it. Getting caught costs you souls, HP, stamina, and Oni Gauge at once. |
| Soul absorption (enhanced state) | Beat it to the souls with the gauntlet. Once its belly and mouth glow, everything it does hurts more. |
If parry timing is not clicking, dodging is a legitimate fallback. The fight takes longer, but Daidara’s slow wind-ups give you plenty of room to sidestep and chip away instead.

Strip Daidara’s armor with the Oni Bow at every phase start
The single biggest damage swing in this fight is armor removal. At the beginning of each phase, back off and put arrows into Daidara’s head, arms, and legs. Breaking that armor lowers its defense, so every sword hit afterward lands for meaningfully more.
The bow doubles as a safety valve. If the club sweeps are catching you every time you close in, staying at range and picking at armor plates is a slower but far more forgiving way to make progress, and it keeps you clear of the grab entirely.
Phase one plays out in the open courtyard. Once you have done enough damage, the floor gives way and both of you drop into a lower chamber full of skulls, where Daidara leans harder on its charge and spiked club swings. Re-do the armor pass as soon as the second phase begins.
Oni tools that shorten the Daidara fight
Two abilities cut this encounter down more than raw damage does. With a full Oni Gauge, the Oni Armament The Two Celestials will break the momentum of both the grab and the charge, which turns Daidara’s two most punishing moves into free openings. Oni Strength, the heavy Oni ability, is the answer when normal swings stop making progress against its guard.
Break Issen triggers once you fully drain an enemy’s Stamina Gauge. Aim it at Daidara’s purple core — then immediately hoover up the souls it releases, because that burst is exactly the moment Daidara is most likely to feed itself.
Dodging is not purely defensive either. Continuous dodging fills the Reflex Dodge gauge, and a full gauge lets Musashi unload a Reflex Combo.
| Action | Input (DualSense) |
|---|---|
| Dodge | Circle |
| Parry | L1 |
| Deflect | Hold L1, press X |
| Absorb souls (Oni Gauntlet) | L2 |
Long attack strings are the main reason runs fall apart. Daidara’s size makes standing in its shadow and swinging feel safe, but the recovery on those animations is what gets you grabbed. Keep combos short until you know the tells, then extend during clear openings.
How you know the fight is over
The kill is a cutscene, not a fade-out. Musashi cuts through Daidara, the boss disintegrates, and the souls it had swallowed are freed and pulled into the gauntlet. One of them takes the form of Shizuka Gozen, who explains what the gauntlet’s power actually is before vanishing and pointing Musashi toward Rokudo-chinnoji Temple.
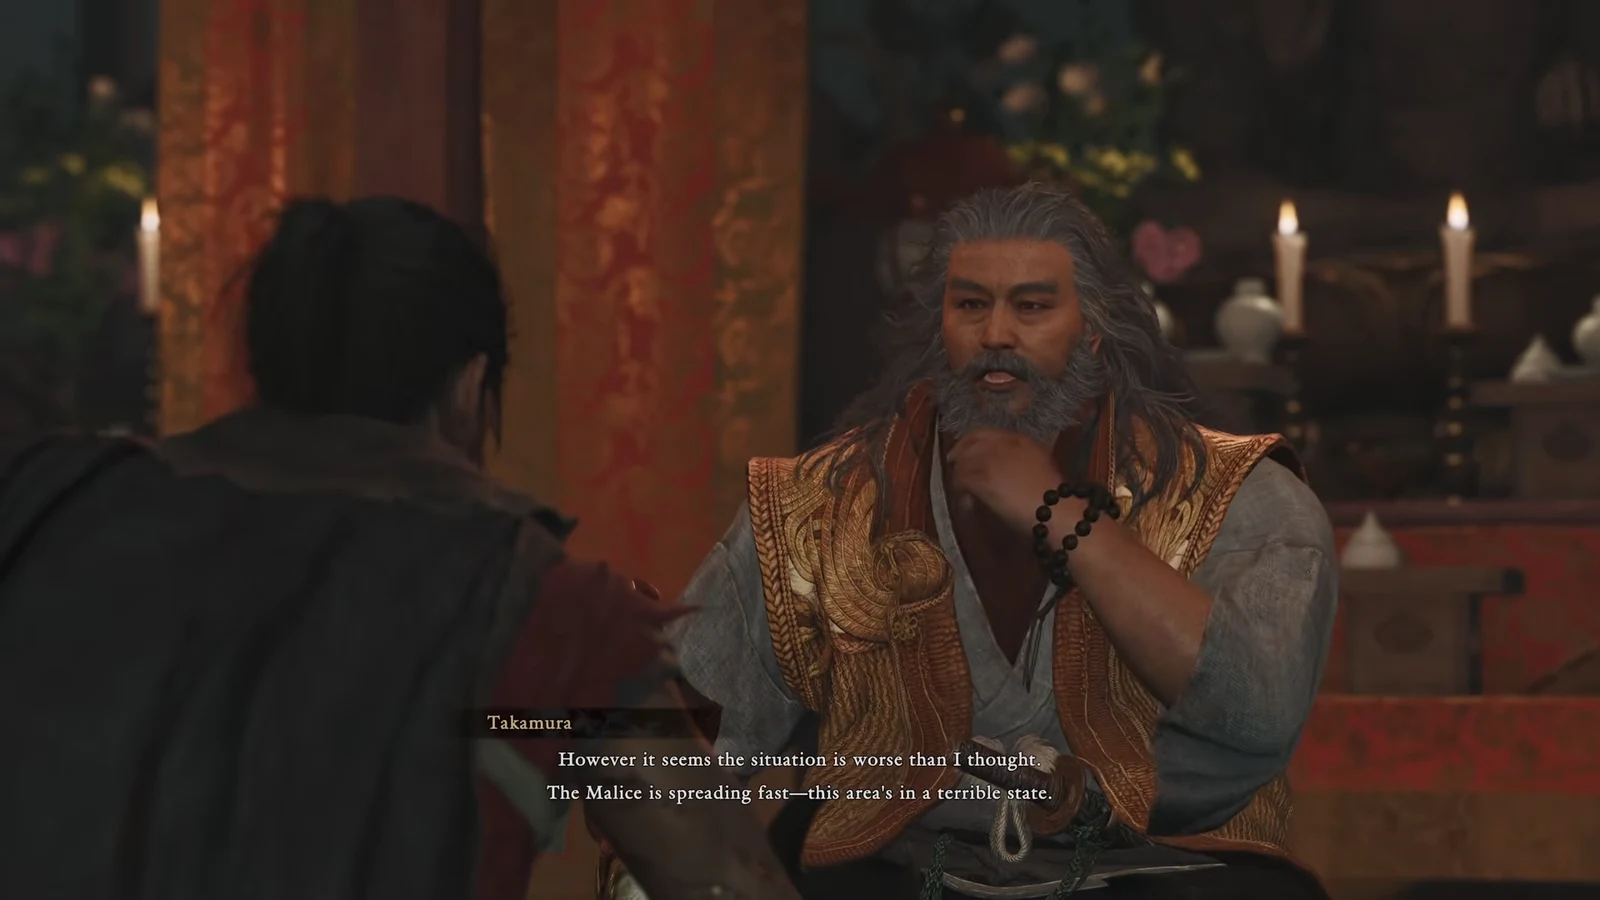
In the demo, that cutscene is the end of the road — a “Thank you for playing” screen follows. Demo progress does not carry into the full release, but bringing qualifying demo save data across unlocks the Kubi Akari Charm and a stat boost for Musashi. That reward is tied to having the save data, not to beating Daidara specifically.
Daidara was added to the demo in the August 25 update, alongside the expanded Oni Refuge areas, and the updated version is still on the PlayStation Store if you want a run at it before committing.
Capcom pulled the full game’s launch forward from September 25 to September 4, 2026, releasing it on PlayStation 5, Xbox Series X|S, Nintendo Switch 2, and PC through Steam, the Epic Games Store, and the Microsoft Store. Daidara is an early lesson in a rule that holds for the rest of the campaign — the boss with the biggest arms is rarely the biggest threat on the screen. The souls on the floor are.