

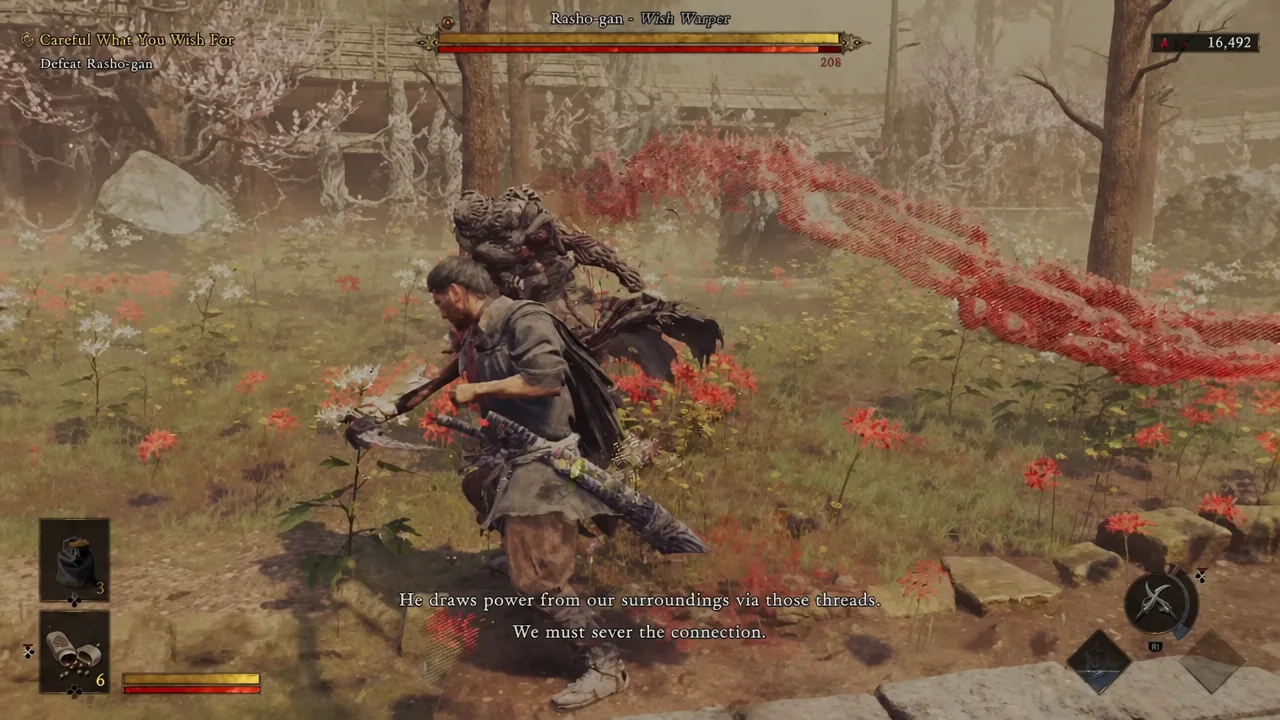
Rasho-gan is the third major boss in Onimusha: Way of the Sword, and he shows up during the Careful What You Wish For main quest as the first real wall in the game. He is a multi-limbed Genma who has been feeding on the anxieties of Kyoto’s residents and granting their wishes in the worst possible way. He is fast, he hits hard enough to erase Musashi in a couple of exchanges, and he drags half the arena into the fight with him.
Quick answer: Parry his three-hit blade combo to stagger him, Reflex Dodge the overhead slam and the grab, and shoot his tendrils with the Oni Bow the moment he starts hauling trees and boulders into the air. Sever the threads feeding him power, drain his stamina bar, and finish him during the stun.
Rasho-gan attack patterns and the correct response
Almost everything Rasho-gan throws at you has a fixed answer. Learn the tells and the fight stops being a coin flip.
| Attack | Tell | What to do |
|---|---|---|
| Blade combo | Three swings, with the third one delayed | Parry all three. He staggers, giving you a free three-hit punish. |
| Parry follow-up | He strikes again immediately after your first parry | Counter the follow-up as well. Only appears after his health drops to about 60 percent. |
| Slam | Arms raised above his head | Reflex Dodge. This one cannot be parried and takes a large chunk of health. |
| Grab | He reaches to lift Musashi off the ground | Reflex Dodge. If it lands, expect a punch barrage and a throw into a wall. |
| Tendril grab | Tendrils snap toward you | Counter straight away, because a strike follows. Mash the on-screen prompt to break free. |
| Tendril throw | Tendrils pick up trees, stones, or pieces of buildings | Shoot the tendrils with the Oni Bow to cancel it and drop the object on his head. |
| Spin attack | Second phase only | Move out of range. It is technically parryable, but the window is brutal. |
| Projectiles | Ranged fire, including a large blob | Dodge or deflect. Shoot the blob out of the air rather than eating the damage. |
Phase 1: Build your punishes off the blade combo
The 60 percent shift: What the enhanced state adds
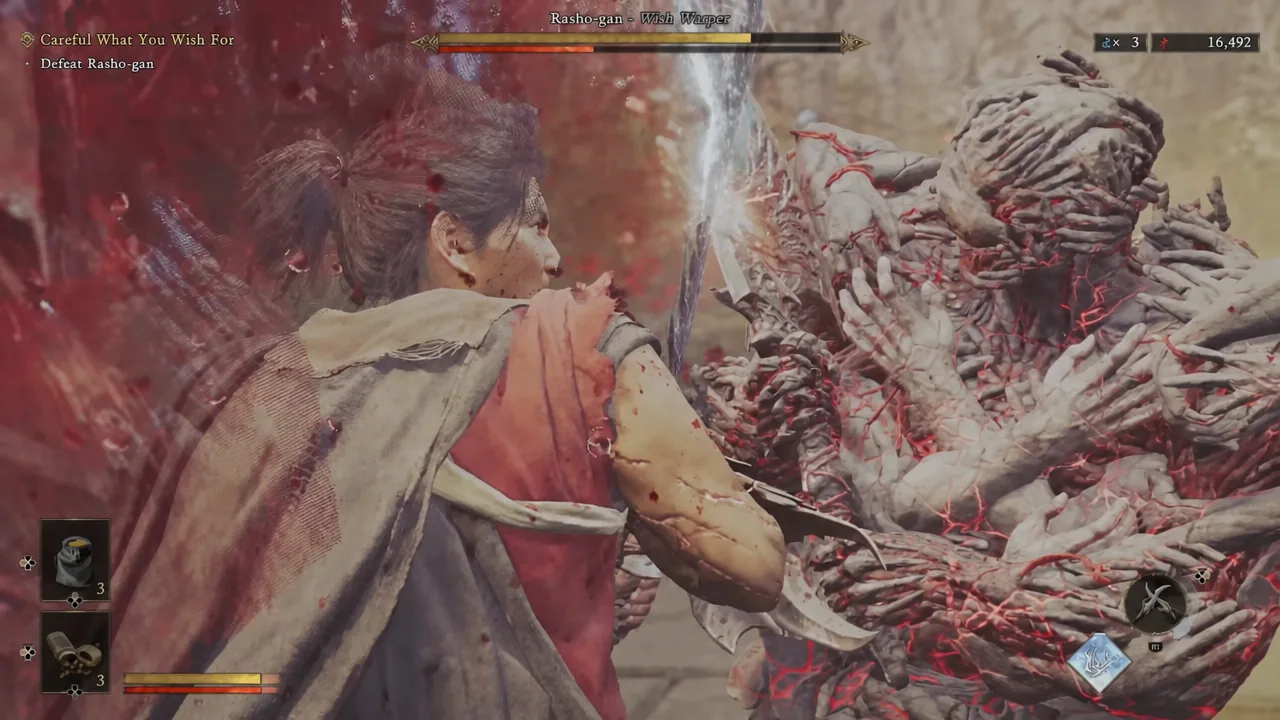
Around 60 percent health, Rasho-gan enters an enhanced state. Damage output climbs, and his moveset picks up two additions that catch most players out. The blade combo now has a follow-up that fires the instant you parry the first hit, so a single parry is no longer a safe exit. He also gains a spin attack that briefly stuns you on contact.
The grab is the single most dangerous move in this half of the fight. It lifts Musashi, chains a series of punches, and ends with a throw into a wall, and the whole sequence can end a run outright. Treat any lunge as a grab and dodge on reaction rather than trying to trade.
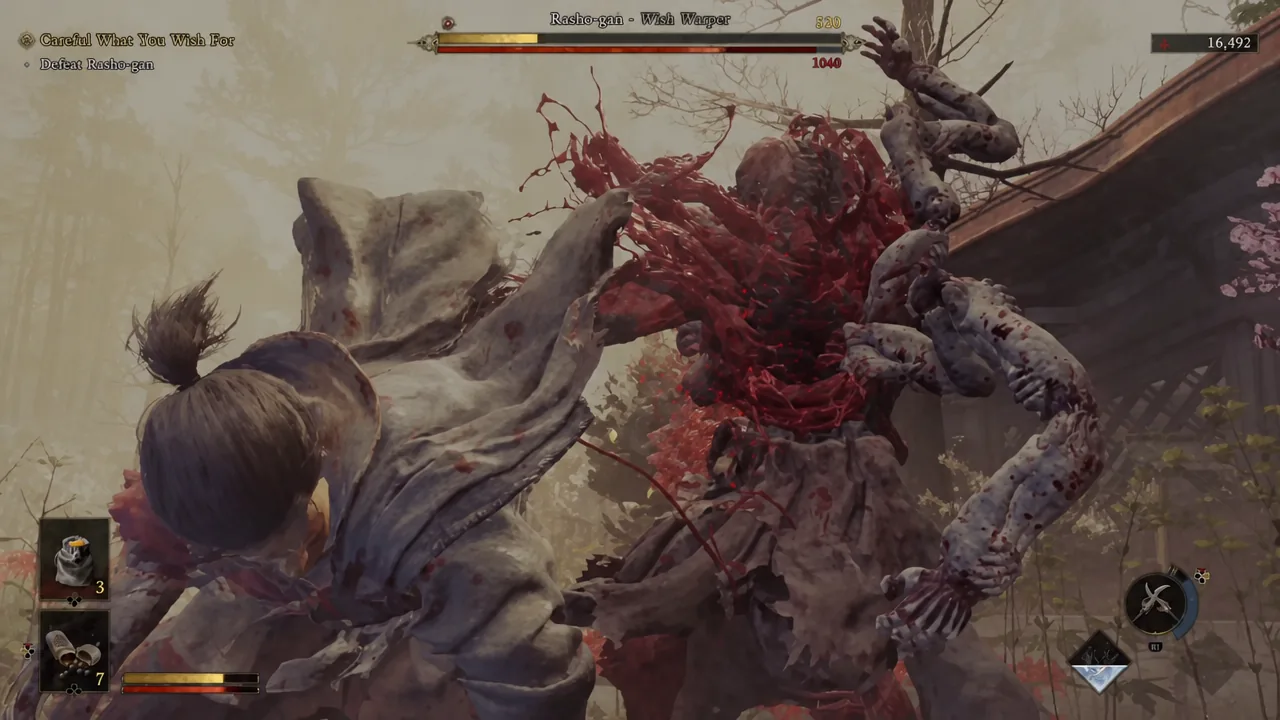
Note: bosses in this game shift into their enhanced state dynamically. Take heavy damage early and Rasho-gan will flip over sooner than expected, so playing clean in phase one directly buys you an easier phase two.
Sever the threads with the Oni Bow
Rasho-gan is not fighting you on his own power. He draws strength from the surroundings through the threads bound to his body, which is why chipping at his health bar alone feels so slow. Cutting that connection is the actual solution to the fight.
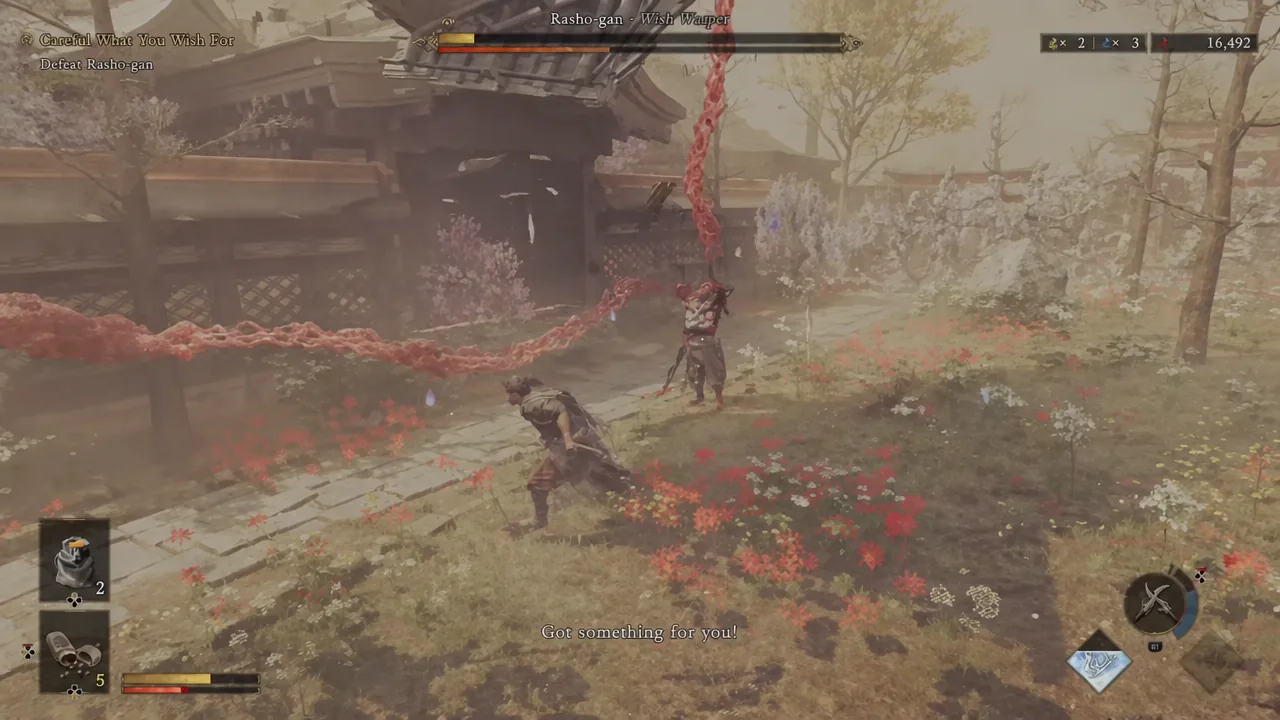
Draw the Oni Bow whenever his tendrils reach out and grab something from the arena, whether that is a tree, a boulder, or a chunk of a building. Shooting the tendril cancels the throw, and the object often comes crashing down on him instead. Severing the binding leaves him stunned and wide open, which is your best sustained damage window in the entire encounter.
The same applies to his projectiles. The large blob he lobs at you can be shot down before it reaches Musashi, and doing that is far safer than dodging through it.
Blazing state, Oni Armament, and breaking his stamina
Consecutive parries fill the Blazing Gauge. Once you enter the blazing state, deflecting his attacks deals a significant amount of damage on its own, which turns his relentless aggression into your main source of chip damage. That is the loop to build the fight around, not raw offense.
Oni Armament gives you a short stretch of invulnerability. Save it for moments when you are boxed in by projectiles or an area attack and need to keep attacking without reading his patterns perfectly. Landing Oni Armament hits also generates souls, which feeds straight back into your Awakening gauge.
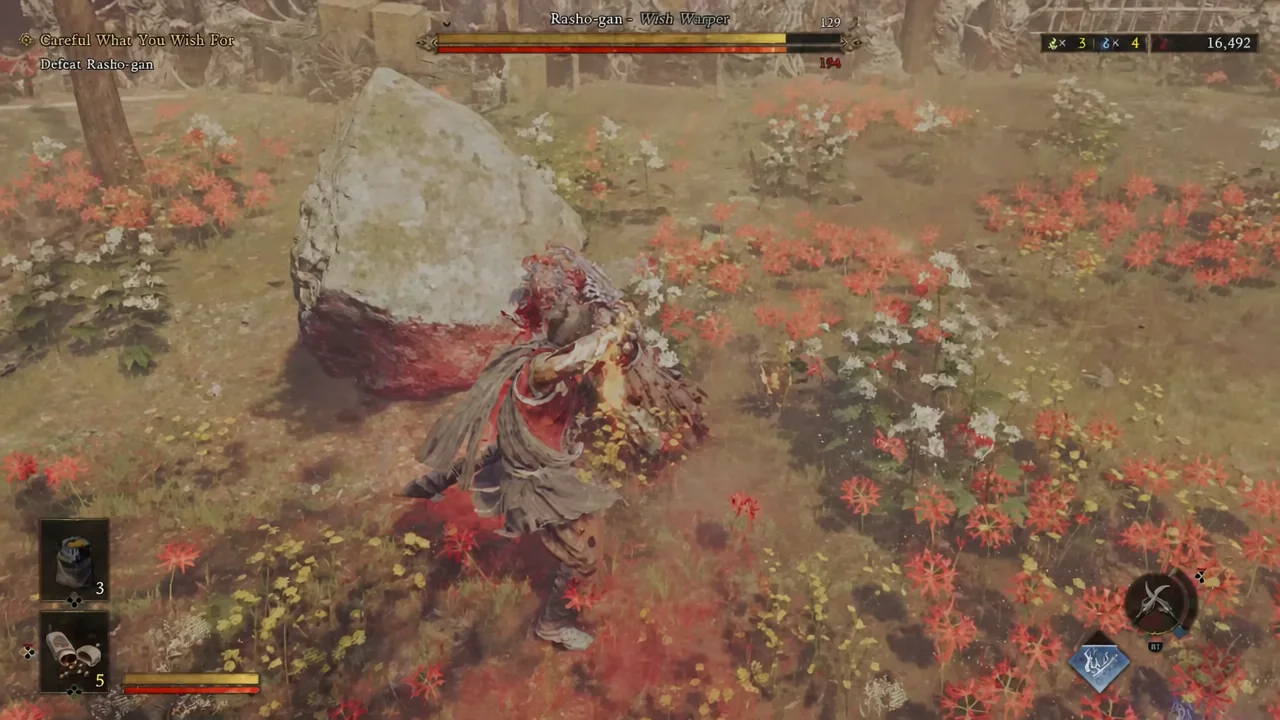
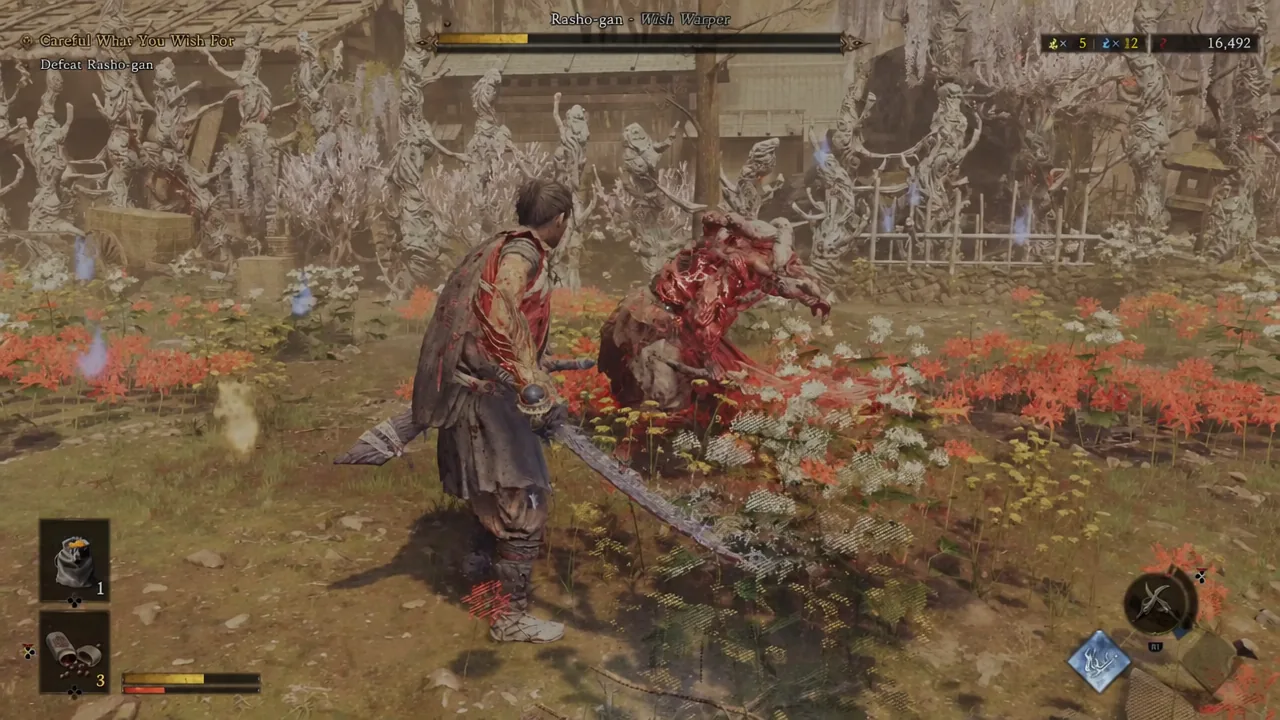
Deflects and parries drain his stamina bar. When it empties, his posture breaks and he is stunned, and you get a choice of what to take from the opening. Red soul sparkles convert into direct damage on the boss, while purple ones release health, Oni Power, and Awakening souls. Against Rasho-gan, take the direct damage when you are healthy and the souls when you are not.
Why attempts fail
- Trying to parry the slam. It is unparryable, and eating it usually sets up the next attack to finish you.
- Burning every healing item in phase one. Keep a reserve for the enhanced state, where a single grab can wipe most of your bar.
- Ignoring the tendrils. Letting him keep the threads intact means grinding down a health bar that regenerates its power source.
- Attacking into his combo. Parry the string first, then punish. Swinging early loses the exchange nearly every time.
- Treating the on-screen button prompts as reaction cues. They tell you which button applies, not when to press it, and the timing is on you.
Confirming the kill and the Oni Strength reward
You will know the fight is over when his posture breaks for the last time and the finisher plays out instead of him recovering. Careful What You Wish For then moves forward, and Musashi picks up a new skill, Oni Strength, which is the game’s way of handing you the muscle to shift the heavy objects blocking your progress from here on.





