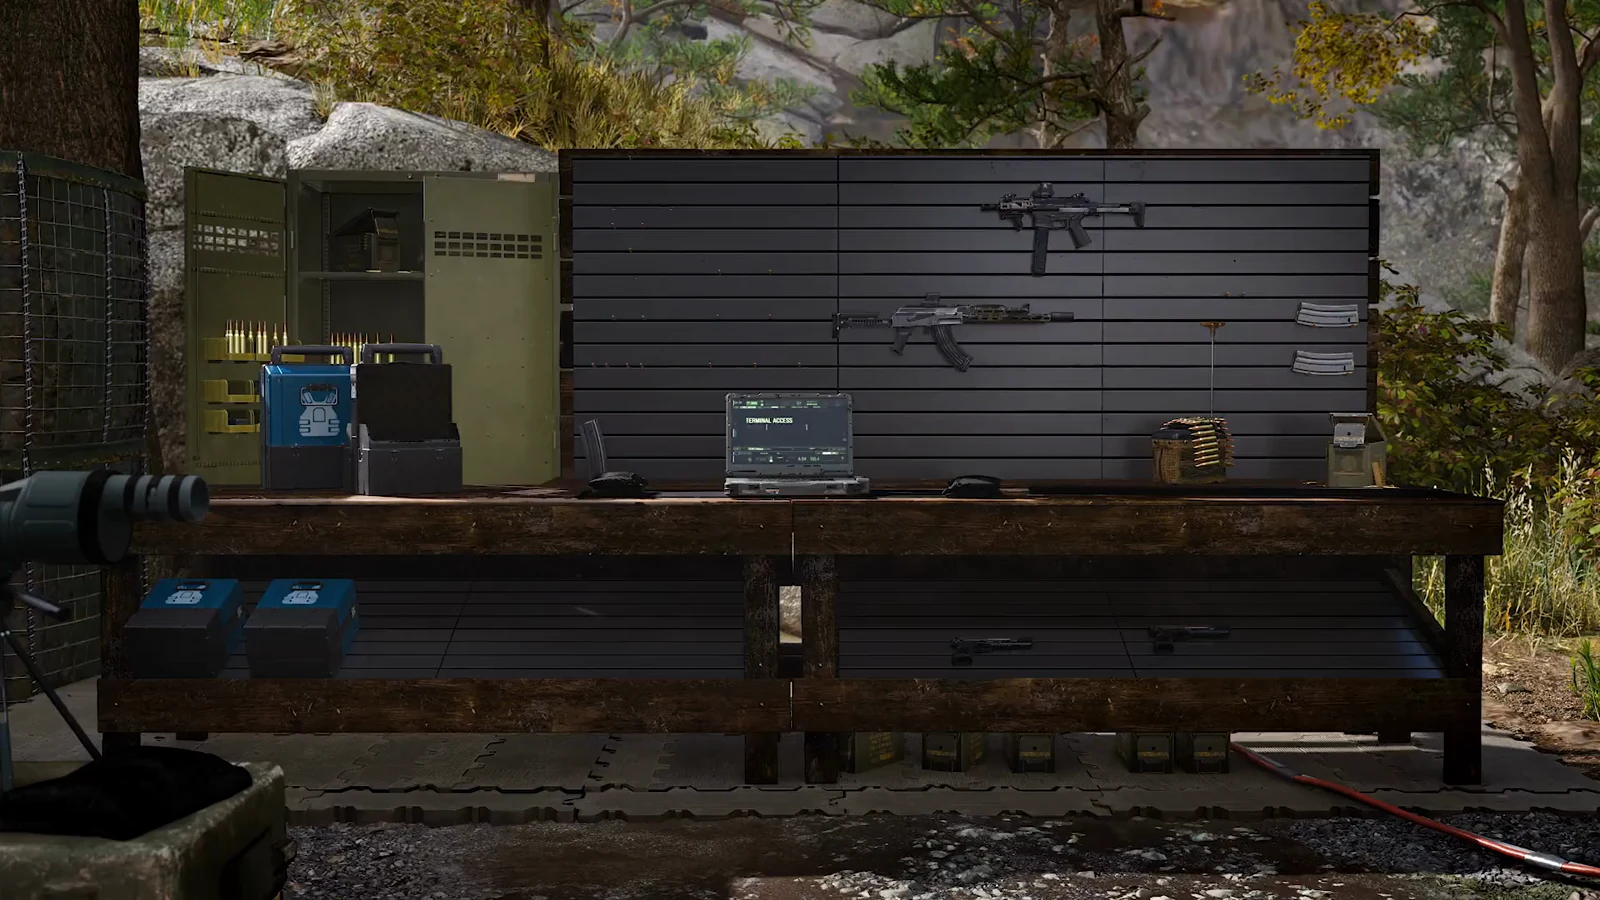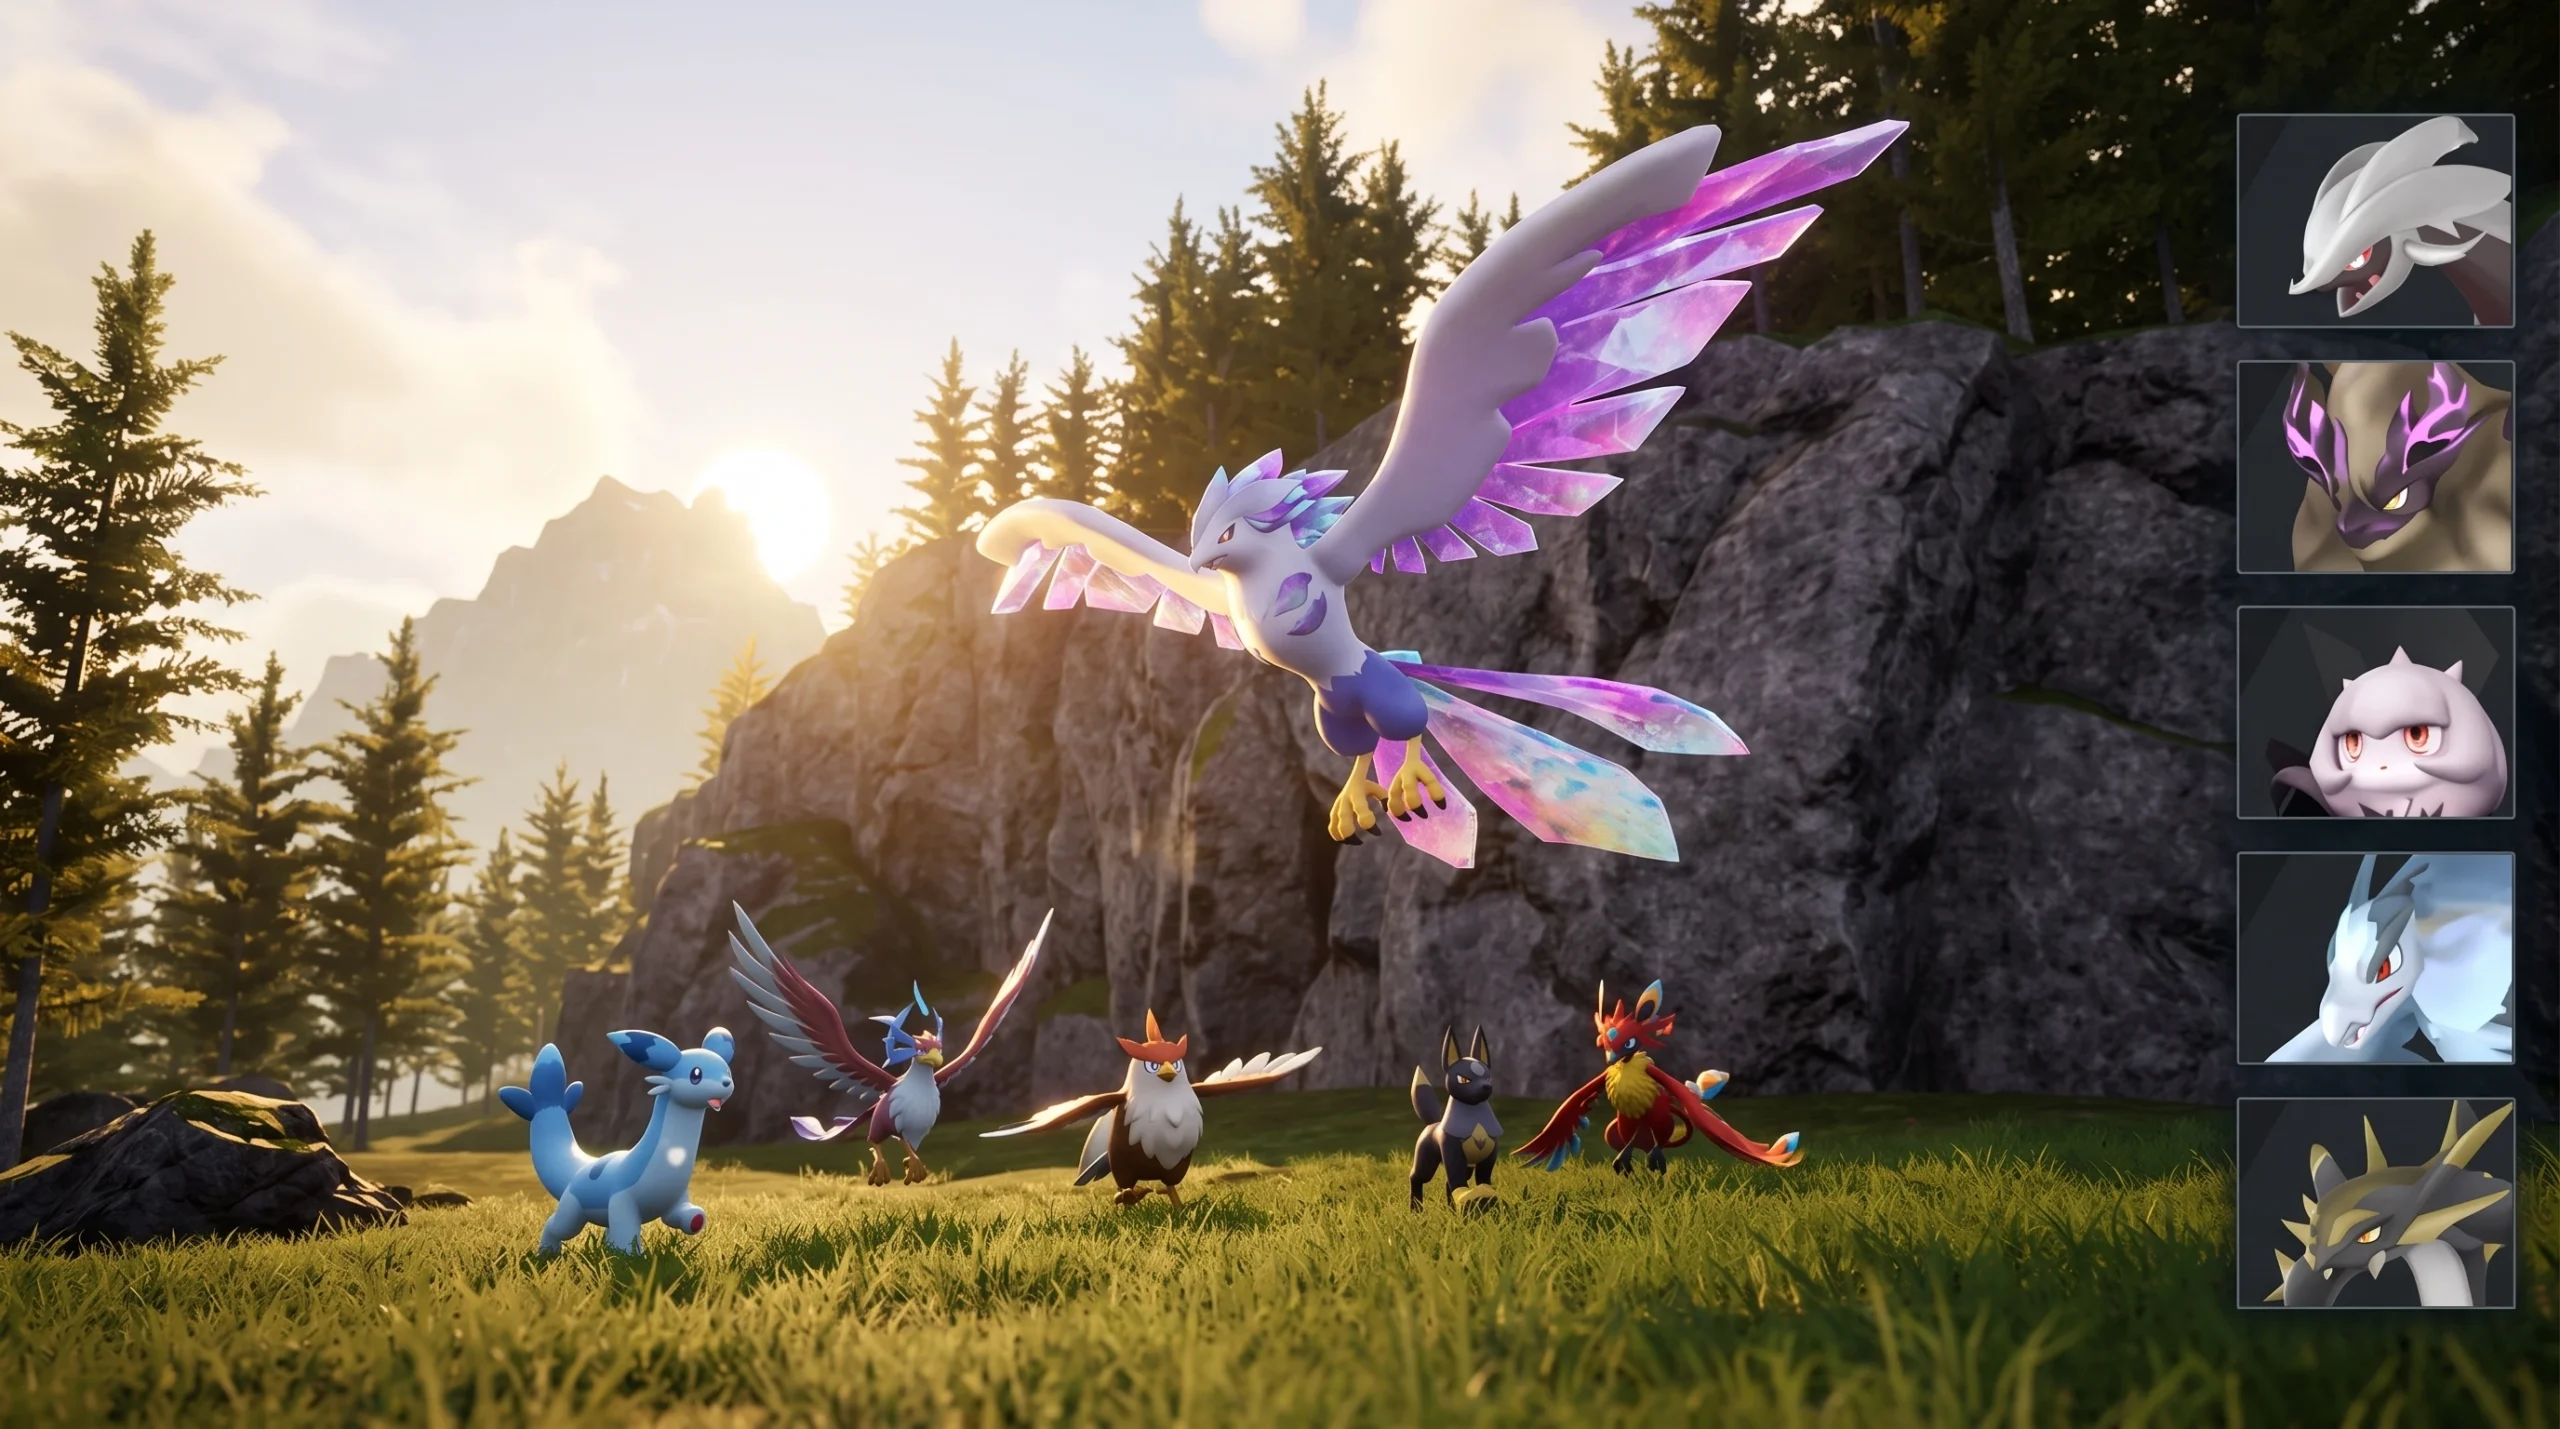
Two Pals do the heavy lifting in every top endgame party in Palworld 1.0. Orserk and Silvegis act as fixed booster slots, buffing your whole team while keeping you alive against Hard Mode Tower Bosses. Everything else in the party rotates around them based on the element your target is weak to.
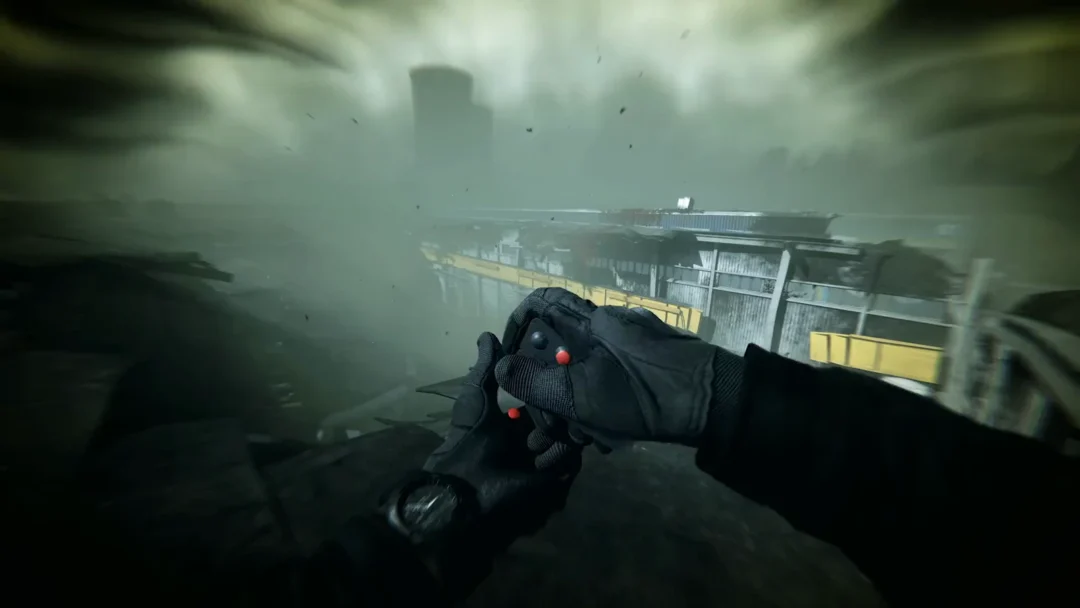
Quick answer: Run Orserk and Silvegis in slots one and two, then fill slots three and four with two Ace Attackers of the boss’s weak element, and slot five with an Elemental Buffer for that same element. Keep Orserk’s Drone Launcher active at all times or its buff drops.
The five-slot party template
The strongest endgame comp uses the same skeleton no matter the fight. Slots one and two are locked to the two booster Pals. The remaining three slots are swapped to match the boss you are facing.
| Slot | Role | Pal |
|---|---|---|
| 1 | Attack/Defense booster | Orserk |
| 2 | Survival booster | Silvegis |
| 3 | Ace Attacker (weak element) | Match the boss weakness |
| 4 | Ace Attacker (weak element) | Match the boss weakness |
| 5 | Elemental Buffer (weak element) | Match the boss weakness |
What the two booster Pals actually do
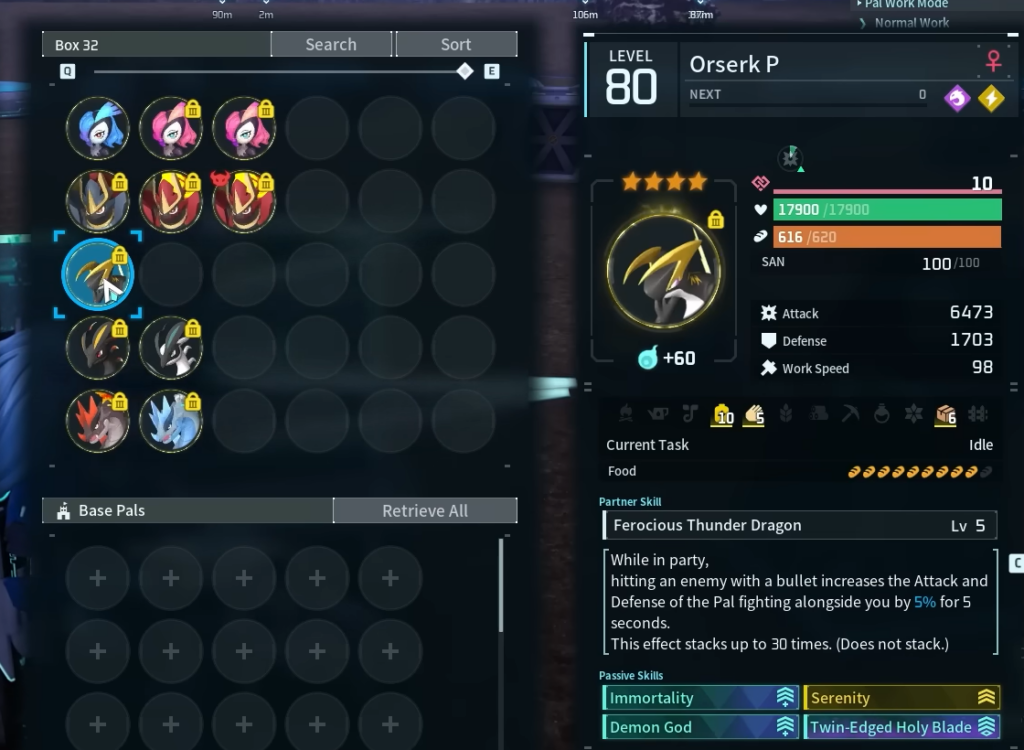
Orserk is an Electric and Dragon type whose Partner Skill raises the Attack and Defense of all your other Pals by 150%. That boost only holds while you keep the Drone Launcher active, so if the launcher expires, the buff vanishes with it. Orserk is also very bulky, which makes it easy to keep on the field.
Silvegis is a Dragon type built for survival. It reduces damage to your Shield by 80% and sharply lowers the chance of losing a run to player incapacitation. Build it tanky, and it can step in during a bad moment to buy time while your other Pals recover HP.
The 150% buff from Orserk is the main reason both Pals sit in every endgame team. Include them regardless of which attackers you pick.

Ace Attackers for slots three and four
Slots three and four carry your damage. Swap these to match whatever the boss is weak against instead of committing to one pair. Some of the hardest-hitting options include the following.
| Pal | Element |
|---|---|
| Bellanoir | Dark |
| Bellanoir Libero | Dark |
| Eidrolon | Dark / Dragon |
| Knocklem | Ground |
| Knocklem Ignis | Fire |
Training two Ace Attackers for every element takes a lot of resources. If you would rather keep things simple, a Dark team built around Bellanoir and Bellanoir Libero, backed by an Ice team to cover their Dragon weakness, handles most bosses reliably.

The Elemental Buffer in slot five
The final slot goes to an Elemental Buffer. At Level 5, its Partner Skill adds a 30% Attack buff to Pals of a matching element, which pushes your Aces to their full damage. Pick the buffer that matches the element you loaded into slots three and four.
| Buffer Pal | Boosted element |
|---|---|
| Cremis / Ribbuny | Neutral |
| Kelpsea Ignis | Fire |
| Kelpsea | Water |
| Bristla | Grass |
| Sparkit | Electric |
| Foxcicle | Ice |
| Dumud | Ground |
| Hoocrates / Demon Eye | Dark |
| Quivern | Dragon |
Lapure as a cooldown alternative
When you build around Bellanoir and Bellanoir Libero, Lapure can replace the standard buffer for a more flexible party. Its Partner Skill, Long-Sleeved Hurray, cuts the Partner Skill cooldowns of the rest of your party by 10% while it stays in the group, and it does not stack. That lets the two Bellanoir Pals fire Nightmare Ray far more often.

Dark team: the reliable default lineup
If you want one comp that works across most fights, the Dark team is the easiest to trust. Bellanoir and Bellanoir Libero’s Nightmare Ray deals 2.5x its normal damage once Orserk’s Attack buff is applied, and Lapure keeps those rays coming.
| Slot | Standard | DPS-focused |
|---|---|---|
| 1 | Bellanoir | Bellanoir |
| 2 | Bellanoir Libero | Bellanoir Libero |
| 3 | Lapure | Lapure |
| 4 | Orserk | Orserk |
| 5 | Silvegis | Hoocrates |
If you do not need Silvegis’s defensive coverage for a given fight, swap it for Hoocrates or Demon Eye to push Bellanoir’s damage even higher. The trade-off is survivability, so keep the tankier version when a boss hits hard.

Making the buffs stick during a fight
The whole party is tuned around buffs stacking together, so the one habit that matters most is keeping Orserk’s Drone Launcher active. The moment it lapses, your team loses the 150% Attack and Defense boost and your damage drops off a cliff. Re-trigger it before it expires and the rest of the comp does its job.
Match your Aces and buffer to the boss weakness, hold Silvegis in reserve for the dangerous moments, and the Orserk and Silvegis core carries the same team through every element with only three swaps.