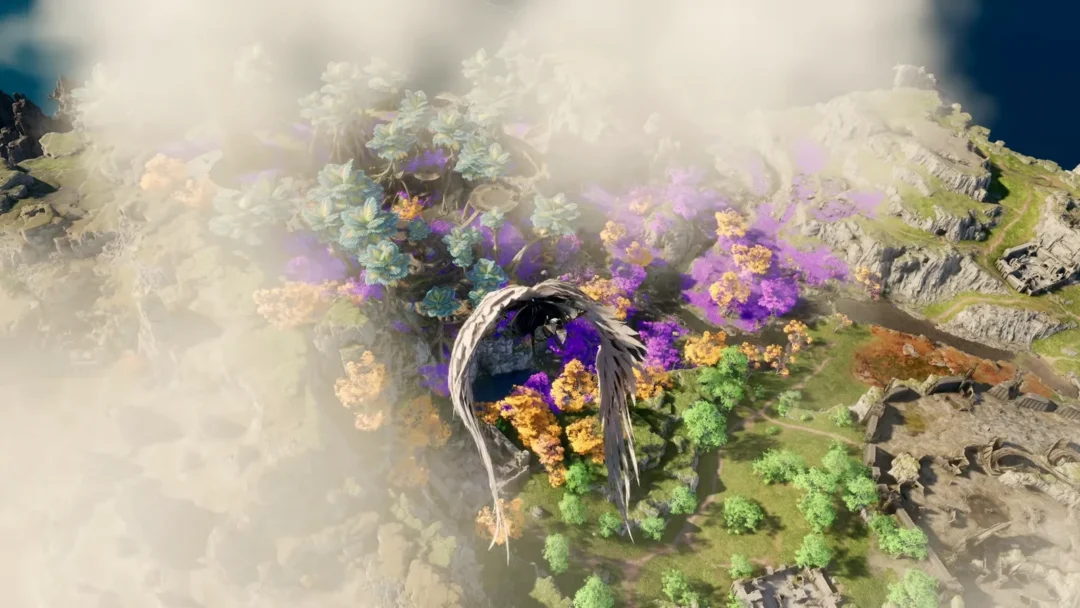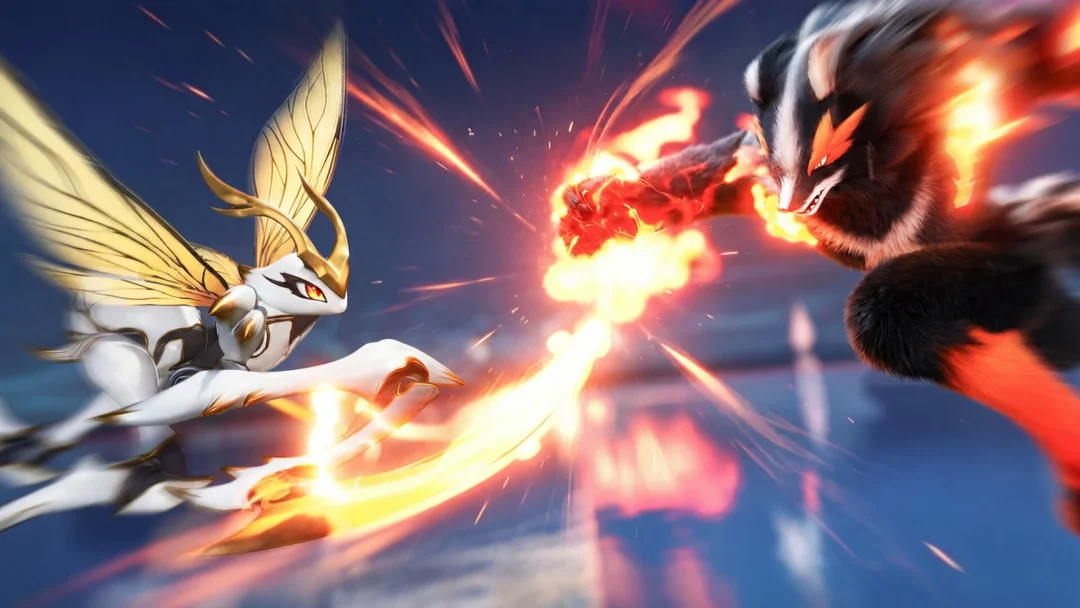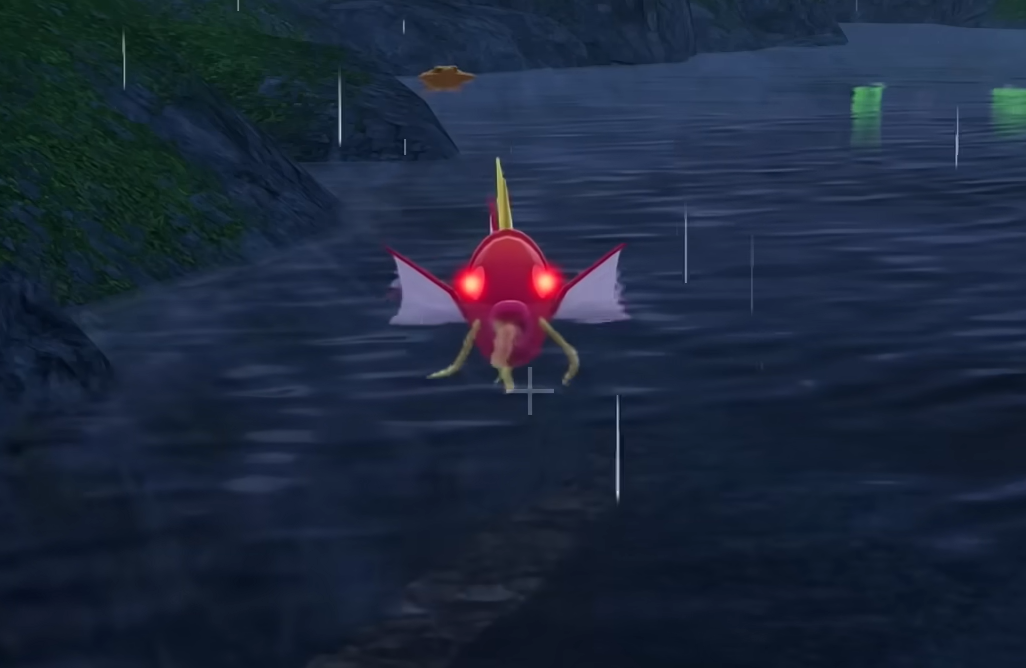
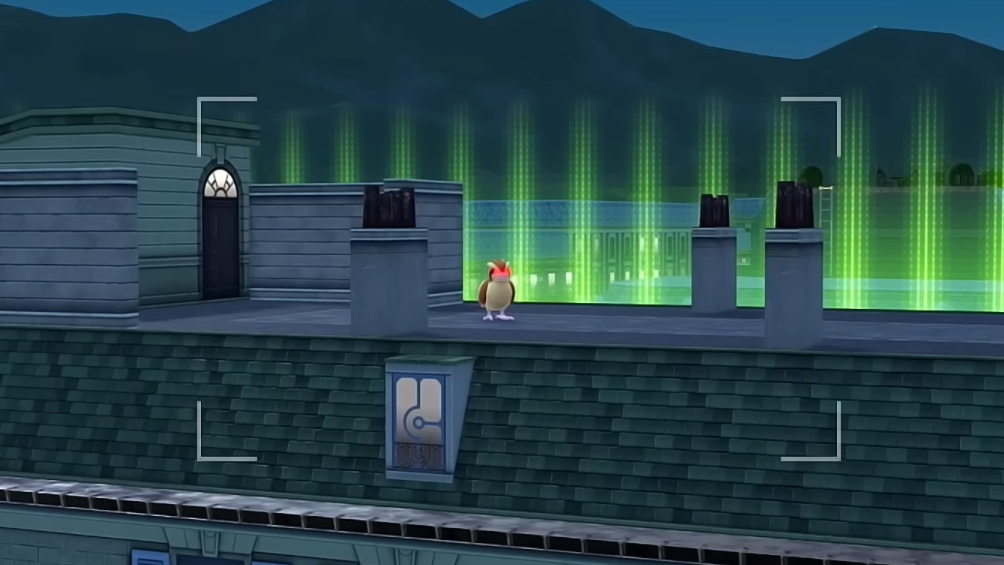
Alpha Pokémon return in Pokémon Legends: Z‑A as oversized, red‑eyed variants that roam Lumiose City’s Wild Zones, rooftops, alleys, sewers, and certain story areas. They hit harder, aggro faster, and often sit several levels above the local population. Below you’ll find how Alpha spawns work, what to expect from shiny odds and locks, a practical capture plan, and a curated list of confirmed static Alpha locations with levels and timing notes.
Alpha Pokémon spawns in Z‑A: what appears where
- Wild Zones: Most Alphas are static or repeatable spawns inside numbered Wild Zones around Lumiose City. Some only show up during the day or at night.
- City rooftops and sectors: Several Alphas perch on specific rooftops or sector blocks (Jaune, Bleu, Rouge, Magenta), often requiring ladders or “holovators.”
- Sewers and labs: Late‑game or high‑level Alphas appear in the sewers (sector-specific rooms) and in Lysandre Labs.
- Mission ties: A handful are tied to Main Mission 40 encounters, and a few are rewards/targets in Side Missions.
- Zone completion and post‑game: In some zones, Alpha variants begin appearing after you’ve caught all local species; a subset only starts spawning later in the game.
Can Alpha Pokémon be shiny?
Yes, Alpha Pokémon can appear shiny in Z‑A, but they’re rare. Standard shiny odds apply, and the Shiny Charm improves your chances. Alpha encounters that are granted or forced by Missions and Side Missions are shiny‑locked. Free-roaming Alphas (including recurring Wild Zone spawns) can be shiny.
How to catch Alpha Pokémon consistently
- Pick the battle: Clear nearby mobs first so multi-target moves don’t dogpile your team. Many Alphas patrol with smaller allies.
- Open carefully: Quick Ball on first contact can sometimes stick, especially on sleeping spawns. If it fails, pivot to a standard battle.
- Work to red HP: Bring the Alpha into the red without knocking it out. Avoid recoil moves and overpowered super-effective hits late.
- Apply status: Sleep and paralysis dramatically raise catch odds; burn and poison chip down, but risk a faint—use with care.
- Throw better balls: Great Ball and Ultra Ball outperform regular Poké Balls. Dusk Ball shines at night or inside dark areas; Repeat Ball helps if you’ve already registered the species.
- Use the real‑time window: When the Alpha is low, you can keep tossing balls during the real‑time phase. Stay mobile—wide arcs like Solar Beam, Hydro Pump, and Hyper Beam can tag you if you stand still.
- Mind positioning: Don’t park directly in front of forward “beam” lines; many need to angle down from elevation, creating safe sidesteps.
- Don’t stray: If you kite an Alpha too far from its arena, it can reset and heal.
- Survivability: Taking several hits causes a blackout and sends you back to the last Pokémon Center you visited, so use dodges liberally.
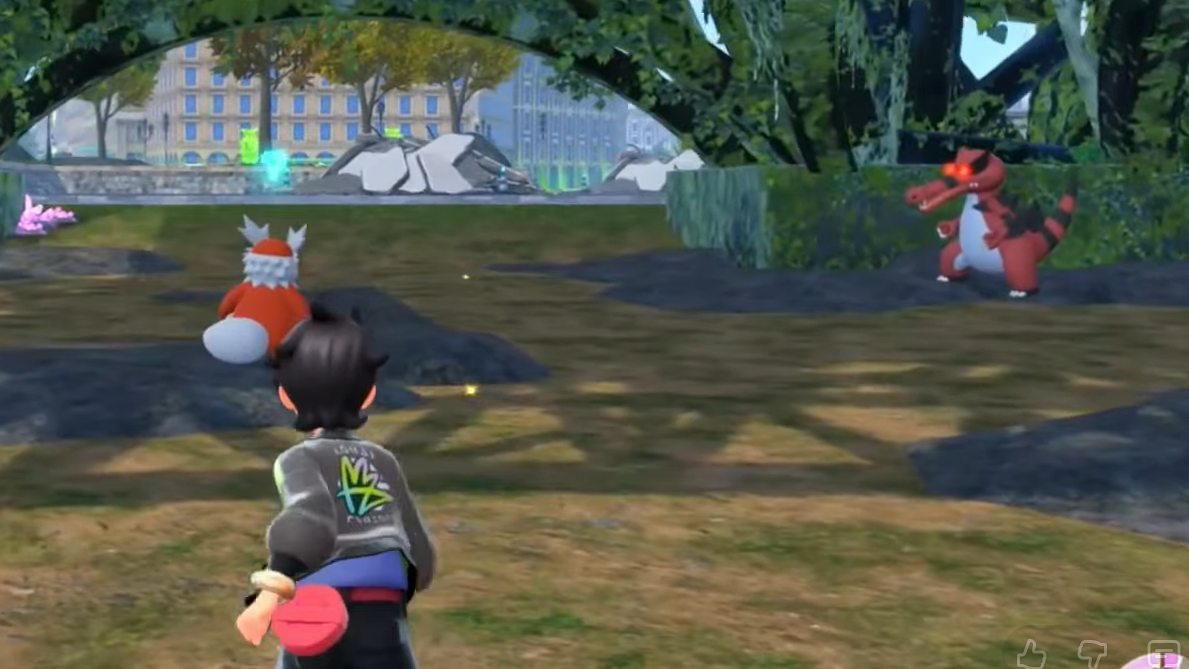
Confirmed Alpha Pokémon locations (work in progress)
The table below lists static or commonly repeatable Alpha placements with typical levels and any time‑of‑day notes. Levels can vary slightly by progression.
| Pokémon | Where | Specific spot | Level | Notes |
|---|---|---|---|---|
| Pidgey | Wild Zone 1 | Westerly roof | 25 | — |
| Fletchling | Wild Zone 1 | Ground, near middle signpost | 17 | Day only |
| Bunnelby | Wild Zone 1 | Ground, near northern exit | 15 | Night only |
| Patrat | Wild Zone 2 | Central area | 18 | Night only |
| Staryu | Wild Zone 2 | Southeast corner/island | 31 | Night only |
| Magikarp | Wild Zone 2 | Southeast corner/island | 30 | Day only |
| Litleo | Wild Zone 3 | Inside small stone building | 23 | Often asleep |
| Espurr | Wild Zone 3 | Northeastern building | 19 | — |
| Gastly | Wild Zone 4 | Northern side | 21 | Day only |
| Spinarak | Wild Zone 4 | Mausoleum | 21 | — |
| Bellsprout | Wild Zone 5 | Middle road | 24 | — |
| Whirlipede | Wild Zone 5 | South‑eastern garden | 27 | Requires routing past poison mounds/tunnel |
| Houndour | Wild Zone 6 | Near stalls | 30 | Night only |
| Pyroar | Wild Zone 17 | Northern area | 57 | — |
| Mawile | Wild Zone 17 | Rooftops | 56 | — |
| Salamence | Wild Zone 18 | Road area | 61 | — |
| Lopunny | Wild Zone 18 | Back area, near scaffolding | 55 | — |
| Furfrou | Wild Zone 19 | Pavilion | 58 | Day only |
| Clefable | Wild Zone 19 | Pavilion | 60 | Night only |
| Stunfisk | Wild Zone 20 | Beneath the tower | 63 | — |
| Vaporeon | Wild Zone 20 | Beneath the tower | 63 | — |
| Raichu | Wild Zone 20 | Beneath the tower | 63 | — |
| Simisage | Wild Zone 20 | Beneath the tower | 63 | — |
| Florges | Wild Zone 20 | Beneath the tower | 63 | — |
| Eelektross | Wild Zone 20 | Beneath the tower | 63 | — |
| Diggersby | Wild Zone 20 | Beneath the tower | 63 | — |
| Clefable | Wild Zone 20 | Beneath the tower | 63 | — |
| Gogoat | Wild Zone 20 | Beneath the tower | 63 | — |
| Malamar | Wild Zone 20 | Beneath the tower | 63 | — |
| Alakazam | Wild Zone 20 | Beneath the tower | 63 | — |
| Scolipede | Wild Zone 20 | Beneath the tower | 63 | — |
| Gengar | Wild Zone 20 | Beneath the tower | 63 | — |
| Heliolisk | Wild Zone 20 | Beneath the tower | 63 | Electric/Normal typing |
| Chandelure | Wild Zone 20 | Beneath the tower | 63 | — |
| Barbaracle | Wild Zone 20 | Beneath the tower | 63 | — |
| Machamp | Wild Zone 20 | Beneath the tower | 63 | — |
| Dragalge | Wild Zone 20 | Beneath the tower | 63 | — |
| Vanilluxe | Wild Zone 20 | Beneath the tower | 63 | — |
| Kakuna | Magenta Sector 9 | Tree in square | 19 | Break rocks to reach |
| Flabébé | Jaune Sector 2 | Rooftops | 23 | Access via nearby ladder/plank |
| Pidgeot | Jaune Sector 4 | Rooftops | 42 | Reach via holovator |
| Dedenne | Bleu Sector 8 | Rooftops | 29 | — |
| Pansear | Bleu Sector 6 | Rooftops | 27 | — |
| Larvitar | Bleu Sector 7 | Rooftops | 31 | — |
| Riolu | Rouge Sector 4 | Rooftops | 27 | — |
| Klefki | Sewers (Bleu S3) | Down first ladder | 47 | — |
| Skrelp | Sewers (Bleu S3) | Most easterly room | 46 | — |
| Haunter | Sewers (Bleu S3) | Northernmost room | 47 | — |
| Litwick | Sewers (Bleu S3) | Northernmost room | 47 | — |
| Skrelp | Sewers (Magenta S8) | Most westerly room | 47 | — |
| Arbok | Lysandre Labs | — | 59 | — |
| Honedge | Lysandre Labs | — | 58 | — |
| Doublade | Lysandre Labs | — | 59 | — |
| Houndoom | Lysandre Labs | — | 60 | — |
| Steelix | Wild Zone 3 | Main Mission 40 encounter | 70 | Mission‑tied (shiny‑locked) |
| Gallade | Wild Zone 5 | Main Mission 40 encounter | 70 | Mission‑tied (shiny‑locked) |
| Pangoro | Wild Zone 9 | Main Mission 40 encounter | 70 | Mission‑tied (shiny‑locked) |
| Bunnelby | — | Side Mission 1 “A Big Old’ Bunnelby” | 10 | Side Mission (shiny‑locked) |
| Weedle | — | Side Mission 43 “A Big Weedle Problem” | 45 | Side Mission (shiny‑locked) |
| Watchog | — | Side Mission 71 “The Burning Gaze of Watchog” | 50 | Side Mission (shiny‑locked) |
This list will expand as additional static placements are verified. Some Wild Zones also grant a small chance for any local species to appear as an Alpha after you’ve caught all Pokémon in that zone.

Practical team notes for Alpha hunts
- Bring coverage: Two status inducers (e.g., Spore/Sleep Powder and Thunder Wave) and at least one bulky pivot to soak surprise crits.
- Area control: Moves that hit multiple targets or arcs help remove escorts quickly—then switch to precise, non‑recoil attacks for the Alpha.
- Ball loadout: Stock Ultra Balls for endgame Alphas. Carry Dusk Balls for night/sewers and Quick Balls for sneaking on sleepers.
- Mobility saves runs: Keep dodging between throws. Getting clipped three times can cost the encounter and time‑warp you back to your last Pokémon Center.
If you’re chasing a particular Alpha and it isn’t present, cycle the time of day, move a couple of areas away, or progress story beats and return. For shiny targets, patience is the point—stick to short, repeatable loops around known spawns and keep your inventory ready to throw.