Neutrusphyria is a badge in the Roblox horror game Examination, and it is tied entirely to the reworked Tunnels area rather than to anything on the surface. There is no shortcut: you have to reach the Tunnels, clear the water from the first layer, hunt down four glowing wall symbols in the order they appear, and then feed that order into a hidden keypad. Get it right and the run ends with a forced disconnect, which is exactly what you want.
Quick answer: Shoot the cross symbol on the shower wall to load into the Tunnels, drain the sludge and restore power so symbols start spawning, collect four glowing wall symbols while memorizing their order, then enter that same order top to bottom on the 3×3 grid in the hidden room at the yellow pump room. The screen flashes white, you speak to THE HIVEMIND, and the run ends with Error Code: 267.
Neutrusphyria badge requirements in Examination
The puzzle only becomes solvable once the first layer of the Tunnels is fully opened up. Symbols spawn on walls after the water has been drained, and the last batch of spawn points stays locked until you have restored auxiliary power and used the unlabelled key to unlock the ward door, which also removes D-0 from the level.
Only one symbol is active at any moment, and it can appear at any one of nine wall locations. You need four of them. Because they cycle, the order you touch them in becomes the code, so writing the numbers down as you go is far safer than trusting memory.
Tip: run this in a private server. Another player interacting with an active symbol can shift the sequence out from under you, and a solo lobby also keeps the entity encounters manageable.
How to enter the Tunnels from the Itagura NPP Safe Zone
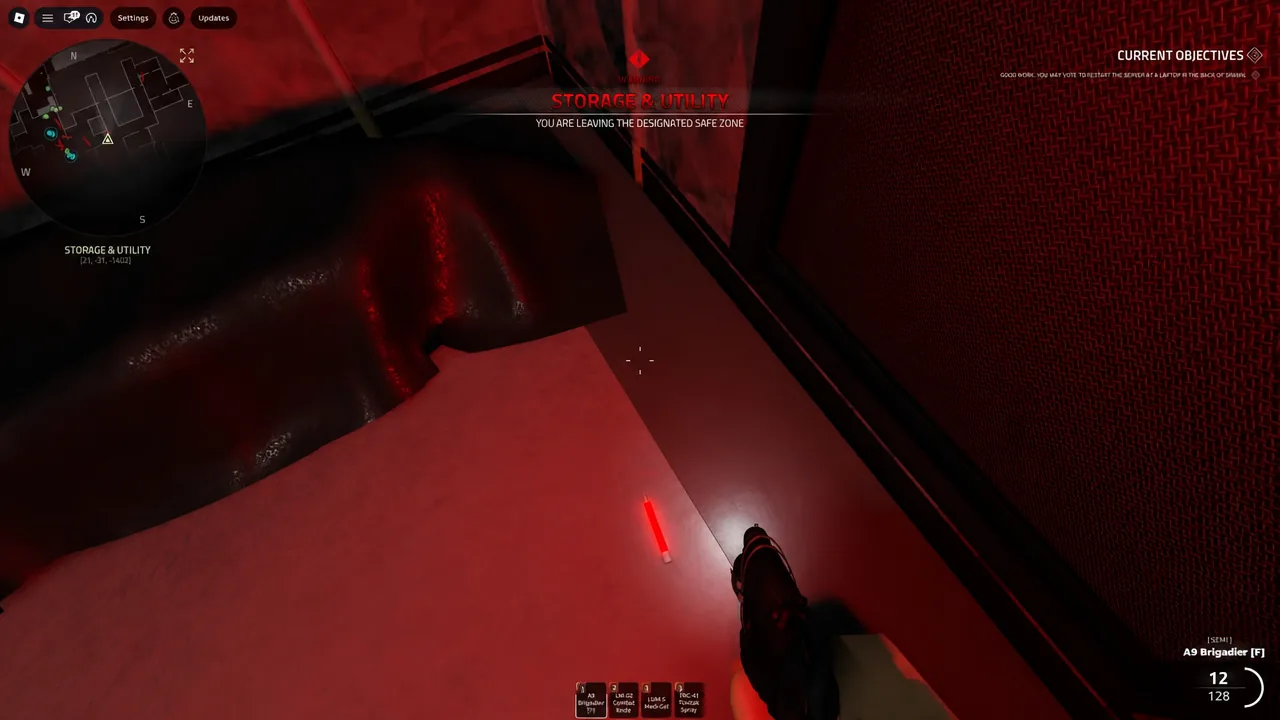
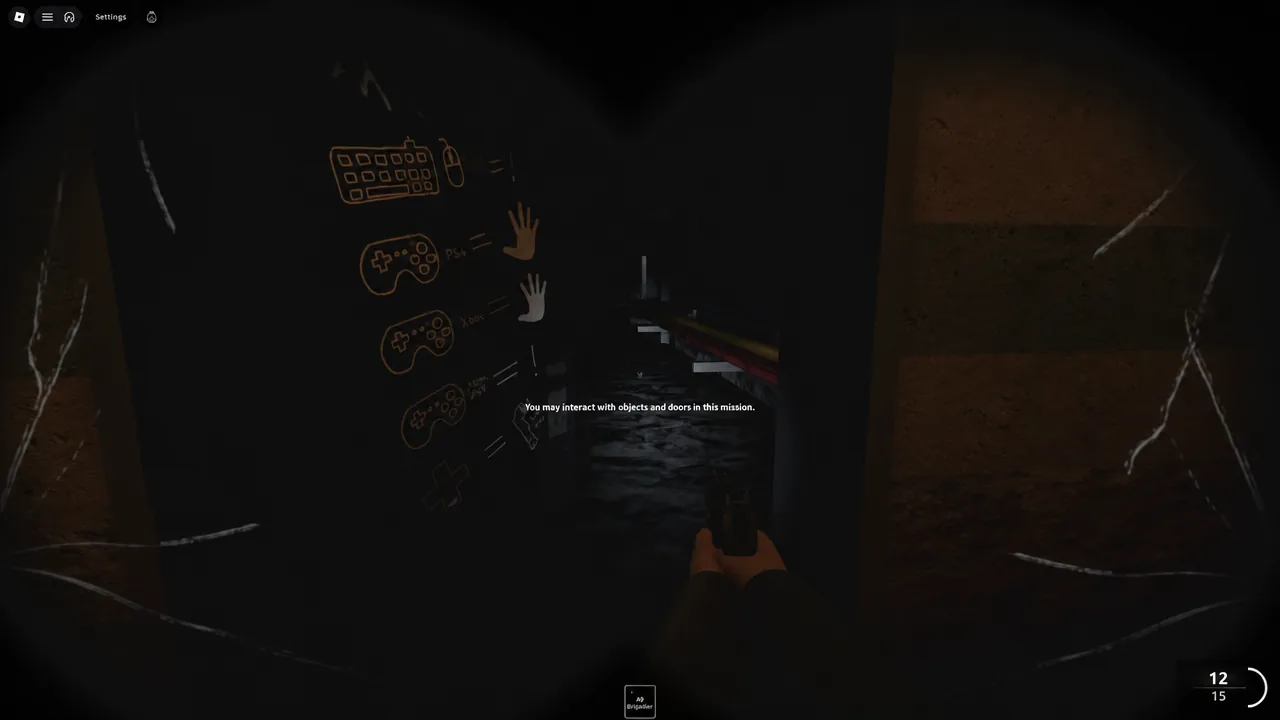
Before you go any deeper, push your graphics settings up a notch. The Tunnels are extremely dark and the symbols are thin markings on grey walls, so low quality settings make them easy to walk straight past.
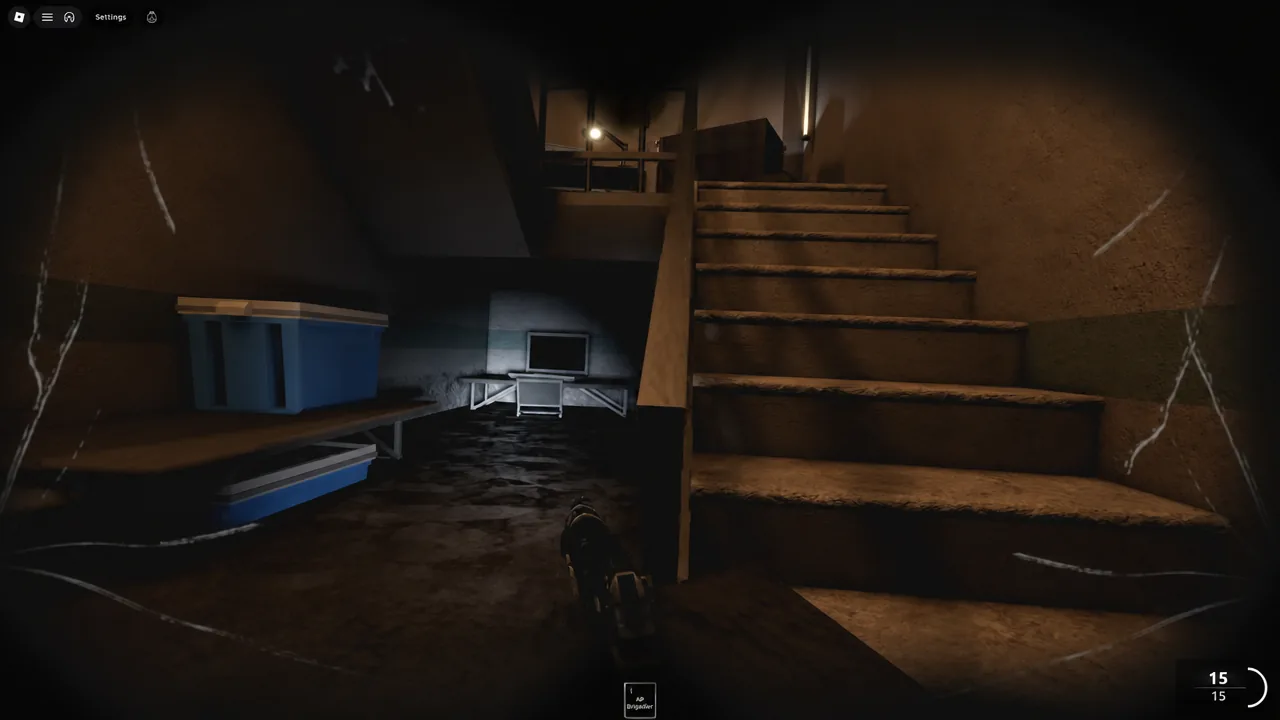
Drain the sludge and restore power before symbols spawn
The first layer starts flooded, and nothing spawns while the water is up. The chain runs on coloured keycards, and the wall map near the entrance is worth reading, since it labels sectors such as Auxiliary Control and Feedwater Control that the rest of the route depends on.
All nine symbol spawn locations in the first layer
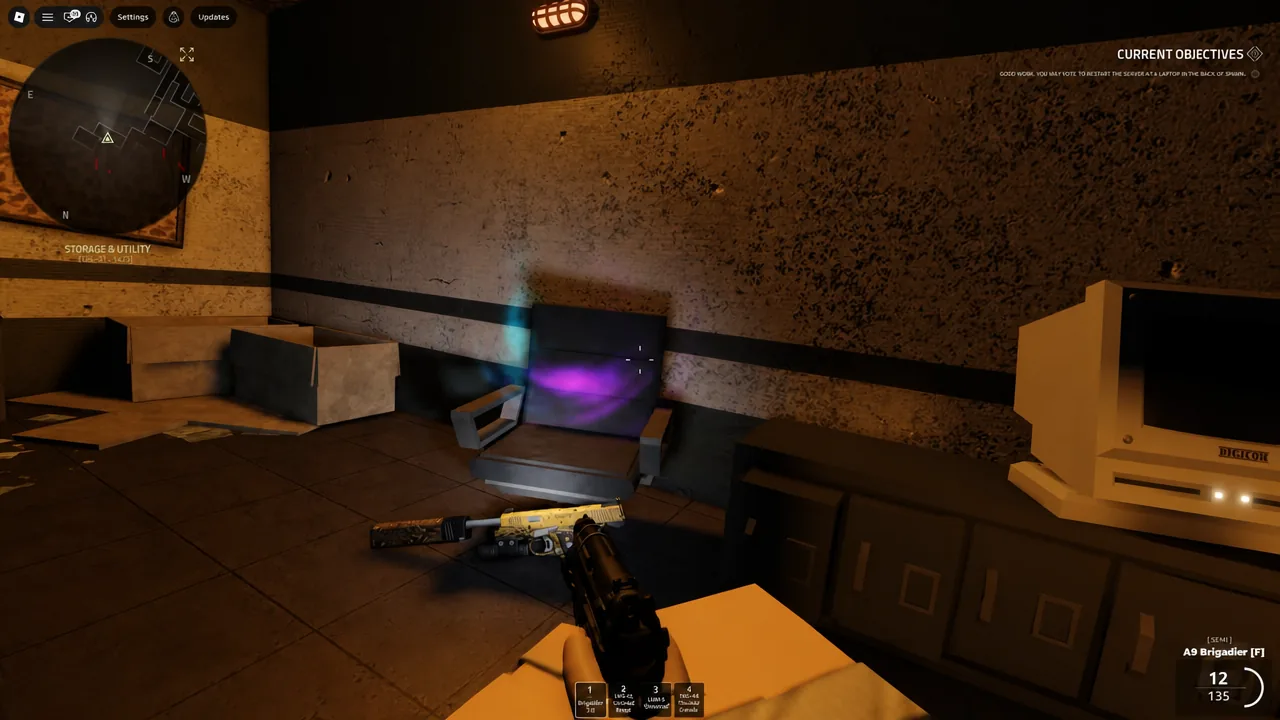
Every symbol appears on a wall and glows faintly once active. Run a fixed loop between these nine points rather than wandering, because only one is live at a time and the next one activates as soon as you claim the current one.
| Spot | Wall location |
|---|---|
| 1 | Between the locker and the exit door |
| 2 | Beside a tall metal locker |
| 3 | Next to an open doorway |
| 4 | By the Pump Room entrance, near a locker |
| 5 | Striped wall beside the rock debris |
| 6 | Corner above the stairwell landing |
| 7 | Behind the metal storage shelves |
| 8 | Corner alcove next to a doorway |
| 9 | Along the corner corridor wall |
Symbols also turn up on smaller surfaces inside these rooms, such as a locker face or a bunk room partition, so sweep the torch across the whole space and not just the main walls. Auxiliary Control and Feedwater Control make good anchor points if you lose your bearings mid-loop.
Note the shape of each symbol as well as the order. Four collections is the requirement, and the game then points you toward the yellow pump room.
Enter the symbol code in the hidden room at the yellow pump
How to confirm the Neutrusphyria badge unlocked
The white flash drops you into a furnished lounge that looks nothing like the rest of the facility, with bookshelves, seating, a coffee machine, and framed rabbit artwork. A glowing geometric entity called THE HIVEMIND sits at the reception desk.
Talk to it and work through the dialogue options, then walk into the glowing white doorway that opens at the end. You will be disconnected with a message reading “You have been kicked by this experience” and Error Code: 267. That kick is the confirmation, and the badge appears on your Roblox profile afterwards.
Why the symbol puzzle fails to trigger
- The water is still up. Symbols do not spawn on the first layer until the sludge has drained.
- Power is not restored and the ward door is still locked, so the later spawn points remain inactive.
- The grid order is wrong. The sequence must match the order you collected the symbols in, read from top to bottom.
- Another player in a public server claimed an active symbol, changing the order you were tracking.
- Graphics quality is too low to see a symbol that has already spawned, leaving you searching an empty loop.
The whole run comes down to bookkeeping. Clear the water, open the level up, then patrol the nine spots with a notepad open, and the keypad in the yellow pump room becomes a formality rather than a guessing game.