

The floppy disk puzzle in Clara Woods is short once you understand the disk order, but it sits at the end of a long errand chain. Every key and every disk has to be in your inventory before the computer at 5 South Brae will do anything useful, and the payoff is Locker 17 — one of the three Mechanical Parts for the Atlas Gate, plus the Boltcutters.
Quick answer: Repair Floppy Disk (2 of 3) with the Fix-A-Disk! Software, read disks 1, 2, and 3 in order, print the compressor manual for Part ID 956, then use the barcode to open Locker 17 with 575.
Every code in the 5 South Brae chain
Three numbers carry you from the CEG Employee Lockers to the Boltcutters. Knowing them early does not let you skip anything — a lock will refuse a correct combination until the note, printout, or barcode that explains it is in your inventory.
| Lock | Code | Reward |
|---|---|---|
| Lost and found locker (CEG office) | 772 | South Brae House Key |
| Black box (5 South Brae office) | 956 | Barcode (South Brae) |
| Locker 17 (CEG back wall) | 575 | Mechanical Part, Boltcutters |
All floppy disk and key locations
Four items stand between you and the puzzle, and they are spread across two buildings on either side of Atlas Square. Collect them in this order and you will not backtrack more than once.
South Brae House Key — CEG Employee Lockers office
Inside the CEG Employee Lockers building, use the office computer and read the “Lost and Found” note. That unlocks the prompt on the lost and found locker in the same room. Enter 772 to take the South Brae House Key.
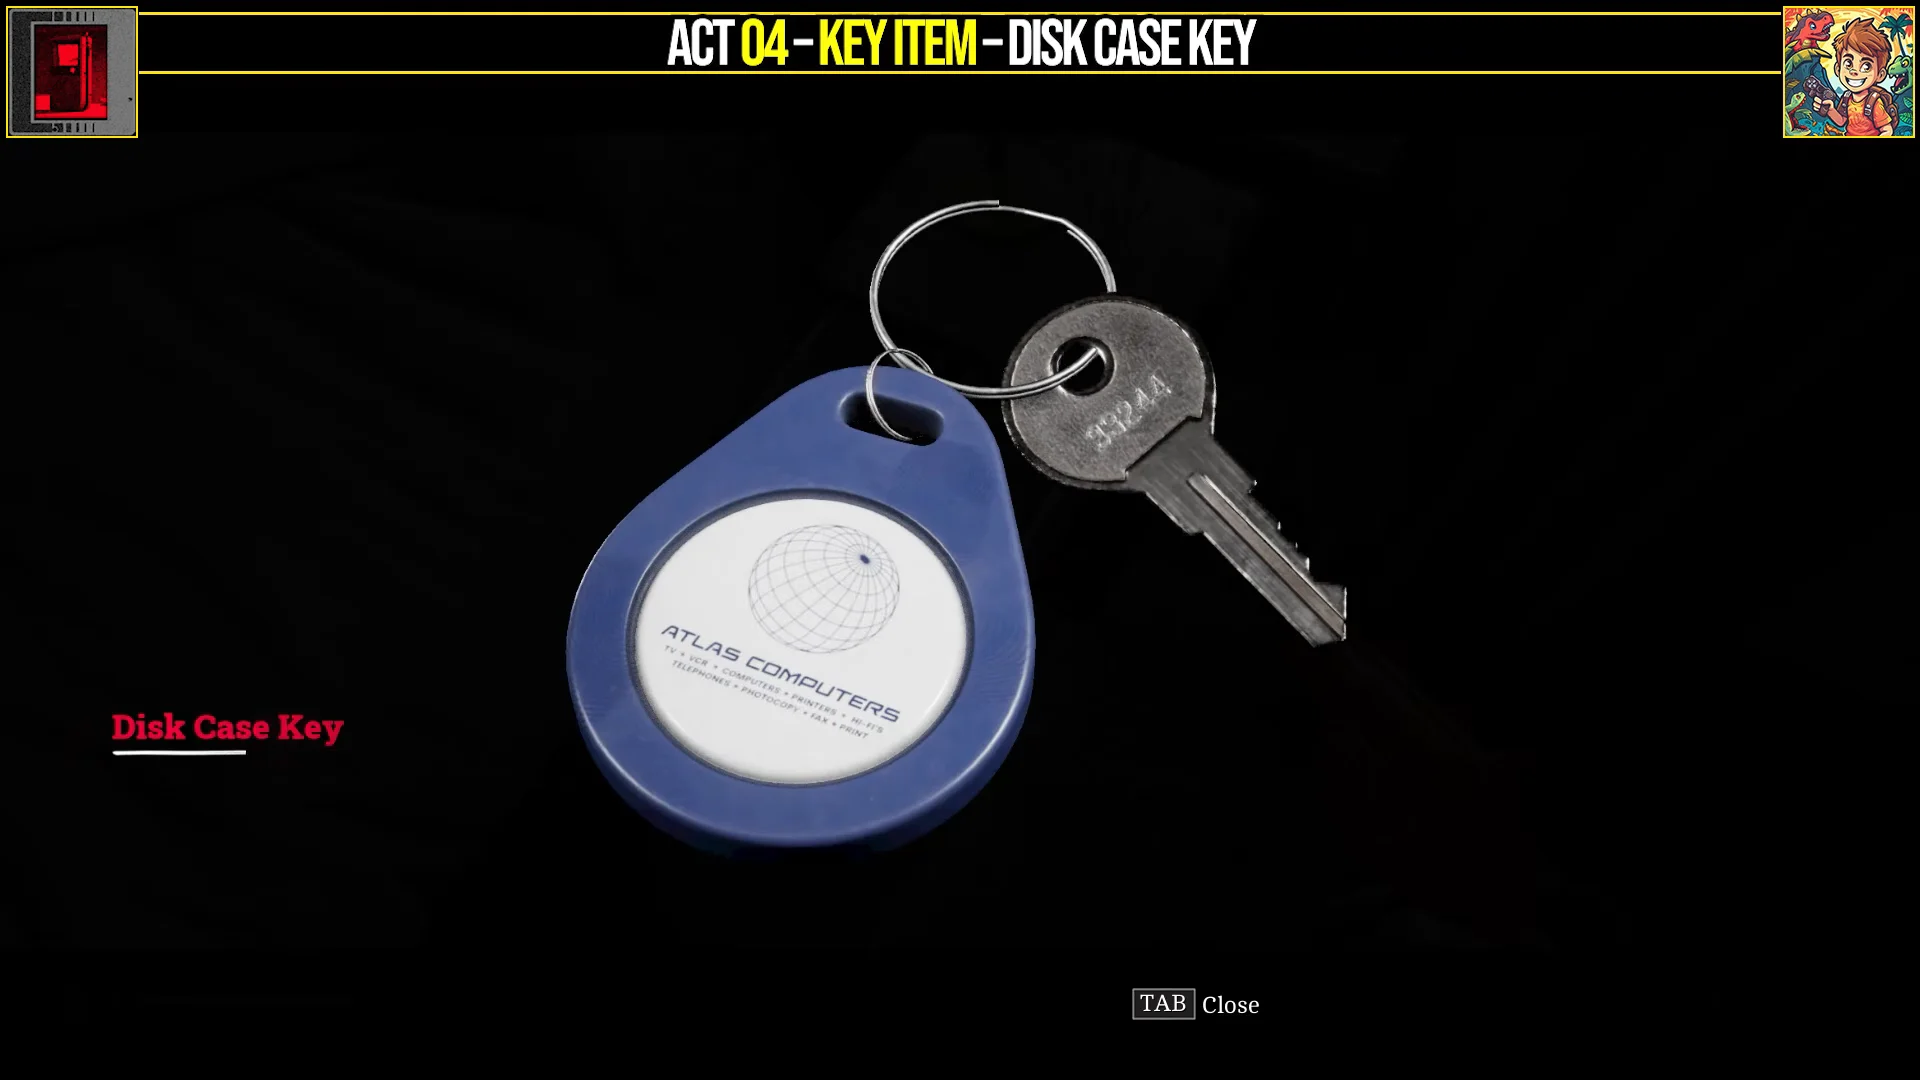
Disk Case Key — 5 South Brae bedroom
Return to Atlas Square, then climb the stairs on its south side to 5 South Brae. Unlock the front entrance with the house key. Upstairs, enter the bedroom and check the bedside drawer to find the Disk Case Key; it works on both disk cases in the district.
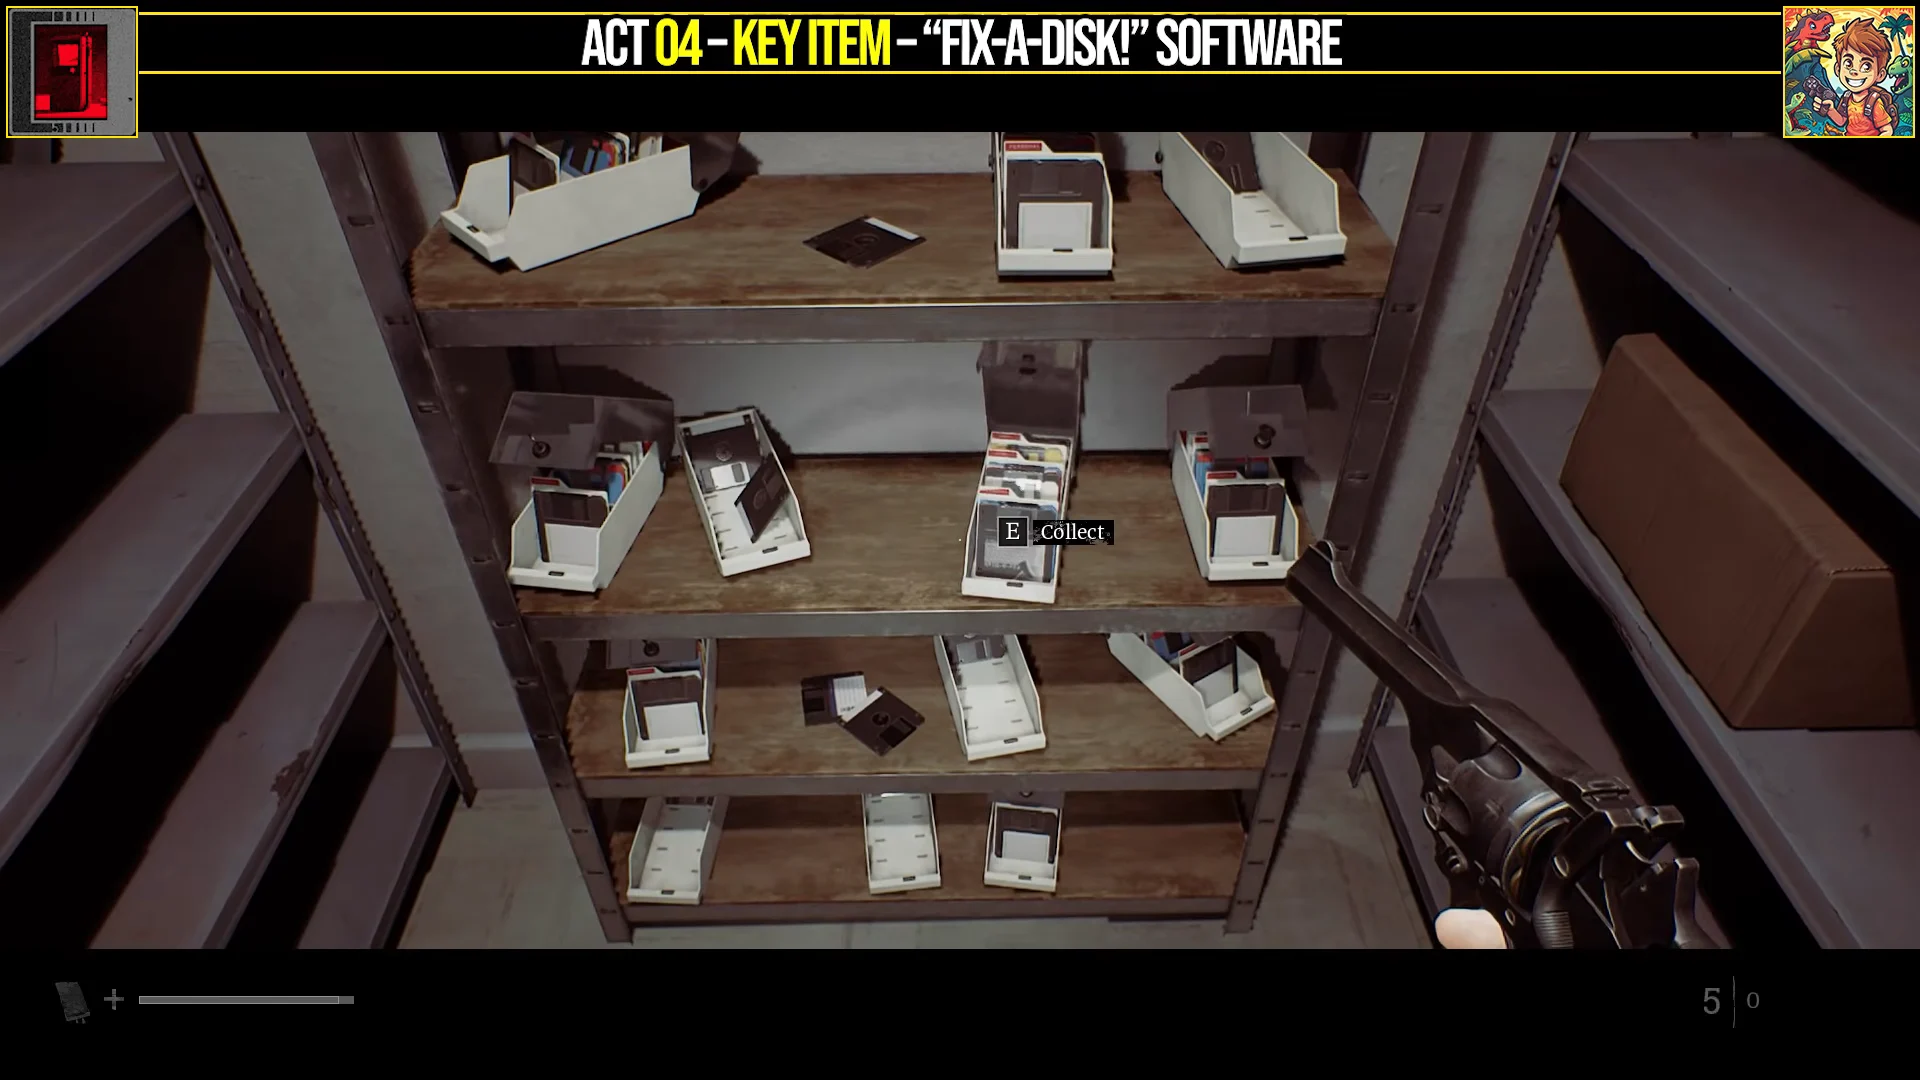
Fix-A-Disk! Software — Atlas Computers back room
Leave Atlas Square heading east and enter Atlas Computers, the first building you reach. Continue to the storage room at the back, where the Disk Case Key unlocks the case. The Fix-A-Disk! Software floppy is inside, providing the tool needed for the puzzle.
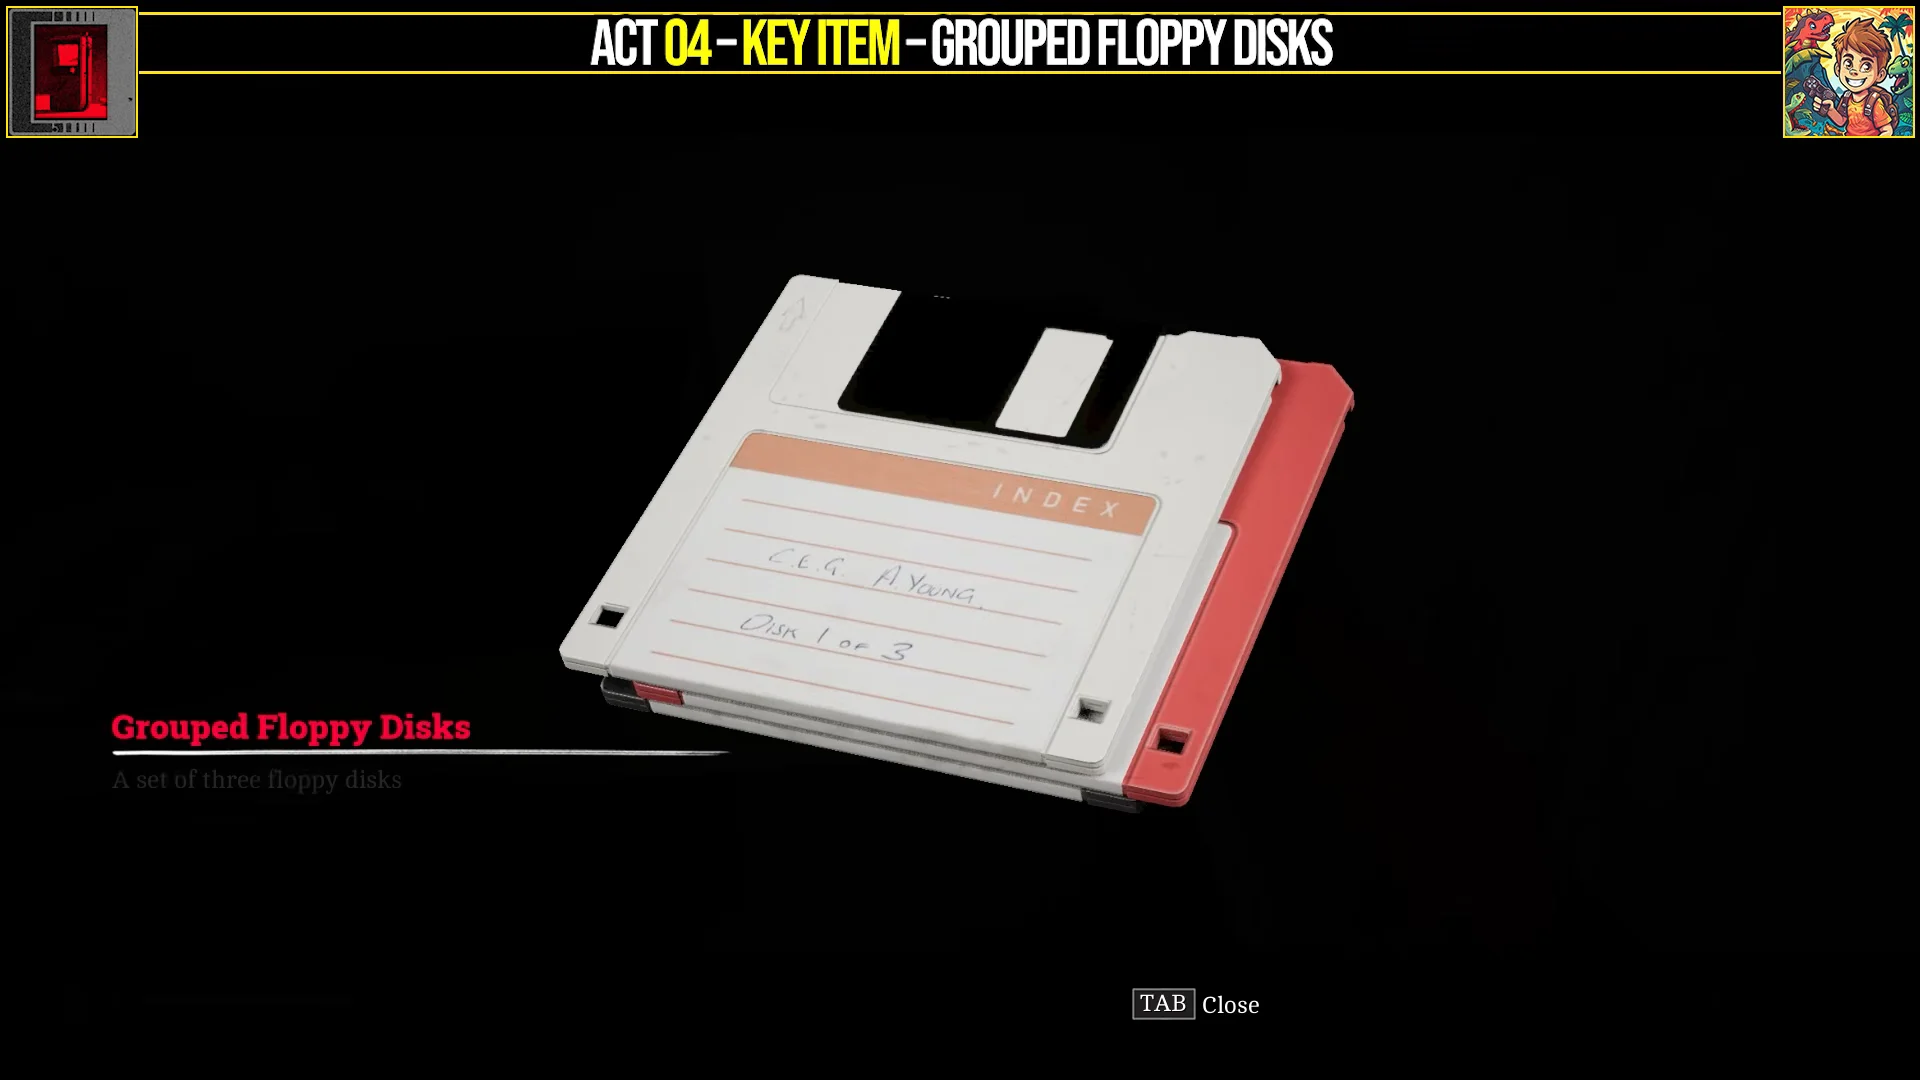
Grouped Floppy Disks — 5 South Brae office
At 5 South Brae, go back to the office upstairs. Beside the black box on the desk is another locked disk case; unlock it with the Disk Case Key to obtain the Grouped Floppy Disks, a three-part archive central to the puzzle.
How to repair and read the floppy disks
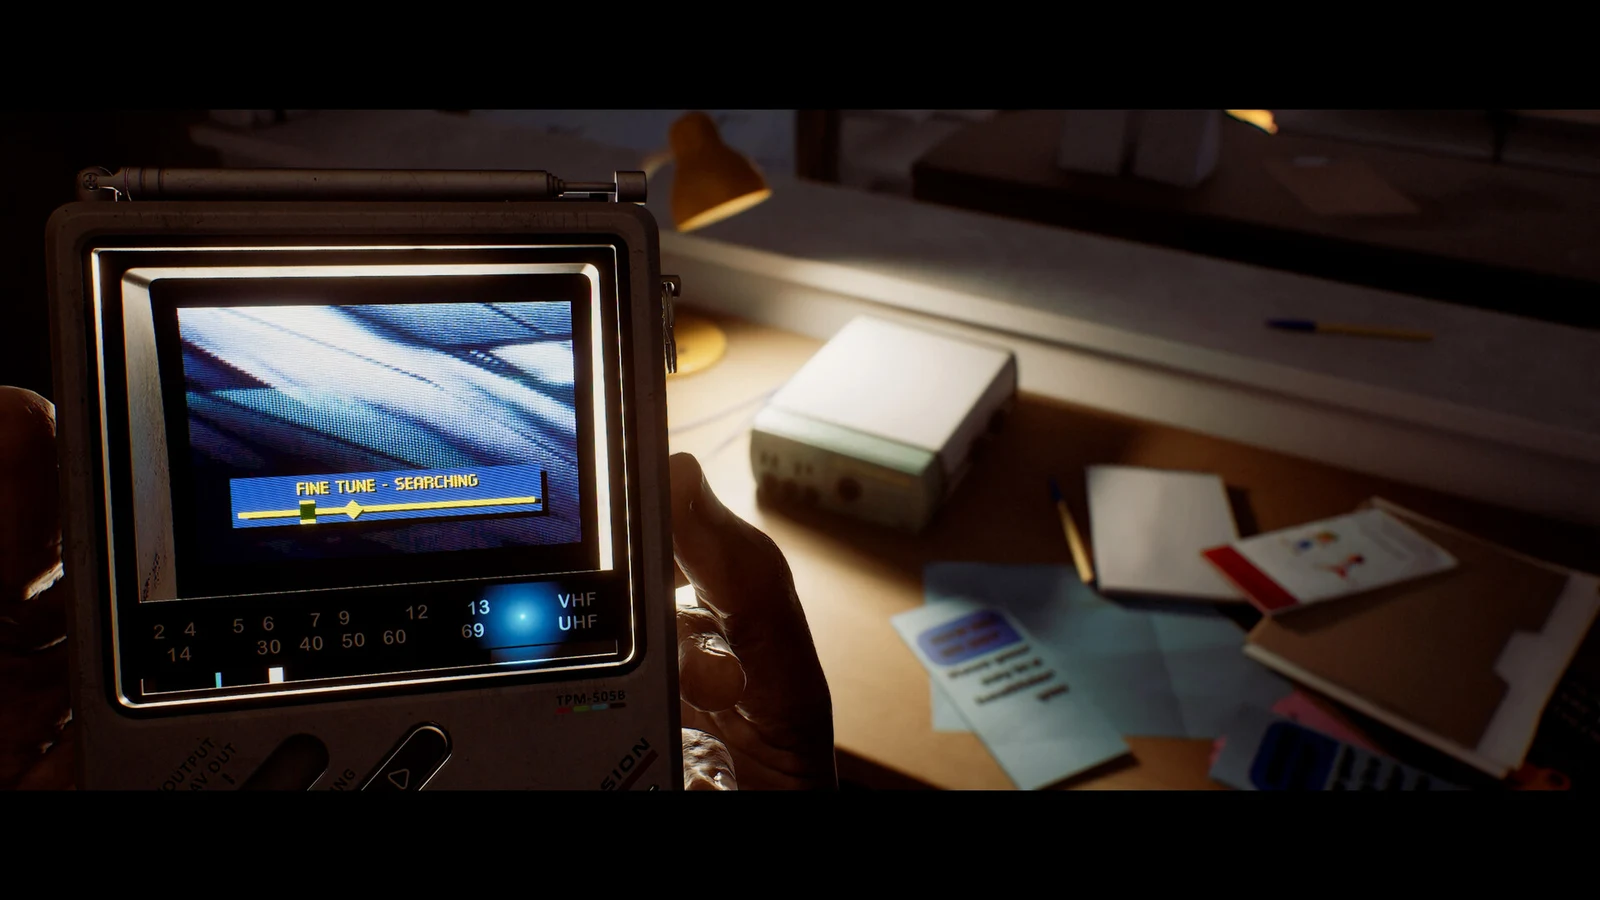
Everything you need sits on one desk in the upstairs office: the monitor, an external floppy drive to the left of the keyboard, a printer further left, and the black box beside the telephone. Launching LetterPlus+ cold throws a disk error, because one disk in the archive is corrupted.
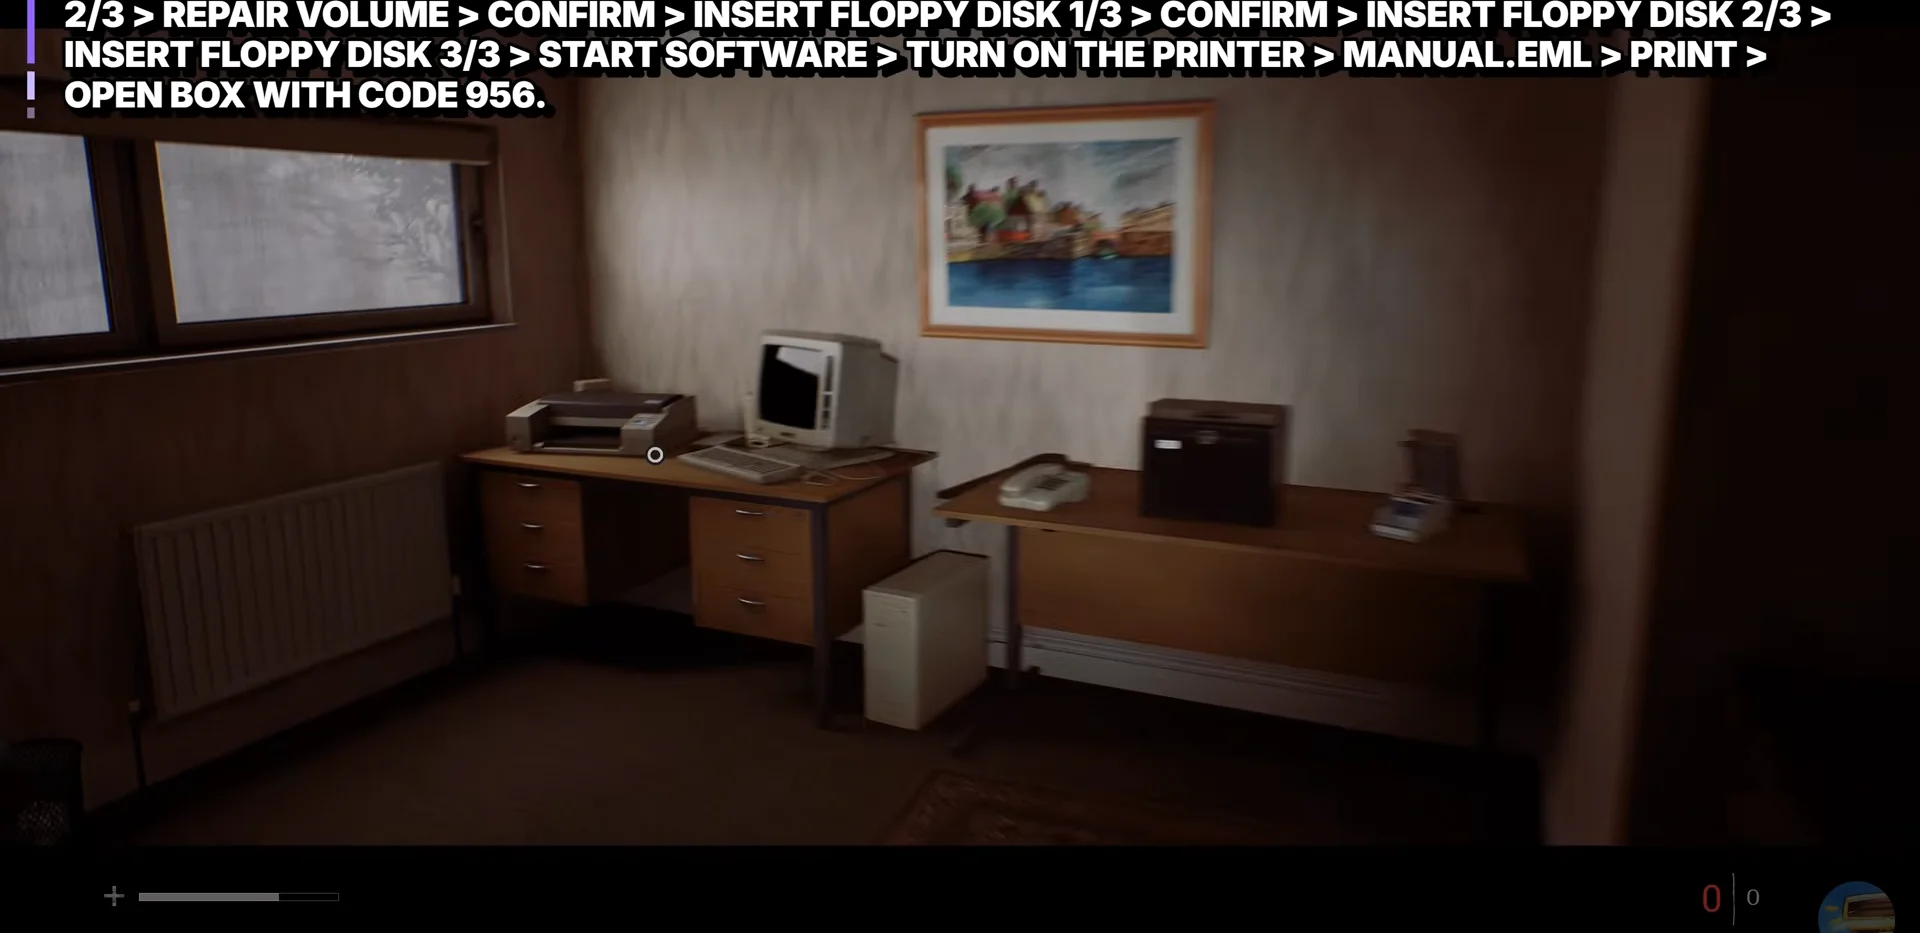
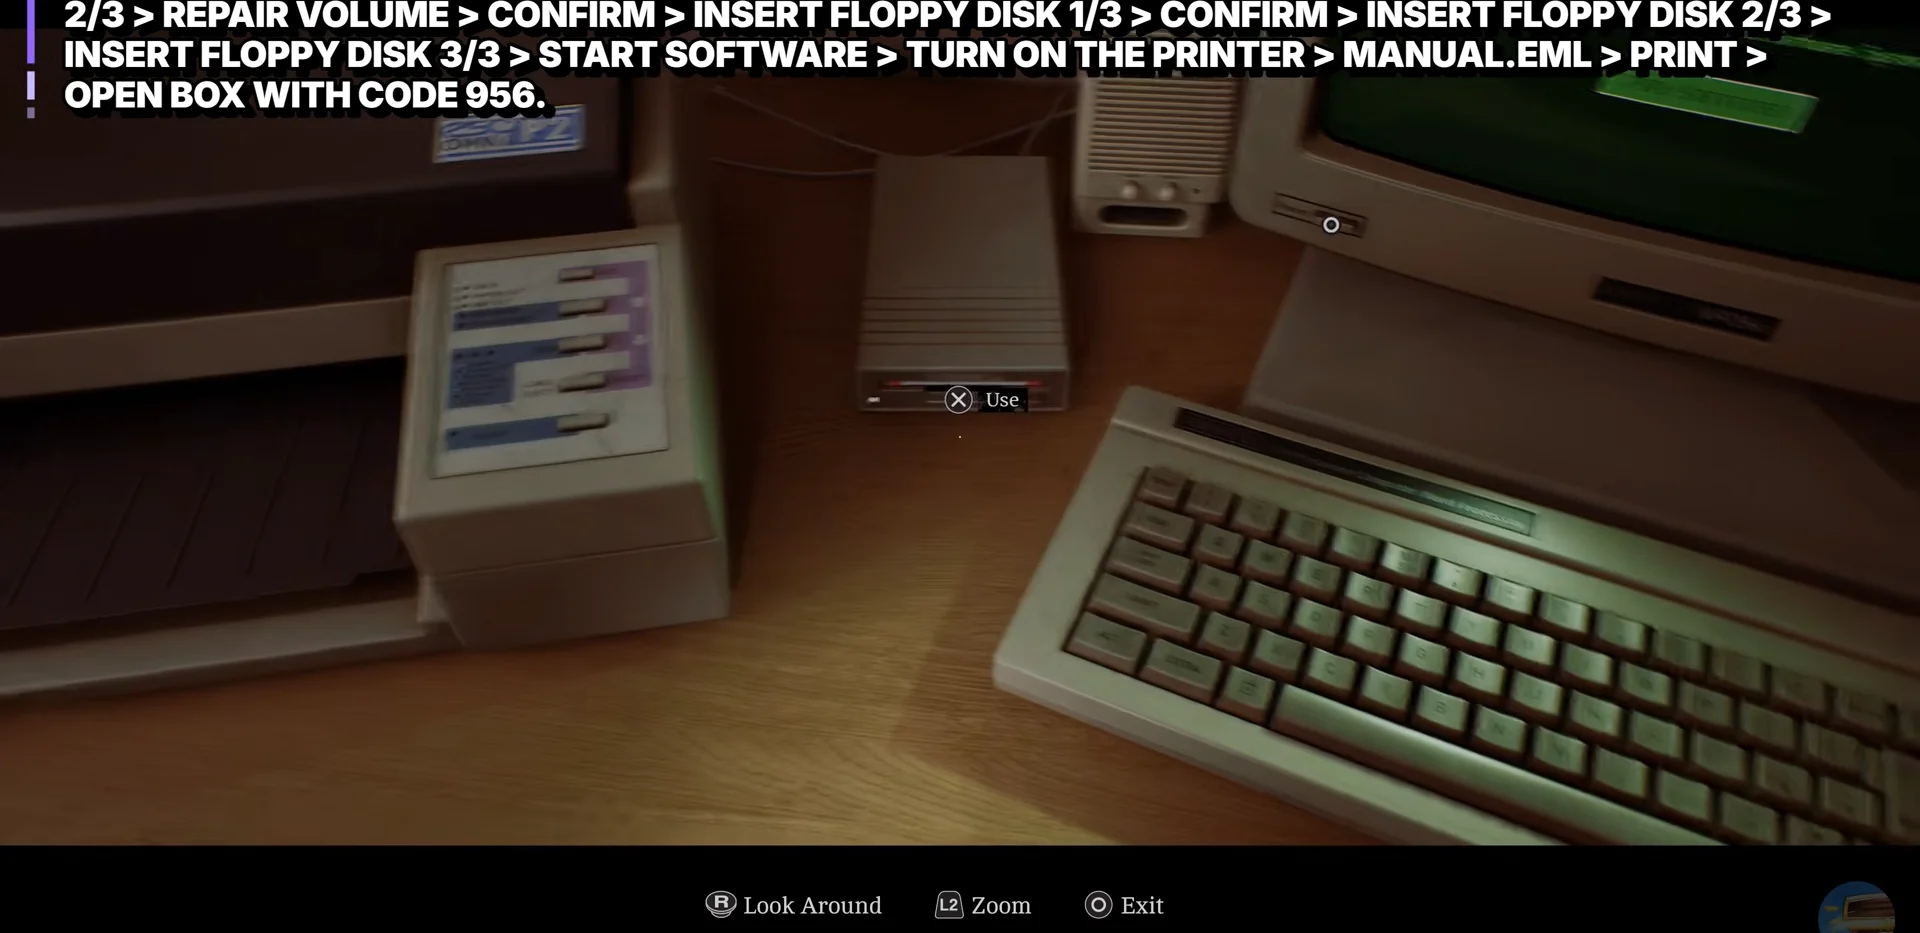
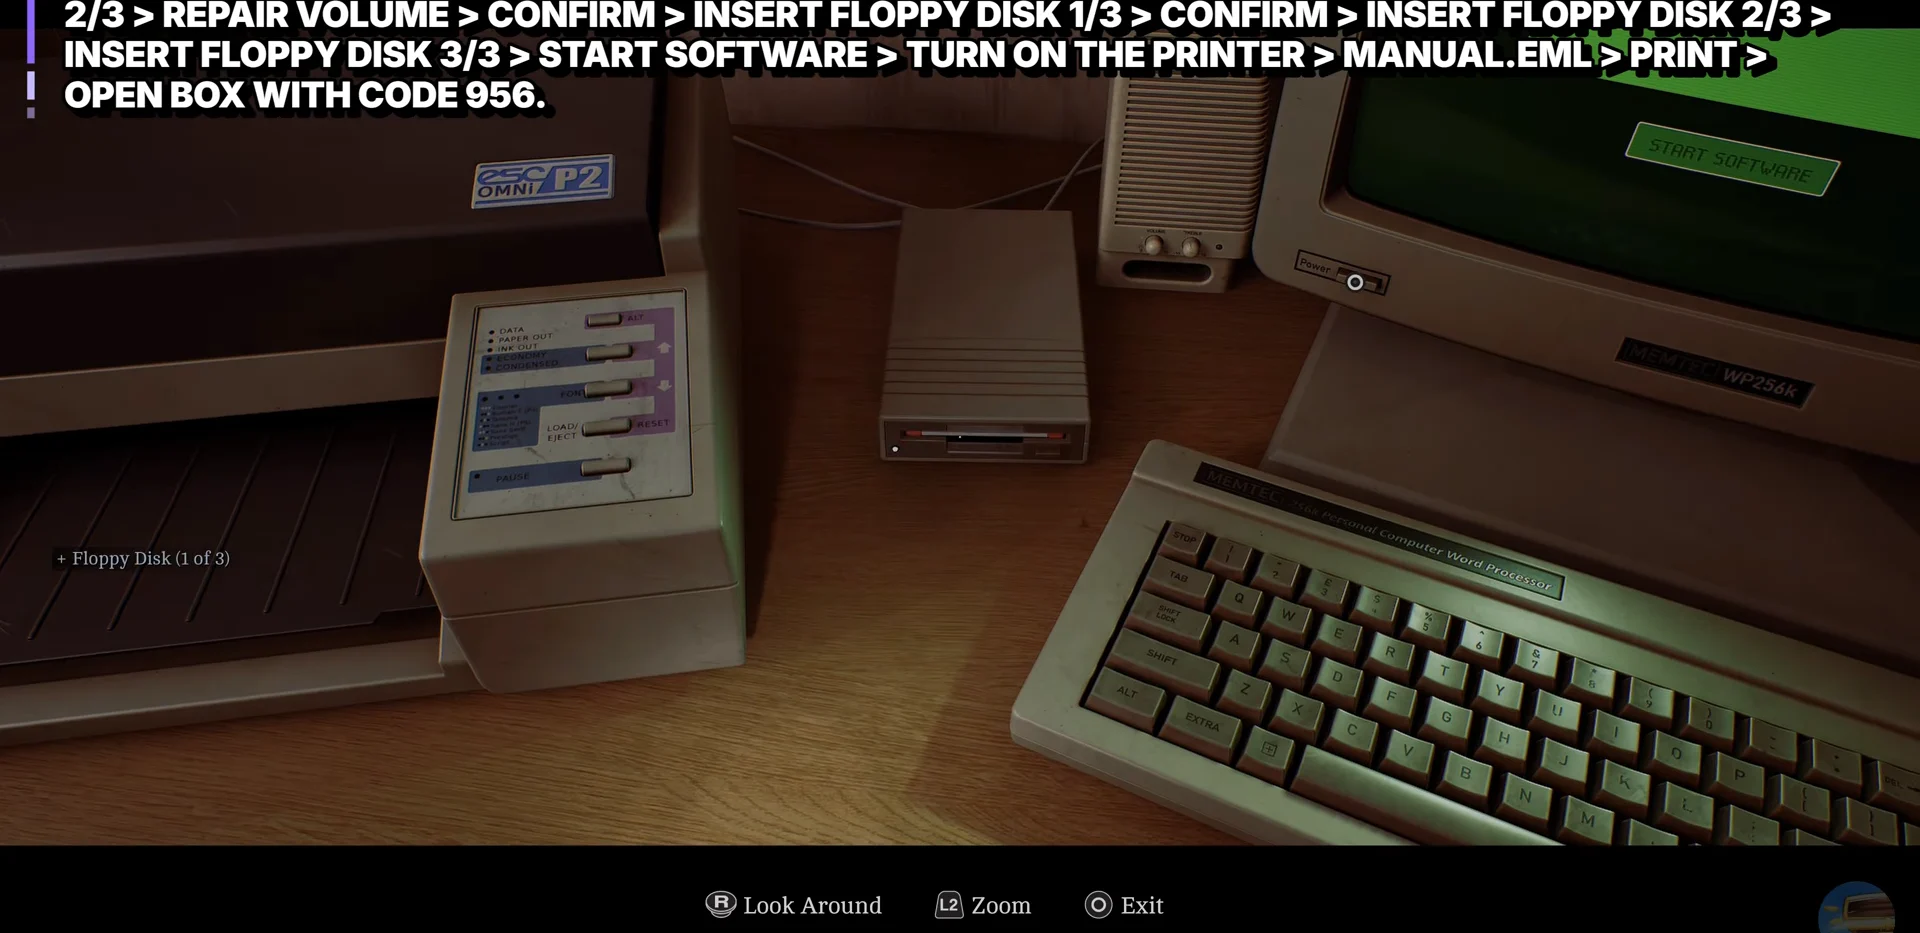
If the software still errors out part way through the sequence, the repair did not take. Run Fix-A-Disk! on disk 2 again, confirm the volume repair, then start the 1-2-3 order over.
Print the compressor manual and open the black box with 956
First turn on the printer using the switch on the desk’s left side. Its display changes from Printer Offline to Printer Online, confirming that the print command can proceed.
On the computer, choose Manual EML under external disk storage and send the file to the printer. The printed sheet shows a Reciprocating Compressor diagram; look for the line marked Part ID No: 956.
Enter 956 in the black box on the desk, located beside the telephone and floppy disks. It contains a CEG Lockers receipt slip made out to Brian Arris for Locker No. 17, and the slip is added to your inventory as Barcode (South Brae).
Locker 17 code 575 and how to confirm the chain is finished
At the CEG Employee Lockers, present Barcode (South Brae) to the barcode reader. The reader prints the PIN assigned to that locker, 575, and records the code in your notes, making the slip unnecessary.
Locker 17 is along the back wall. Punch in 575 and it opens on two things: the first of the three Mechanical Parts for the Atlas Gate, and the Boltcutters. You know the whole chain worked when both items are in your inventory and the Atlas Gate objective drops to two remaining parts.
Do the detour with the Boltcutters right away. They cut any chained gate or door in the district, which is usually the quickest route to the other two lockers on the CEG Employee Locker List — and the reason it is worth clearing this puzzle early rather than last.





