Samples in Steal an Egg come from one place: Dr. Scramble’s drones, which spawn in the Abyssal area and the zones past it whenever the event fires. The event only runs for about five minutes at a time, so the difference between a mediocre haul and a great one is almost entirely down to which drones you choose to hit.
Quick answer: Join a near-empty server, run to the Abyssal area, and kill drones strictly in the order 10 HP, then 5 HP, then 3 HP. Keep moving between zones instead of camping.
Drone HP tiers and Sample payouts
Every drone that spawns belongs to one of three health tiers, and the tier is printed on its health bar the moment you get close. The reward scales steeply, which is why tier selection beats raw kill count.
| Drone tier | Typical Samples | Priority |
|---|---|---|
| 10 HP | Around 165–200 | Always first |
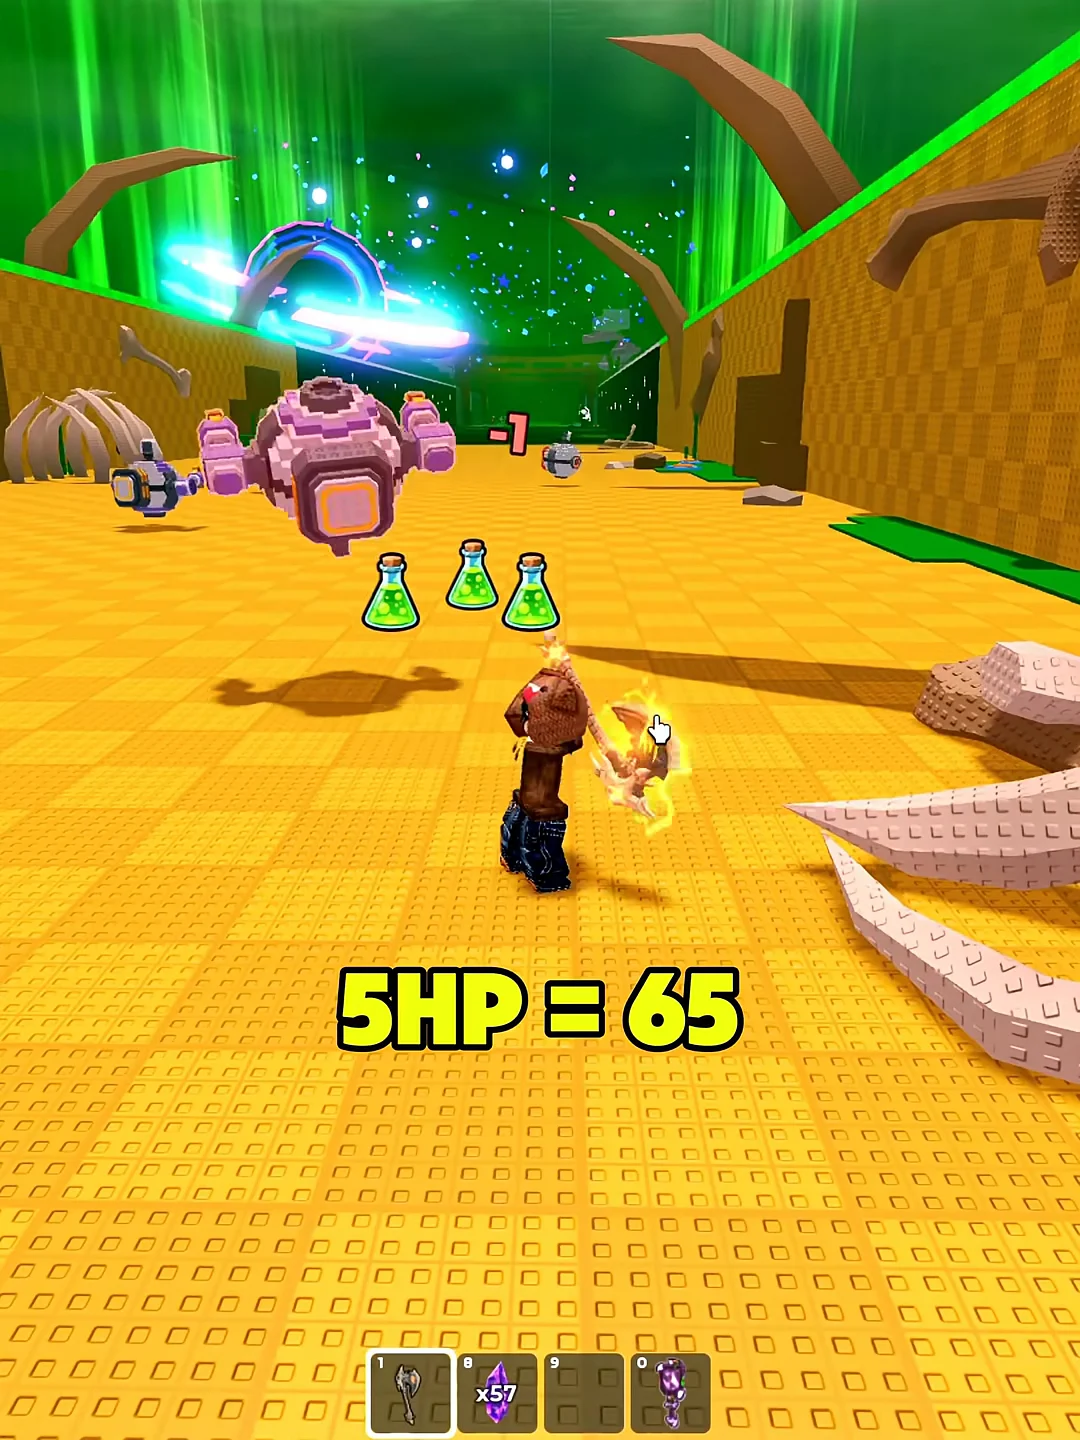
| 5 HP | Around 65 | Second |
| 3 HP | Roughly 8–22 | Only when nothing better is near |
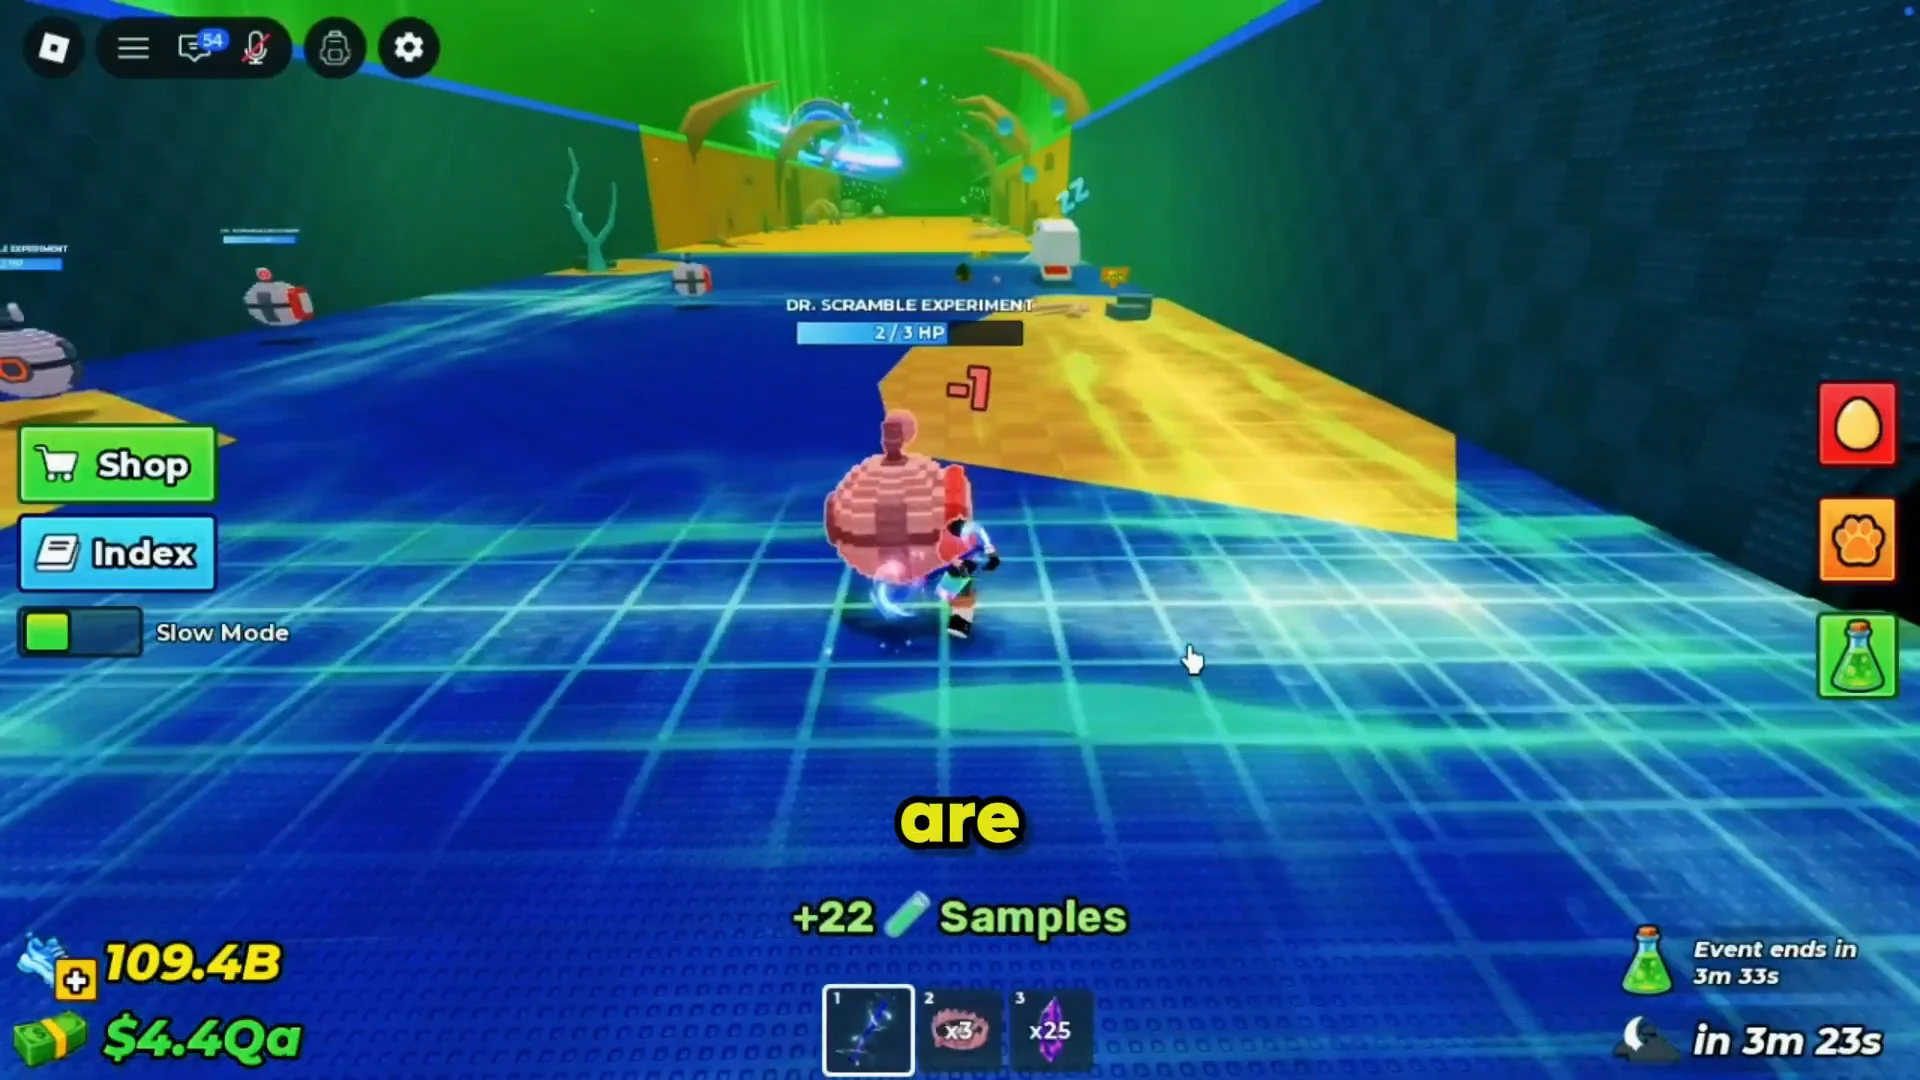
A single 10 HP drone is worth more than seven of the weakest ones. If a 10 HP drone is anywhere in sight, everything else can wait, even if a cluster of 3 HP drones is closer.
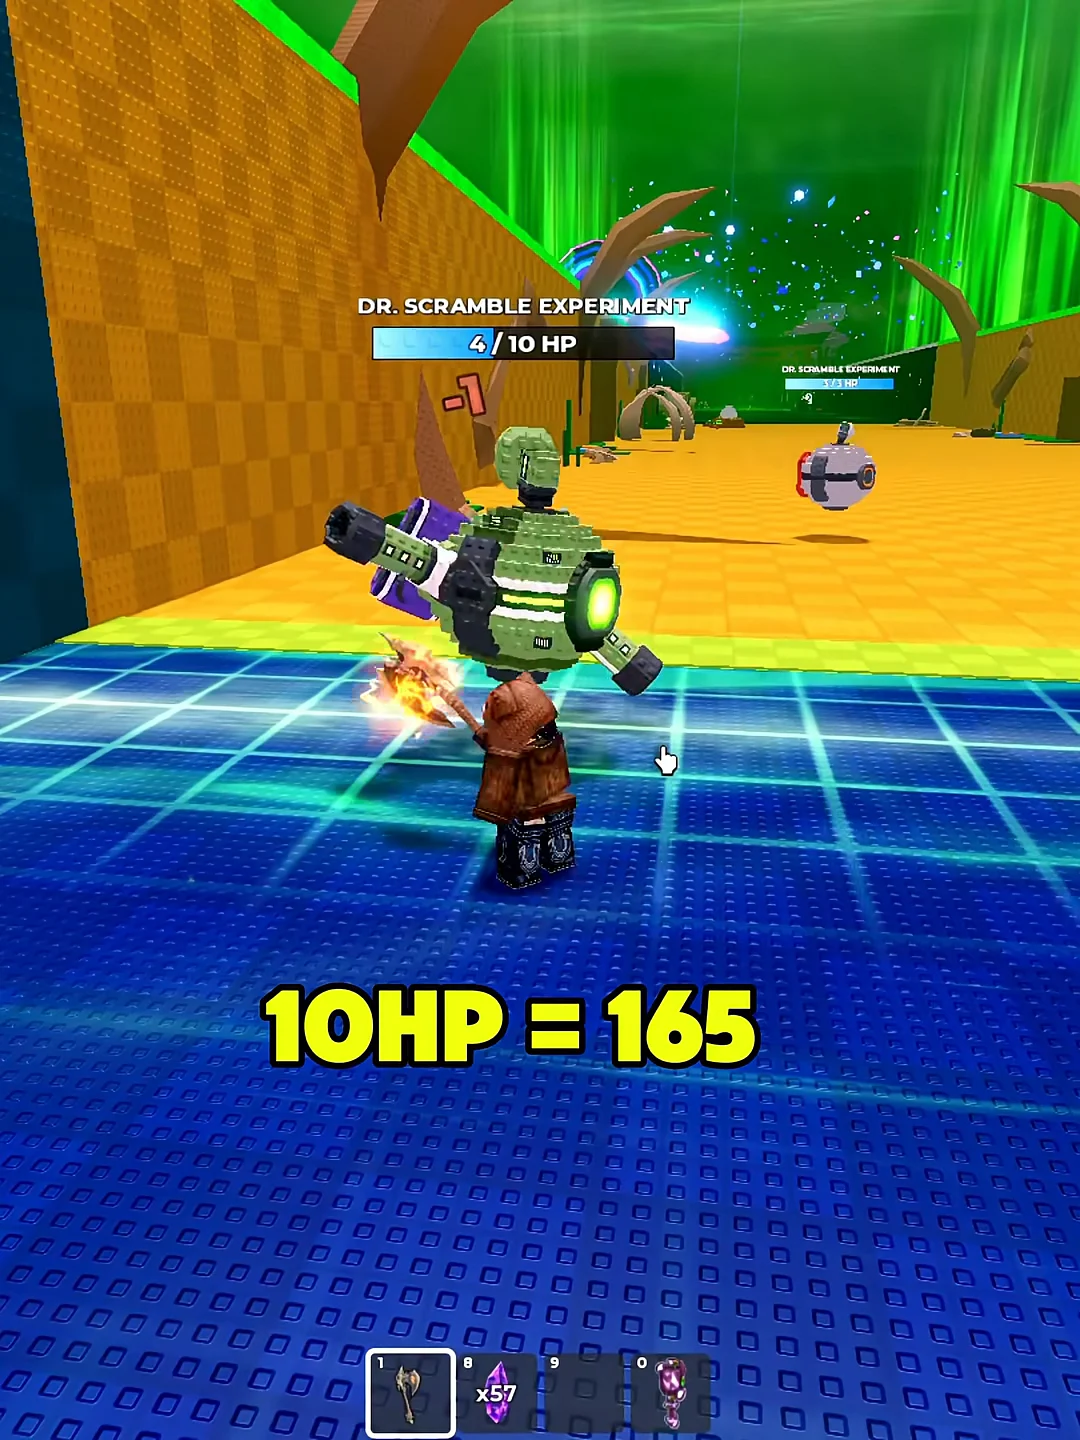
The 5 HP tier is the workhorse. They die in half the swings of a 10 HP drone and still pay several times what the small ones do, so they are what you clean up between the big targets.
3 HP drones are not worthless, but they are filler. Save them for the last stretch of the event once the better targets in your area are gone.
Where drones spawn and how to route the map
Drones appear once the event announcement fires, and they concentrate in the Abyssal area and the locations beyond it. Use the rails to cut across Lake, Desert, Jungle, Snow and Volcano rather than running the whole way on foot, then push into Abyss Ocean and the zones past it.
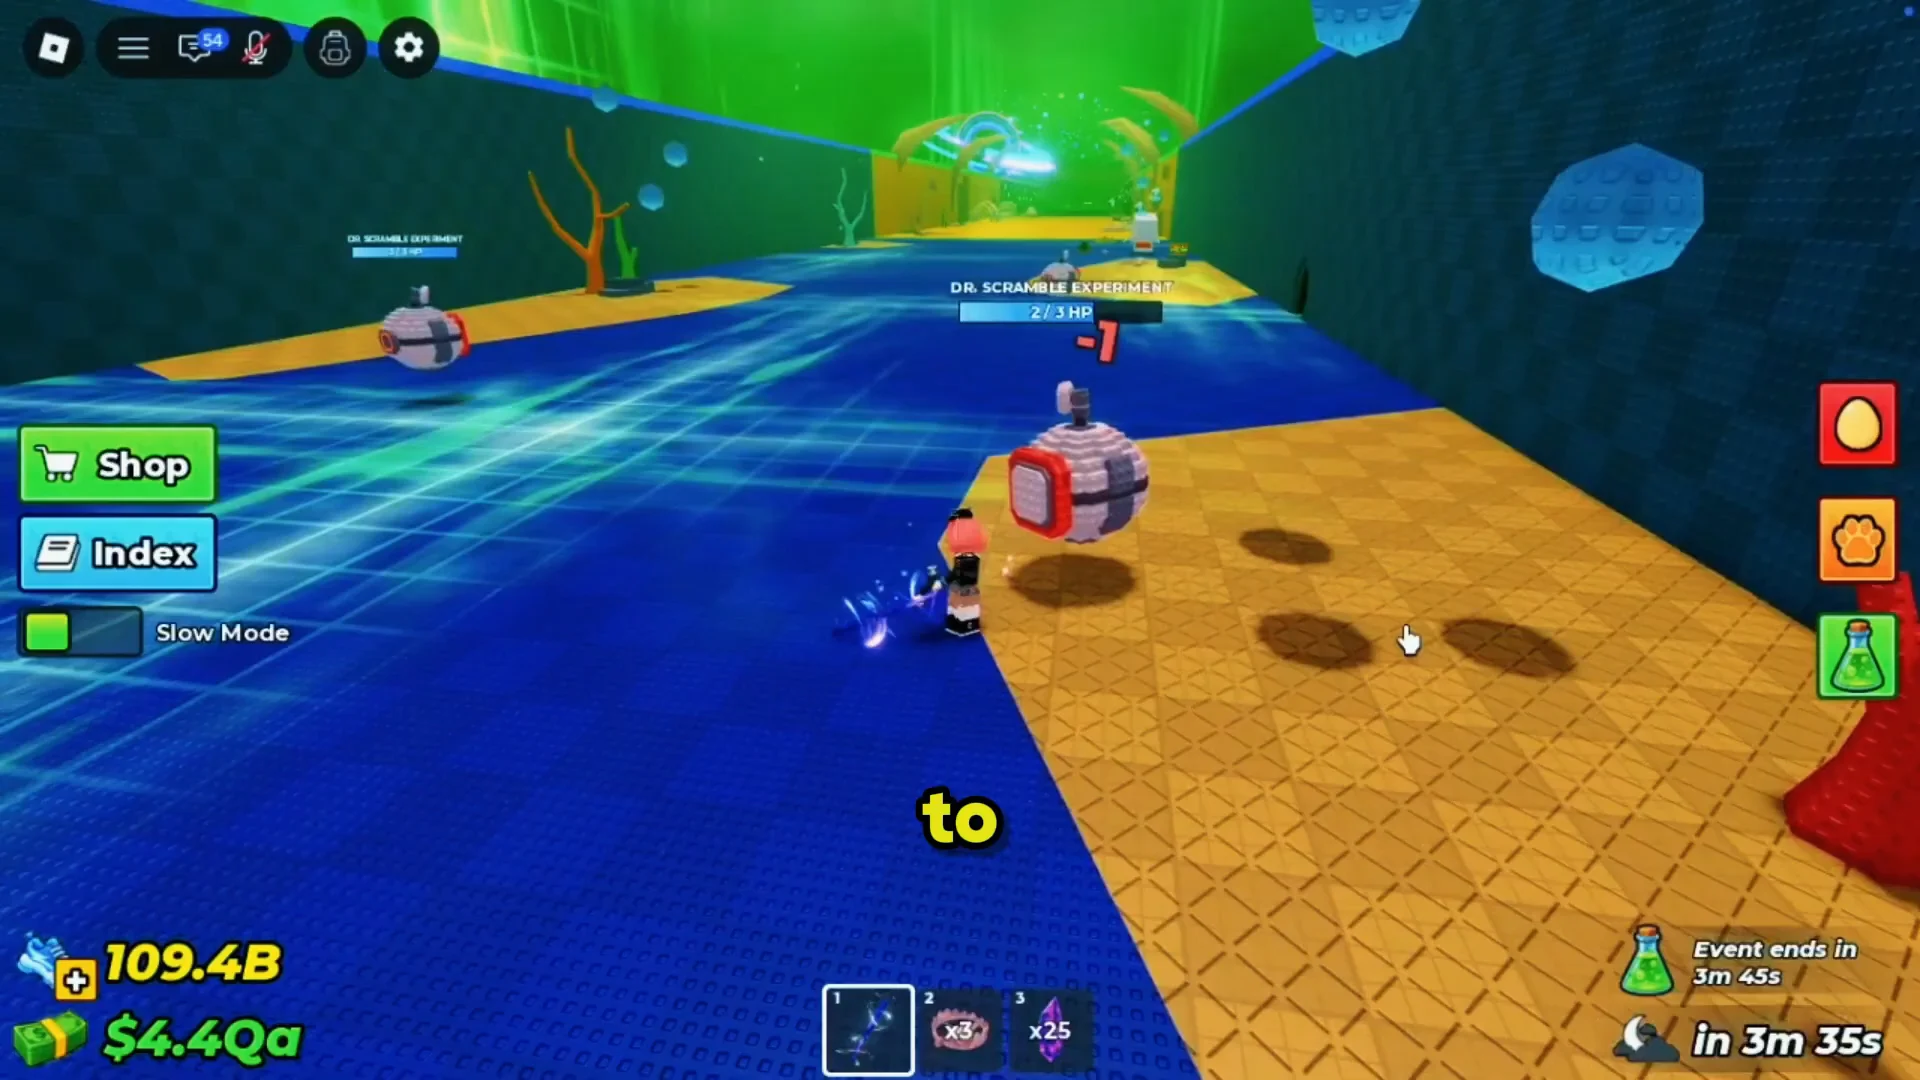
Standing still is the single most common mistake. A fixed spot only gives you whatever spawns on top of you, while a moving player sweeps several spawn pockets and finds the 10 HP drones before they are claimed. Treat the whole Abyssal stretch and the far zones as one loop and keep circling it until the timer ends.
Travel before the event starts, not after. Being parked near the Abyssal area when the announcement appears saves close to a minute of a five-minute window.
Bat damage: Why your expensive weapon does not hit harder
Every bat in the game deals exactly 1 damage per hit to these drones. A top-tier weapon does not shorten a 10 HP drone to fewer swings. What changes is comfort: better bats have longer reach and different swing behavior, which makes it far easier to connect with drones that hover out of range of a basic wooden bat.
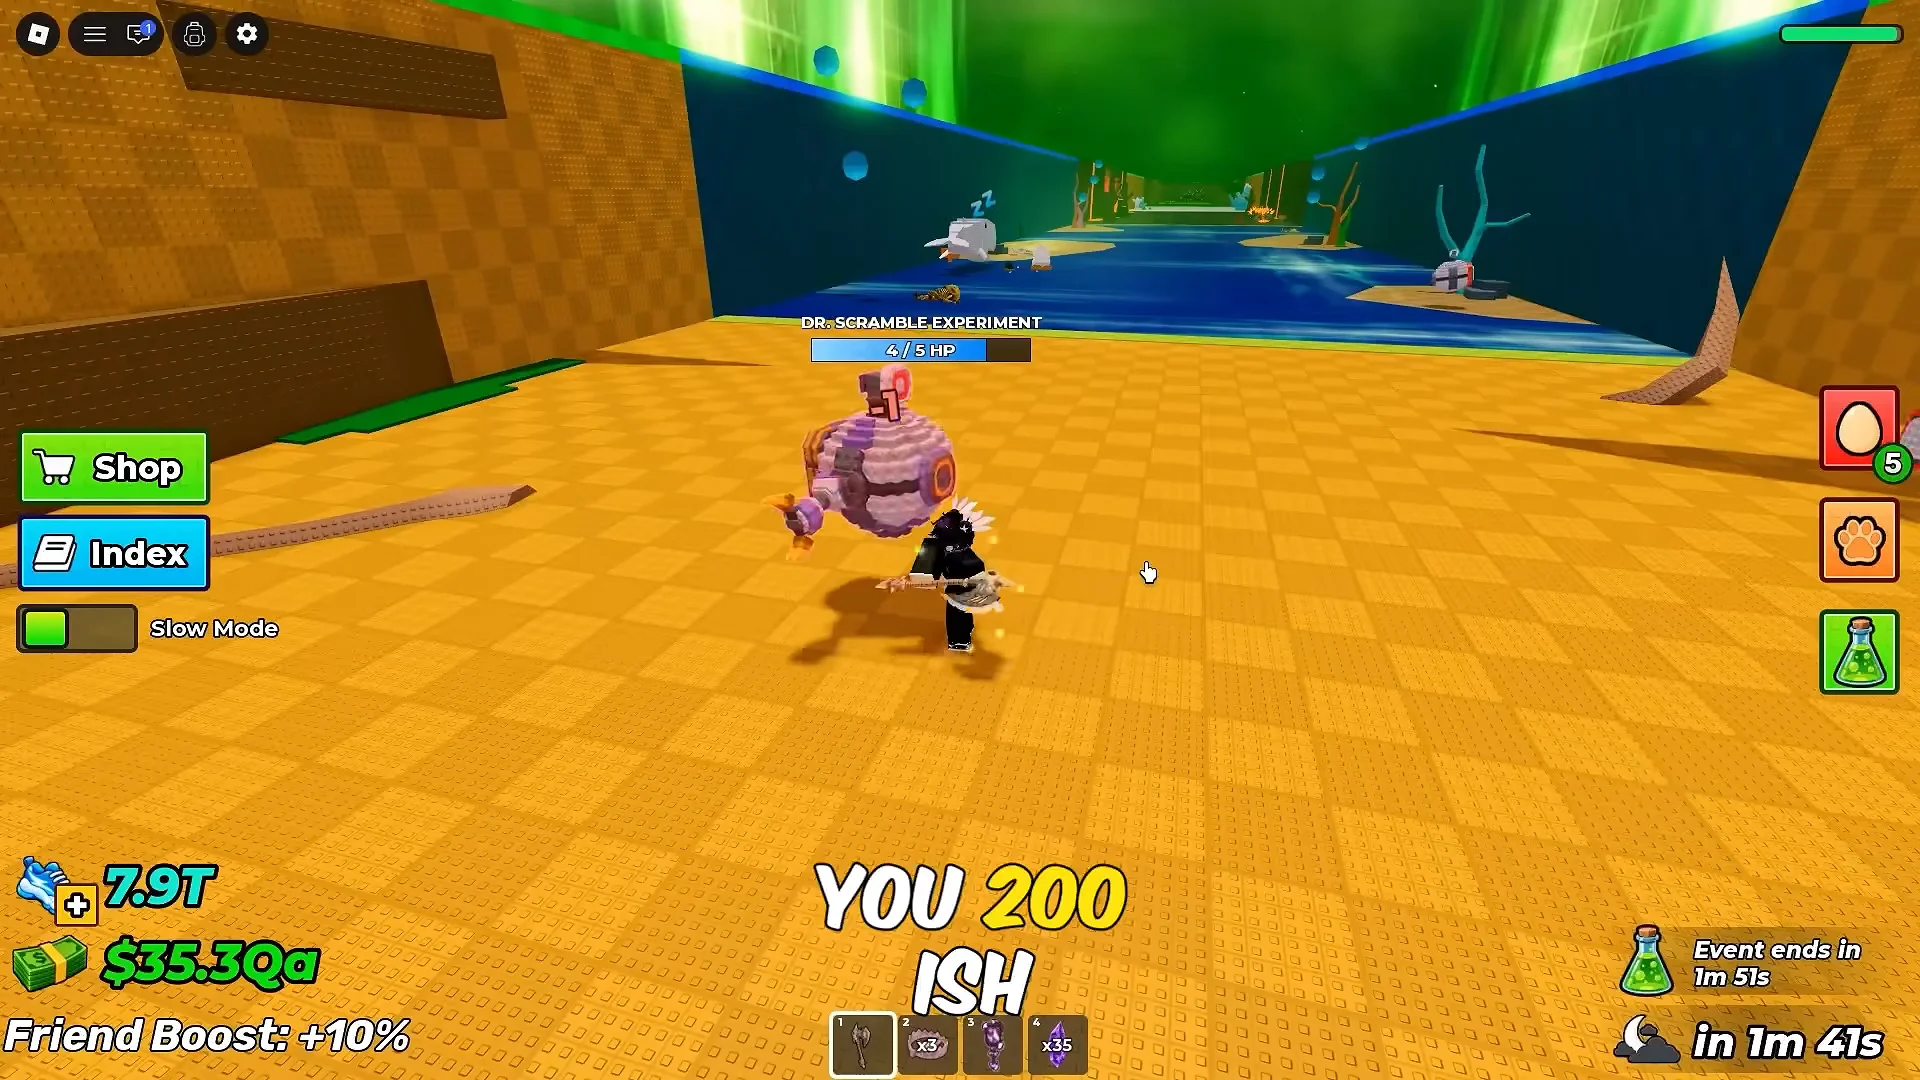
Because the damage is fixed per hit, your real throughput is swings per second. Keeping several bats equipped and swapping between them with hotkeys while swinging lets you land extra hits in the same window, effectively doubling or tripling how fast a drone drops.
Pick a low-population server before the event
Drones are shared, not personal. On a busy server the 10 HP spawns are gone before you can cross the map, and you end up fighting over the 3 HP leftovers. Open the server list, look for one with very few players that still accepts joins, and settle there ahead of the timer.
A private server does the same job with more certainty if you have access to one. Either way, the goal is simply space to move without another player sniping the target you are three swings away from killing.
The farming loop, in order
Drone Parts drop by tier too
The same drones feed the Stolen Experiment Vault quest, and the tier decides which piece you can get. 3 HP drones drop Drone Part 1, 5 HP drones drop Drone Part 2, and 10 HP drones drop Drone Part 3. Drops are random, so expect to kill several of a tier before the piece appears.
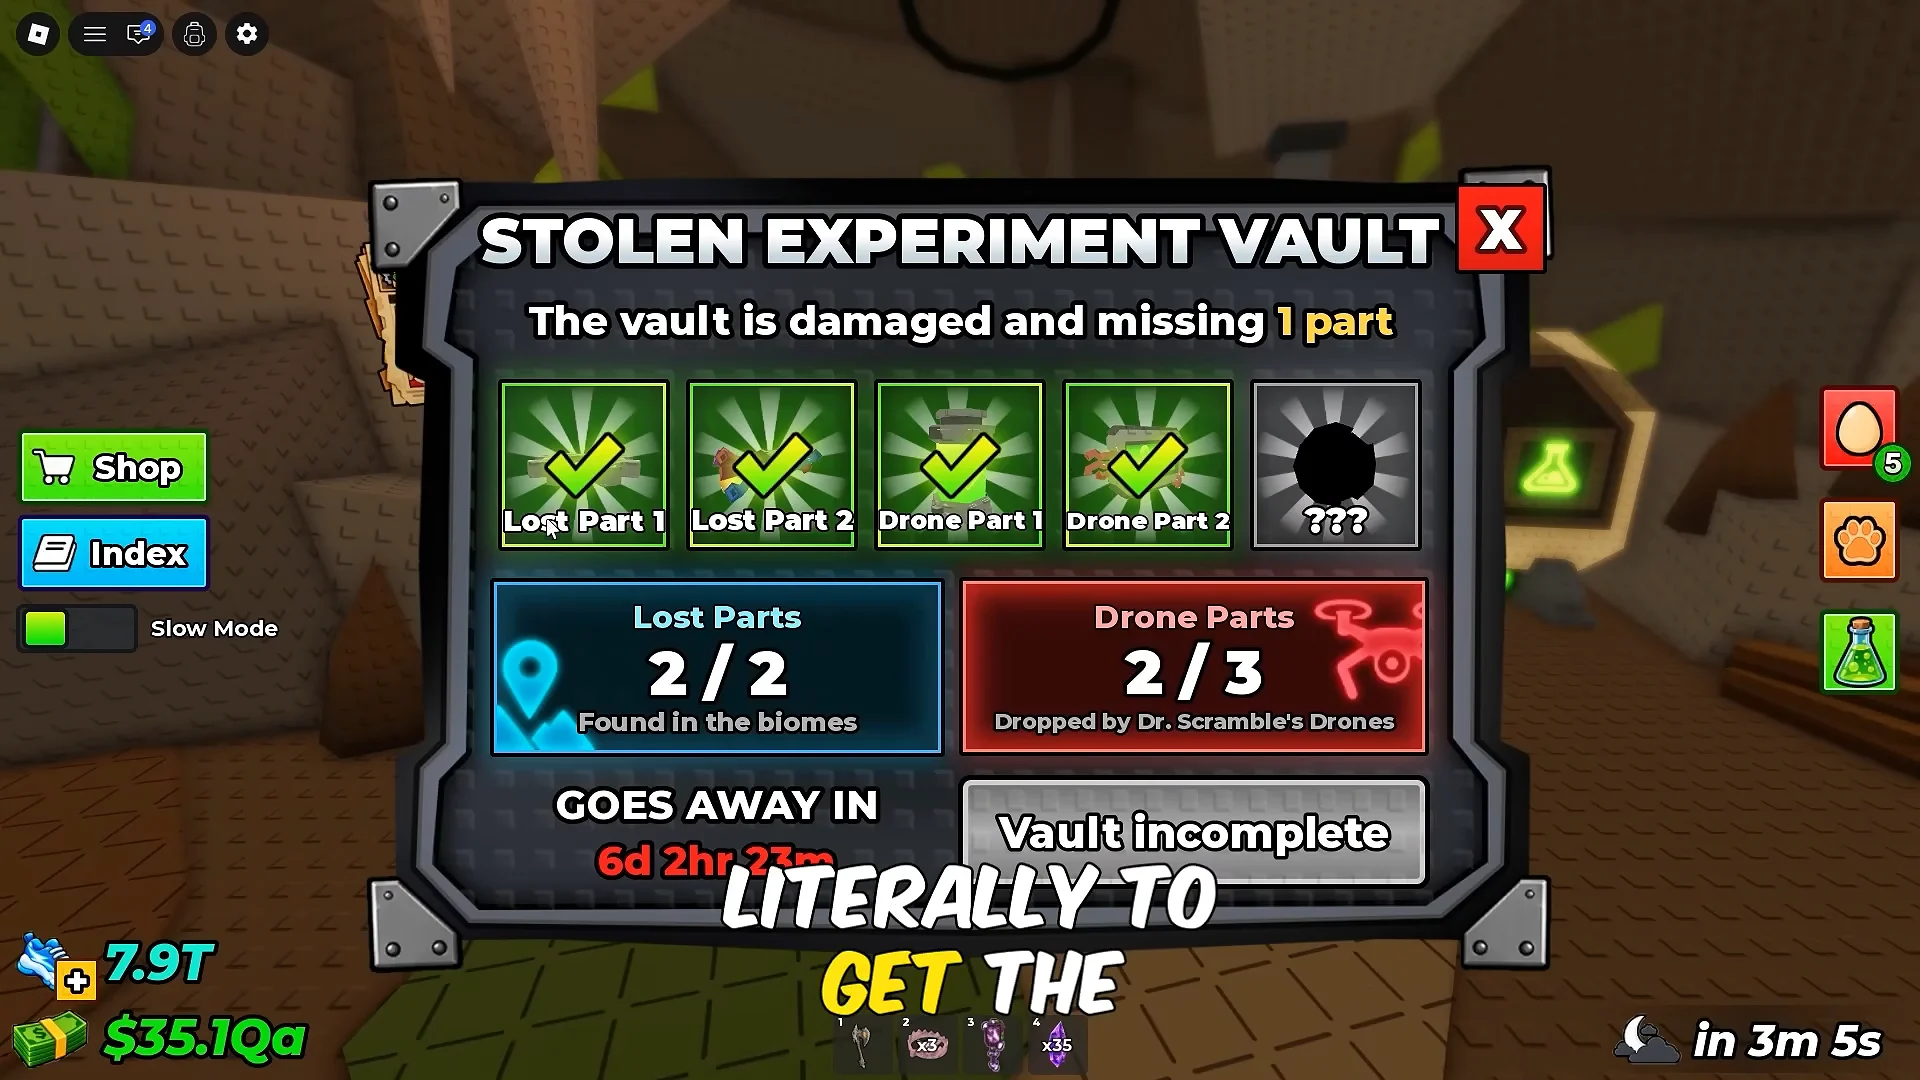
If you are chasing the vault and Samples at once, check which parts you already hold and weight your hunting toward the tier that still owes you a piece. The Samples come along either way.
How to confirm your Samples registered
Each destroyed drone drops green flasks and pops a floating counter on screen, such as “+44 Samples” or “+55 Samples”. Walking over the flasks is what banks them. If you see the drone break but no counter appears, you did not pick up the drop.
For the definitive check, return to the safe zone and open Dr. Scramble’s Experiments. The Sample total at the top of that menu is your real balance, and it should be visibly higher than before the event. Drone Parts confirm separately with a “DRONE PART FOUND! Drone Parts: 1/3” message as you collect them.
One clean run on a quiet server, routed through the Abyssal zones with 10 HP drones taken first, comfortably outpaces a busy server where you swing at everything you see.