Finders Keepers is a Briar Sloughs side quest in The Blood of Dawnwalker that ends when you dig up the marked Silver Cache. The map itself is clear, and Coen calls out landmarks along the way, so the only real obstacles are a few packs of enemies and a shovel requirement at the dig site.
Quick answer: Pick up the Treasure Map: Silver Cache west of the Coward’s Path Shrine inside a broken barrel, then travel to the odd rock northwest of the Briar Slough Hillock Shrine, kill the Pack Leader, and dig with a shovel to claim the cache.
How to start Finders Keepers
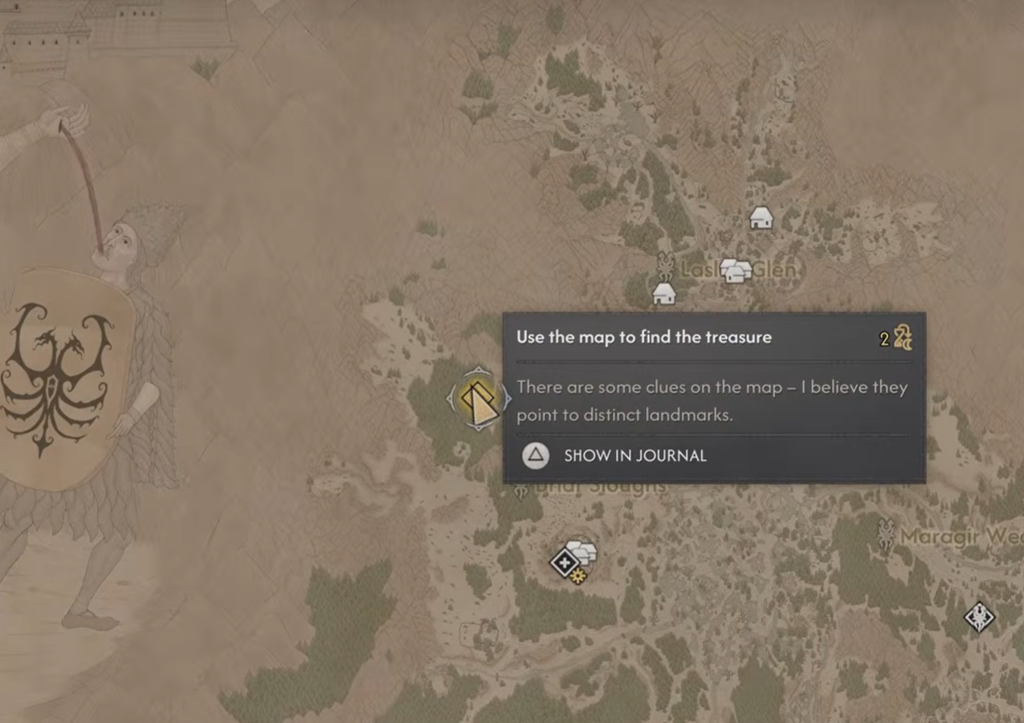
The quest triggers the moment you pick up the Treasure Map: Silver Cache. You find this map during The Cursed Chasm quest, west of the Coward’s Path Shrine, tucked inside a broken barrel. Grab it and the hunt is added to your journal automatically.
Route to the Silver Cache treasure
Pack Leader fight and digging up the cache
A couple of wolves guard the odd rock, along with a Pack Leader boss that is essentially a bigger, tougher wolf. Clear them out before you try to dig, since combat interrupts the process.
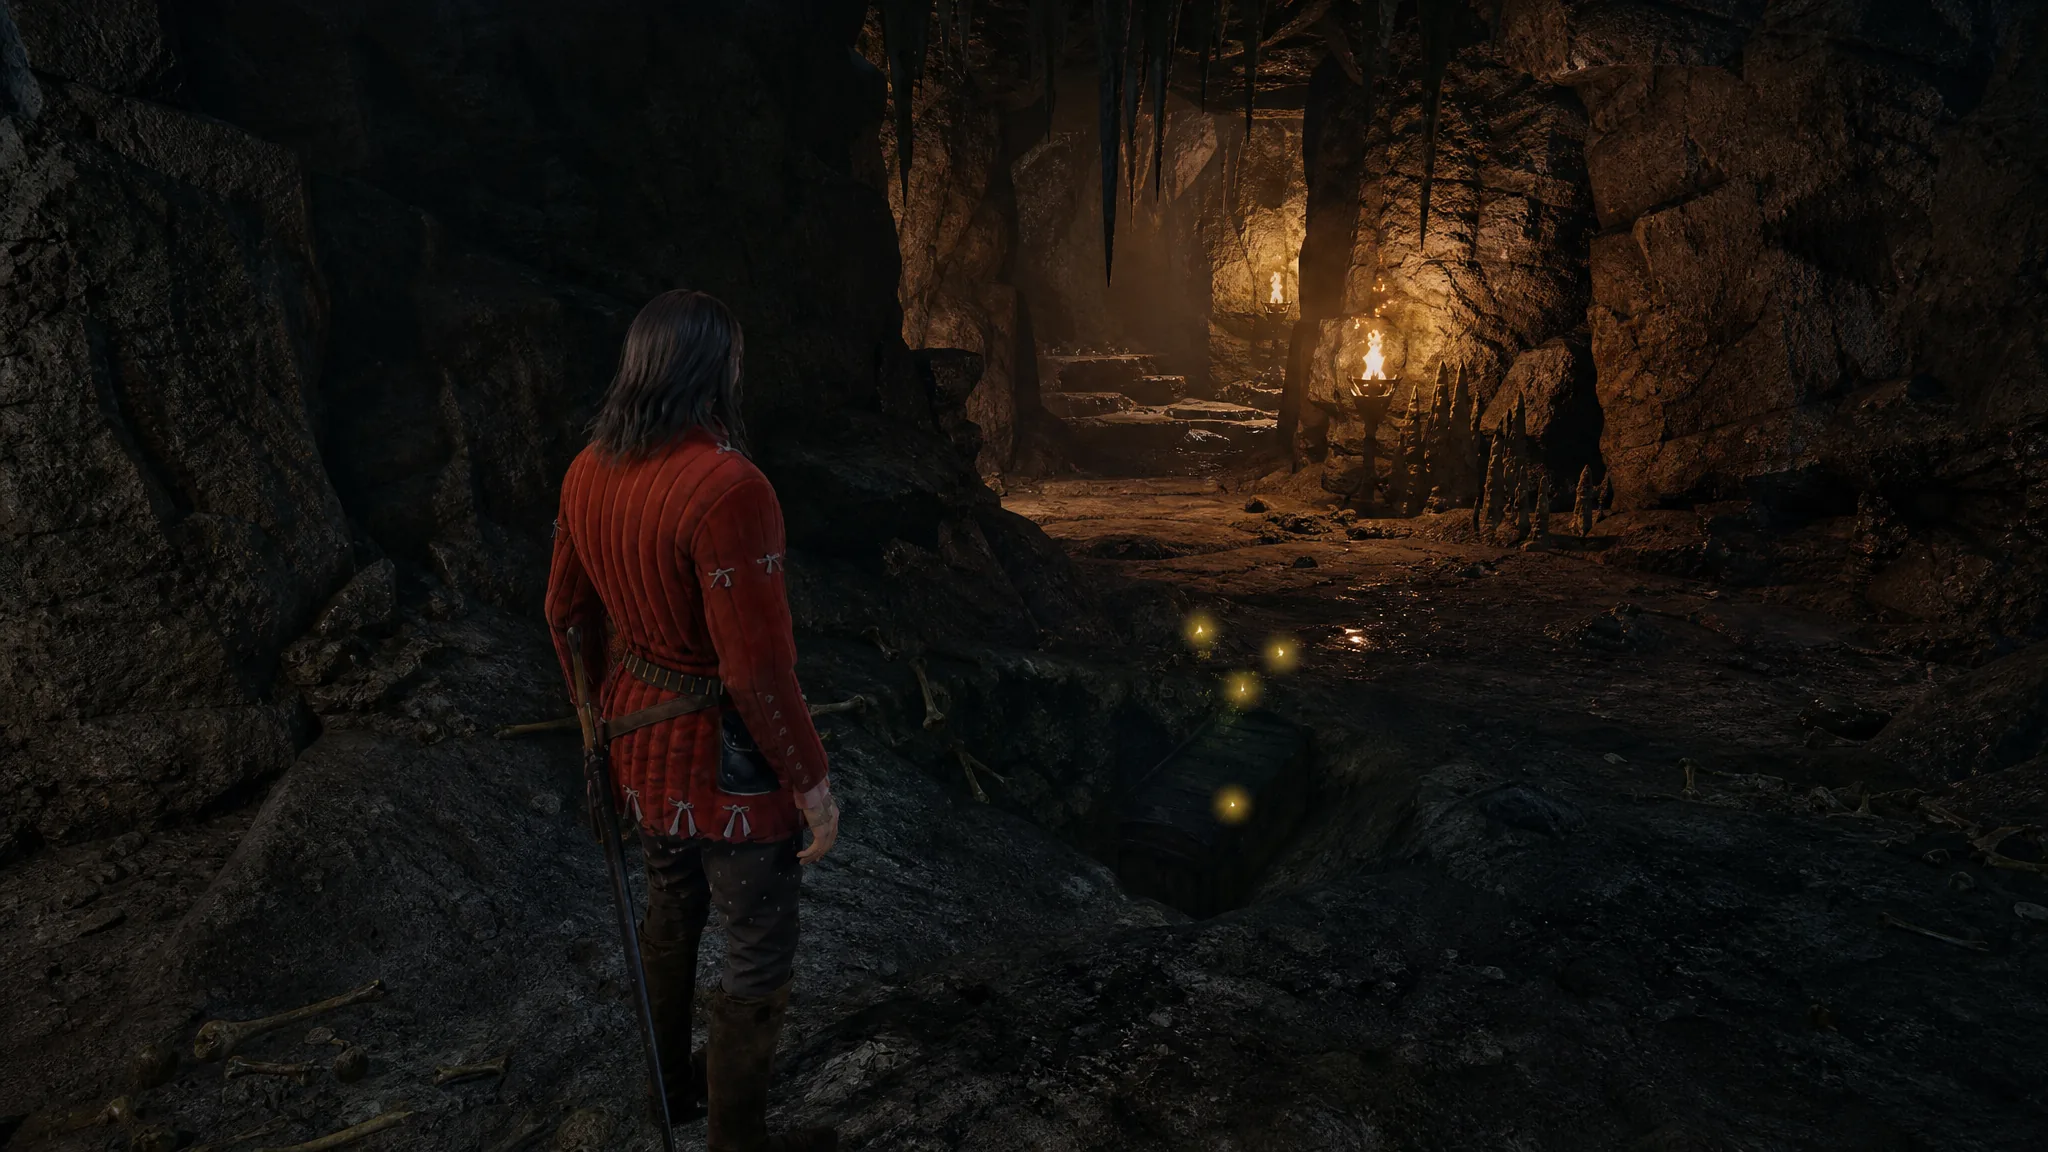
Use Focus Mode to pinpoint the dig spot quickly. You need a shovel to dig, so pick one up beforehand if your inventory is empty. The dig itself takes 2 hours of in-game time.
Because digging costs time, save the game first, dig out the cache, check the contents, and reload if the reward is not worth the time spent.
You will know it worked when the Silver Cache chest opens and the loot drops into your inventory, closing out the quest.
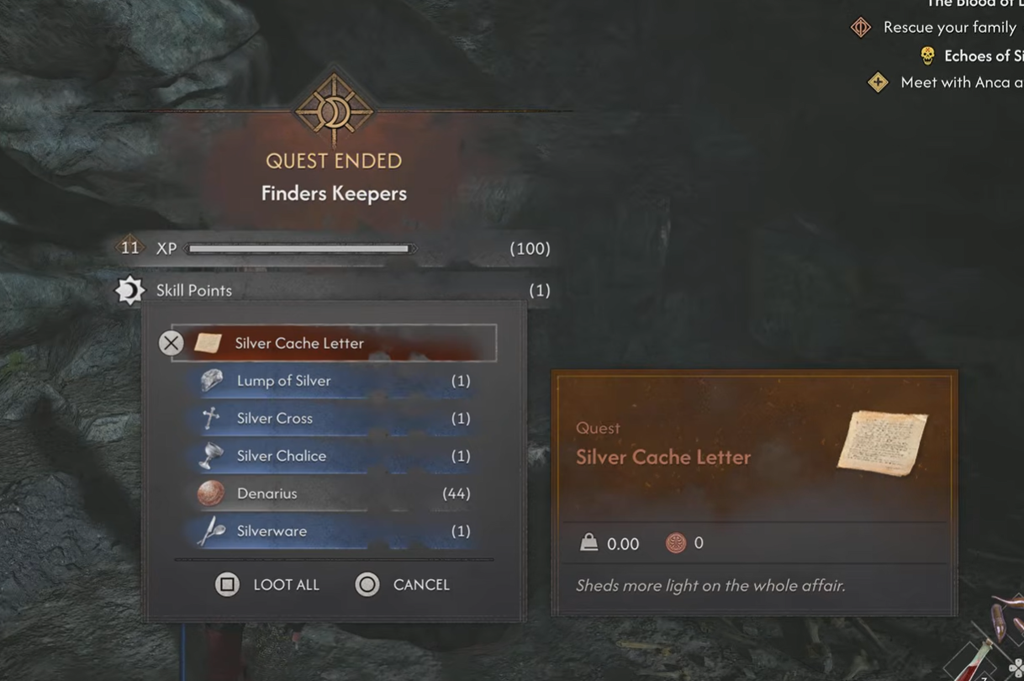
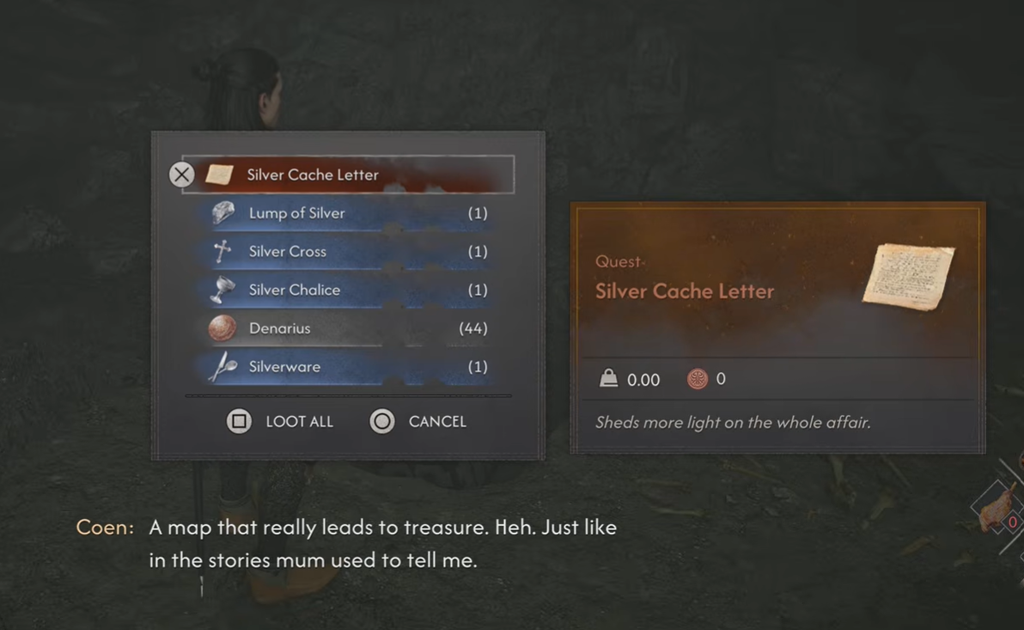
Silver Cache rewards
| Reward | Type |
|---|---|
| Silver Cache Letter | Note / lore item |
| Lump of Silver | Silver item |
| Silver Cross | Silver item |
| Silver Chalice | Silver item |
| Silver Bowl | Silver item |
| 41 Denarius | Currency |
What to do with the silver
The Silver Cache Letter explains that the silver belongs to the rightful ruler of Vale Sangora. It lays out instructions to spend the metal on fighting the Vrakhiri and warns against anyone using it for personal gain.
Since most of the haul is silver goods rather than coin, the practical value comes from selling it. To turn those items into money, you will want access to the silver trader in Svartrau City, the single silver vendor in the game.