The Blood of Dawnwalker drops Coen into Vale Sangora with a strict budget of 30 days and 30 nights to save his family from Brencis. The single biggest mistake early on is treating it like a normal open-world game and burning that budget on busywork. Time only moves when you take meaningful actions, so your first hours should be about learning the systems, unlocking movement, and building a combat foundation that works in both forms.
Quick answer: Explore, gather, and reveal the map freely because those cost nothing. Spend your first two skill points on Mercurial Fervour (day sprint) and Shapesift (night wolf form), lean on your sword while you learn parries, and only advance quests or learn gated skills when you accept the time cost the game shows you.
How the 30-day time limit works
The clock is action-driven, not a real-time countdown or a reset loop. As long as you are wandering, watching, and listening, the sun stays put. Time only advances when you choose to take a meaningful action. Missing the deadline does not trigger a game over, but it does change Coen’s ending.
Each day and each night is split into 10 notches, and most activities only cost one or two. The game shows you the cost before you commit, so read it every time. Avoid excessive time skipping at shrines or by sleeping, and do side content instead when you want to fill the day.
| Usually free | Spends time |
|---|---|
| Walking, gathering, ordinary fights | Starting or advancing marked quests |
| Revealing points of interest from towers | Completing camps, rescues, and treasure activities |
| Fast travel between active shrines | Repairing a broken shrine |
| Planning routes and reading the map | Learning many skills after their prerequisite unlocks |
Note: The prologue in Laslea makes the time limit feel harsh on purpose. The full game is far more forgiving, so do not panic-rush after you reach Vale Sangora.
Day and night forms
Coen is a Dawnwalker, human by day and vampire by night, and sunlight does not burn him. The two halves of the cycle open different options, so plan which tasks belong to which. Do not waste a night slot on something you could handle in daylight.
During the day, Coen moves through society as a man, taking human quests, trading in the open, and using Witchcraft and swordplay. At night he transforms, gaining increased attack speed and strength along with vampiric claws, fangs, and powers. You can still draw your sword at night by holding Square on PS5 or X on Xbox to swap between claws and blade.
Combat basics: blocking, parries, and directions
Combat is a directional dueling system, not a mash-attack brawler. Enemies attack from four directions, and you aim your own attacks and blocks the same way. Perfect blocking at the last second turns a block into a parry, while Omniblock automatically covers any direction for a higher stamina cost.
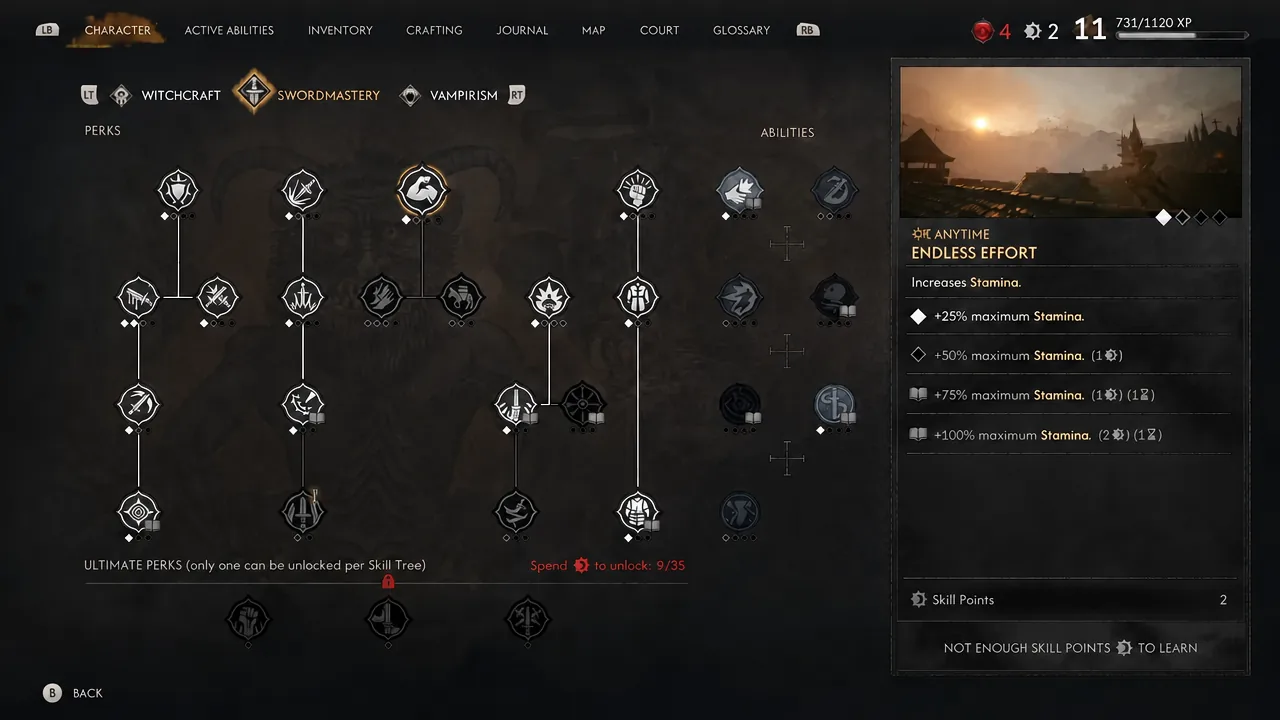
Beginners can switch on Omniattack and Omniblock in the settings, which handles swing and parry direction for you so you can focus on spacing. These are a fine crutch early, but they drain stamina faster. The Omniblock skill in the Swordmastery tree can be upgraded to cut that stamina cost by up to 50%.
Perfect blocking is worth learning because it cancels any active attack animation, letting you defend instantly mid-combo. The Perfect Block skill path rewards clean parries with stamina restoration, skill activations, critical damage, and enemy debuffs. Varying your attack directions matters too, since repeating a direction lets enemies dodge or block it. The Precision perk raises damage when your directions do not repeat.
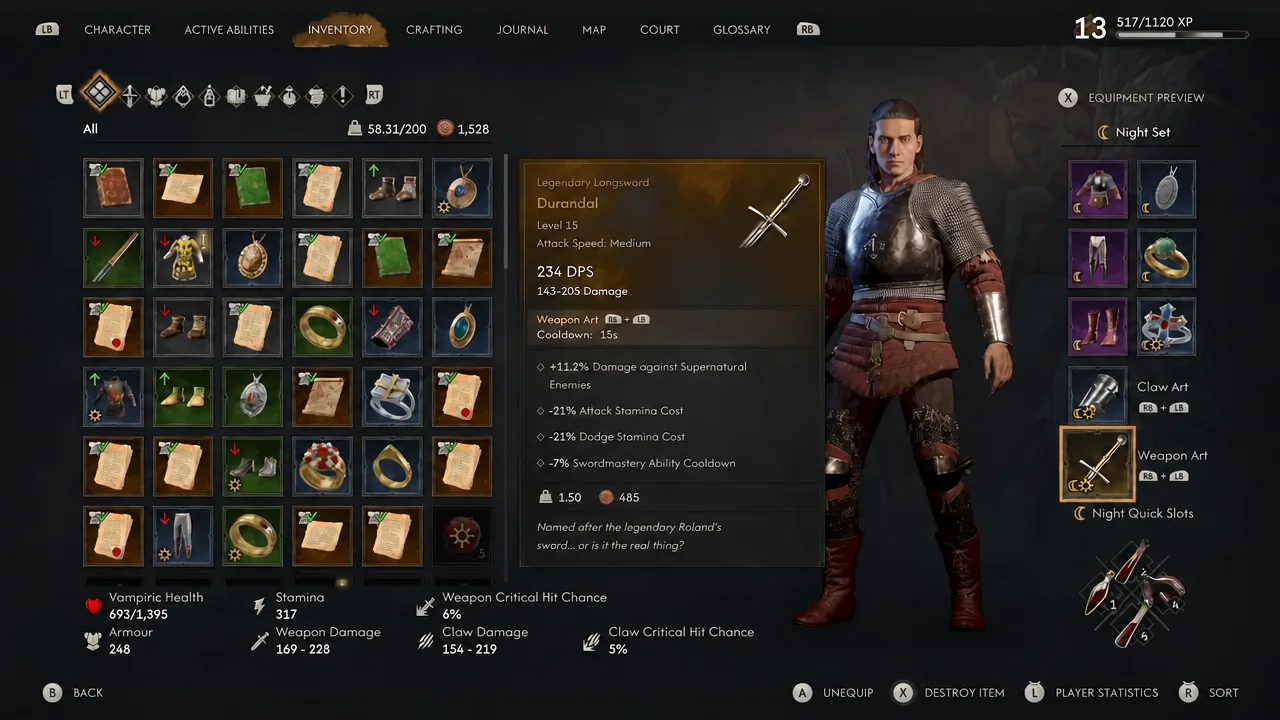
Active abilities help you break enemy pressure. Dirty Trick throws pocket sand that grants invincibility frames and interrupts attacks. Weapons also carry unique Weapon Arts on cooldowns, around 15 seconds, that deal burst damage and interrupt enemies. Manual dodging is still required for heavy, unblockable strikes no matter which control mode you picked.
Swords versus vampire claws
Your sword is the workhorse because you can use it at any time of day. Claws are gated to night, so lean on the blade while you learn parry timing and enemy tells. That said, vampire claws hit harder than swords in the early game, so they are your aggressive night option once your Vampirism path supports it.
Claw upgrades live in the Vampirism tree and include Razorsharp Claws, Restless Claws, Clawpierce, and Dancing Claws. Official combat material also separates short swords, long swords, and great swords by speed and handling, so match the weapon to the encounter rather than assuming a longer blade is always better.
| Weapon | Best used when |
|---|---|
| Short sword | You want fast reactions and short punish windows |
| Long sword | You want a balanced default for learning parries and ripostes |
| Great sword | You are comfortable committing to slower, heavier hits |
| Vampire claws | It is night and your Vampirism path favors close aggression |
Healing by day and night
Healing changes with the cycle, so keep both options ready. At night you drain blood from humans and animals to restore health and reduce hunger. Humans give the most blood, and stealth drains let you feed longer. Blood vials and leeches heal instantly but raise your corruption level.
During the day you cannot feed, and human food and alcohol cannot be consumed at night. Food such as apples and tripe soup heals over time, while drinks regenerate stamina. Because Witchcraft hexes cost Coen his own blood, keeping healing items stocked for daytime fights is essential.
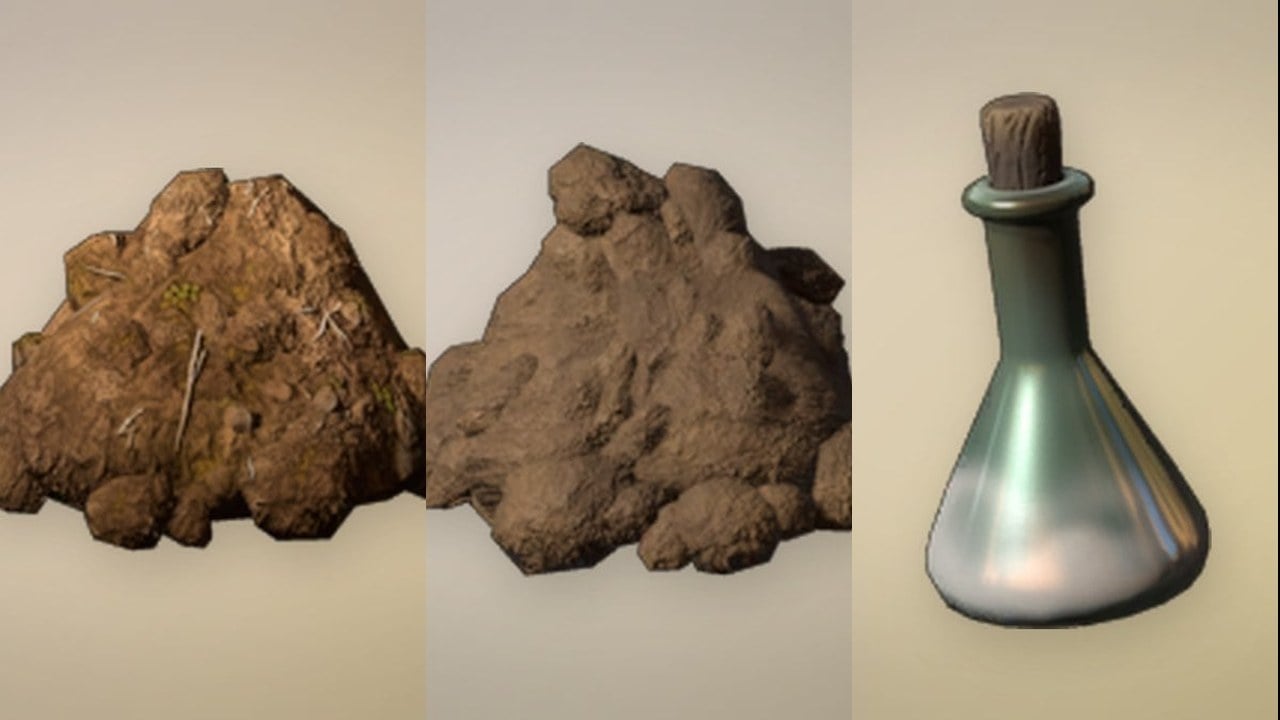
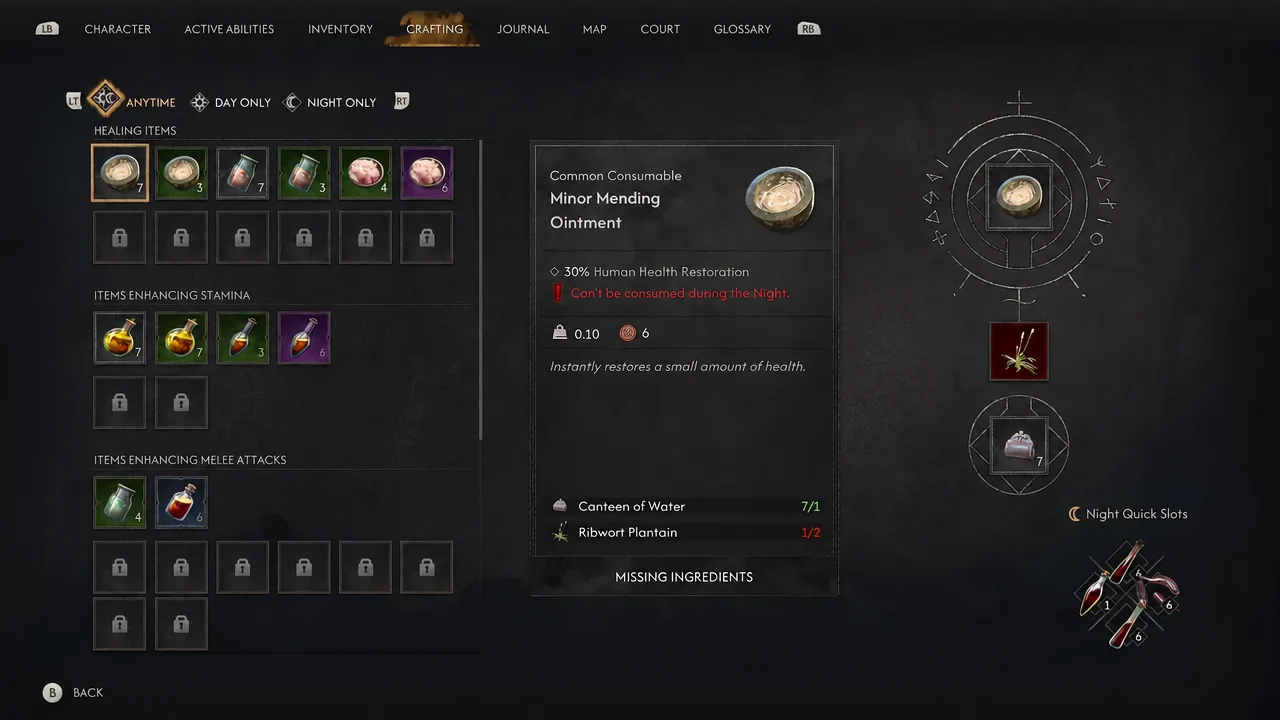
Crafting fills the gap. Using gathered herbs with water or oil, you can make Minor Mending Ointment for 30% health and Mending Ointment for 50% health. Gather materials like Ribwort Plantain and Comfrey as you explore so you always have a supply.
Gear, armor, and scaling
Armor comes in Light, Medium, and Heavy types. Heavy armor gives the most protection but adds stat penalties if you lack proficiency. The Second Skin I and Second Skin II perks in the Swordmastery tree reduce those Medium and Heavy penalties.
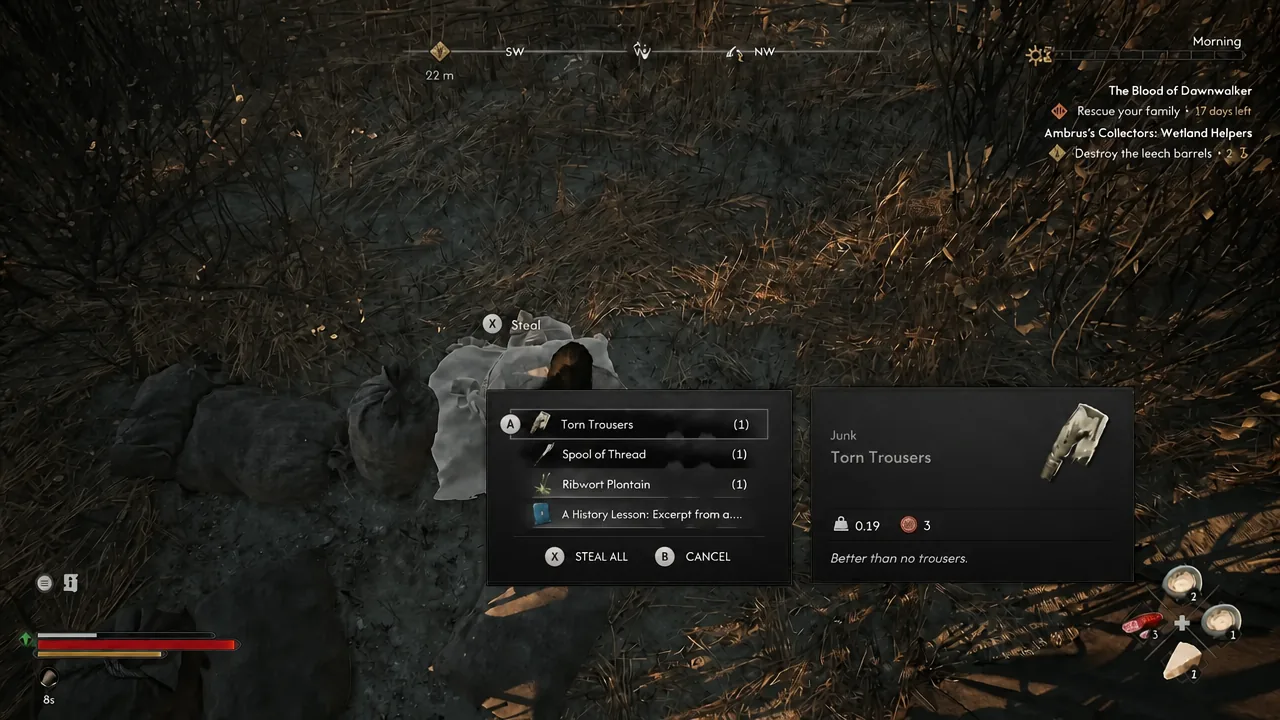
Gear level scales to your level at the moment you find it, which means a high-level common piece can outclass a low-level rare one. To keep desirable affixes on gear you like, upgrade its level at a blacksmith or witch using Denarii. Your starting weight limit of 200 is generous, so loot everything and sell junk to merchants for early gold.
The three skill trees and best early points
Progression runs through three trees, and they share one pool of skill points and experience. That shared pool is exactly why you should not spread points across every appealing unlock in the opening hours.
| Tree | When active | How new options unlock |
|---|---|---|
| Swordmastery | Day and night | Find or buy sword manuals |
| Witchcraft | Day only | Find manuals in ruins and haunted places, or buy from vendors |
| Vampirism | Night only | Raise Corruption by feeding and drinking blood vials |
The Vampirism tree needs Corruption points to reach its higher-tier upgrades, which you earn by draining blood or drinking vials. Many skills across the trees also require finding and reading a specific manual before you can spend a point on them. Ancient Circles, which pit you against waves of enemies, and Wisp Treasure Hunts are primary sources of Witchcraft skill books. Duplicate manuals exist in the world, so missing one is not a disaster.
Best first two points: Unlock Mercurial Fervour for a daytime super sprint and Shapesift for the night wolf form. Both dramatically speed up map traversal, which saves you real time across the whole run.
Fast travel, scouting, and map difficulty
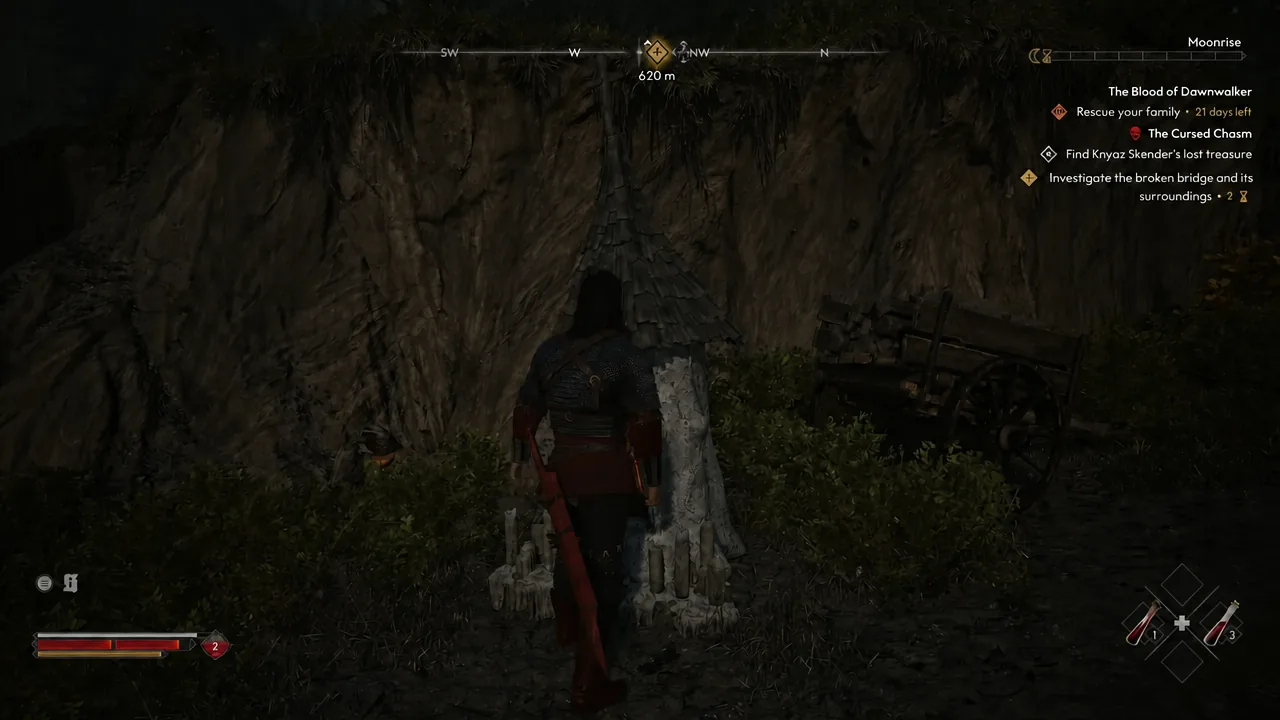
Fast travel between activated shrines does not consume in-game time, which makes shrines the backbone of efficient routing. Some shrines are broken and must be restored using a Shrine’s Heart found nearby. Climbing scouting towers, like the Cathedral Tower, at night reveals points of interest without costing time.
The map uses color-coded difficulty, from yellow up to orange and a red skull. You can sneak into red skull areas early to grab powerful loot, as long as you avoid getting hit. Treasure maps, such as the Bandit’s Treasure Map for Laslea Glen, lead to hidden high-quality gear.
Tip: Quick save often, especially after boss fights, so a random pack of mobs cannot undo hard-won progress.
Brencis’s Court, officers, and Infamy
Brencis’s Court is ruled by his officers, and three of them, Ambrus, Xanthe, and Bakir, have Aggression meters you raise by disrupting their operations. Push a meter high enough and it opens that officer’s boss questline. Once a breakthrough gives you the lead you wanted, stop farming that faction’s small camps, since extra runs mostly just spend time.
Disrupting operations also raises your Infamy, which adds more patrols and pushes up merchant prices. Higher Infamy can trigger permanent Edicts from the court that make the game harder, such as checkpoints or pricier goods. Because prices climb, visit the main city early to trade and buy gear before your reputation rises.
Choices, difficulty, and playtime
Vale Sangora is a narrative sandbox where quests branch and can be tackled in almost any order, skipped, or never found. Every meaningful choice shapes your ending, and feeding carelessly matters here too, since killing a named character can close a questline for good. A missed scene is part of the story, not a failed run.
Four difficulty presets are available, and you can retune them at any time. Custom sliders even control the perfect-block window and whether blocking is automatic, so there is no penalty for adjusting a fight that feels off.
| Preset | Best for |
|---|---|
| Story | Players focused on narrative who want combat to stay light |
| Fair | The standard balanced experience |
| Challenging | A step up for combat that bites |
| Duelist | The hardest preset, built around demanding dueling |
A full playthrough runs roughly 50 to 70 hours, while focusing on the critical path can finish the main thread in about 15 to 18 hours. The 30-day timer applies within a single playthrough, not your real calendar, so you can put the controller down whenever you like. Because you will inevitably miss content, a second run down different threads shows you a meaningfully different slice of Vale Sangora.