Ambrus keeps his blood supply usable by farming leeches, whose spittle stops blood from clotting. Wrecking the barrels of collected leeches is one of the fastest ways to raise his anger level, and it shows up three separate times across the marshes of Vale Sangora as the Leech Collector activities.
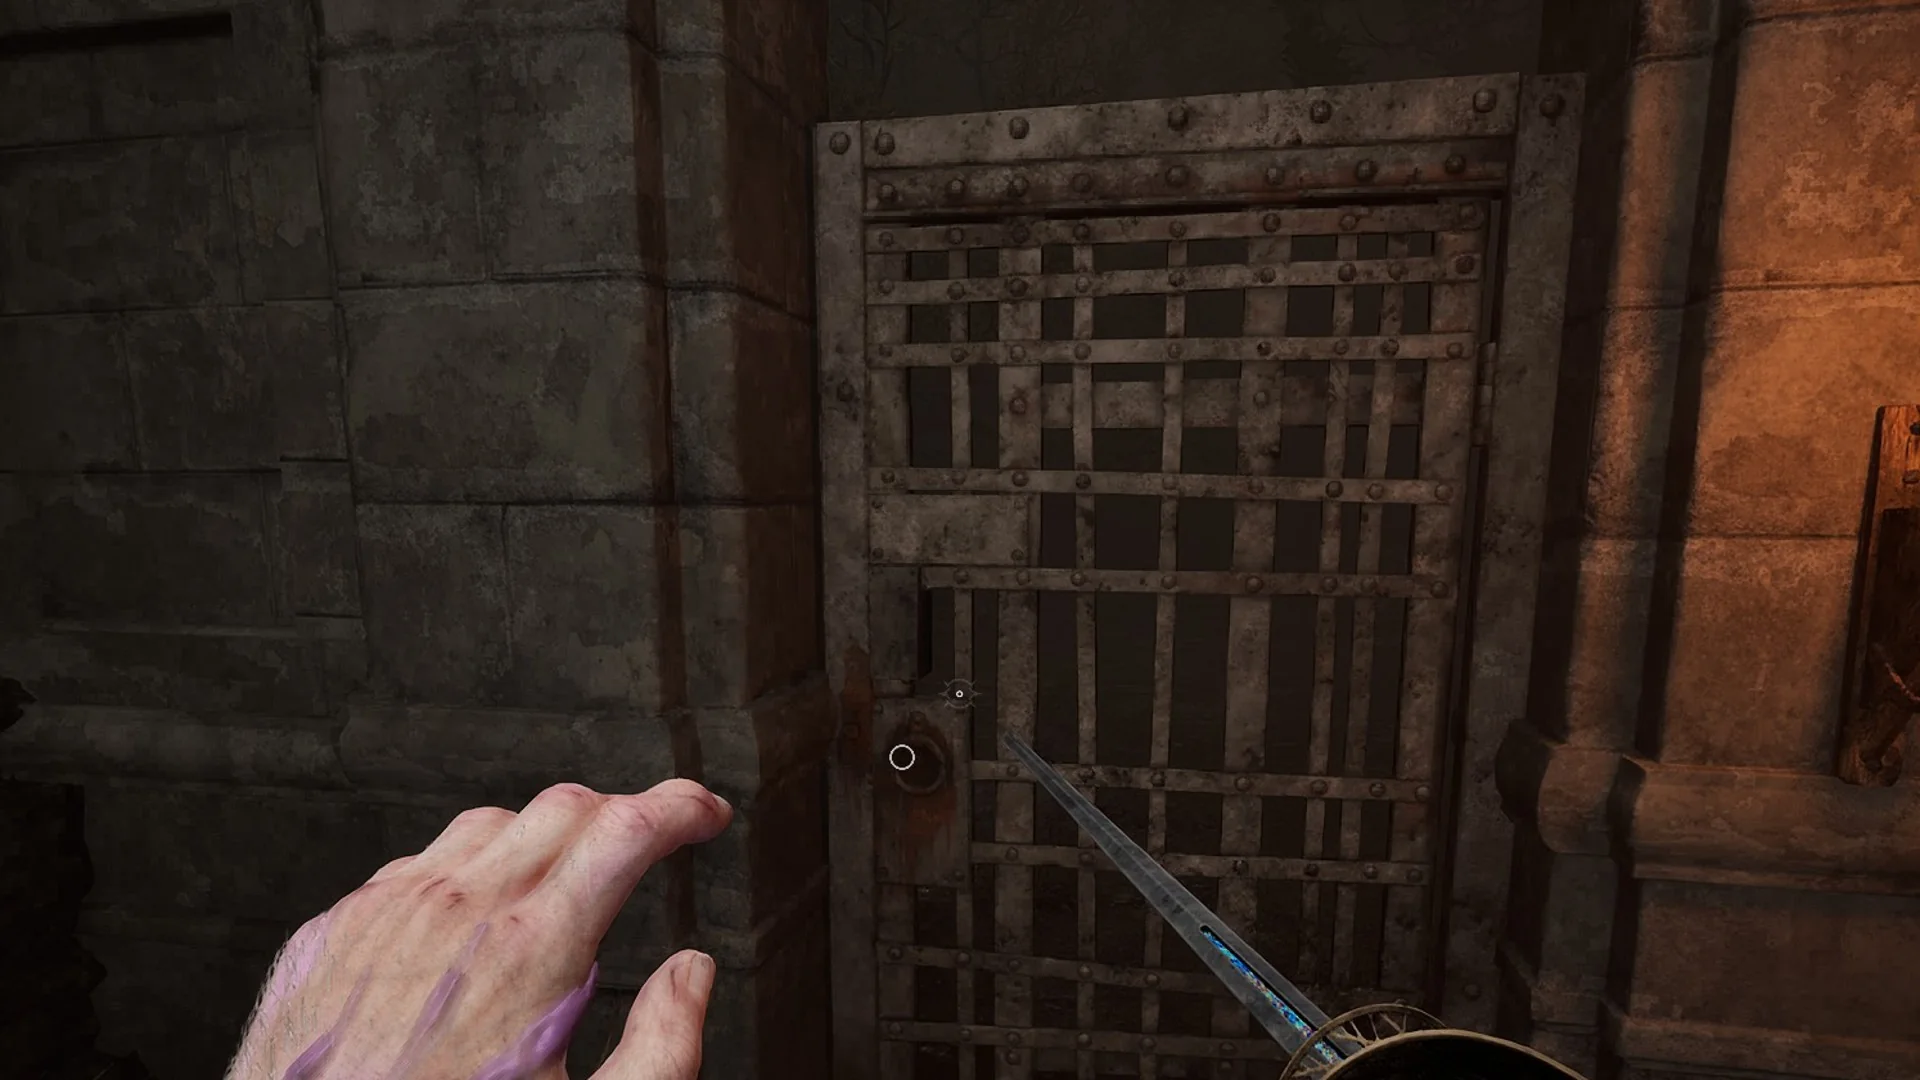
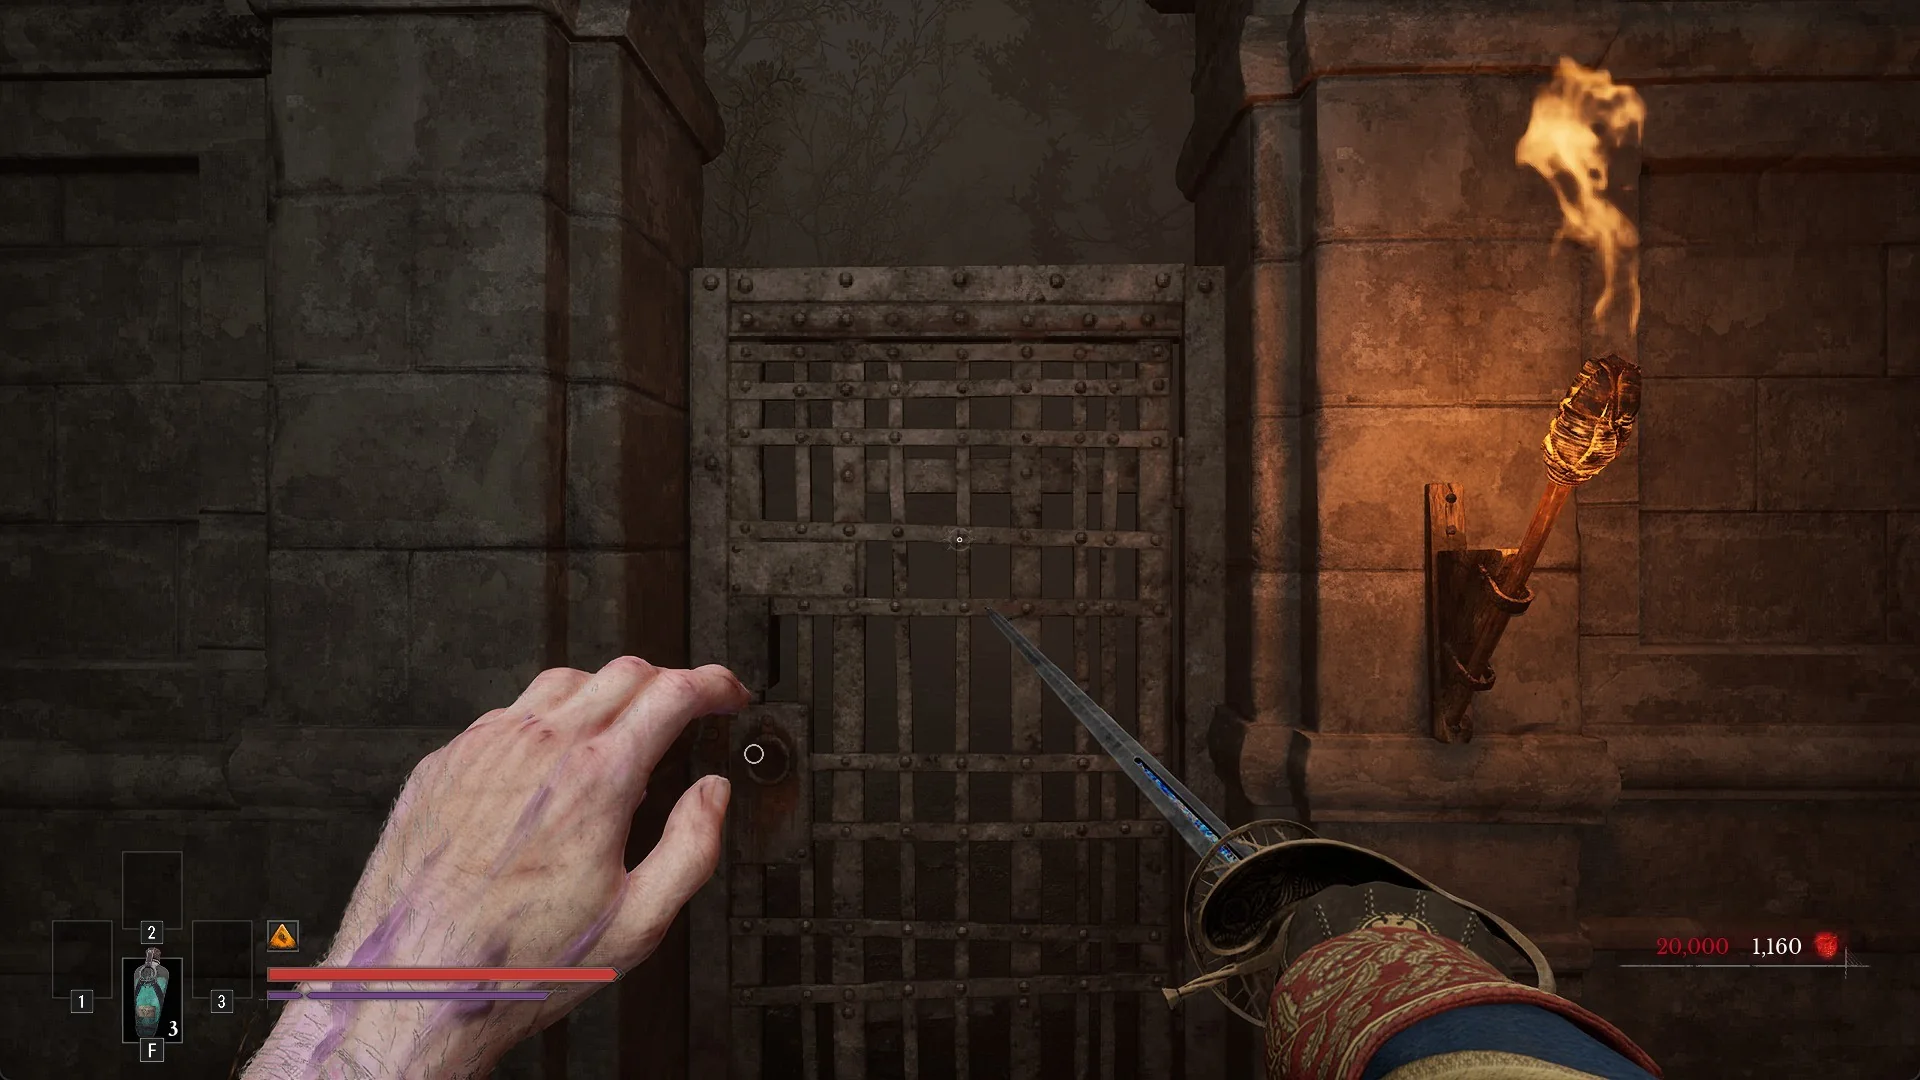
Quick answer: Kill the roughly four soldiers stationed at the camp, walk up to the yellow-highlighted leech barrels, hold the interact key (Hold F on keyboard) to start the cutscene, then pick “I’m destroying these, whether you like it or not” so Coen cuts the barrels open with his sword. The cutscene ending confirms the objective.
The three leech barrel camps and what they pay out
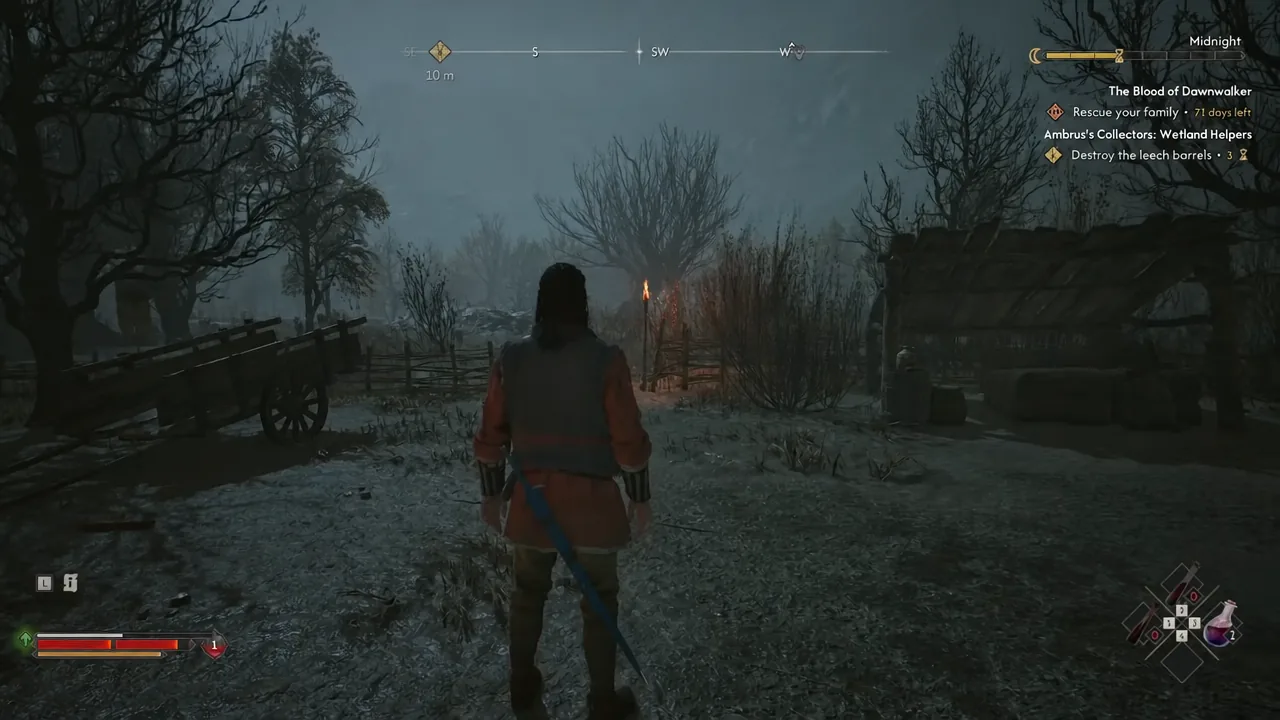
All three sit in the middle of Ambrus’s swampy territory, each on a small island with a hand-built camp on it. Wetland Helpers is the one tied to Clasgny Woods. They play out identically, and the reward is the same whichever camp you hit first — only the leech count scales with how many you have already cleared.
| Activity | Time cost | Reward |
|---|---|---|
| Ambrus’s Collectors: Bounty of the Mire | 3 time segments | 250 XP, 1 Skill Point, Blood Leeches |
| Ambrus’s Collectors: Wetland Helpers | 3 time segments | 250 XP, 1 Skill Point, Blood Leeches |
| Ambrus’s Collectors: Unsavoury Solutions | 3 time segments | 250 XP, 1 Skill Point, Blood Leeches |
The Blood Leeches payout climbs as you work through the set: 5 at the first camp you finish, 12 at the second, and 18 when you resolve the third. Only the barrel interaction spends time — fighting the guards, looting bodies and picking the camp clean cost you nothing on the clock, so do all of that before you touch anything.
How to destroy the leech barrels
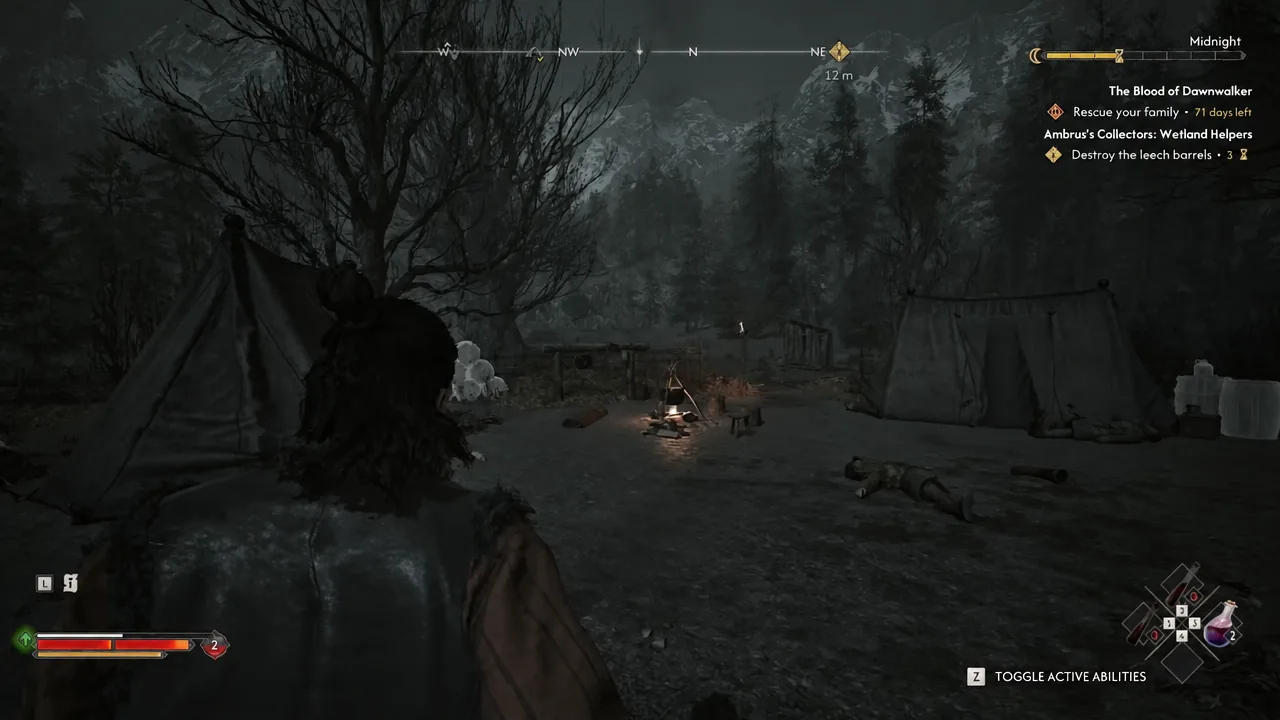
Destroy [Hold F]. Releasing early does nothing, so keep it held until the prompt fills and the scene takes over.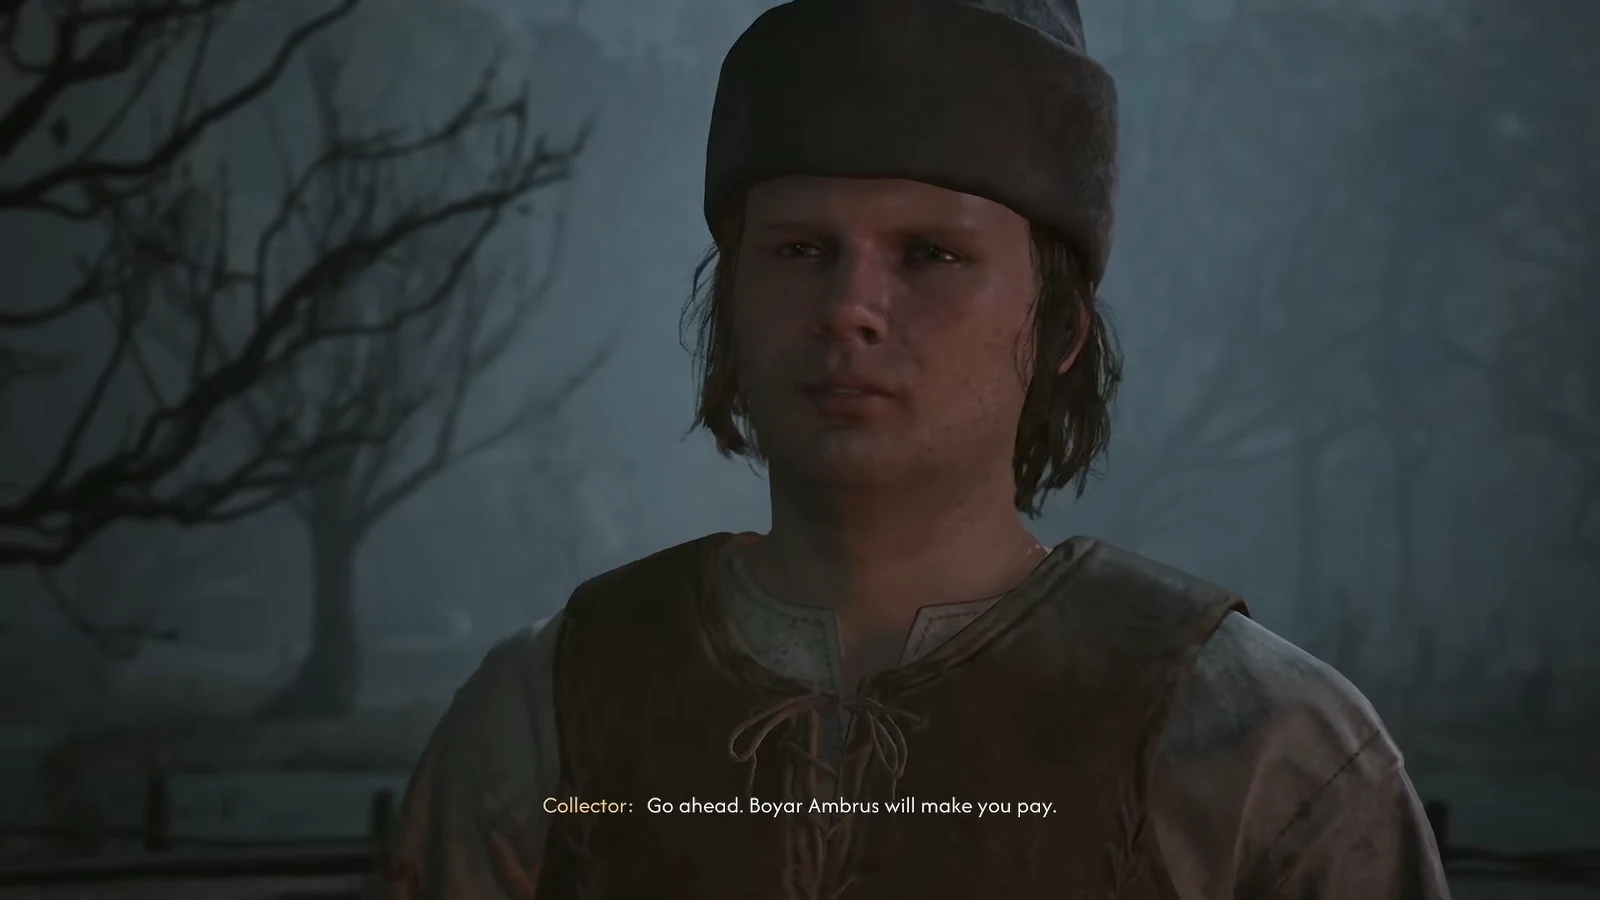
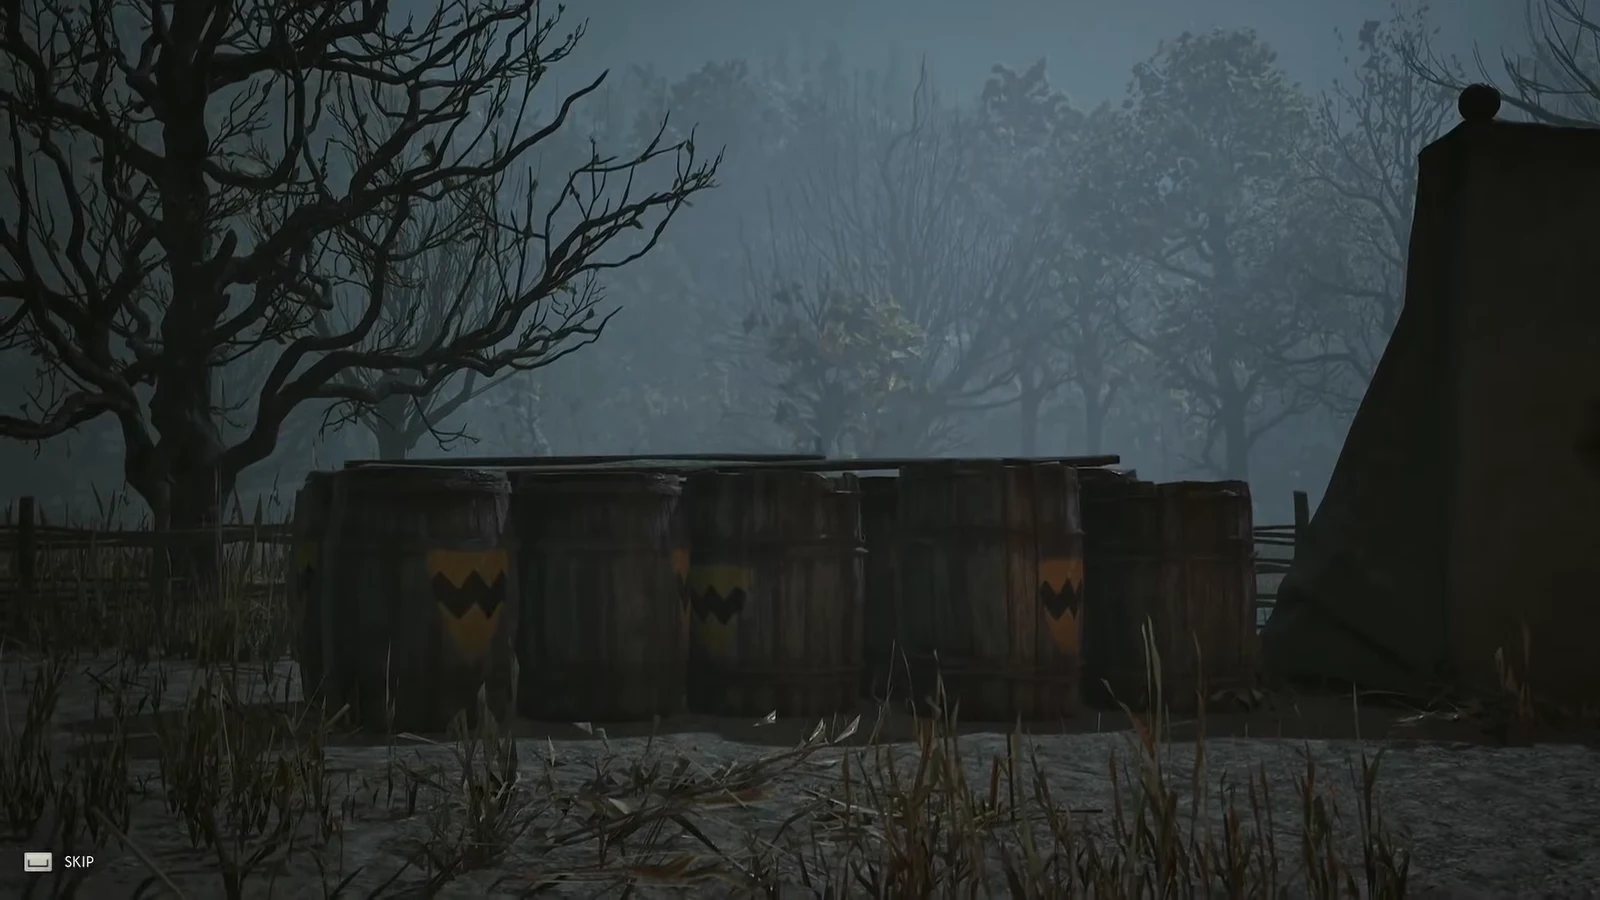
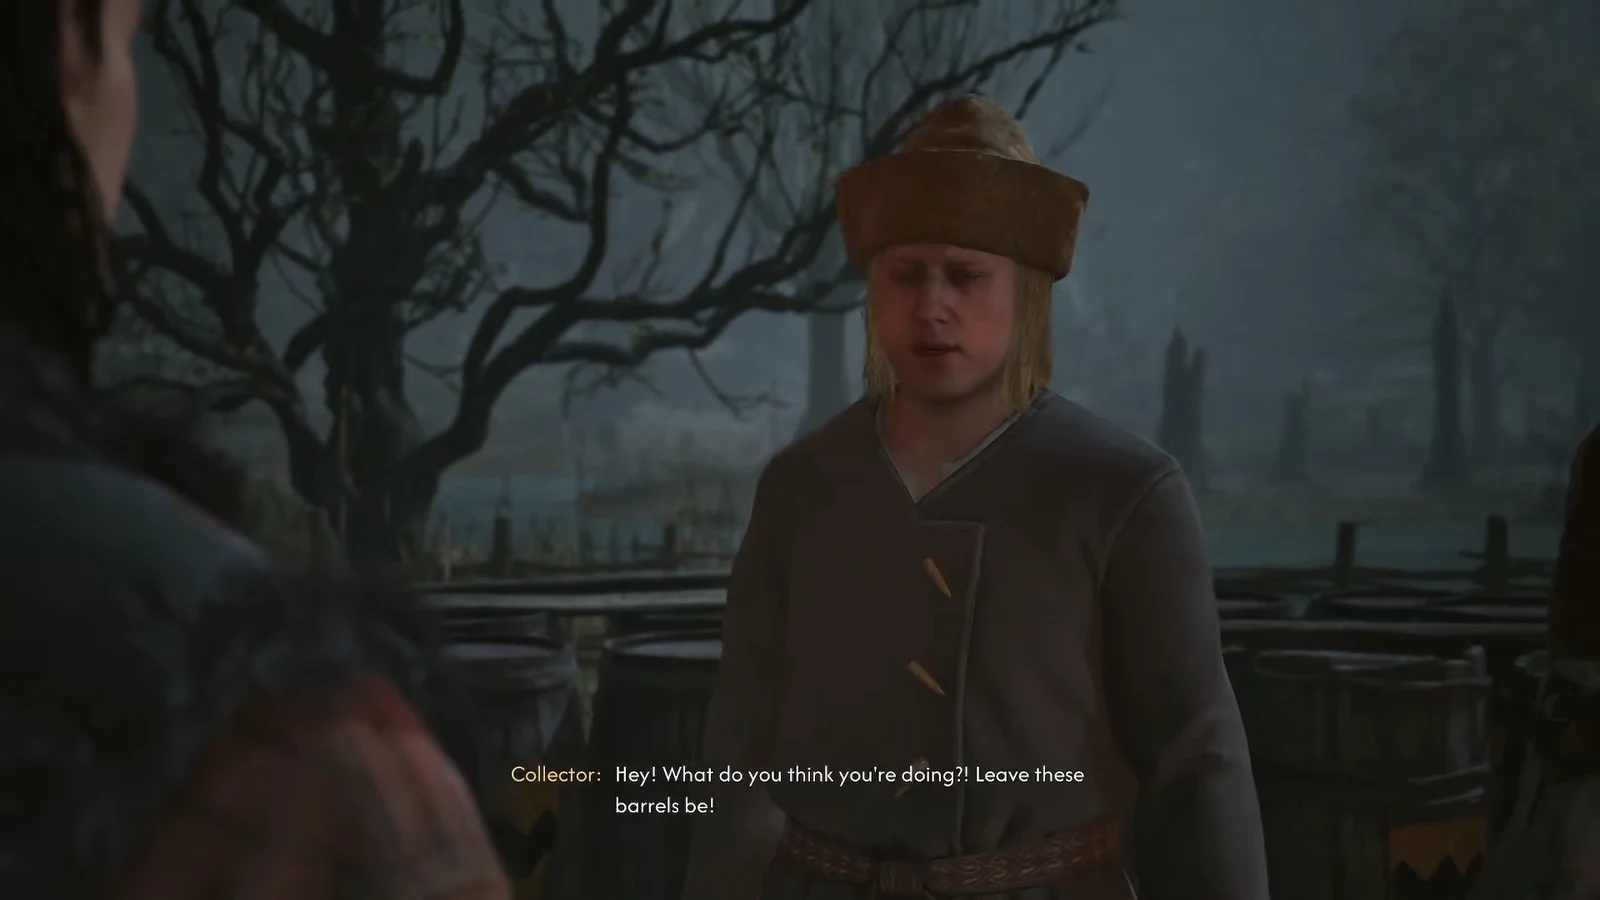
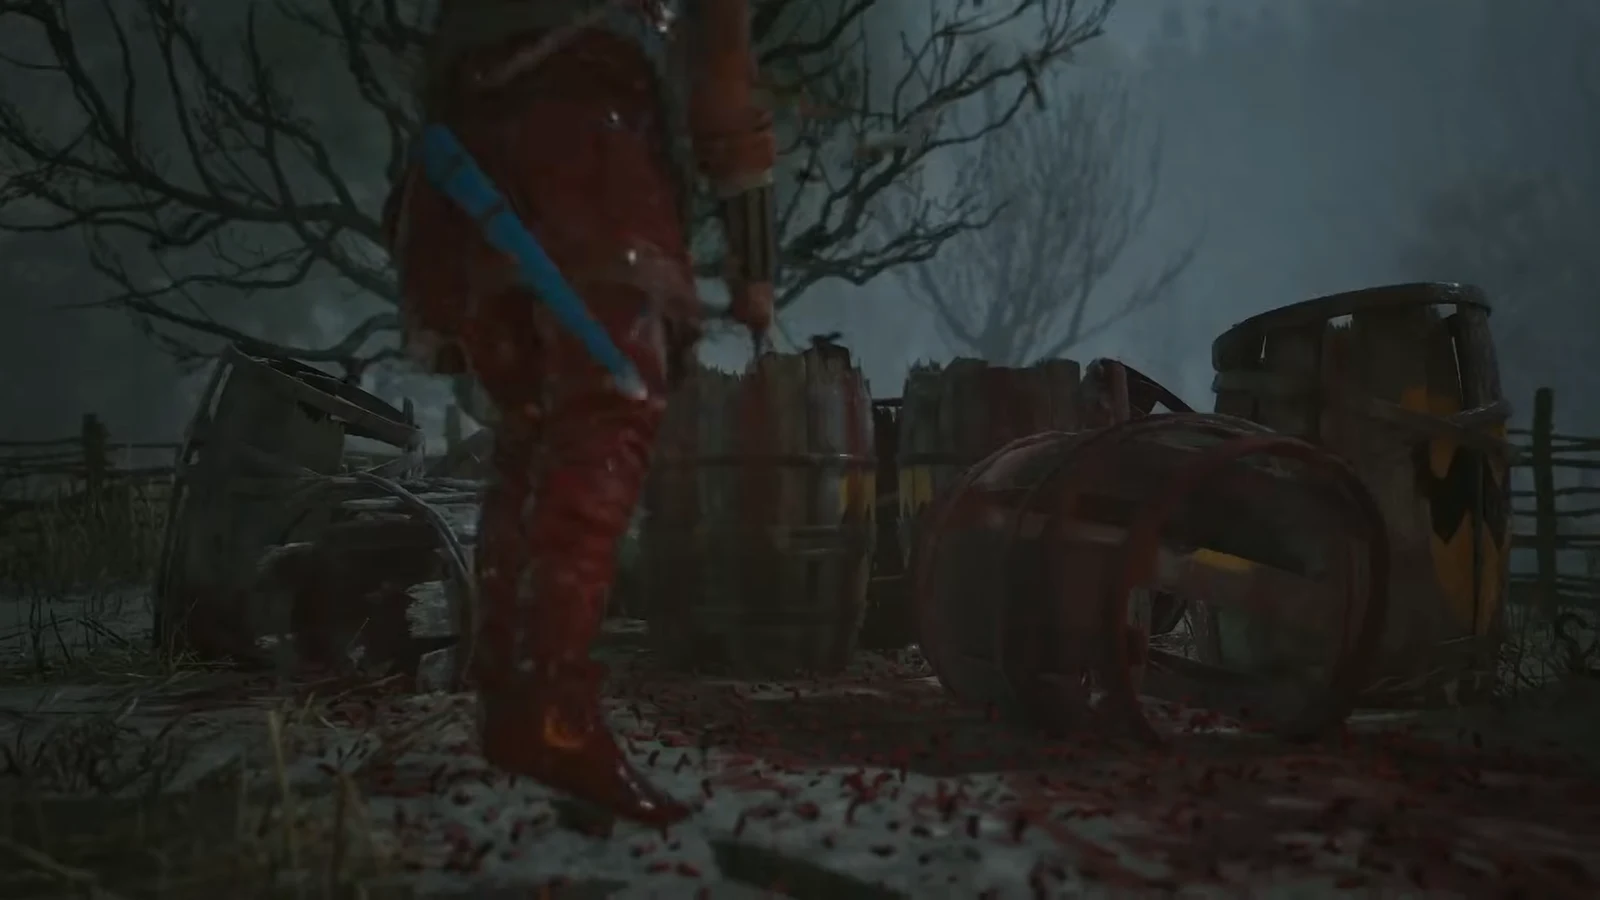
If you trigger this at night as a vampire while your health is low, hunger can take the wheel and replace your dialogue with a [give in to the hunger] feeding prompt on whoever is standing in front of you. Top your health up before you interact if you want the conversation to play out normally.
Destroy the barrels or let the Collector keep them
Backing down with “Take them. Hope they’re worth it” hands the leeches to the Collector and still closes the activity. The XP, the Skill Point and the Blood Leeches are identical either way, and neither line has produced a visible long-term consequence.
The real difference sits at the end of the chain. Destroying the barrels at even one of the three camps is what puts The Bloodletter in play once you finish the last one.
| Choice | Outcome |
|---|---|
| “I’m destroying these, whether you like it or not.” | Coen breaks the barrels. Same rewards, and it arms The Bloodletter spawn at the final camp. |
| “Take them. Hope they’re worth it.” | The Collector keeps the leeches. Same rewards, no miniboss credit from that camp. |
The Bloodletter fight at the final camp
If you smashed barrels at least once, The Bloodletter turns up near the third camp right after you settle the barrel question there. He is a large, dual-sword-wielding fighter and a clear step above the camp guards.
His unblockable attack has a wide area of effect. When you see the wind-up, dodge twice rather than once so you are fully outside the swing. The payoff is a heavy loot drop, which is the main reason to run the full set of three camps.
How to tell it worked, and when a camp fails to close
Completion is confirmed the moment the cutscene ends. The “Destroy the leech barrels” objective clears, the 250 XP and Skill Point land, and Blood Leeches appear in your inventory. Ambrus’s anger level also ticks up in the Court tab.
There is one known failure case. Spare the barrels at every single camp and the last one you visit will not register as complete — it still burns the three time segments, but no reward and no anger increase follow, and The Bloodletter never appears. Destroying the barrels at a minimum of one camp avoids that entirely, which makes it the safer default given how tight the 30-day clock is.