

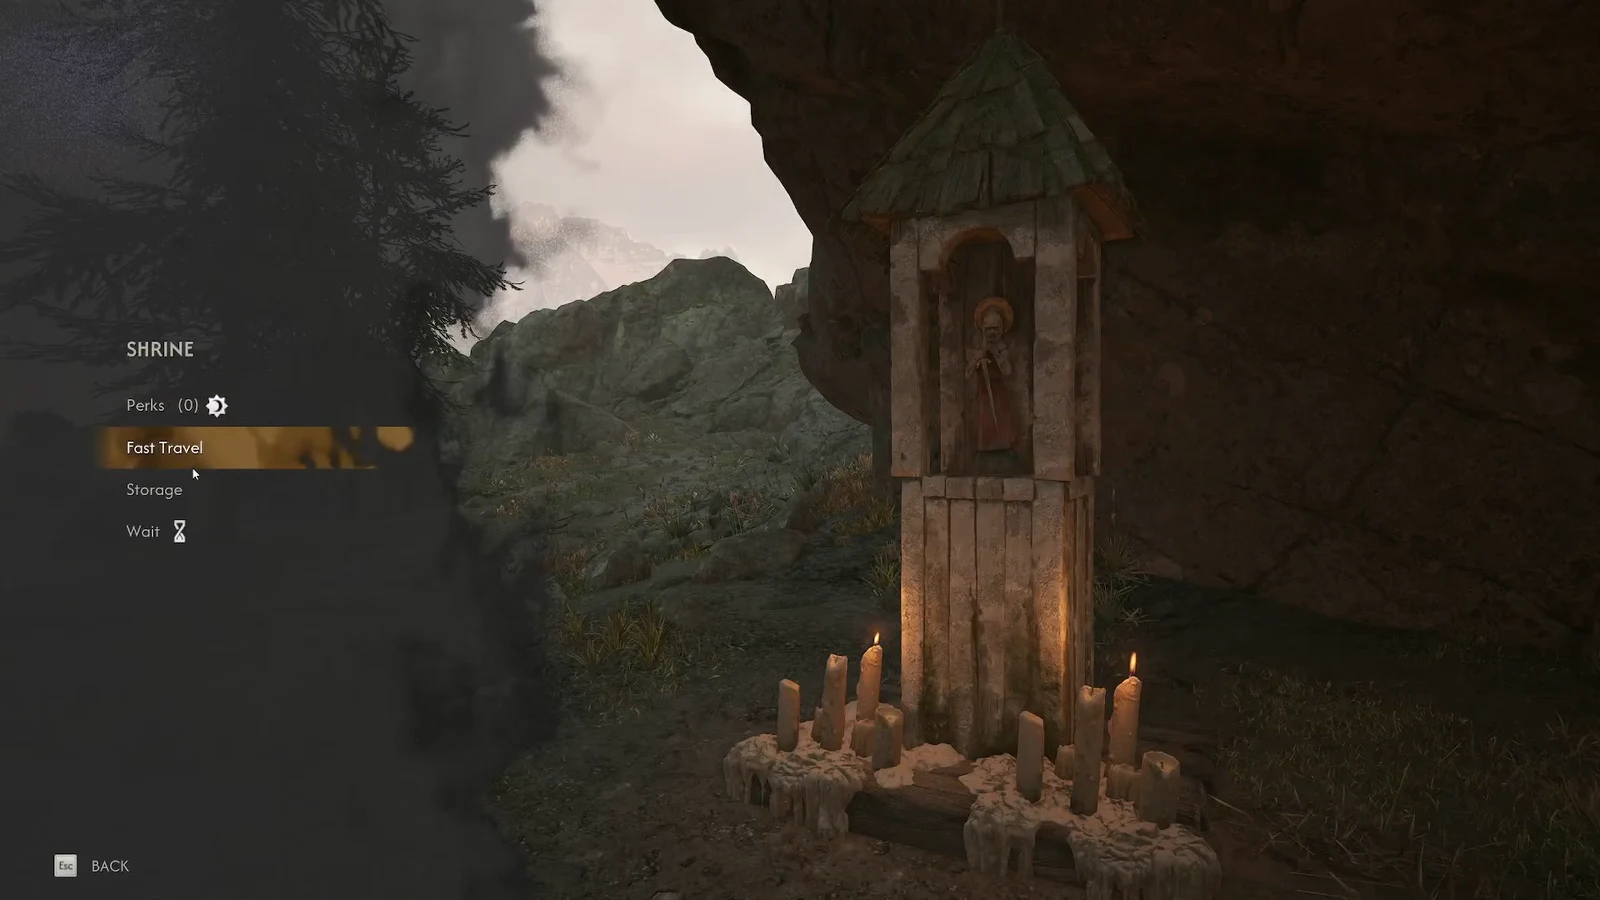
Vale Sangora is big enough that walking between quest markers turns into dead time fast, and Coen never gets a horse. The game’s answer is a network of Shrines scattered across the map, and they double as the place where you spend Skill Points, stash gear, and push the clock forward.
Quick answer: Walk up to a Shrine, interact with it (default F on PC), pick Fast Travel, then select any other blue Shrine on the map and confirm. You cannot teleport from open ground — you have to be standing at a Shrine.
How to fast travel between Shrines
The whole sequence takes about ten seconds once you know where the option lives. You need at least two Shrines unlocked for it to be useful, since the destination list only contains places you have already been.
Shrine icon colours on the map
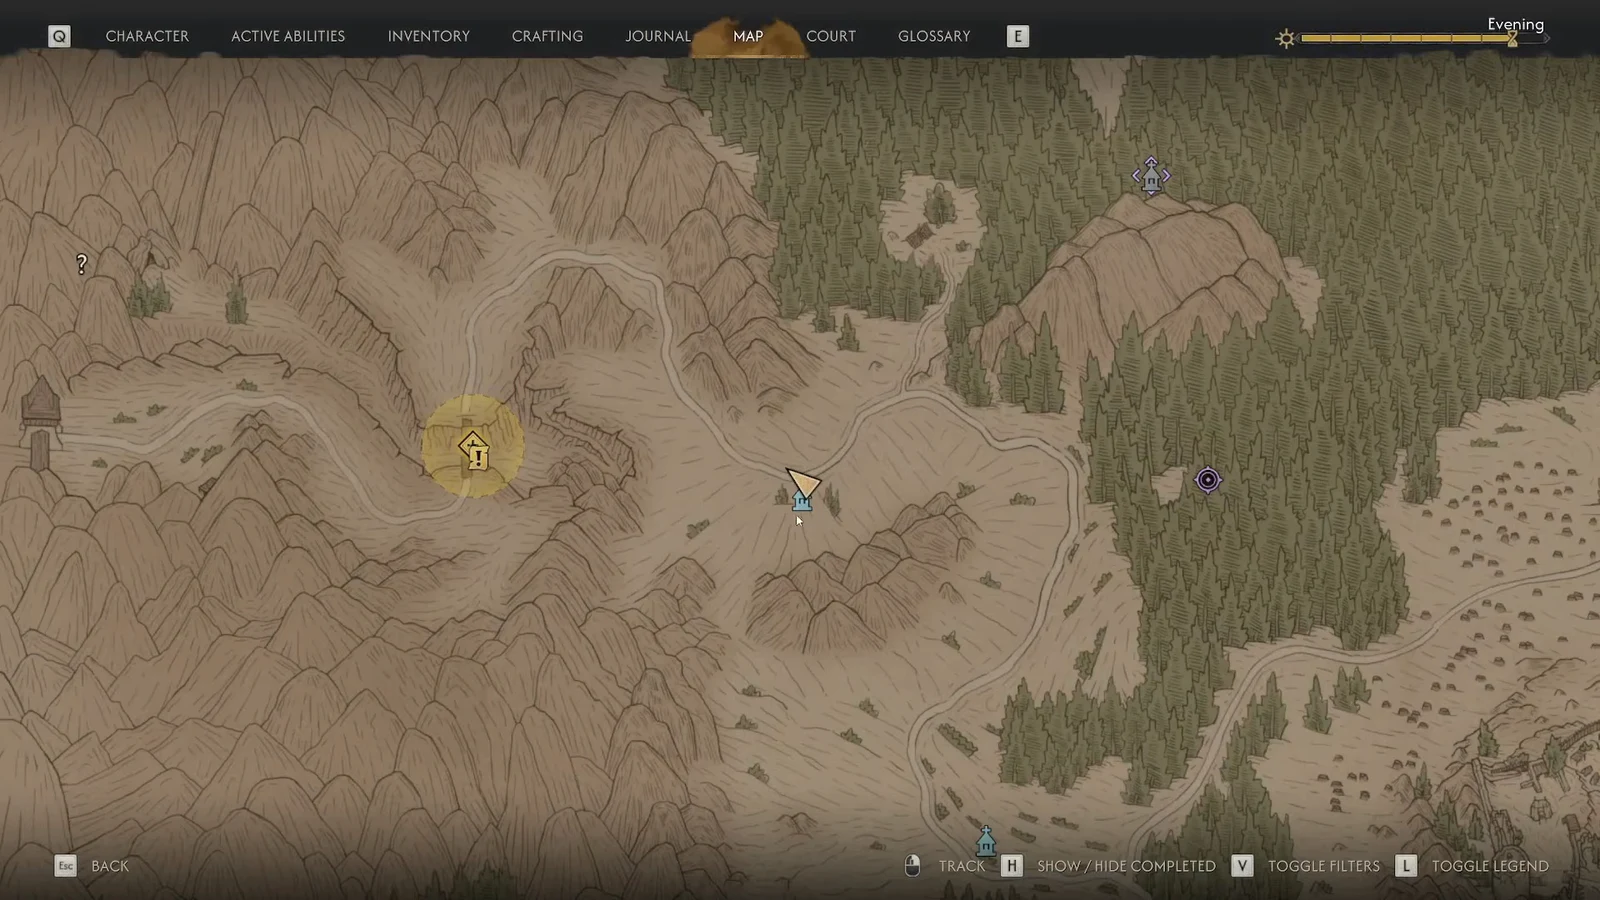
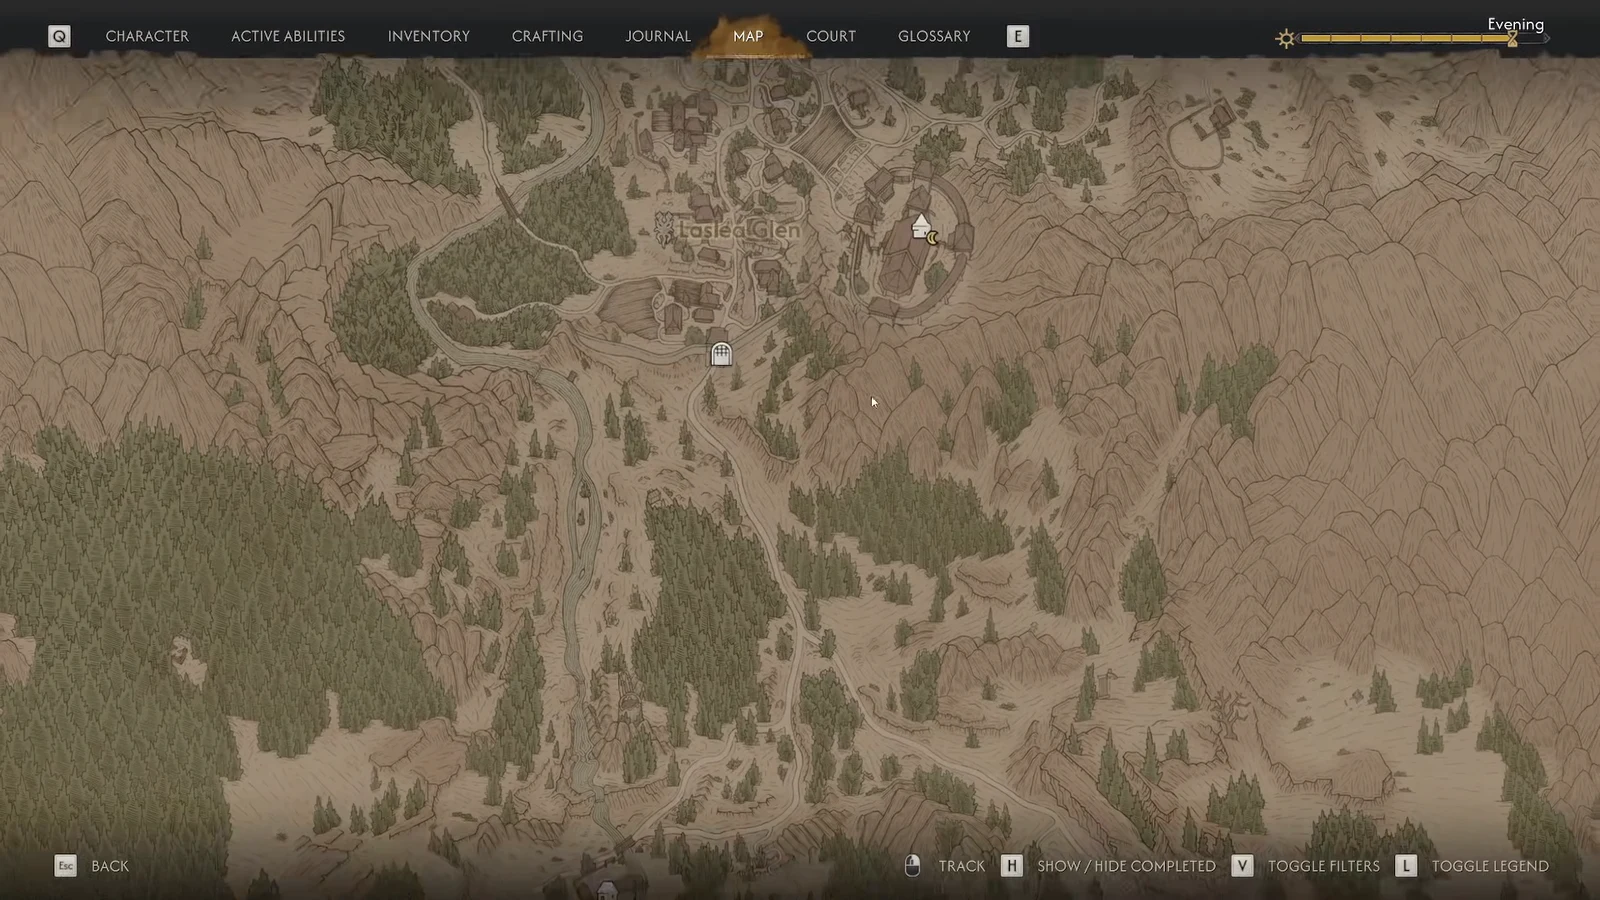
Shrines appear as small church-like symbols with a cross on top, and the colour tells you everything you need to know at a distance. Vale Sangora holds 111 of them in total, so the colour coding is the fastest way to plan a route.
| Icon colour | What it means |
|---|---|
| Grey | Not yet discovered or activated. It cannot be used as a departure point or a destination. |
| Blue | Active. You can travel to it, and travel from it once you are standing there. |
Getting close to an intact Shrine is normally enough to discover it, and a pop-up confirms the unlock. If the icon is still grey after you have walked past, interact with the Shrine directly — that always registers it.
Destroyed Shrines and restoring the Shrine’s heart
Some Shrines are found broken, and walking up to them does nothing. Each one is missing its heart, and the heart has to be recovered before the Shrine joins your fast travel network.
Fast travel and the 30-day clock
Coen has 30 in-game days to reach his family, but the clock only moves when you complete activities that are marked as costing time. Free exploration is unlimited, and teleporting between Shrines does not consume any of those days. The rest of the Shrine menu is where the time cost lives.
| Shrine option | What it does |
|---|---|
| Perks | Spend Skill Points on Coen’s human, vampire, and shared trees. |
| Fast Travel | Jump to any other discovered Shrine at no cost to the clock. |
| Storage | Deposit and retrieve items you do not want to carry. |
| Wait | Fast-forward time, which does move the world’s clock. |
Why fast travel is not working
There are only a few reasons the option refuses to fire, and none of them are bugs.
- You are not physically at a Shrine. Opening the map in a forest and clicking a Shrine icon does nothing — the Fast Travel option only exists inside the Shrine’s own menu.
- The destination is still grey, meaning you have not reached it on foot yet.
- The Shrine you are standing at is a Destroyed Shrine and still needs its heart restored.
- You have only unlocked one Shrine so far, so there is nowhere to travel to.
You know it worked when the loading screen clears and the location name of your destination appears on screen with the quest tracker intact — arriving at Laslea Glen after selecting Laslea Centre, for instance.
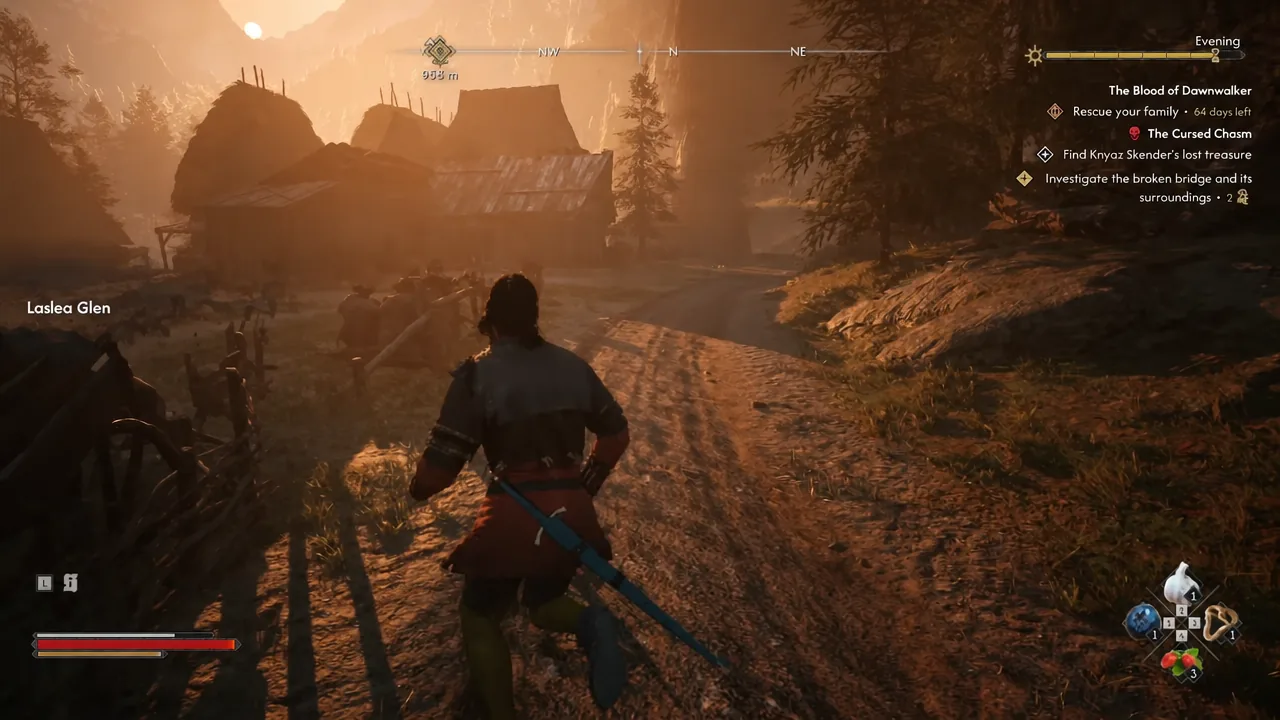
Your inventory and equipment carry over untouched, so there is no reason to prepare before a jump beyond making sure you are stocked for whatever is waiting at the other end.
The practical takeaway is to treat Shrines as the first thing you grab in any new region. Every one you touch widens the network permanently, and since the jumps themselves are free, the only real cost of fast travel is the walking you did to unlock the destination in the first place.





