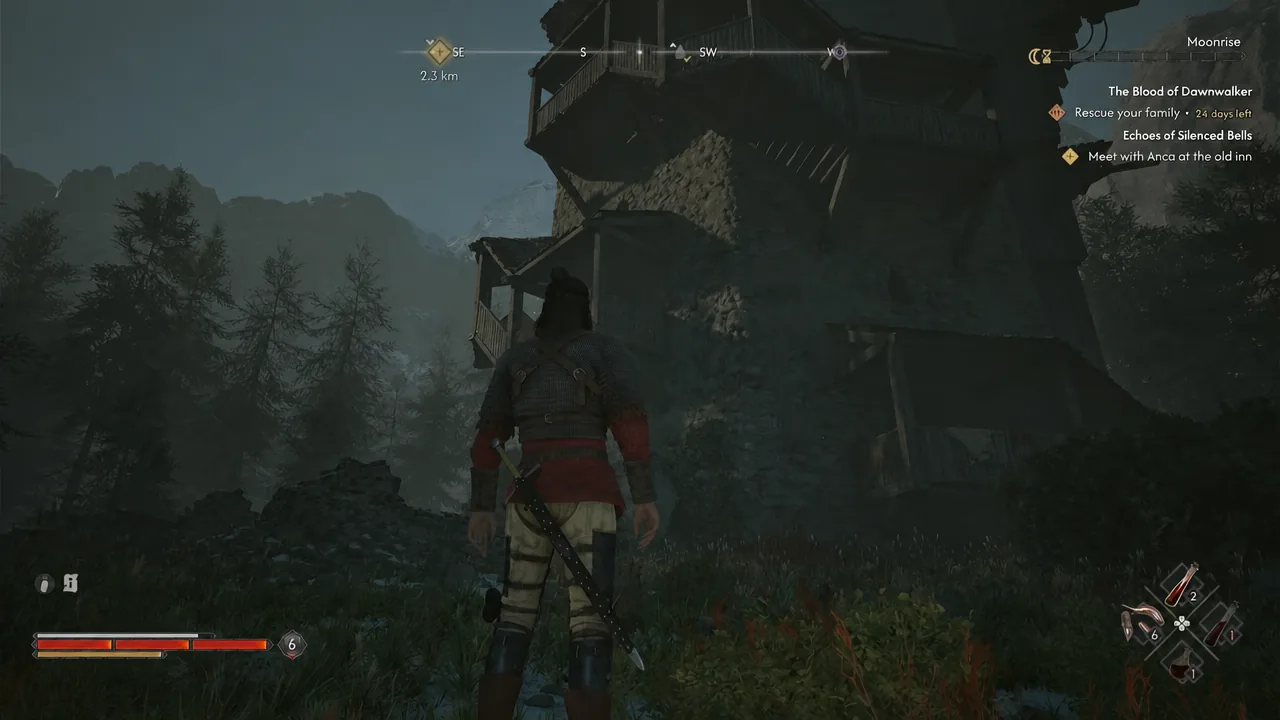
Ambrosius Tower looks like every other Scouting Tower in The Blood of Dawnwalker until you open the door at the top. Behind it is a ritual, and behind the ritual is Home Sweet Home — a quest that drops Coen back into his family’s home in Laslea and forces him to watch it fall apart on repeat. Play it wrong and you can loop yourself into a bad ending. Play it right and you walk out with a legendary ring.
Quick answer: Finish one complete run of the loop. On the second run, after you beat the Vidmo Specters and send Lunka, Yanna, and Mirto to the church, stop. Do not walk toward the Gargoyle fight. Enter Focus Mode, look at the well in the yard, and interact with it — that is the only exit.
Where the Home Sweet Home time loop starts
The quest begins inside Ambrosius Tower, in The Silts along the southern edge of the map. It is off the main path, and nothing on the map flags it as a story location. Climb the exterior using Planeshift and Shadowstep, the same way you’d handle any tower.
Inside you’ll run into a group of soldiers and a Witch-archetype miniboss called Svetlana, the Dark Prodigy. Clear them, keep climbing, and you’ll reach a door you can peek through. On the other side is a man preparing a ritual.
Save your game before you open that door. Opening it costs 4x Time Segments and immediately starts the quest — there is no backing out once you’re through.
What the loop takes away from you
The moment you step through, Coen is back at the very start of the game. Your abilities and perks carry over, but your gear does not. Everything on Coen is common grey equipment, which makes this noticeably harder than the level you’re used to fighting at.
Healing is the bigger problem. You get a handful of food items like sausages and whatever crafting ingredients you can scavenge along the way. Loot every container and pick up consumables as you pass them, because there is no restock between attempts.
The three combat areas in each run
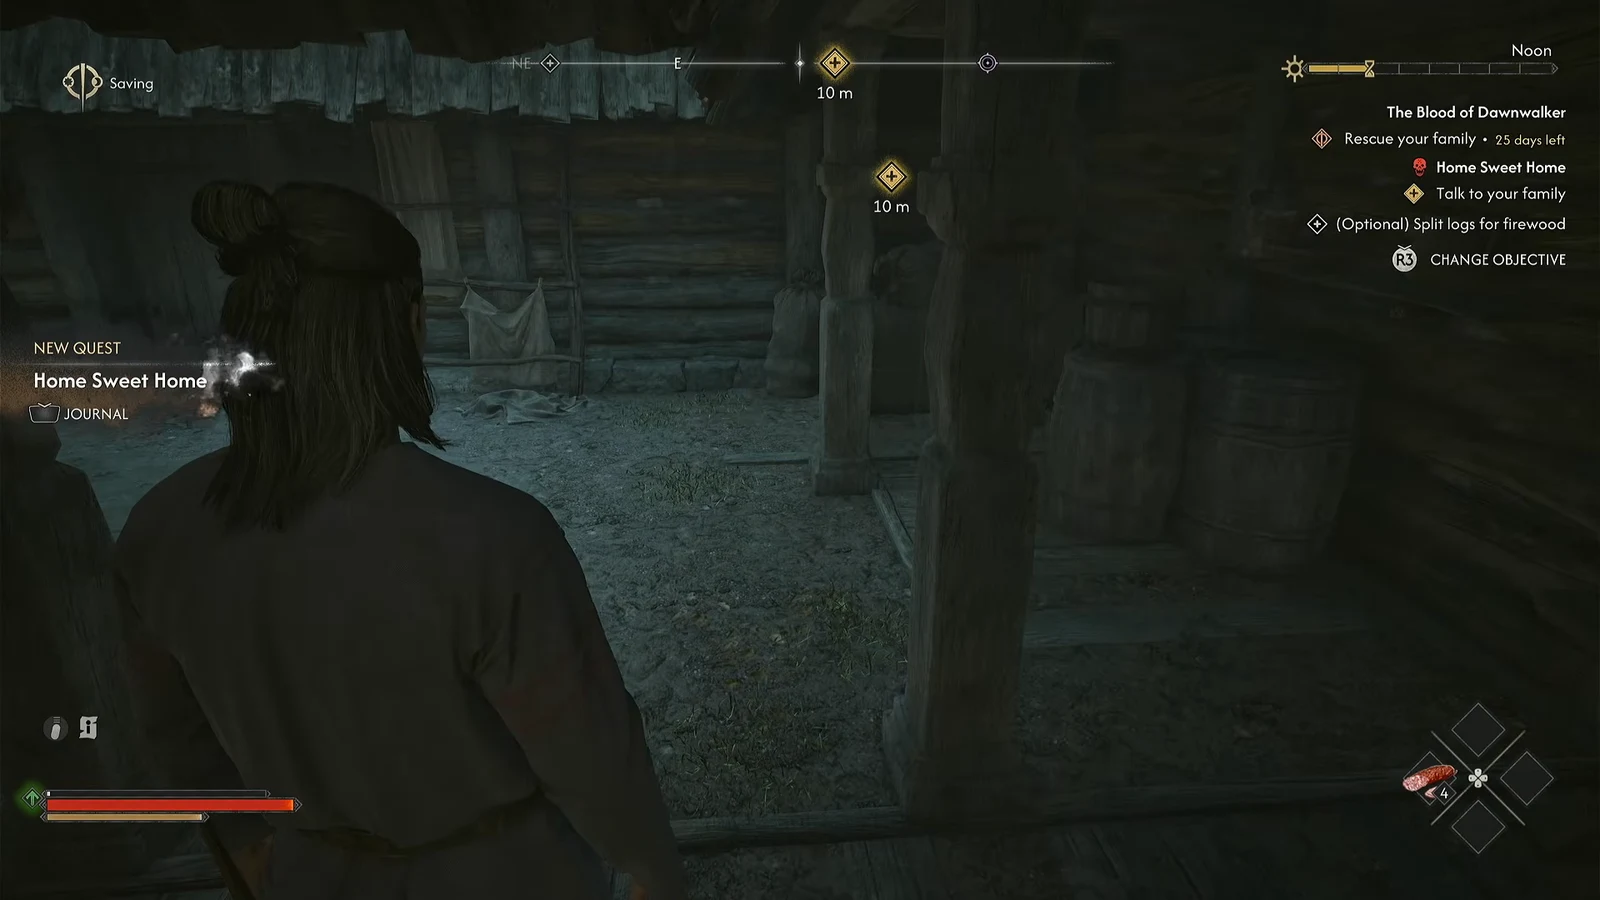
Every pass through the memory follows the same shape. You wake in the cabin, Pieter asks you to split logs for firewood — optional, you can skip it — and then you talk to Esme. That conversation triggers a Gargoyle that snatches the whole family, and the objective flips to “Rescue your family.”
| Area | Who you find | What you fight |
|---|---|---|
| First | Esme | Spectral Skeletons |
| Second | Lunka, Yanna, Mirto | Vidmo Specters |
| Third | Pieter | Keeper of Nightmares (Gargoyle miniboss) |
After each rescue you tell the family member to head for the church. Once the Keeper of Nightmares is down, Pieter turns on Coen and blames him for everything. Then you enter the church, the family is killed in front of you, and you wake up in the cabin again.
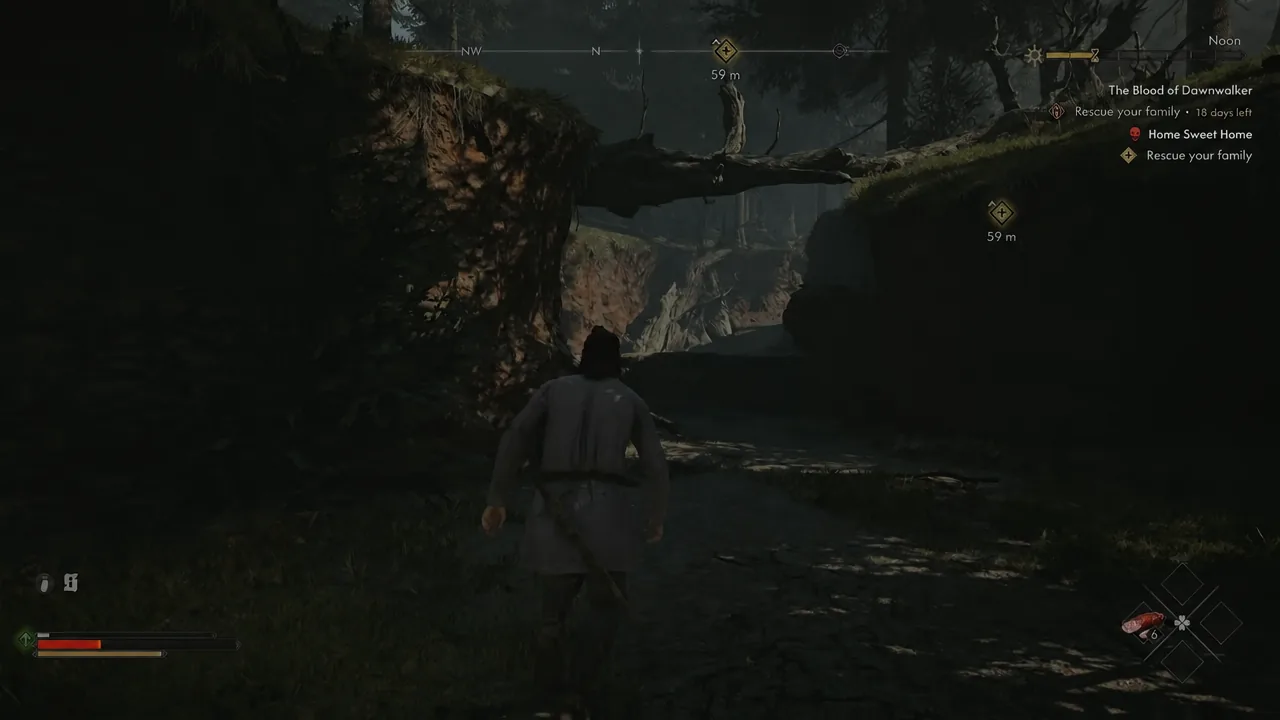
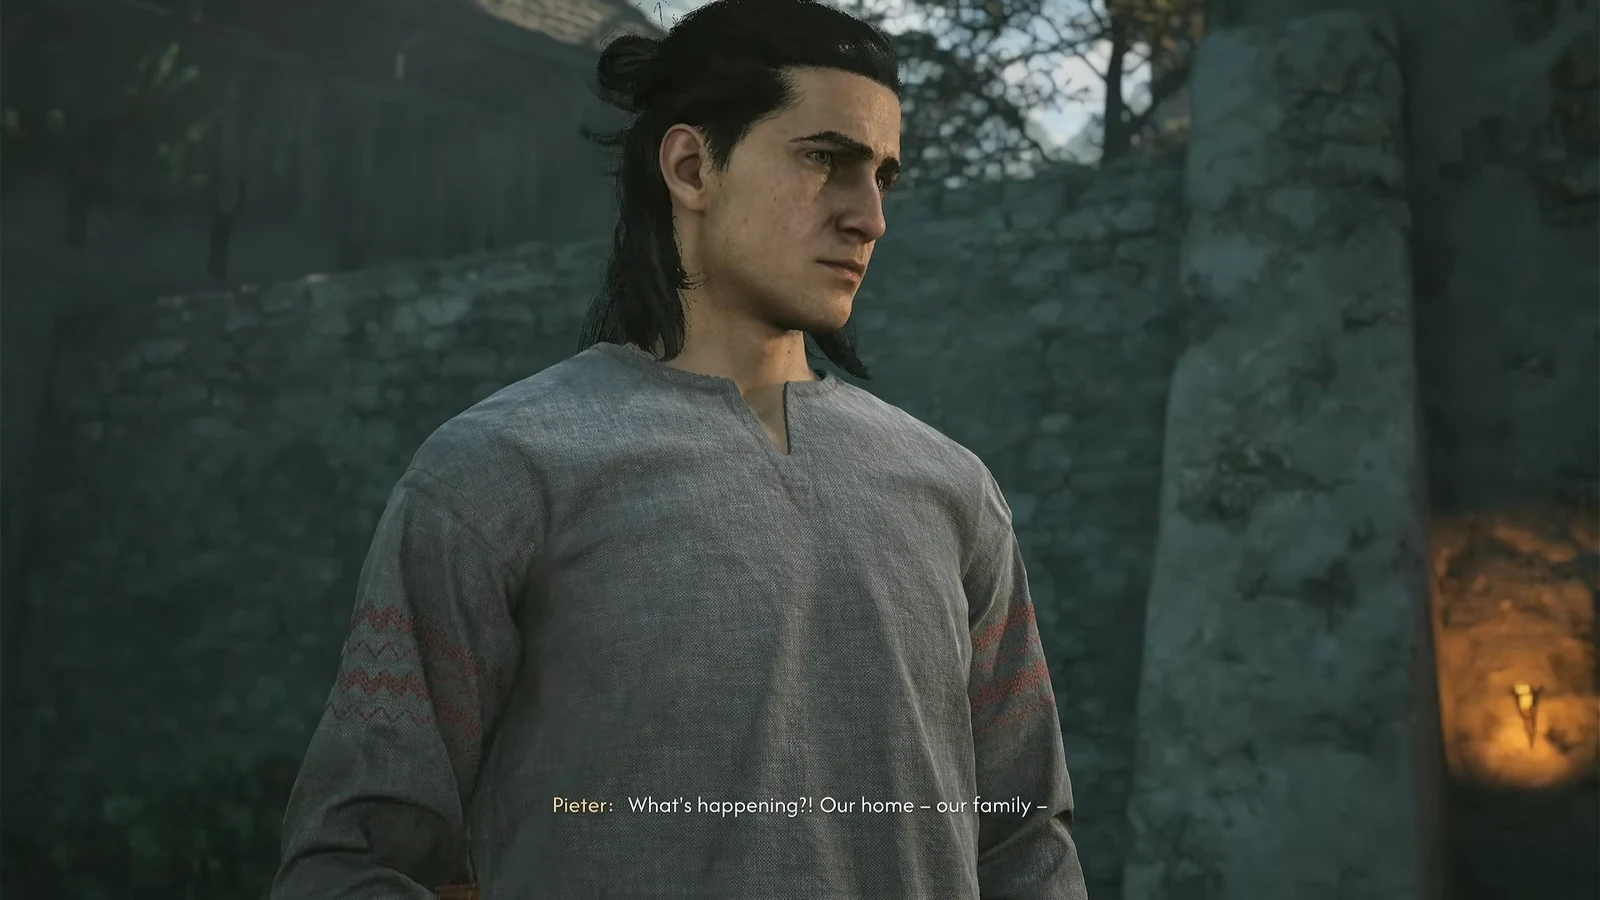
That first full run is mandatory. You cannot reach the well on run one — the exit only opens up afterward.
How to break the loop and finish Home Sweet Home
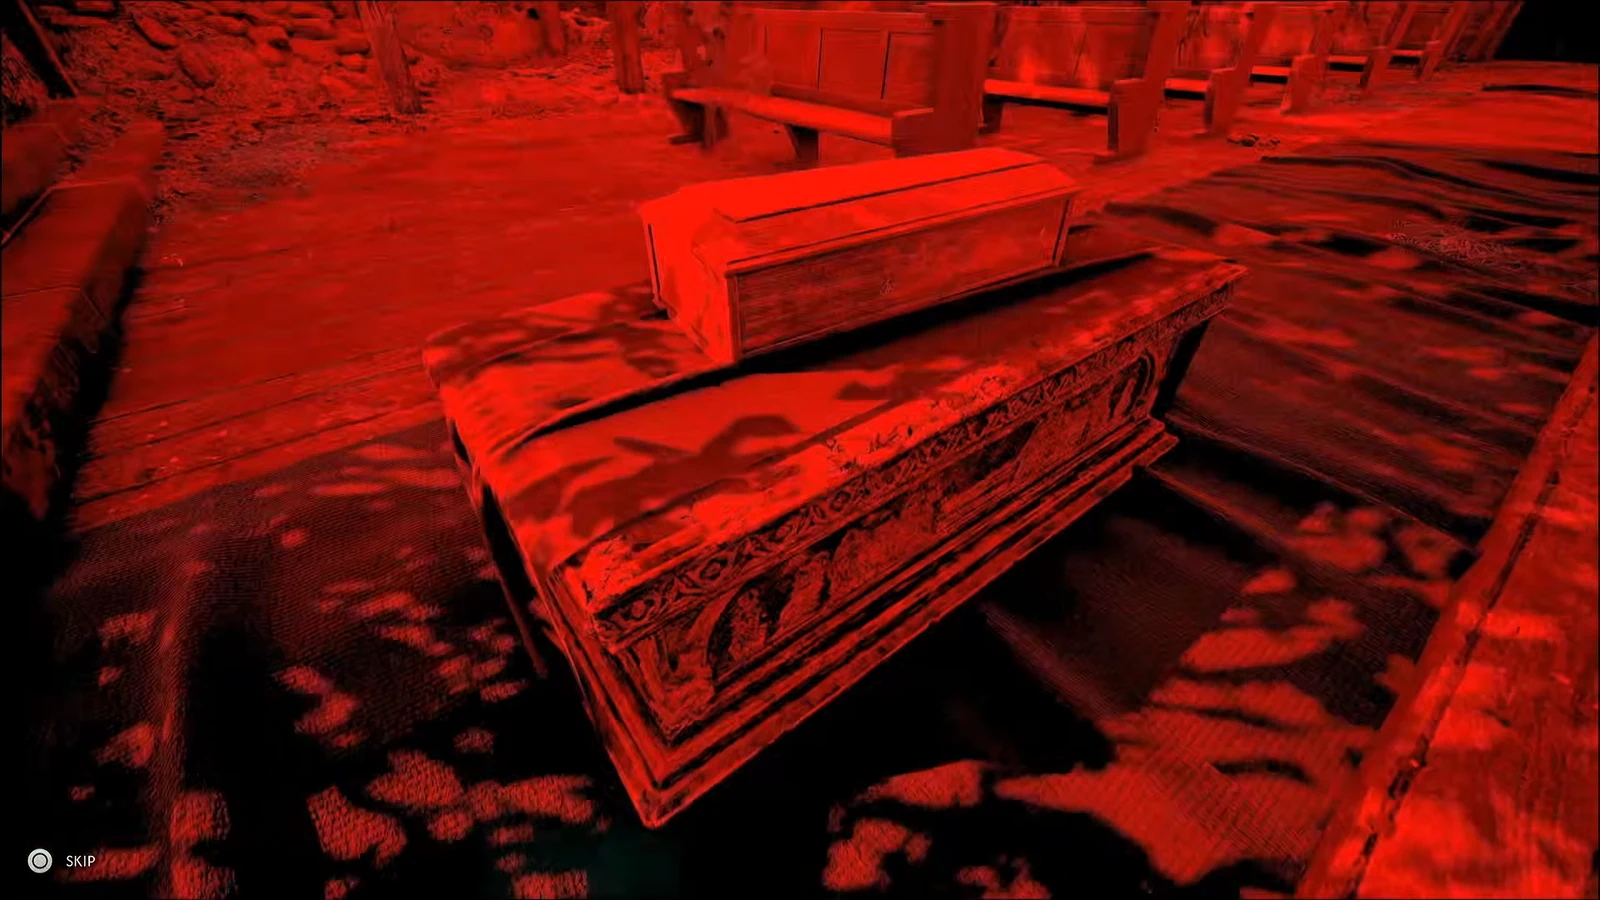

Together Forever: What happens if you stay in the loop
Ignoring the well has its own payoff, and it is not a pleasant one. Keep repeating the loop instead of escaping and the family dies in the church again on the fourth run. You wake up in the house for a fifth time, and this time when you talk to Esme she tells Coen he is staying with them forever.
The cutscene closes with the family smiling and crowding around him, and it unlocks the Together Forever achievement. This counts as one of the game’s bad endings, so only do it from a save you can reload — the one you made before touching the well.
Home Sweet Home rewards and how to confirm you’re out
You know it worked when Coen wakes up inside Ambrosius Tower and the astrologer running the ritual reacts badly to it. Control returns to you in the real world, the quest completes, and you’re free to loot everything.
| Reward | Where to get it |
|---|---|
| Astrologer’s Ring (legendary, Level 17) | Loot from Ambrosius |
| Recipe for Supernatural’s Blood Infusion | Loot from Ambrosius |
| Flask of Quicksilver | Top floor of the tower |
| Unnatural Resilience Manual | Chest on the tower balcony |
| 500 XP and 1 Skill Point | Quest completion |
The Astrologer’s Ring buffs witchcraft ability damage, cuts witchcraft cooldowns, and improves AC restoration both on actions and passively, which makes it worth grabbing even if you’re not running a witchcraft-heavy build. Before you leave, climb to the top and use the windwave to scout the area — Ambrosius Tower still functions as a normal Scouting Tower and will reveal points of interest across the region.
If you reached the second run and the well did nothing, two things are usually to blame. Either you hadn’t yet defeated the Vidmo Specters and sent all three siblings to the church, or you weren’t in Focus Mode when you looked at it. The well only responds after the second area is fully resolved, and it will not appear on your objective marker.