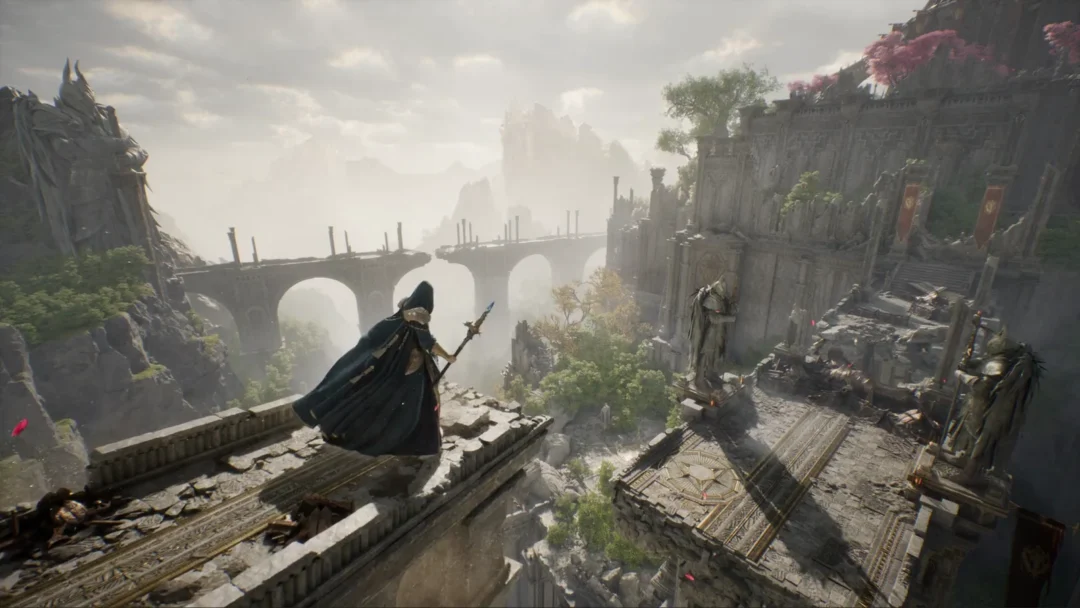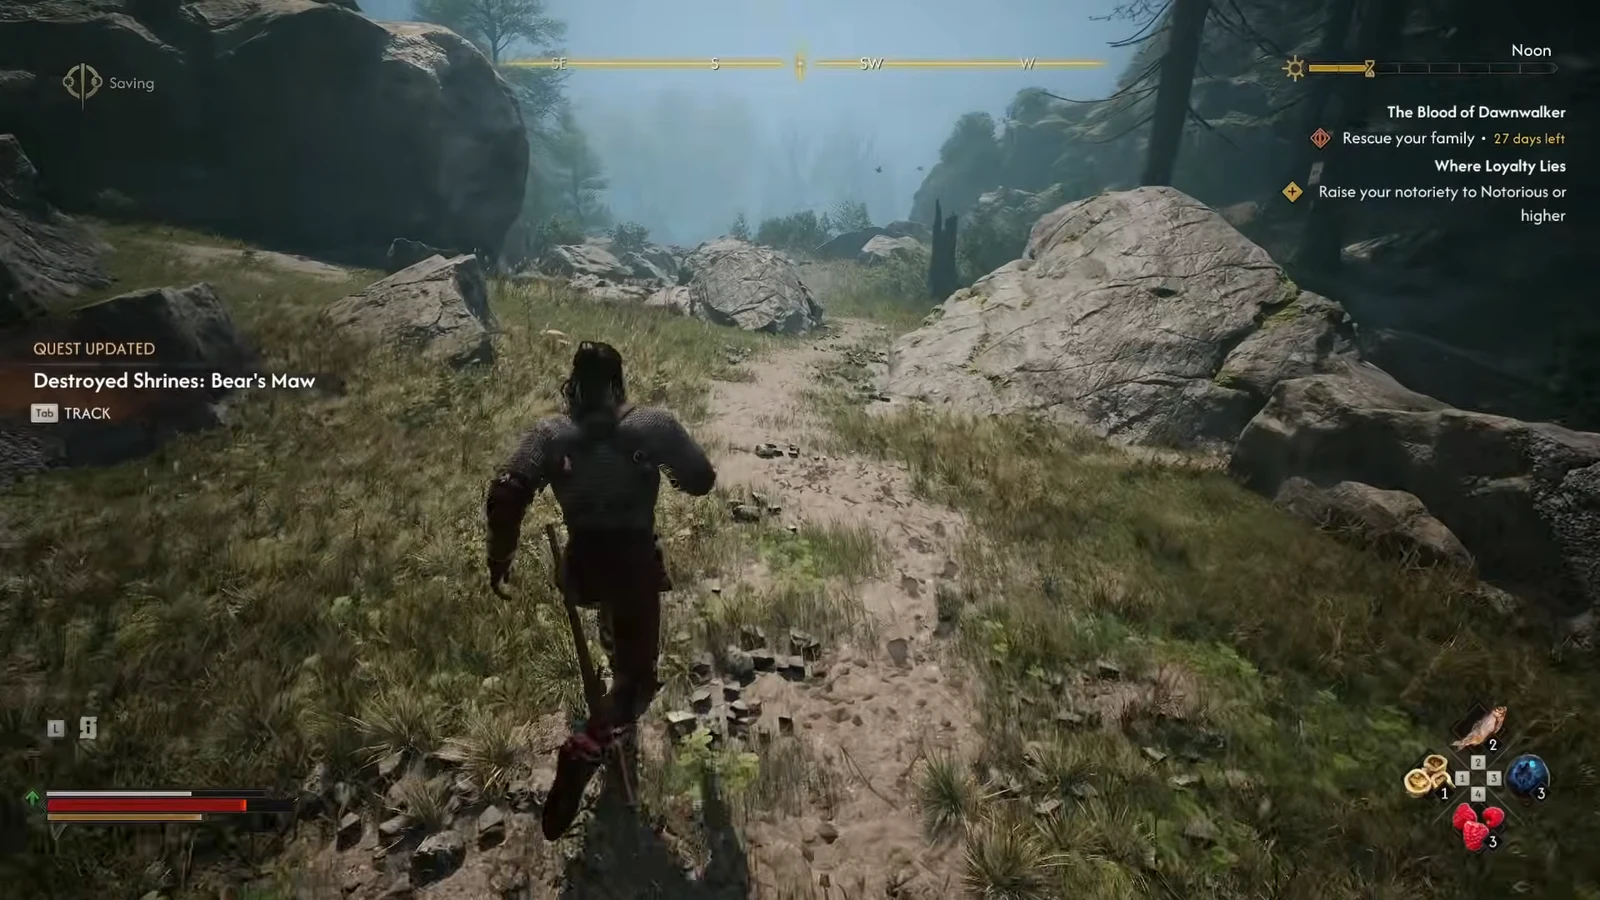
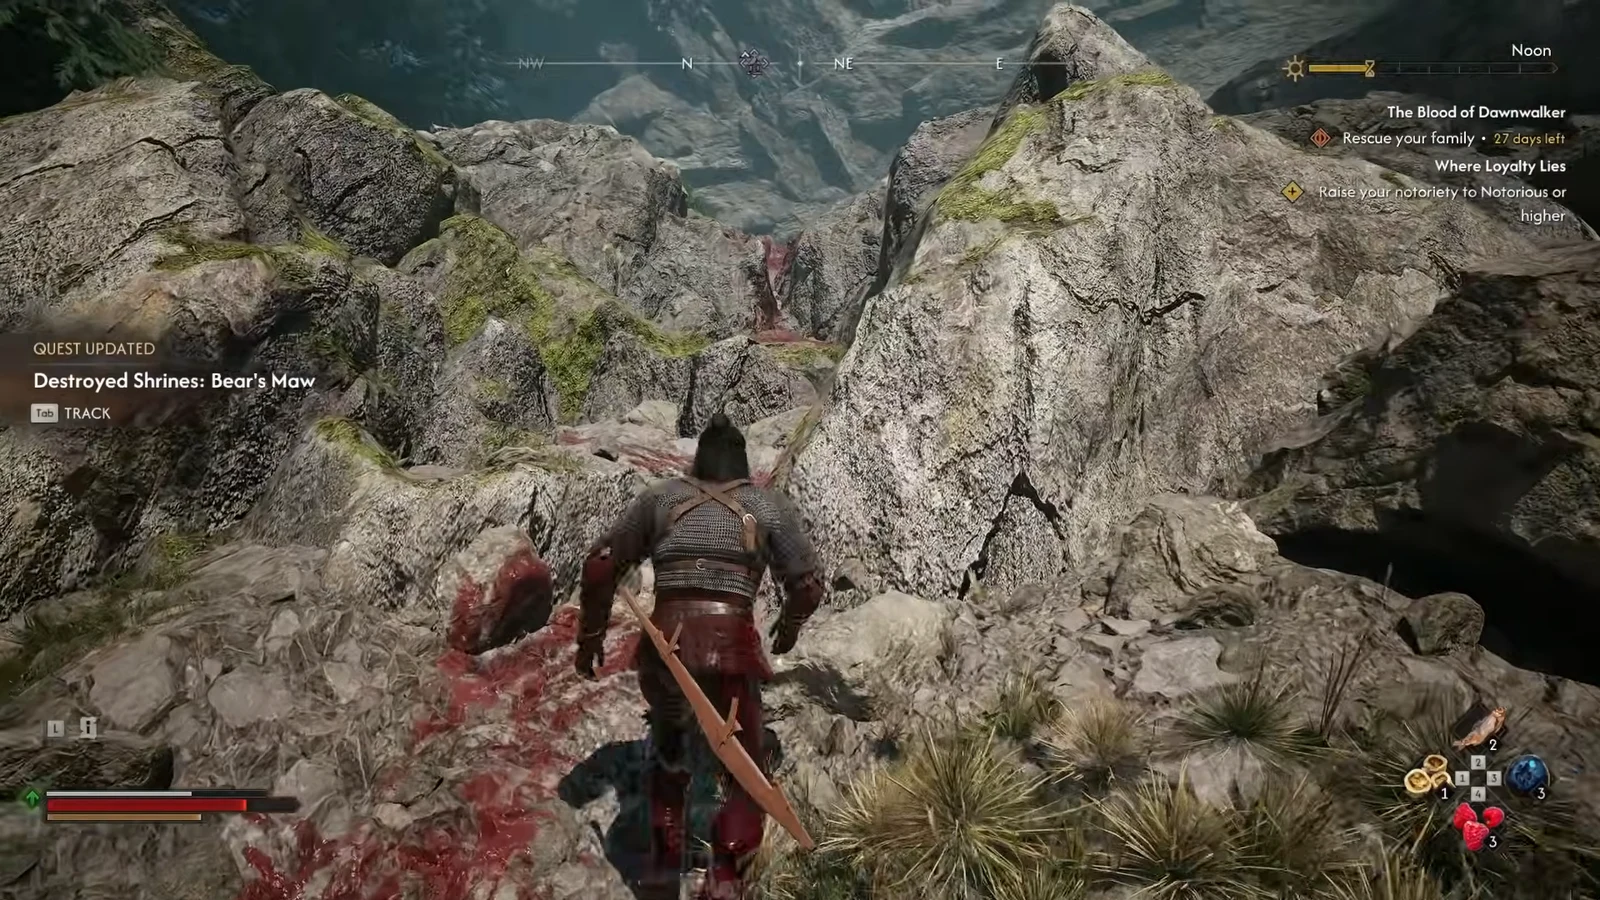
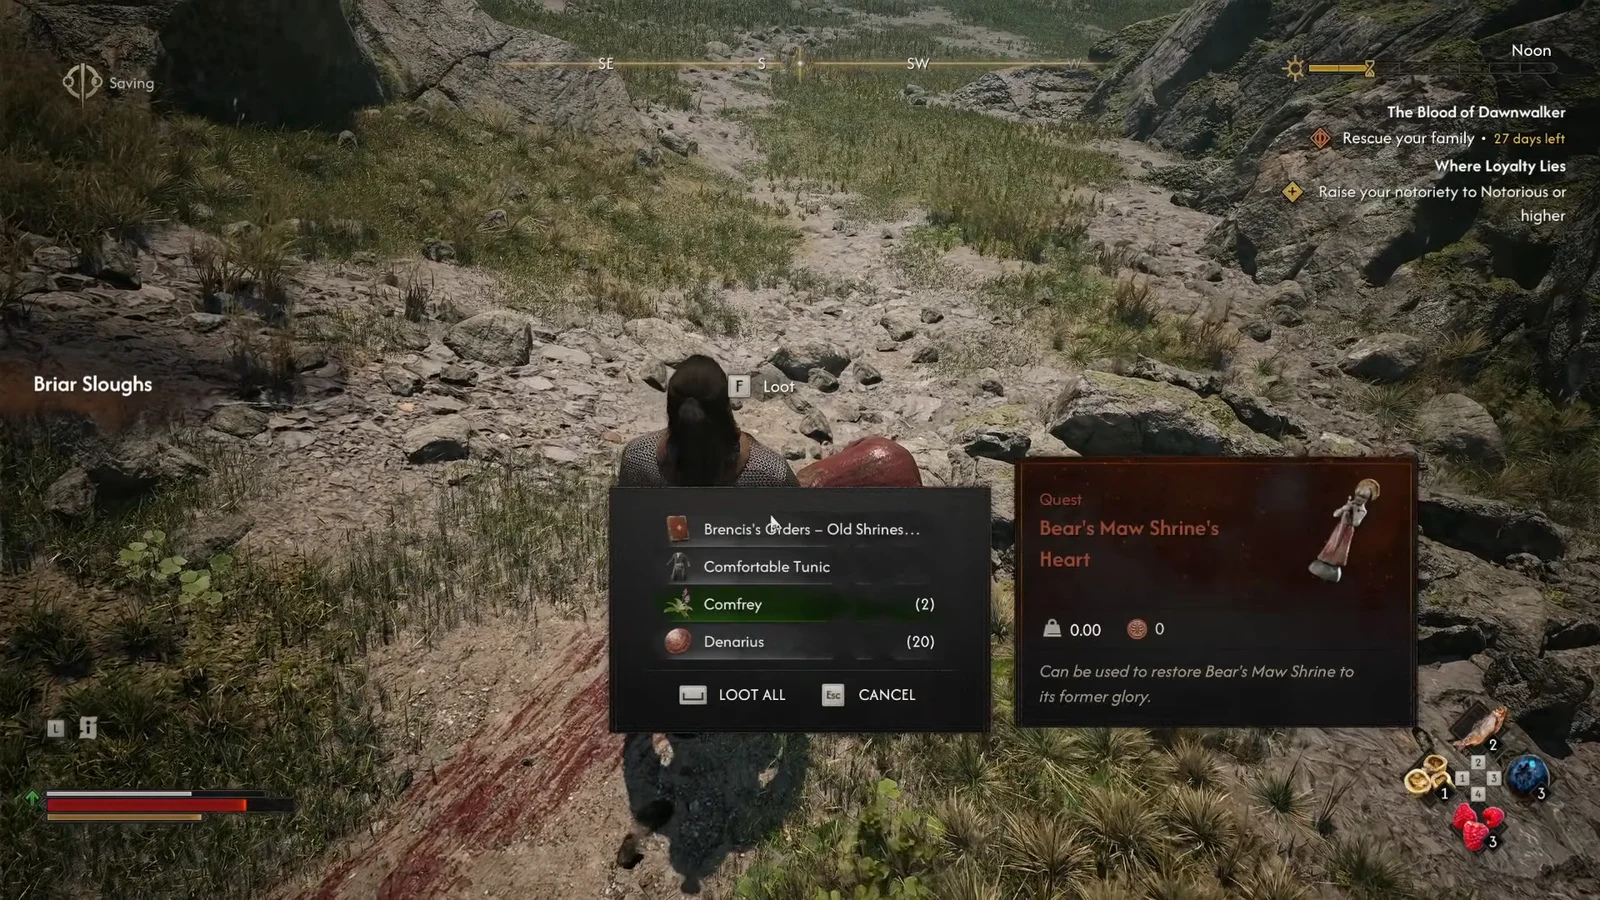
Bear’s Maw is one of the destroyed shrines scattered across Vale Sangora, and until you return its stolen heart it will not act as a fast travel point, a storage access spot, or a perk vendor. The fix is short. The heart never left the area — it is on a body at the bottom of the cliff below the shrine, and a blood trail on the rocks points the entire way down.
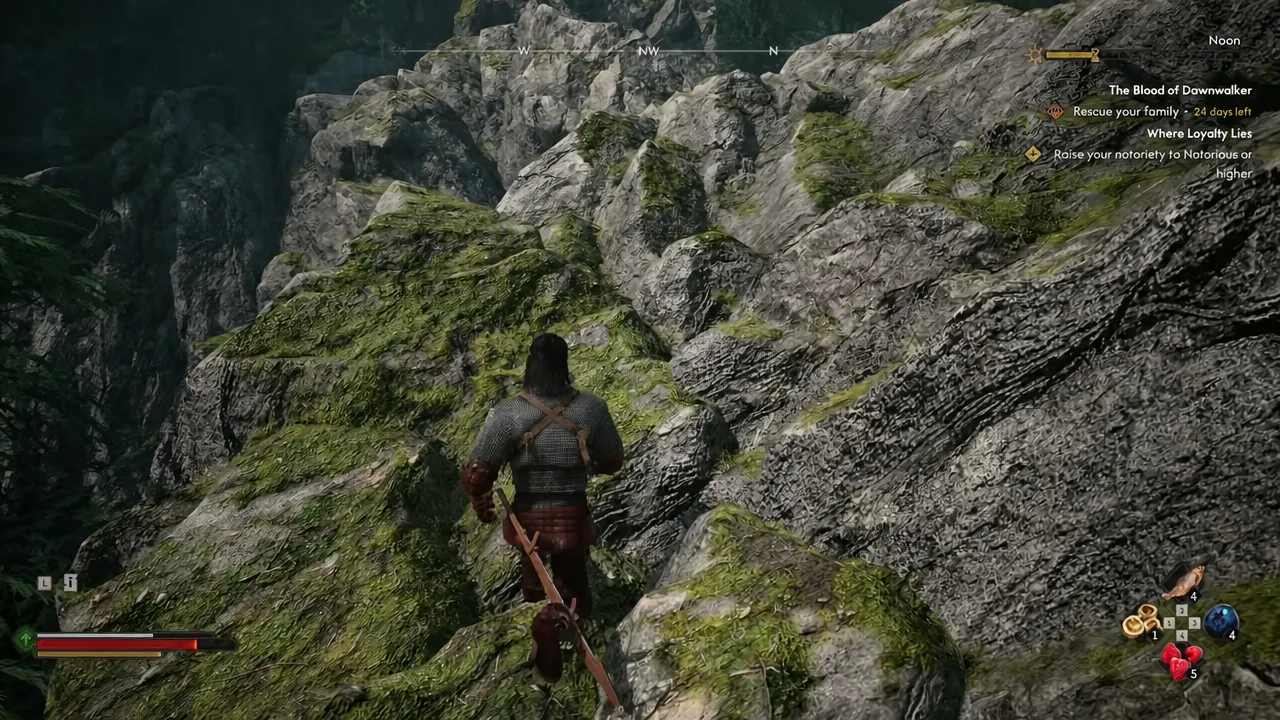
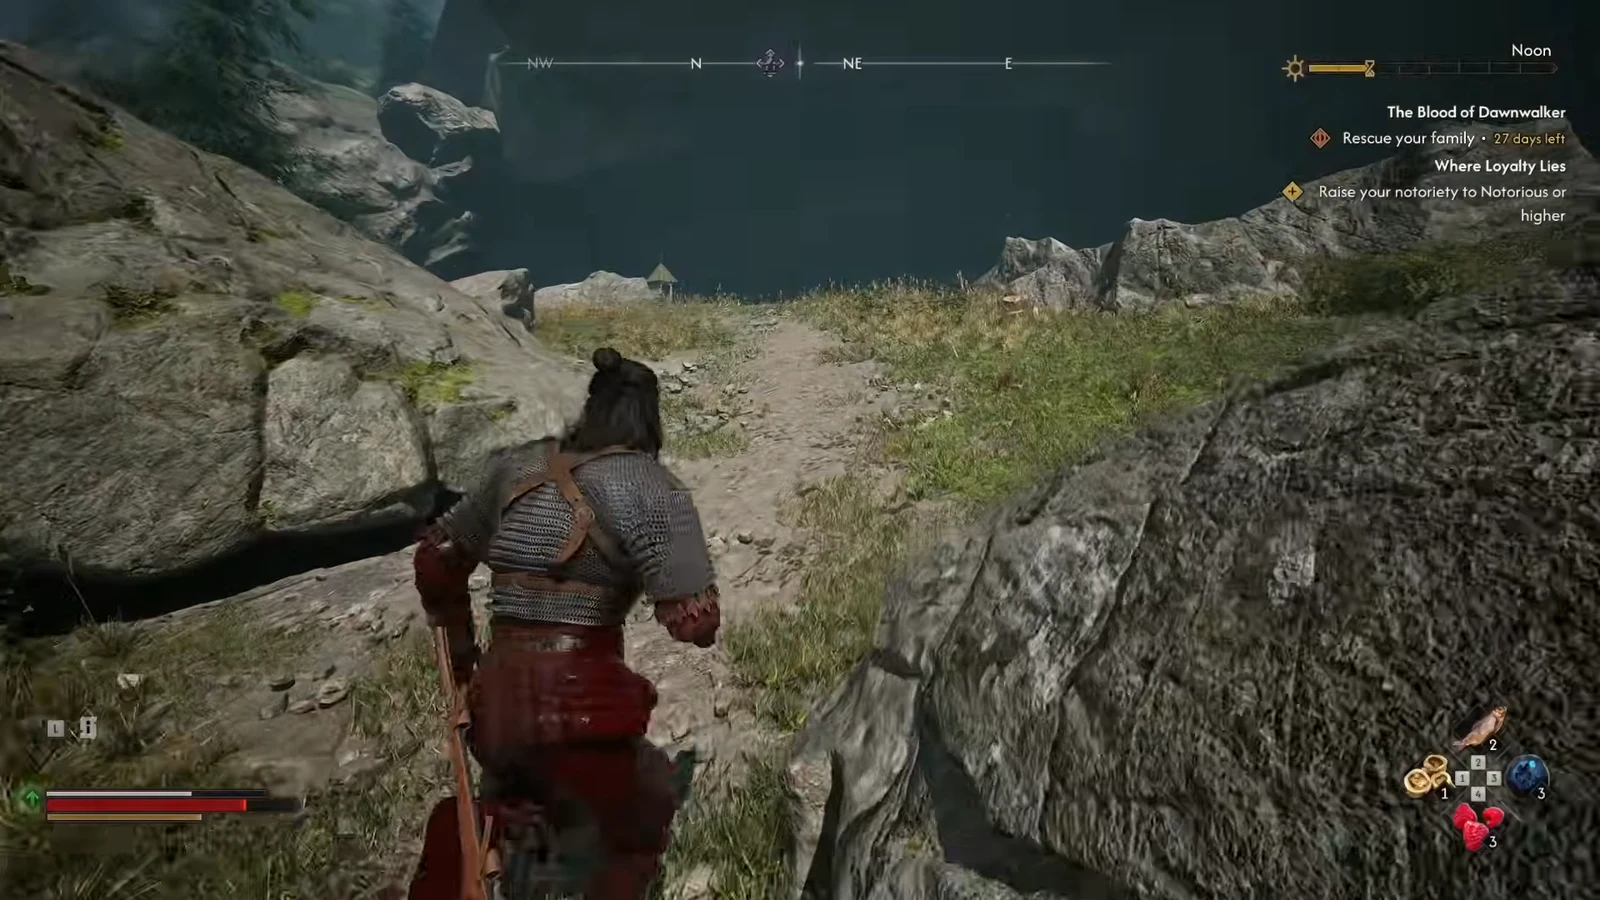
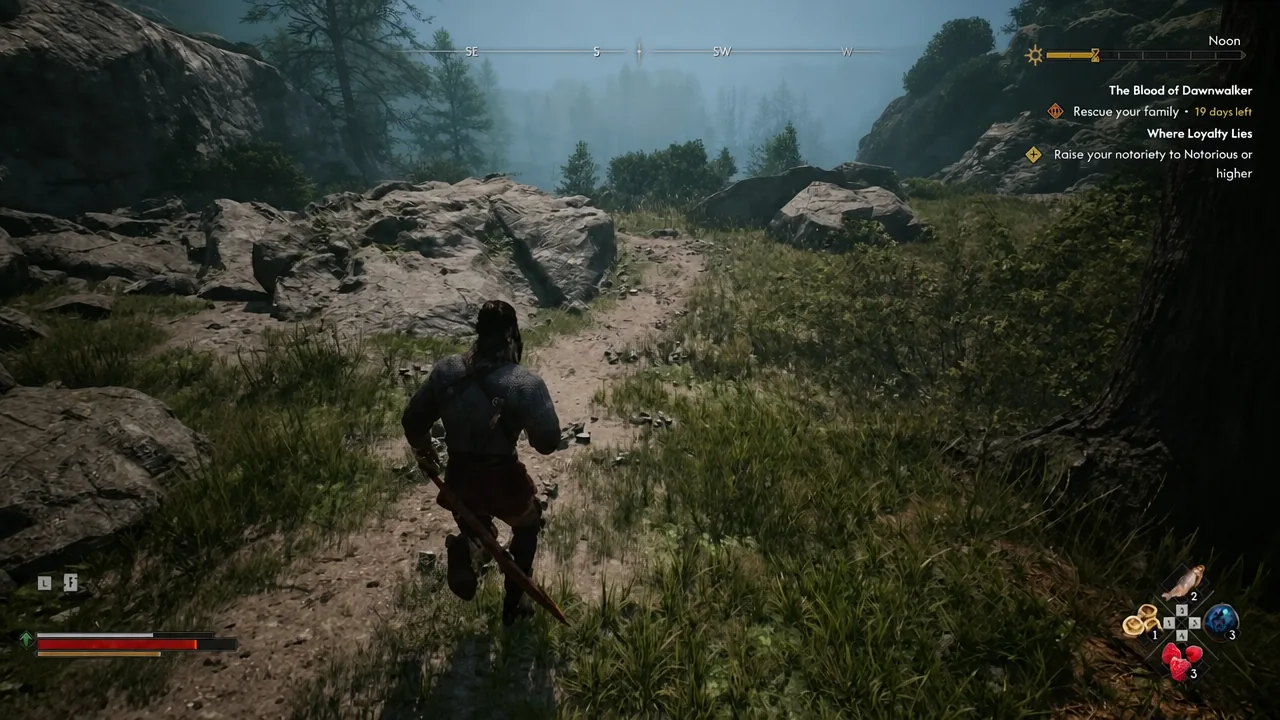
Quick answer: Inspect the Bear’s Maw shrine to start “Destroyed Shrines: Bear’s Maw”, head south down the steep rocky slope following the blood splatters into the Briar Sloughs, loot the corpse at the bottom for the Bear’s Maw Shrine’s Heart, then climb back up and place it on the shrine.
Where the Bear’s Maw shrine is and what it costs you
The shrine sits southeast of Laslea, on high ground overlooking the Briar Sloughs region. You can walk up to it at any point once you have access to the area — there are no gating requirements, no enemies guarding the shrine itself, and no fight involved in the repair.
The one real cost is time. Restoring a destroyed shrine advances the clock by one time unit, and Coen’s rescue timer keeps ticking regardless. If you are mid-way through something with a hard deadline, do the repair when losing a segment does not hurt.
| Detail | Bear’s Maw |
|---|---|
| Quest name | Destroyed Shrines: Bear’s Maw |
| Shrine location | Southeast of Laslea, above the Briar Sloughs |
| Heart location | On a corpse at the base of the cliff, south of the shrine |
| Combat required | None |
| Time cost | 1 time unit on restoration |
Retrieving the Bear’s Maw Shrine’s Heart
What the corpse drops
| Item | Amount |
|---|---|
| Bear’s Maw Shrine’s Heart | 1 (quest item) |
| Brencis’s Orders – Old Shrines | 1 (readable) |
| Comfortable Tunic | 1 |
| Comfrey | 2 |
| Denarius | 30 |
Brencis’s Orders – Old Shrines is the document that explains the pattern. Kryaz Brencis of Vale Sangora put out the instruction to tear the shrines down, which is why soldiers and thieves keep turning up with these idols on them across every region.
Confirming the shrine works
You will know the repair took hold in three ways. The quest closes out, the clock jumps forward by one segment, and the Bear’s Maw marker switches from grey to blue on the map.
Interact with it once more and the standard shrine menu should be there — fast travel to any other shrine you have already visited, your storage, your perks, and the option to wait and pass time. If any of those options are still missing, the heart has not been placed.
Note: fast travel only works shrine to shrine. Standing anywhere else in the world will not open the travel menu, so Bear’s Maw only pays off once you have a second unlocked shrine to jump between.
If the heart does not show up
- You never inspected the shrine. The corpse and its loot only matter once the quest is active — walk back to the shrine and interact with it first.
- You went the wrong way. The heart is south and down. If you are climbing or running level, you have left the trail.
- You took the loot but did not return. Holding the heart in your inventory changes nothing — the shrine has to be interacted with a second time.
- You cannot see the blood. Hold Focus Mode (L2 / LT) at the shrine to pick up the highlighted trail leading off the cliff edge.
Bear’s Maw is one of the gentler repairs in the set — no camp to clear, no bandits, no bear. Most of the other destroyed shrines end with a soldier camp or a pack of wolves between you and the idol, so it is worth grabbing this one early while you are still moving through Laslea and the Briar Sloughs on foot.