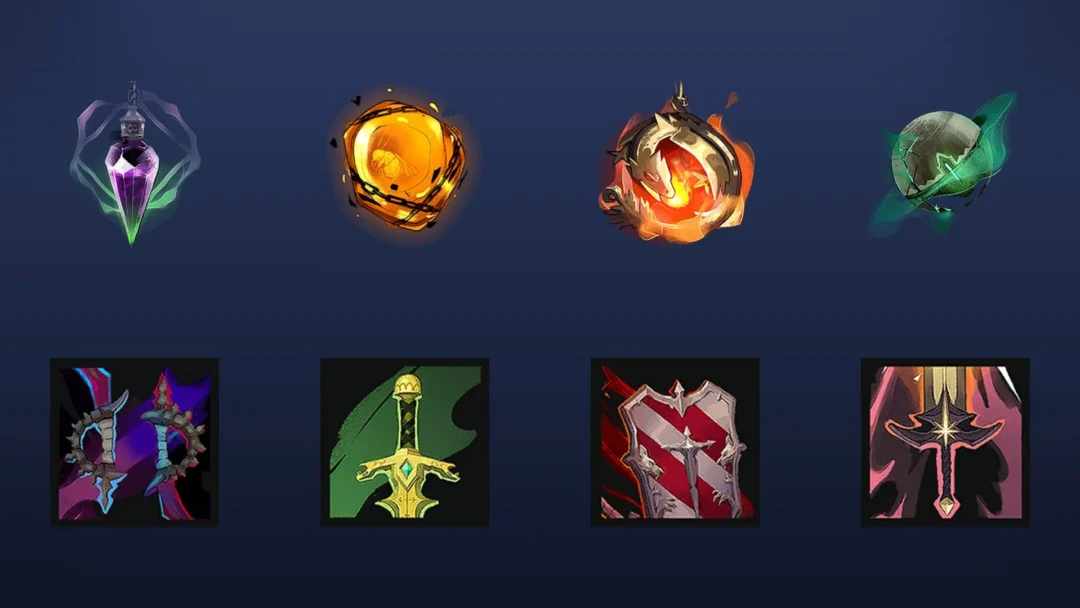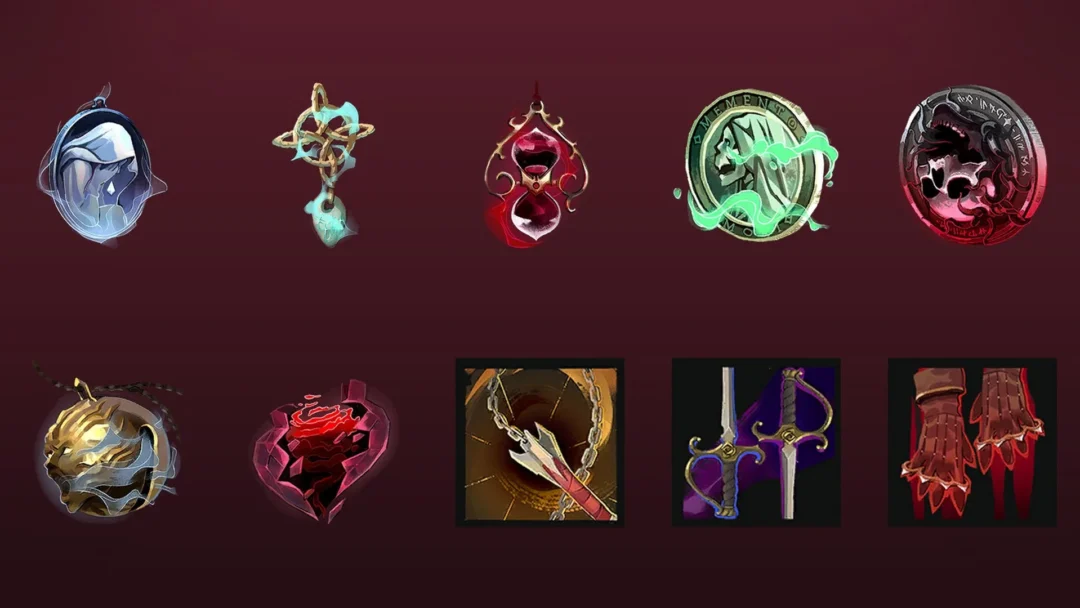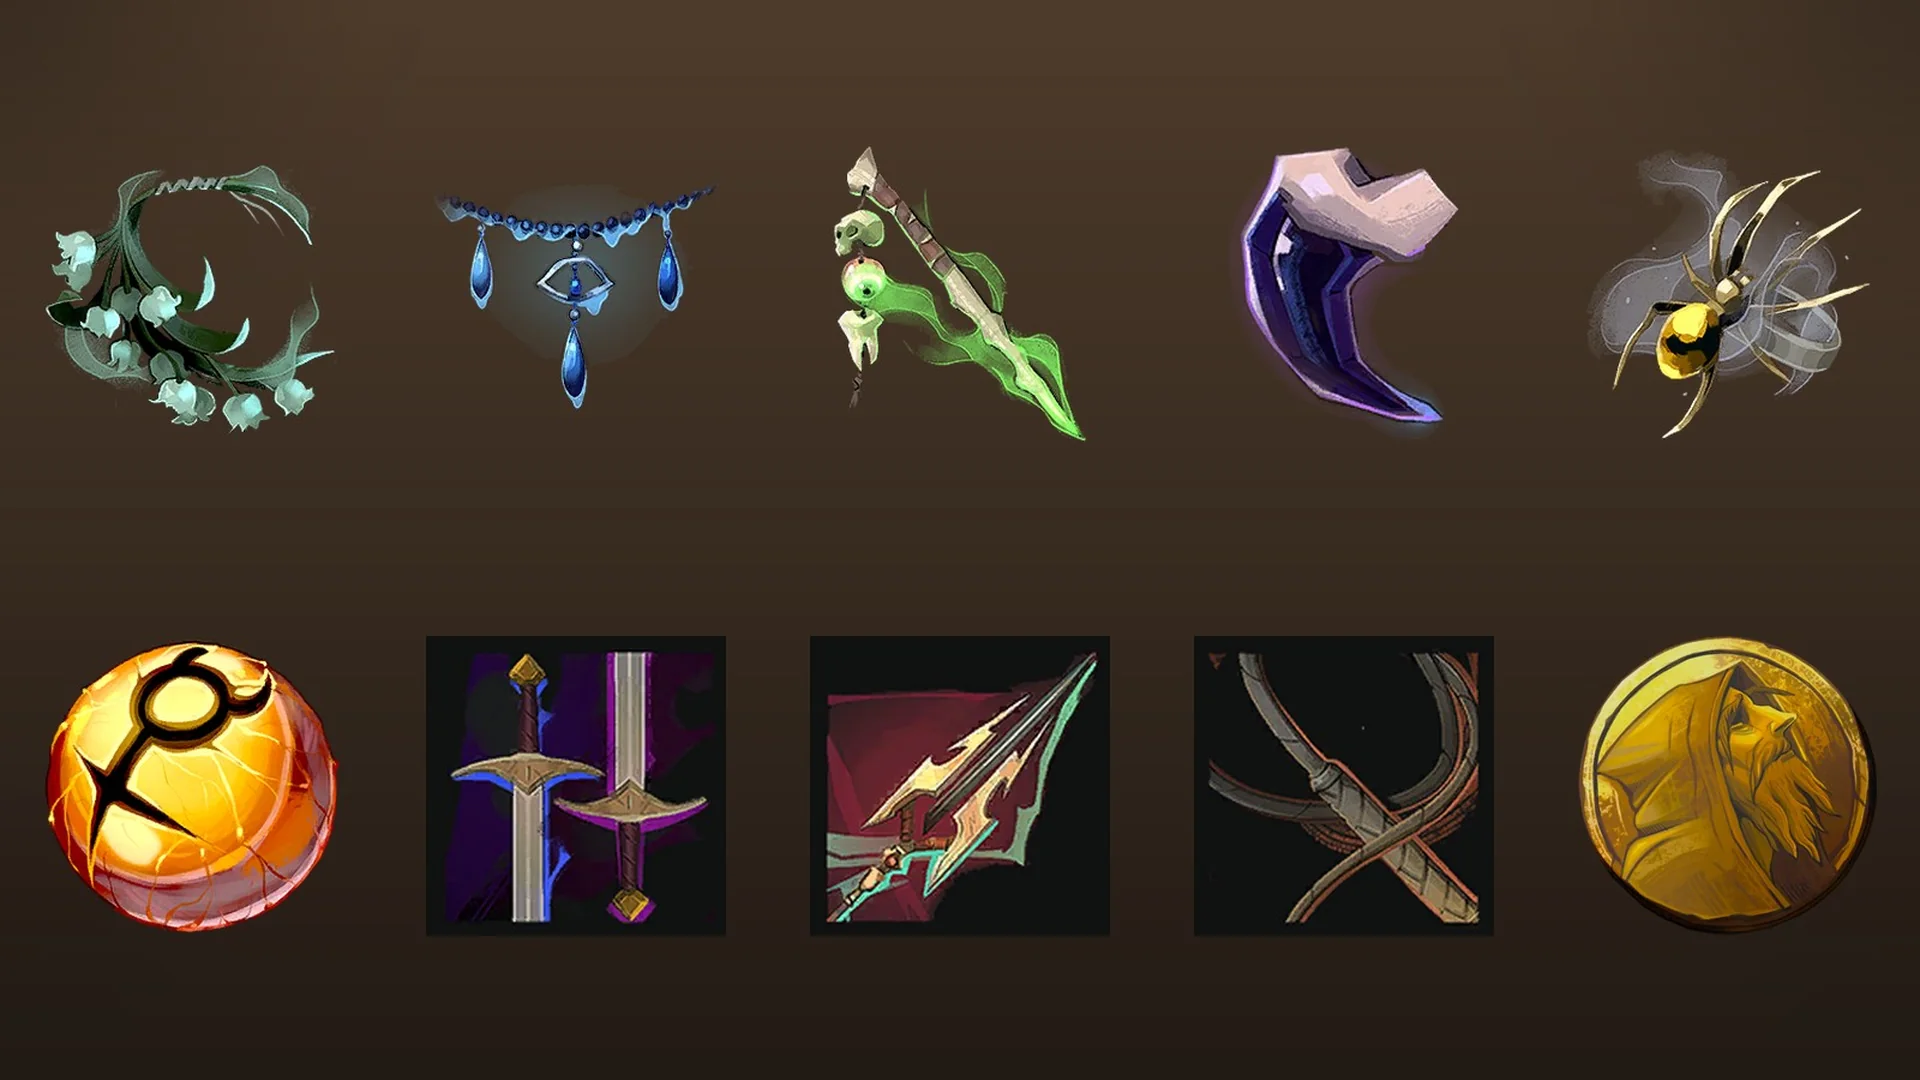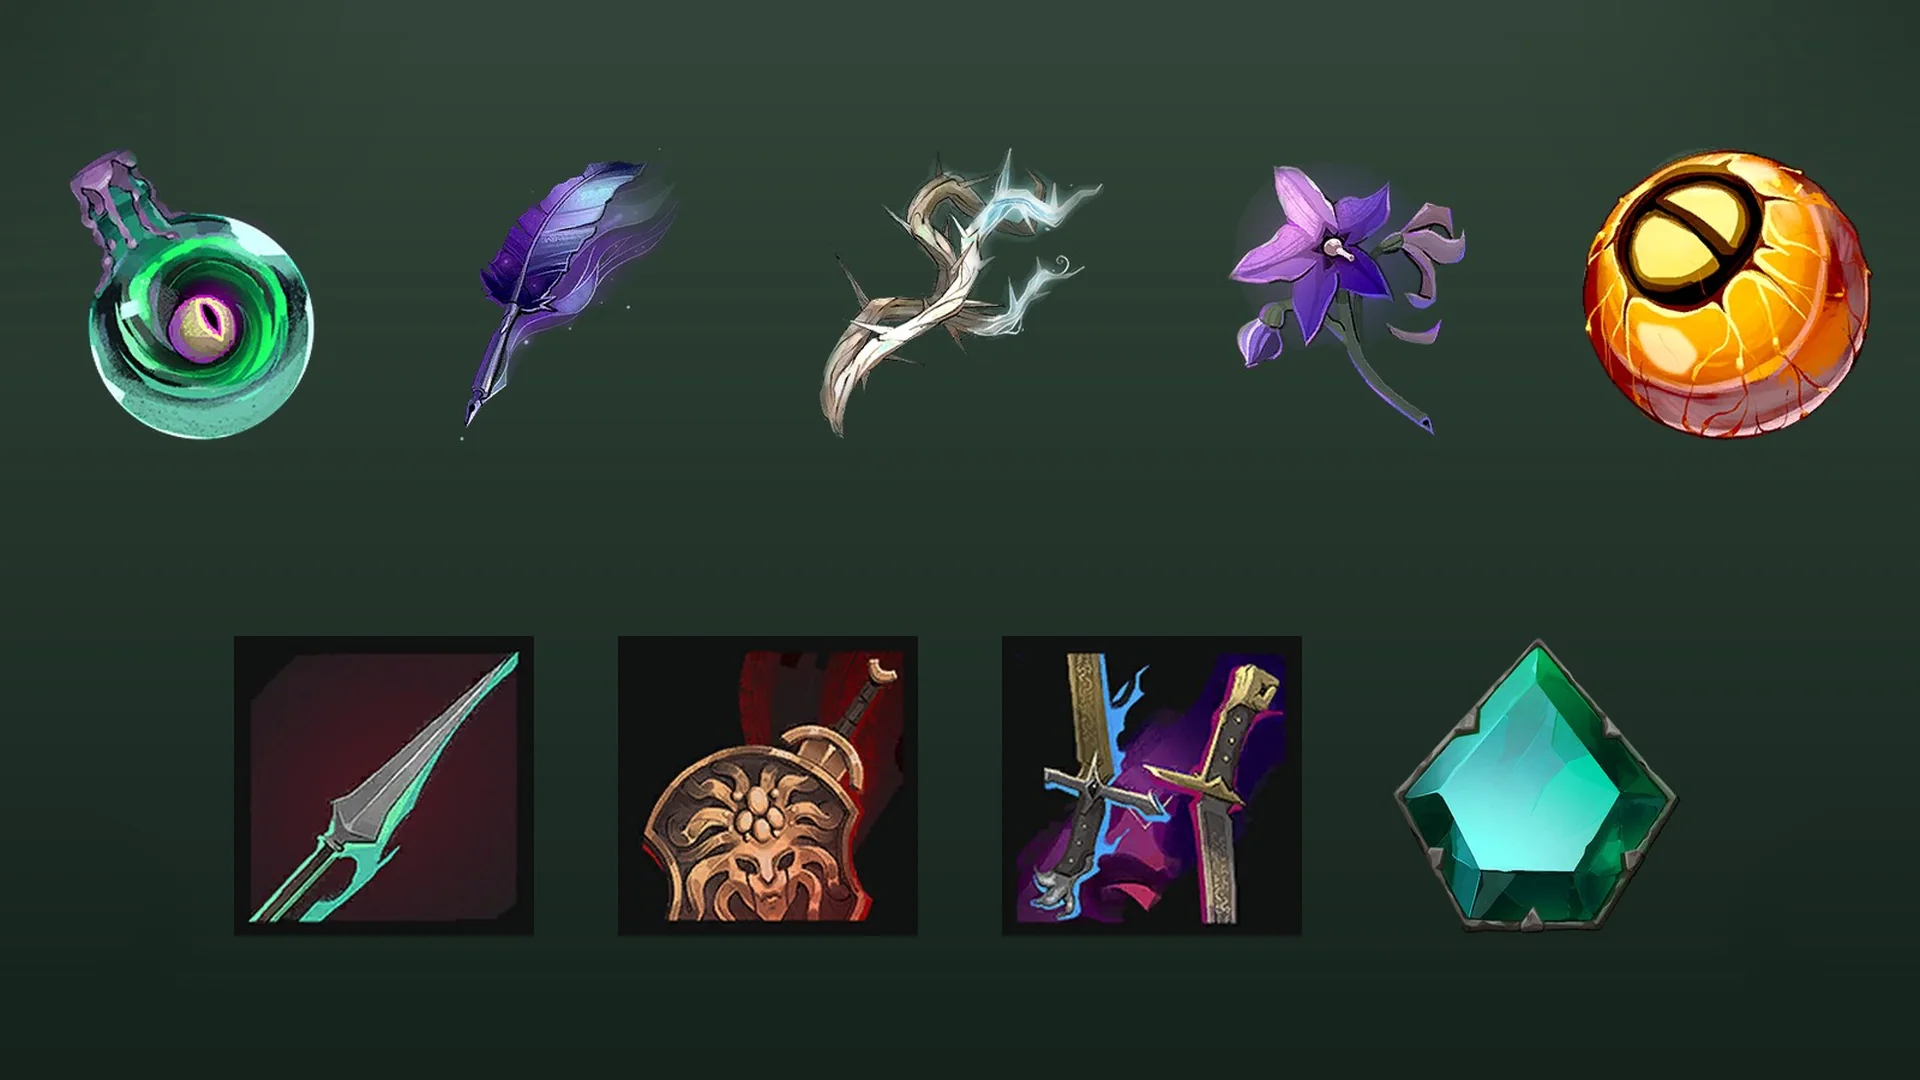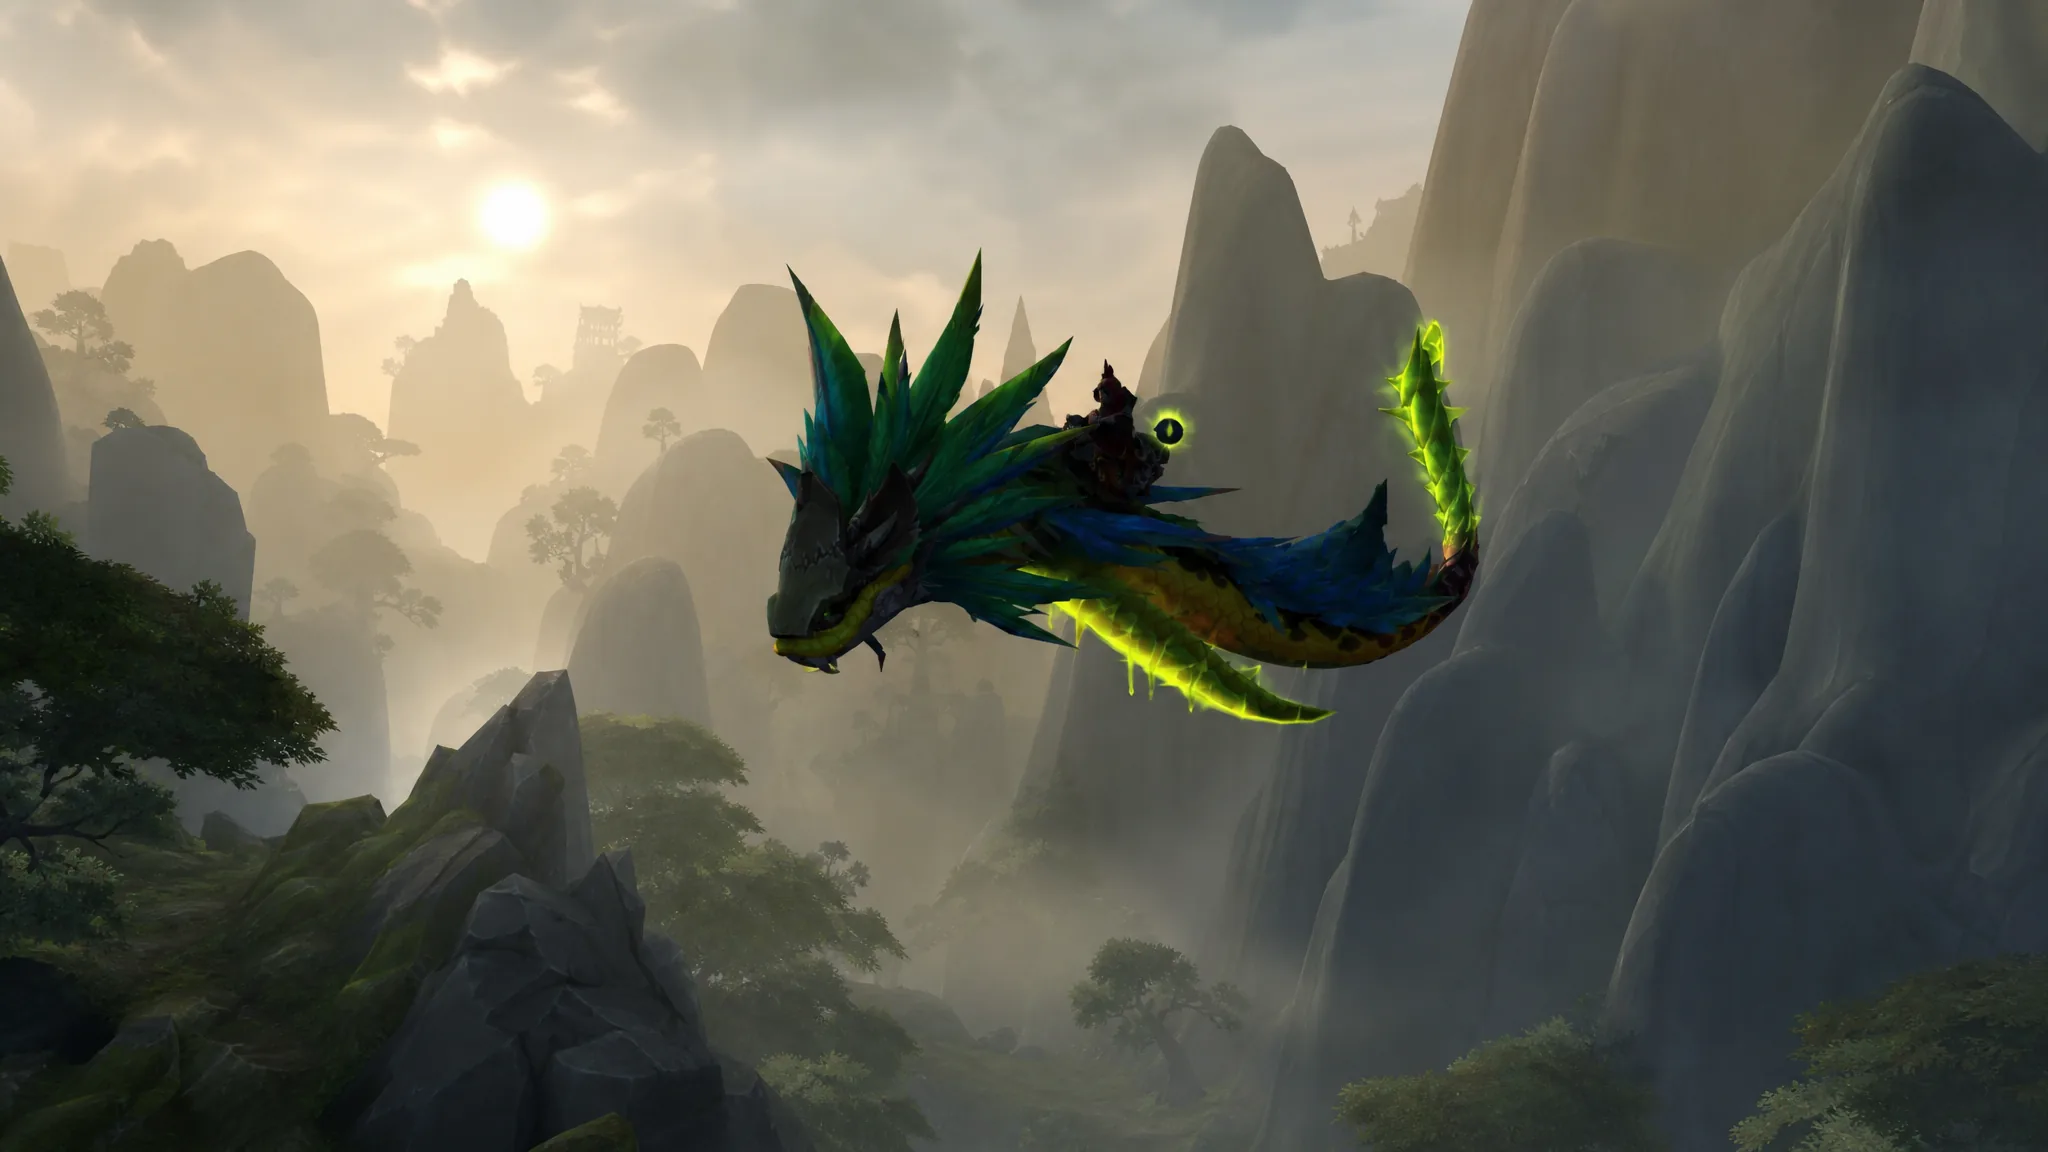
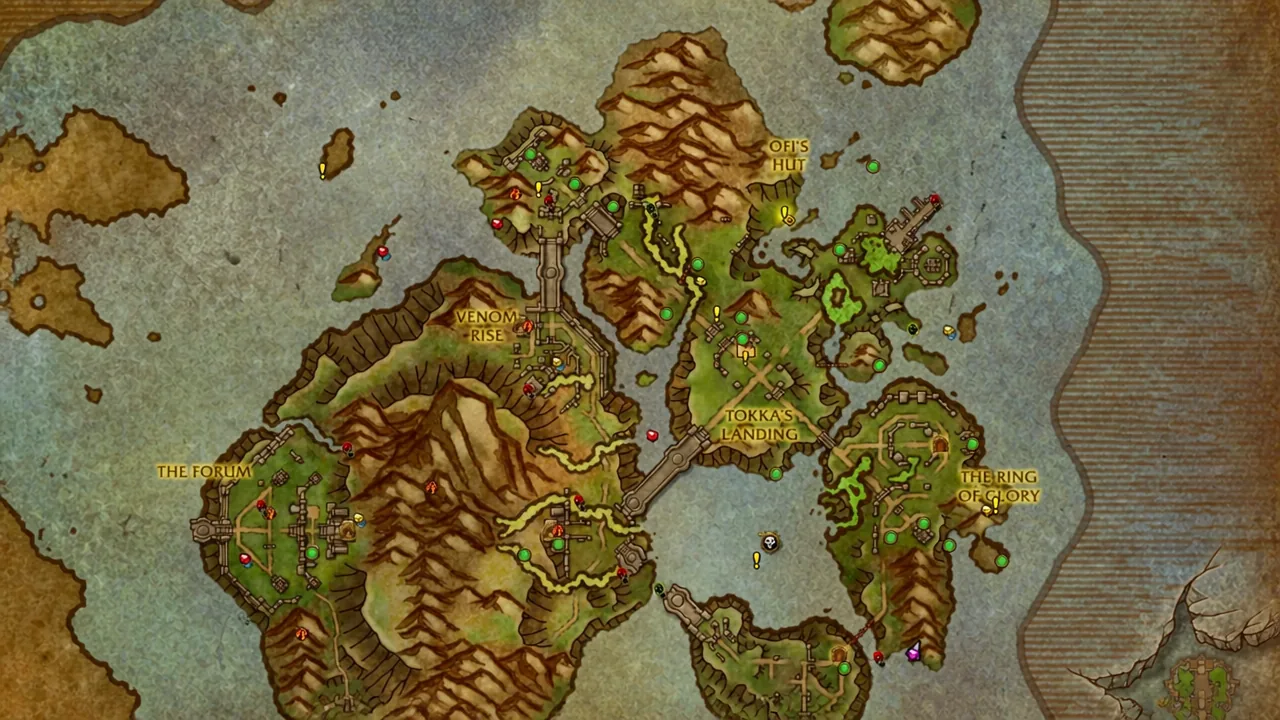
The Auriferous Venomfang is a flying snake, the kind of mount players have wanted for a very long time, and it drops into your collection the moment you finish the Treasures of the Coiled Isle achievement. The catch is that the achievement wants all 22 hidden treasures scattered across the Coiled Isle in Patch 12.1. Most are a quick fly-in and a click on a purple glowing object. Seven of them make you work for it.
Quick answer: Discover all 22 treasures on the Coiled Isle. The Treasures of the Coiled Isle achievement completes on the last pickup and the Auriferous Venomfang mount is granted instantly, account-wide.
Before you go treasure hunting
You need a max-level character with Coiled Isle access. The zone unlocks through the Patch 12.1 storyline, which starts in Silvermoon City, and once you are in, flying works right away for your whole Warband.
Do some questing first. Two treasures will not appear until you have made story progress. The Damaged Loa Trinket needs Chapter 2 of the Coiled Isle story done, and A Tarnished Amani Glaive only spawns after you complete the quest The Glint of History. Clear those before you start routing, or you will fly to empty spots and wonder what went wrong.
Two addons make this far less painful. TomTom draws waypoints on your map and minimap from pasted coordinates, and the Paste addon lets you drop every /way line into the game at once instead of one at a time. Every treasure also feeds 50 reputation into the Zul’jarra’s Forces renown, so the hunt doubles as a renown grind.
The 15 loot-and-grab treasures
These have no puzzle, no NPC, and no combat gate. Fly to the coordinate, find the purple glow, and click it. Paste the whole block into TomTom and clear them in whatever order your flight path favors.
| Treasure | Coordinates (#2512) |
|---|---|
| Venomjade Necklace | 64.7, 36.6 |
| Waterlogged Basket | 49.5, 32.0 |
| Damaged Loa Trinket | 46.9, 29.6 |
| Tarnished Amani Glaive | 55.2, 38.0 |
| Fangbound Sack | 45.9, 66.3 |
| Forgotten Mask | 64.9, 78.9 |
| Possessed Vase | 31.4, 83.5 |
| Malfunctioning Staff | 75.4, 68.3 |
| Smoldering Incense | 29.5, 67.2 |
| Ornate Bottle | 67.0, 28.0 |
| Stinking Vessel (Intact Vase) | 53.1, 43.1 |
| Zul’jan’s Stash | 43.9, 26.5 |
| Jaktu’s Cursed Blade | 60.4, 59.4 |
| Cracked Skull | 58.1, 43.5 |
| Crumbling Urn | 73.5, 56.5 |
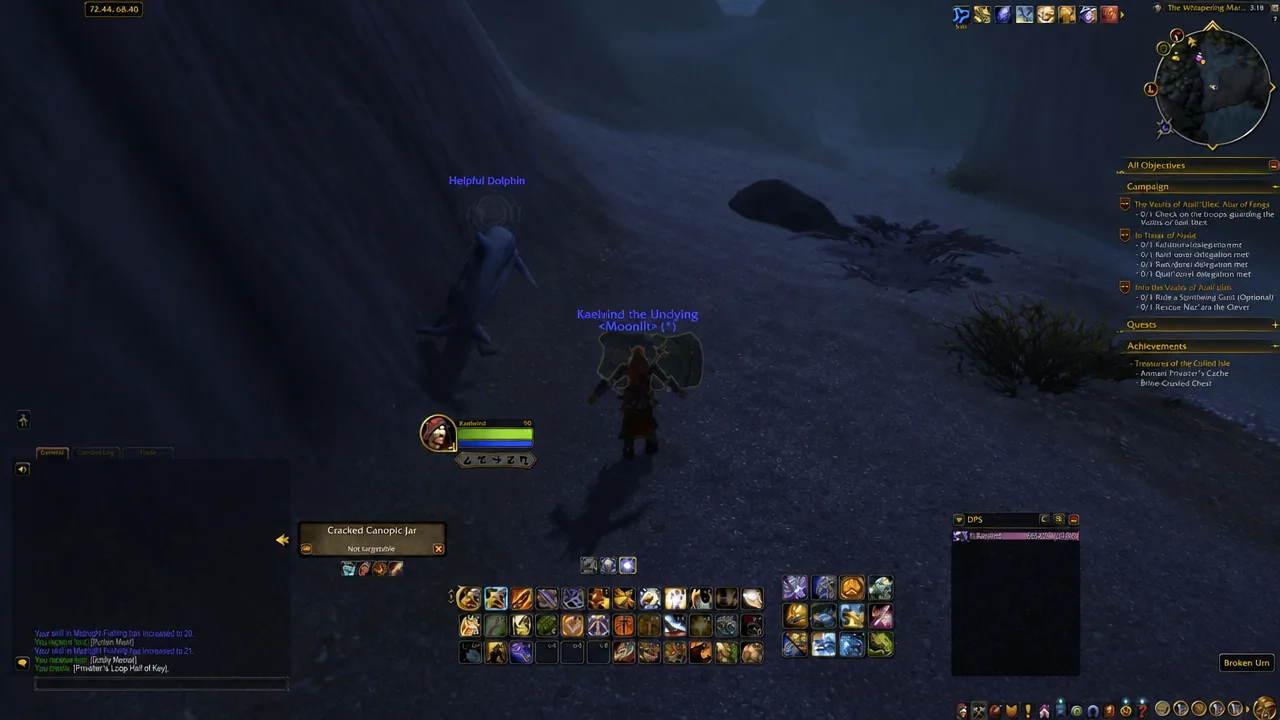
Note: some objects sitting in the world are decoys and cannot be picked up, like the Cracked Canopic Jar. If a tooltip says an item is not collectible, ignore it and look for the actual glowing treasure nearby.
The 7 puzzle treasures
The rest each need a couple of extra steps. None are difficult once you know the order, but skipping a step usually means backtracking, and in a few cases refishing.
Profane Ritual Spoils (43.6, 67.4)
Face the altar and click the Mysterious Objects in this exact order: upper right, upper left, bottom right, bottom left. Getting the sequence wrong costs you nothing, so just try again. The spoils unlock once the pattern is correct.
Forgotten Trinket and Lost Spirit
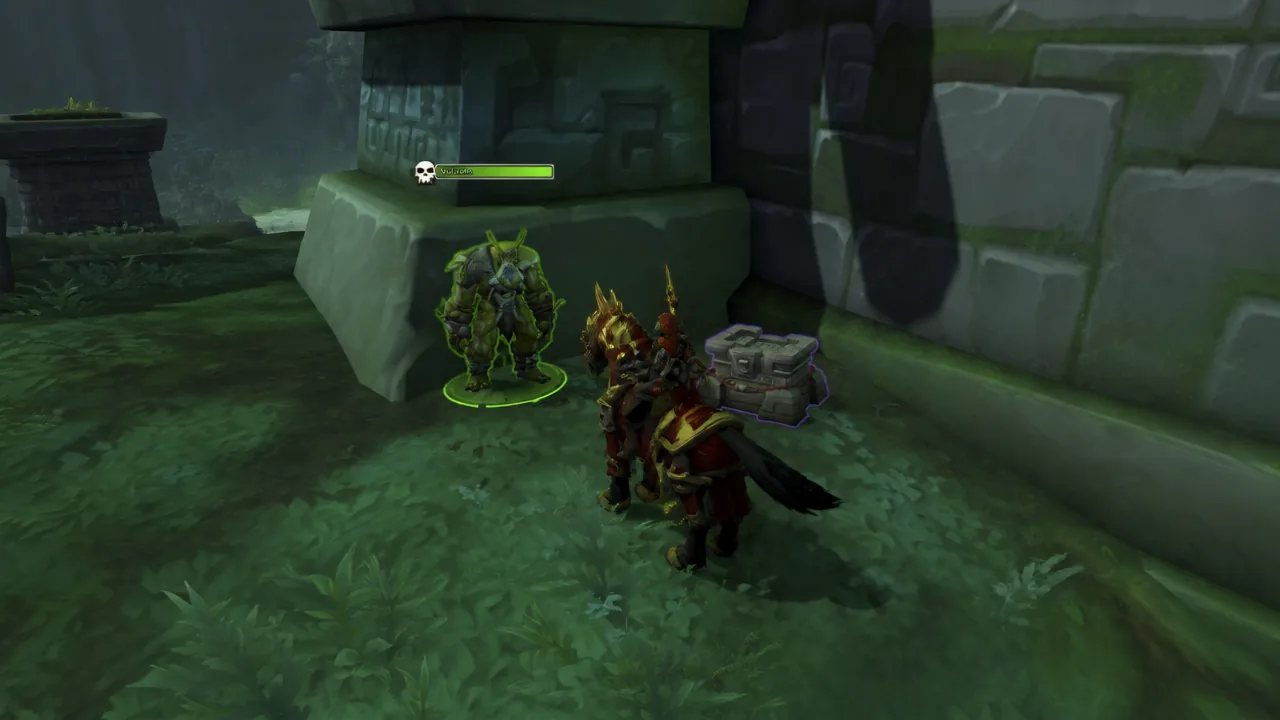
Sunken Diver’s Chest (65.4, 5.6)
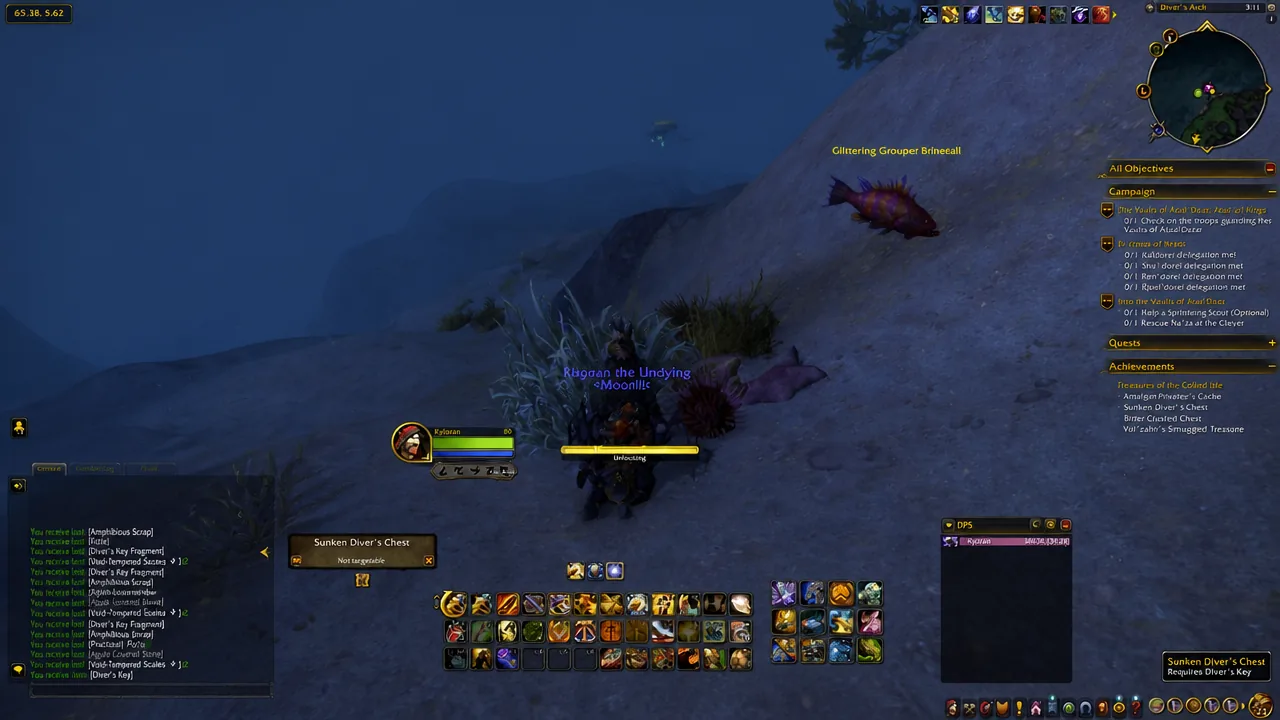
Brine-Crusted Chest (70.6, 76.6)
Vul’zahn’s Smuggled Treasure (58.2, 45.7)
Amani Privateer’s Cache (71.9, 66.7)
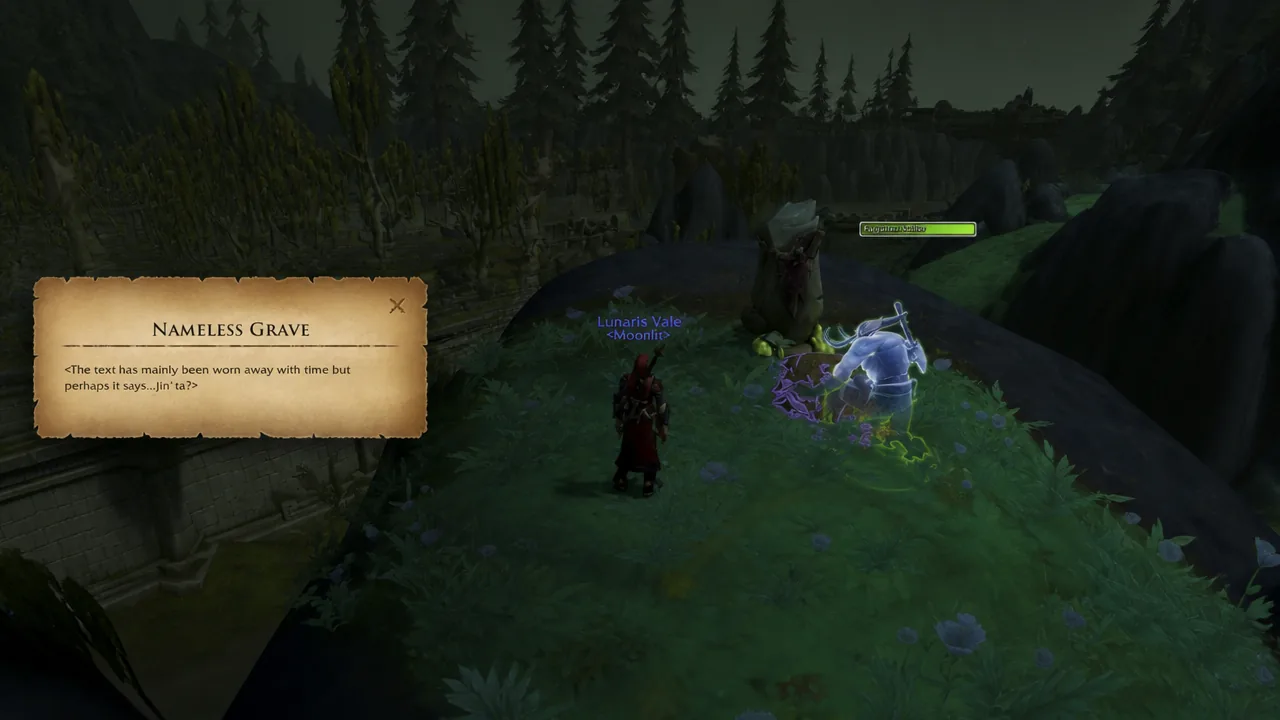
Nameless Grave / Grave of Someone Forgotten (67.3, 48.5)
How you know it worked
When the final treasure is discovered, the Treasures of the Coiled Isle achievement pops on screen and awards 10 points. The Auriferous Venomfang lands in your mount journal immediately, and because it is account-wide, every character on your account can ride it.
If the achievement will not complete despite grabbing everything you can find, the usual culprit is a missing story step. The Damaged Loa Trinket needs Chapter 2 done, and A Tarnished Amani Glaive needs The Glint of History finished. Complete those quests, return to the two coordinates, and the last treasures will be there to close out the mount.