
Extended help — walkthroughs, tier lists, strategy.
Content Type: Guide
-
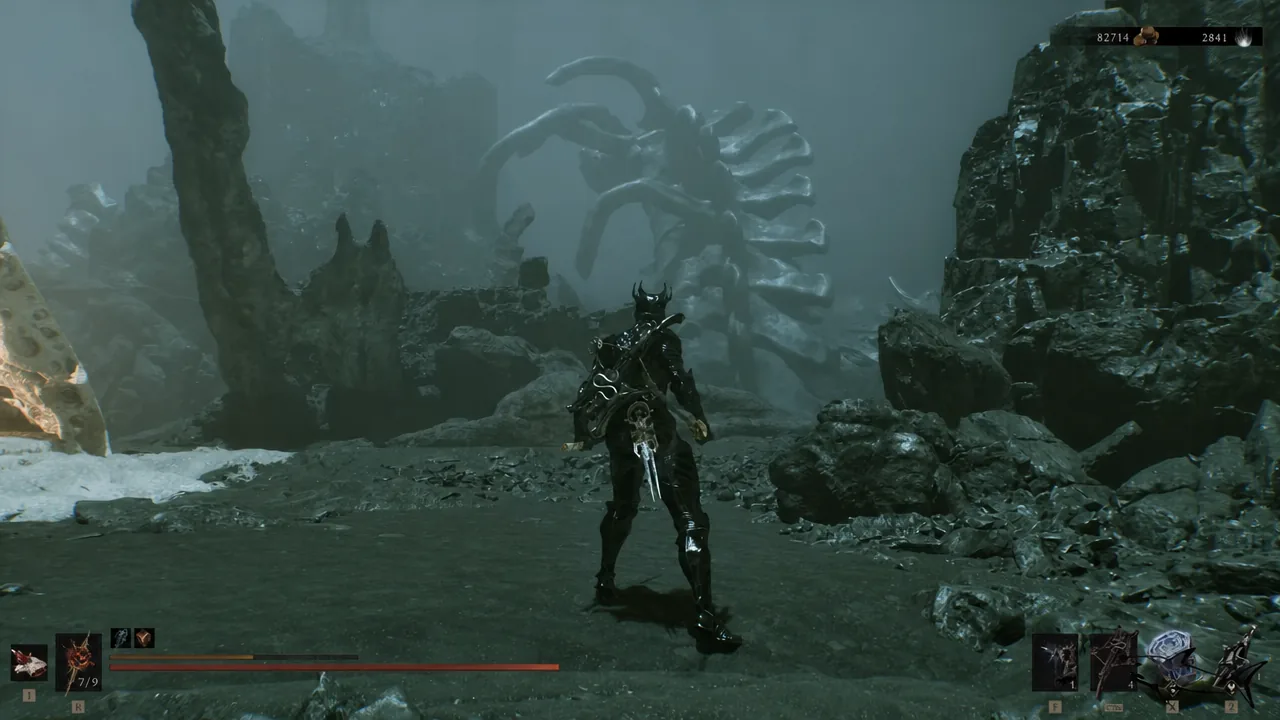
Charged Stone Location in Mortal Shell 2 (Faster Sidearm Charging)
The exact route to the Odious Crevice chest, plus what each upgrade level adds to your sidearm charge speed.
-
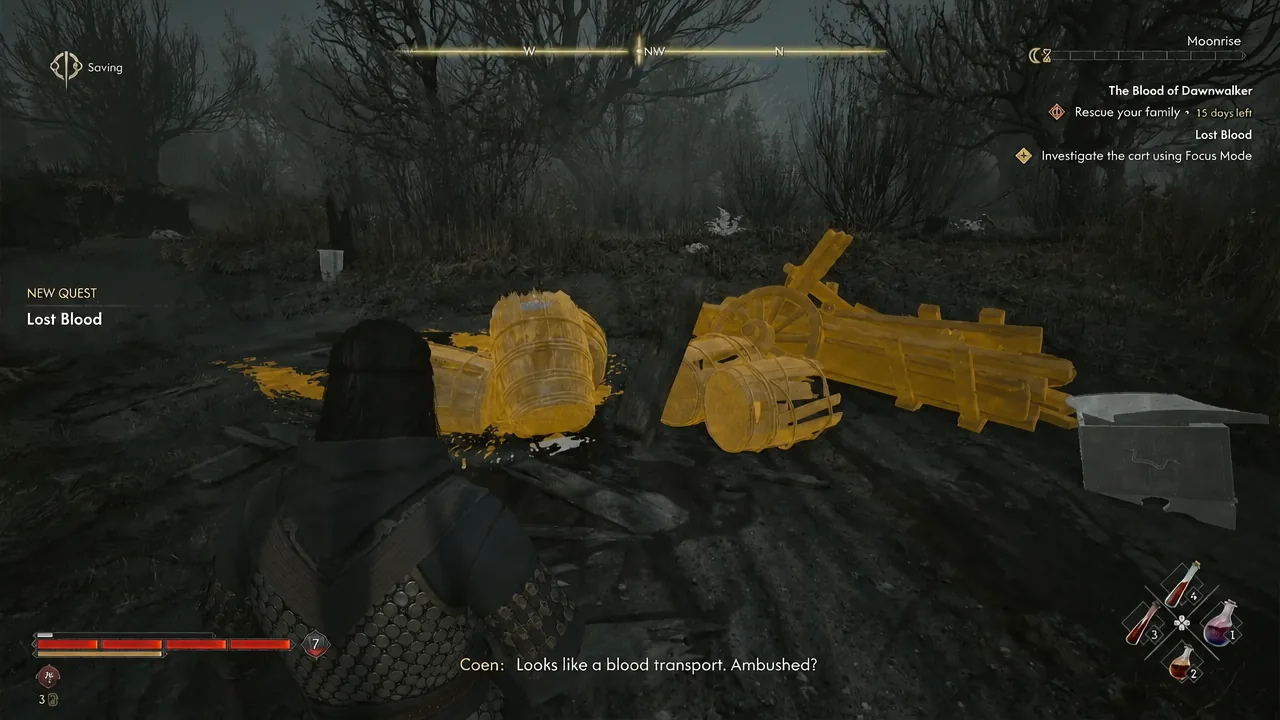
The Blood of Dawnwalker: Lost Blood Quest Walkthrough
Every objective for the St. Tyna’s Grove side quest, from the wrecked blood cart to the Silberstein merchant’s second conversation.
-
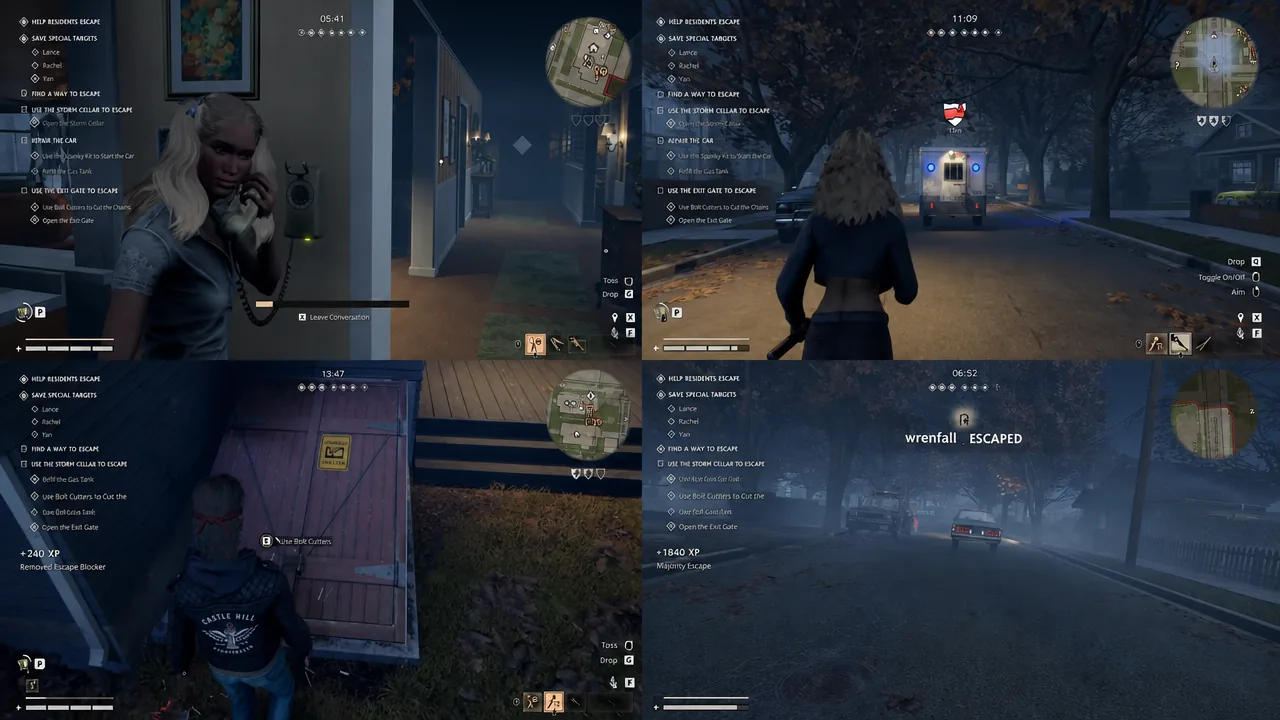
Halloween: The Game — Every Civilian Escape Route Explained
The five ways civilians can get themselves and residents out of Haddonfield, with the exact items and tasks each one needs.
-
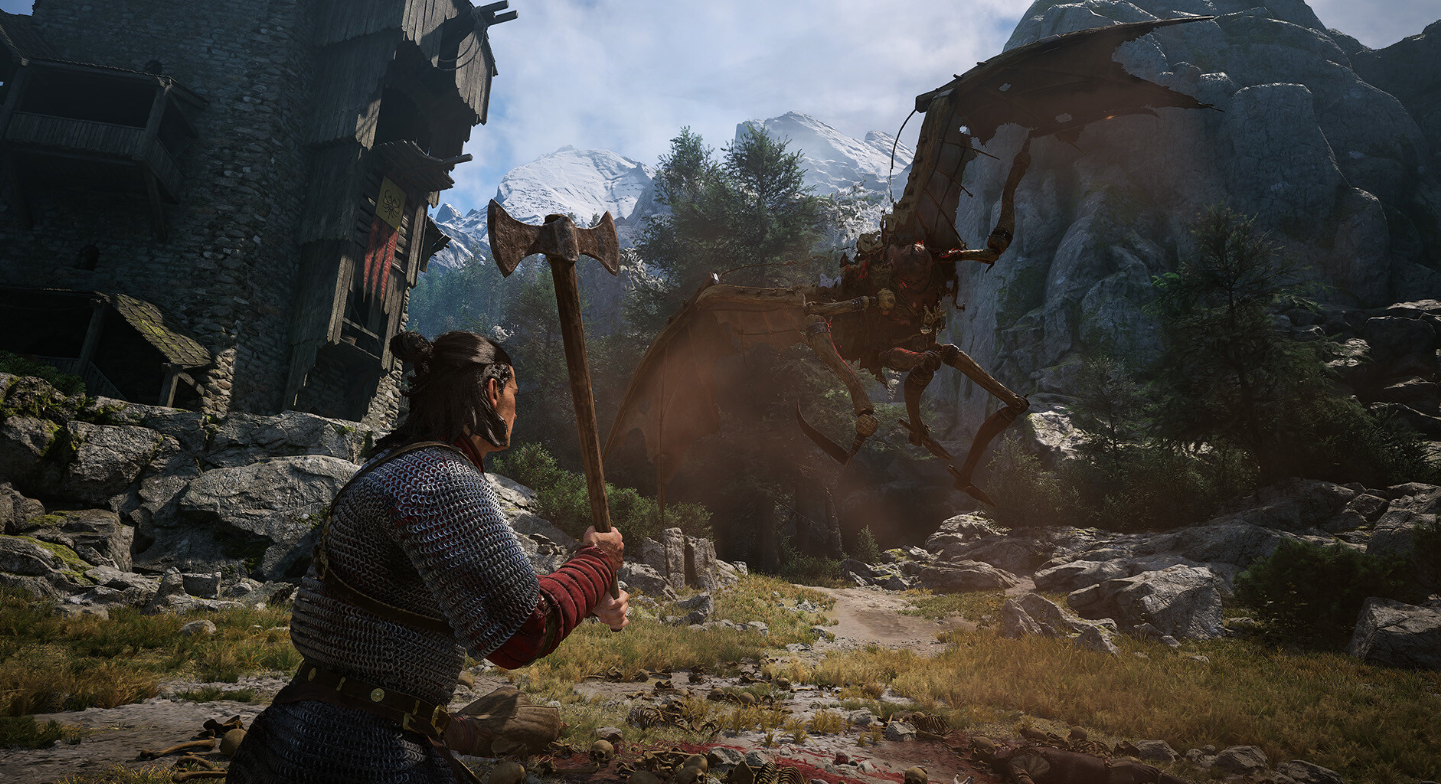
The Blood of Dawnwalker: How Corruption Works and How to Increase It
Feeding raises Corruption, and Corruption is the only key that opens Coen’s Vampirism tree.
-
+1 Speed Monkey Escape: How to Unlock the Secret 2x Speed Treadmill
Every Sunken Shard location, the hidden room under Stage 3, and how to tell the unlock actually registered.
-
Mortal Shell 2: Withered Shoals Walkthrough and All Secrets
Every beacon, Tarstone, and hidden pickup in the Shoals, from the Gate of Mammon down to the Hexapod arena.
-
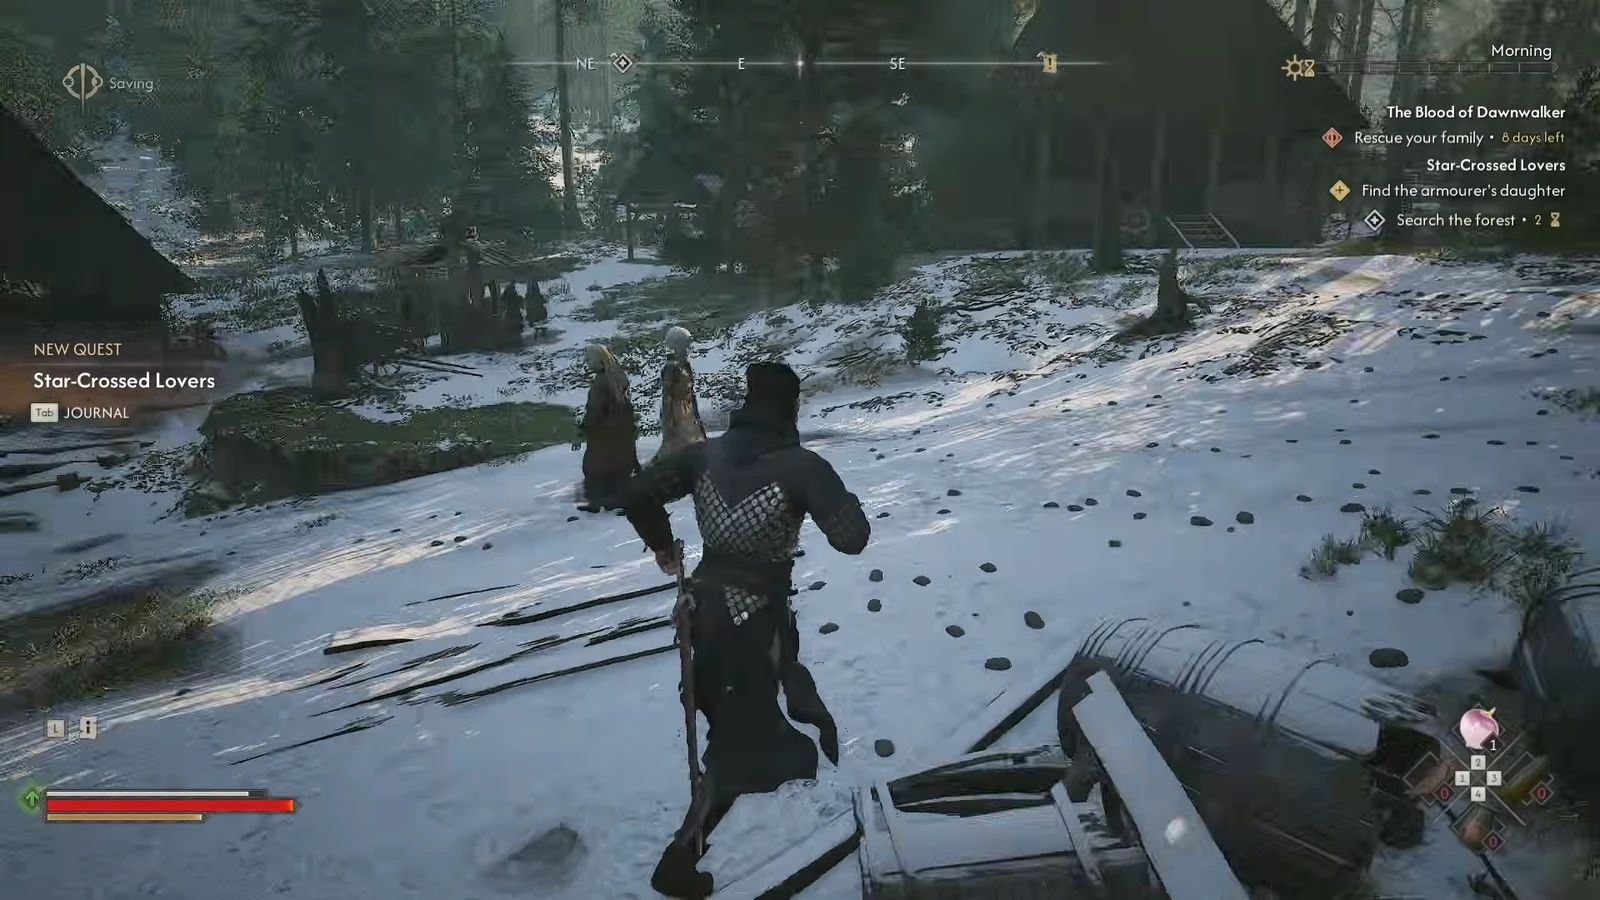
The Blood of Dawnwalker: Star-Crossed Lovers Quest Walkthrough
Find the armourer’s missing daughter in the woods northeast of Maragir and secure every reward the side quest offers.
-
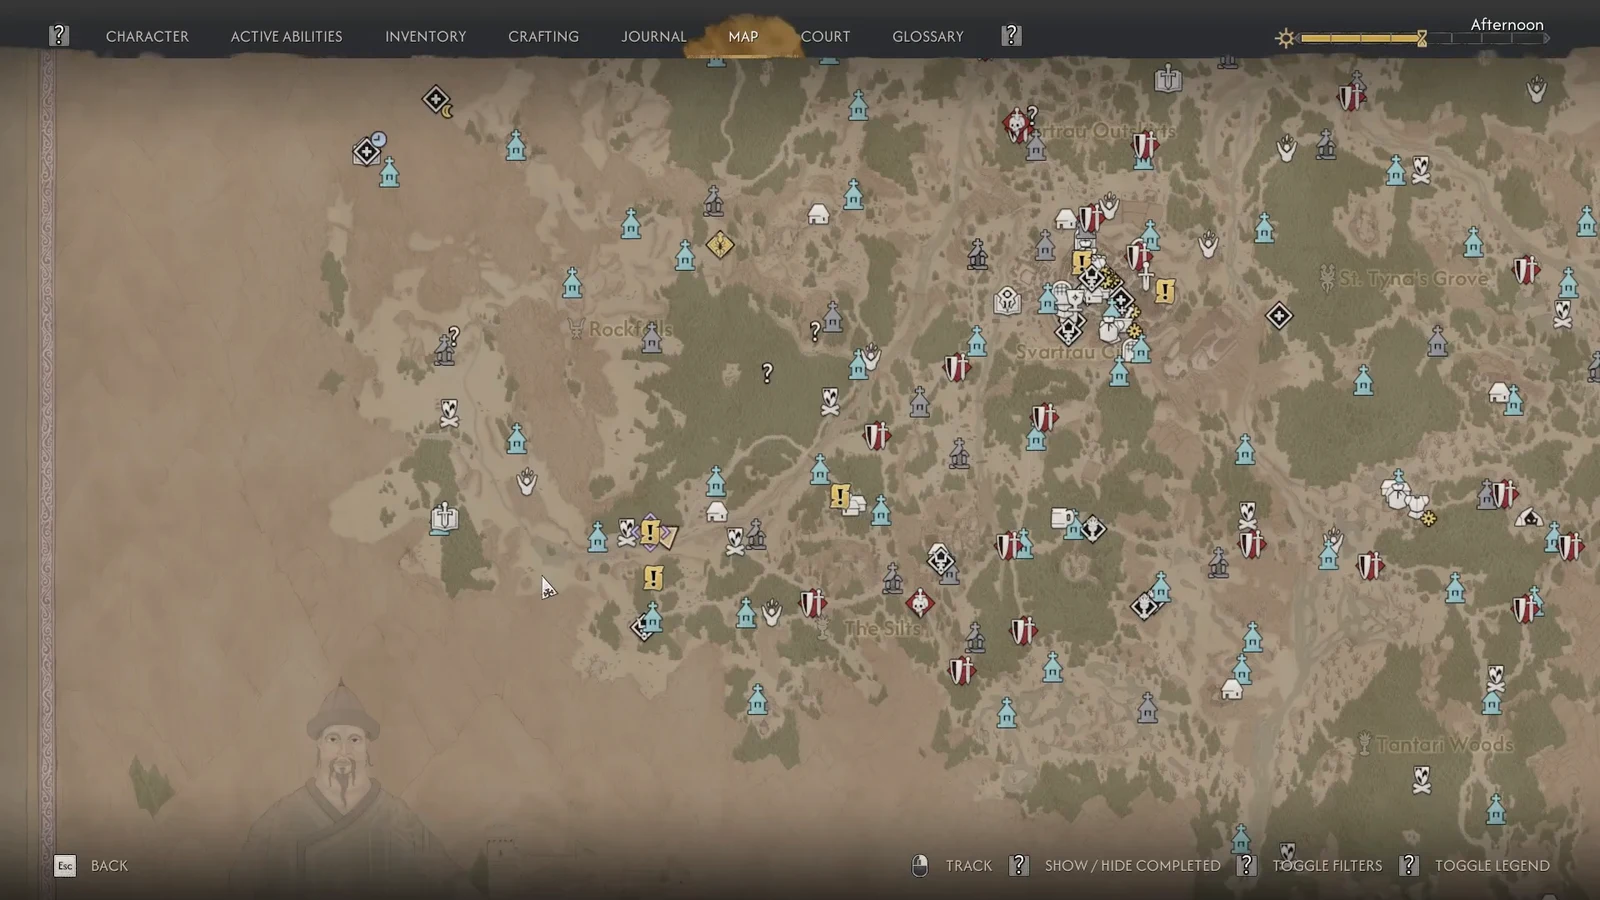
The Blood of Dawnwalker: Of Wolves and Men Walkthrough
Track the blood trail, clear the wolf cave, and spend all three Compel Soul catalysts for the full 47 XP and Skill Point payout.
-
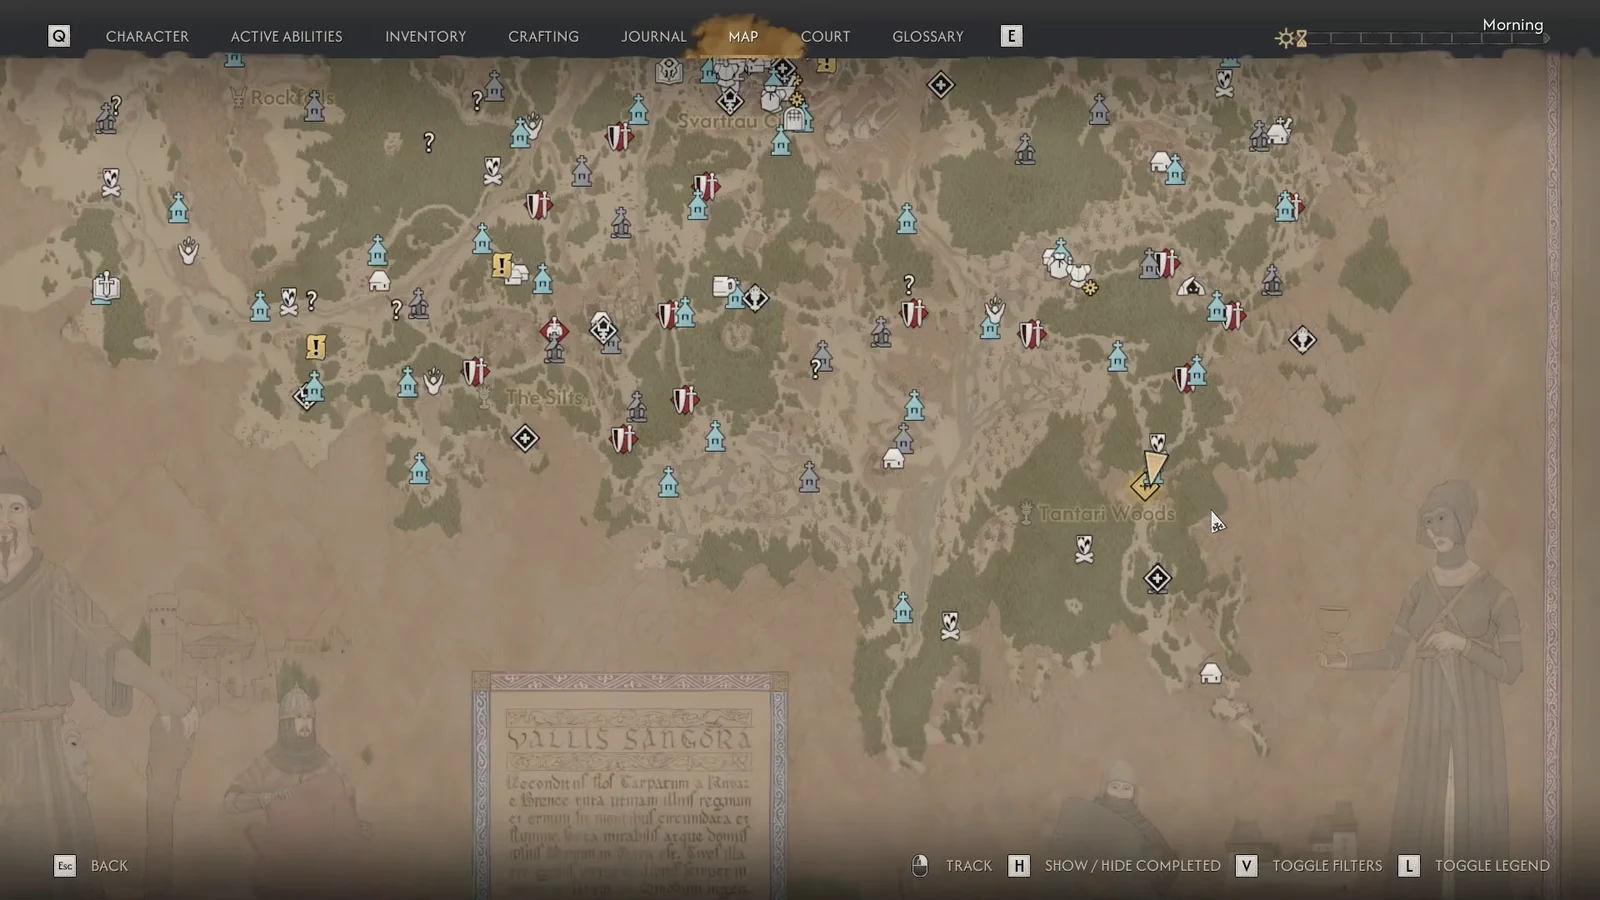
The Blood of Dawnwalker: Don’t Kill the Messenger Walkthrough (Tantari Woods)
Every objective, the three Compel Soul catalysts, the rewards, and the two ways the investigation can end.
-
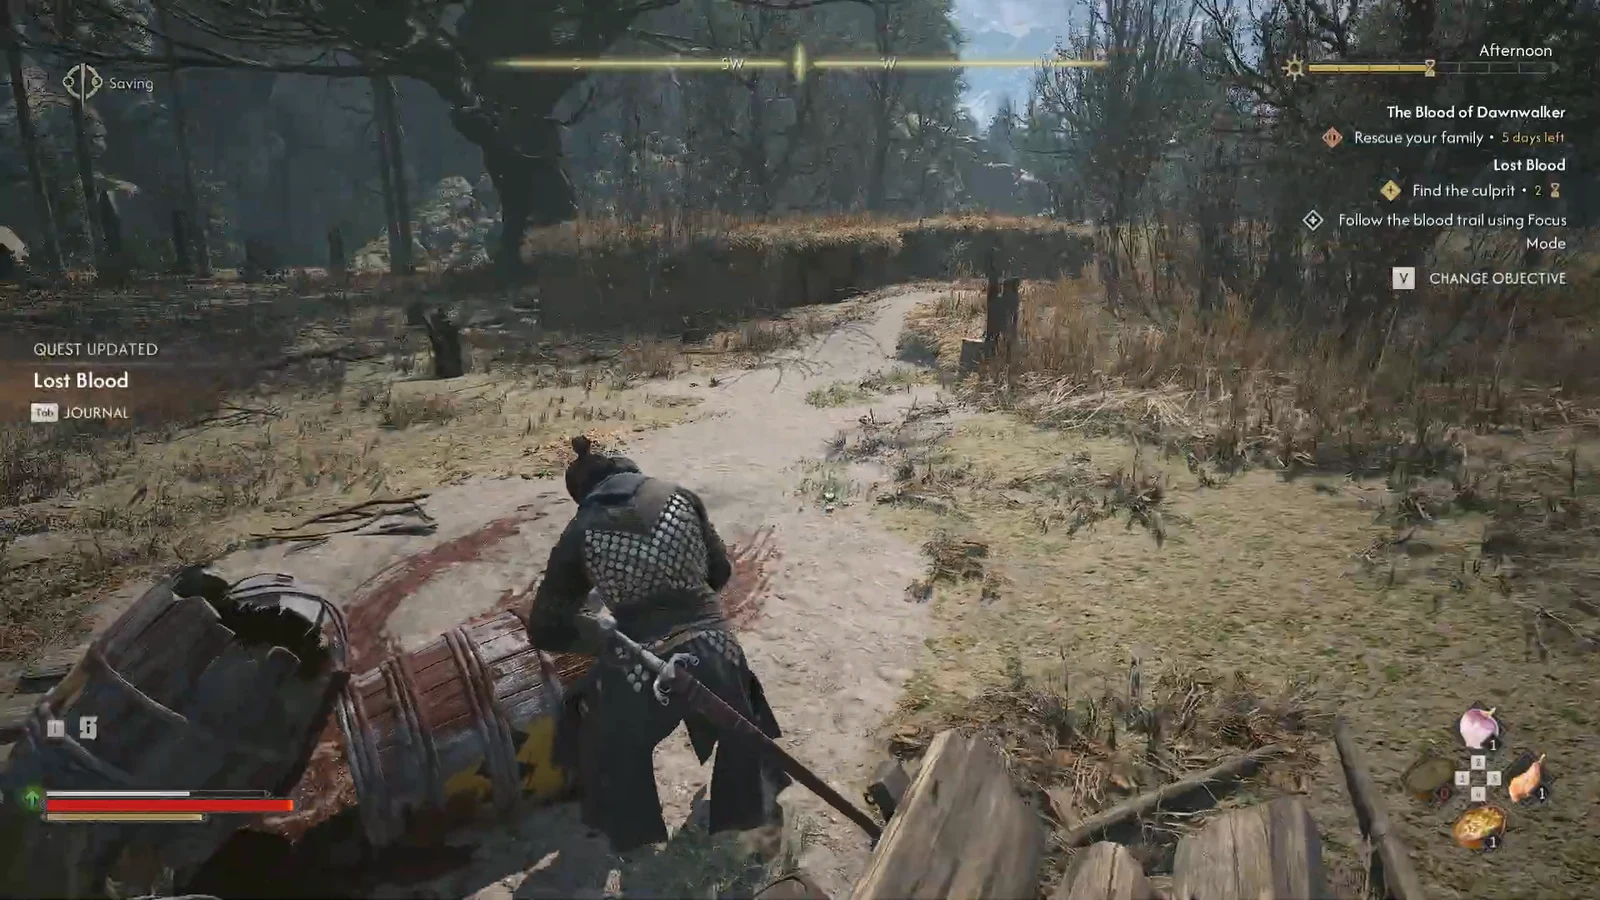
The Blood of Dawnwalker: Lost Blood Quest Walkthrough
Track the blood trail out of St. Tyna’s Grove, kill Murohn, and return the Mysterious Ring for the Medicus II Manual.