
Extended help — walkthroughs, tier lists, strategy.
Content Type: Guide
-
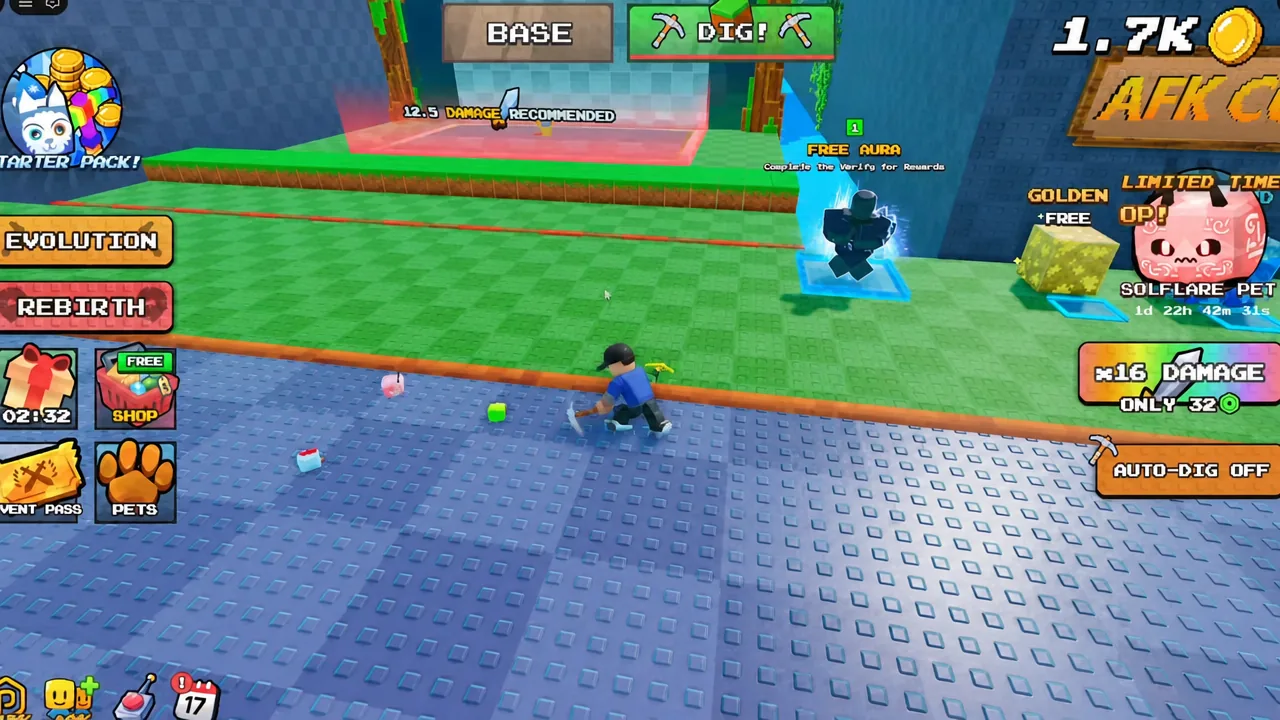
Merge & Dig Simulator: How Damage Scaling and Rebirths Work
The damage numbers posted on each block section, and every multiplier that stacks to meet them.
-
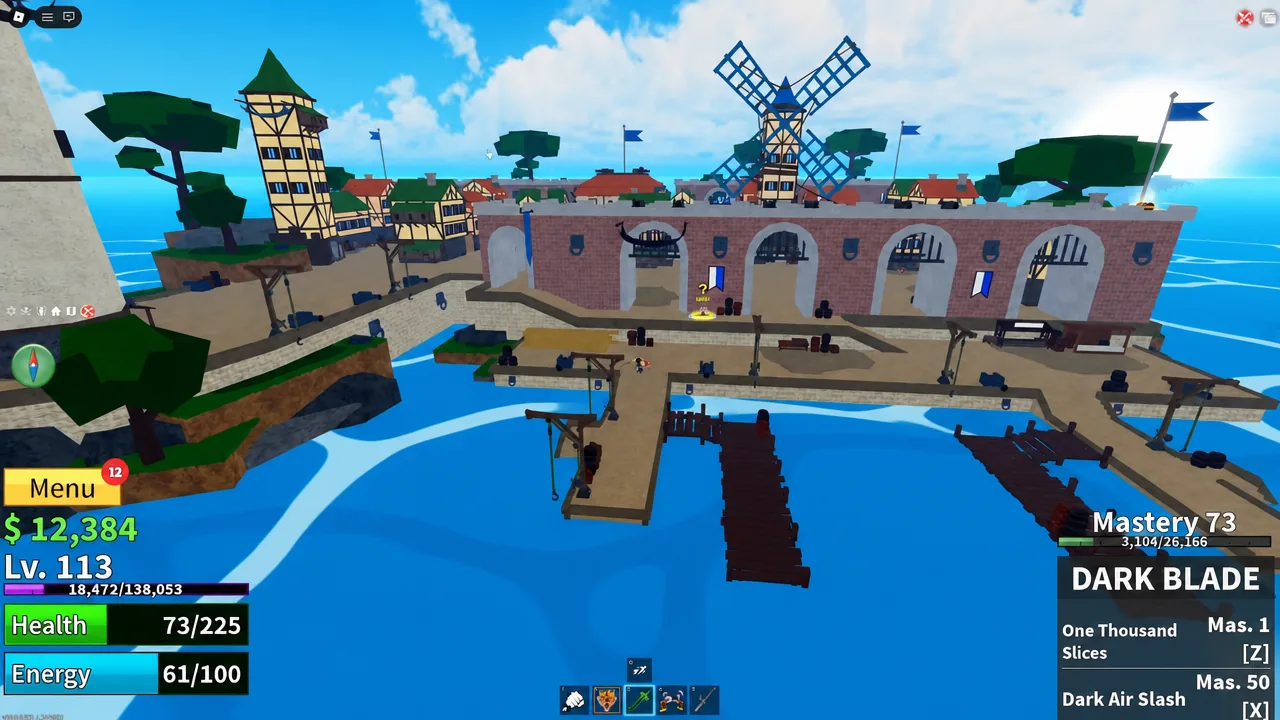
Blox Fruits: How to Solve the Pirate Village Windmill Secret in Sea 1
Cut all five rigging ropes on the Pirate Village windmill, then collect the Island Secret reward from the quest NPC at the docks.
-
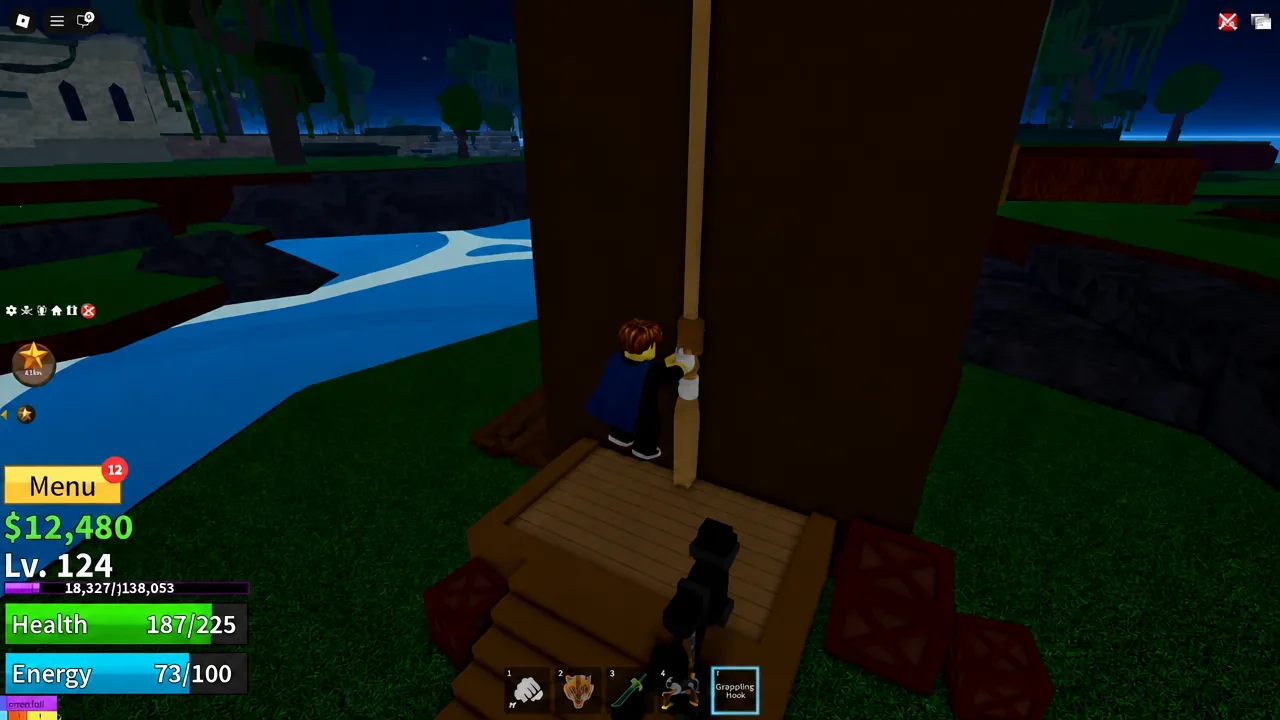
Blox Fruits Jungle Grappling Hook Guide: Repair the Sea 1 Zipline
Where the grapple hook spawns on Jungle Island, how to restart the broken zipline, and what the quest giver pays out.
-
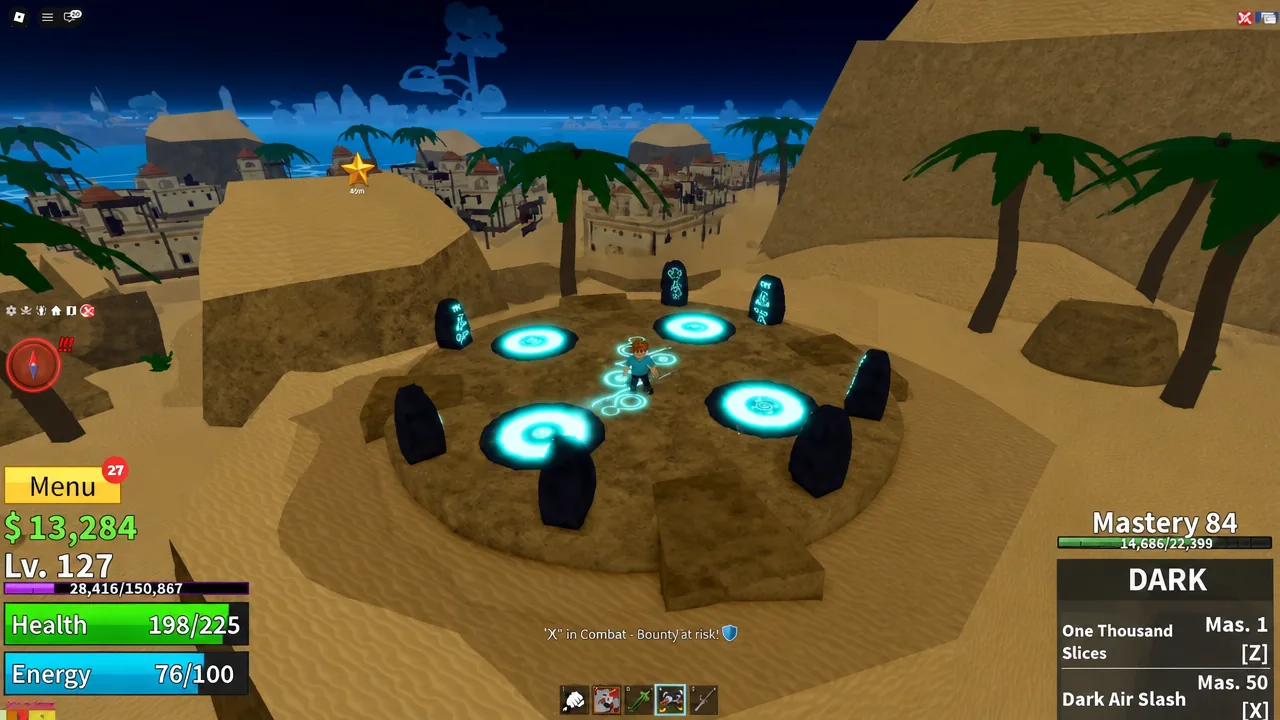
Blox Fruits Desert Island Stone Circle Secret Guide (Sea 1)
Hit every stone in the ring beside the pyramid, then report the carvings to the Desert Merchant.
-
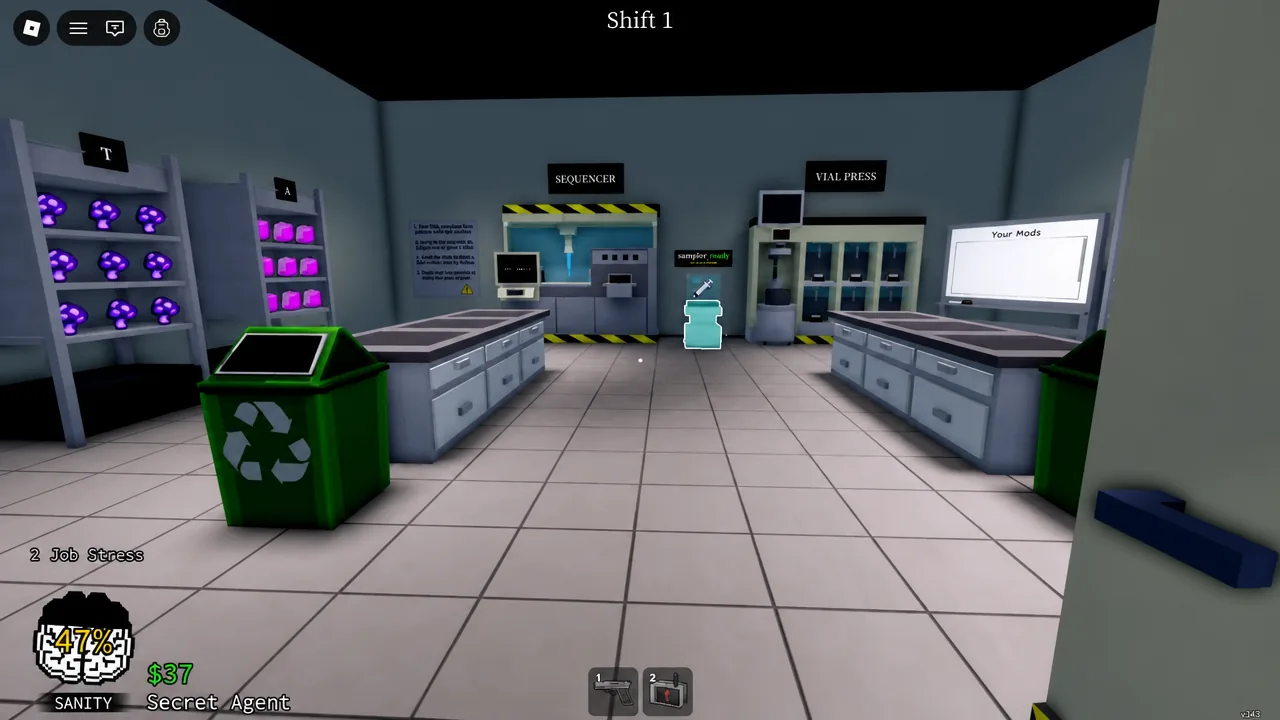
Animal Hospital Second Floor Update: How to Unlock the Lab and Make DNA Vials
Where the upper floor stairs are, how the DNA Sampler and Sequencer work, and what the hidden hatch leads to.
-
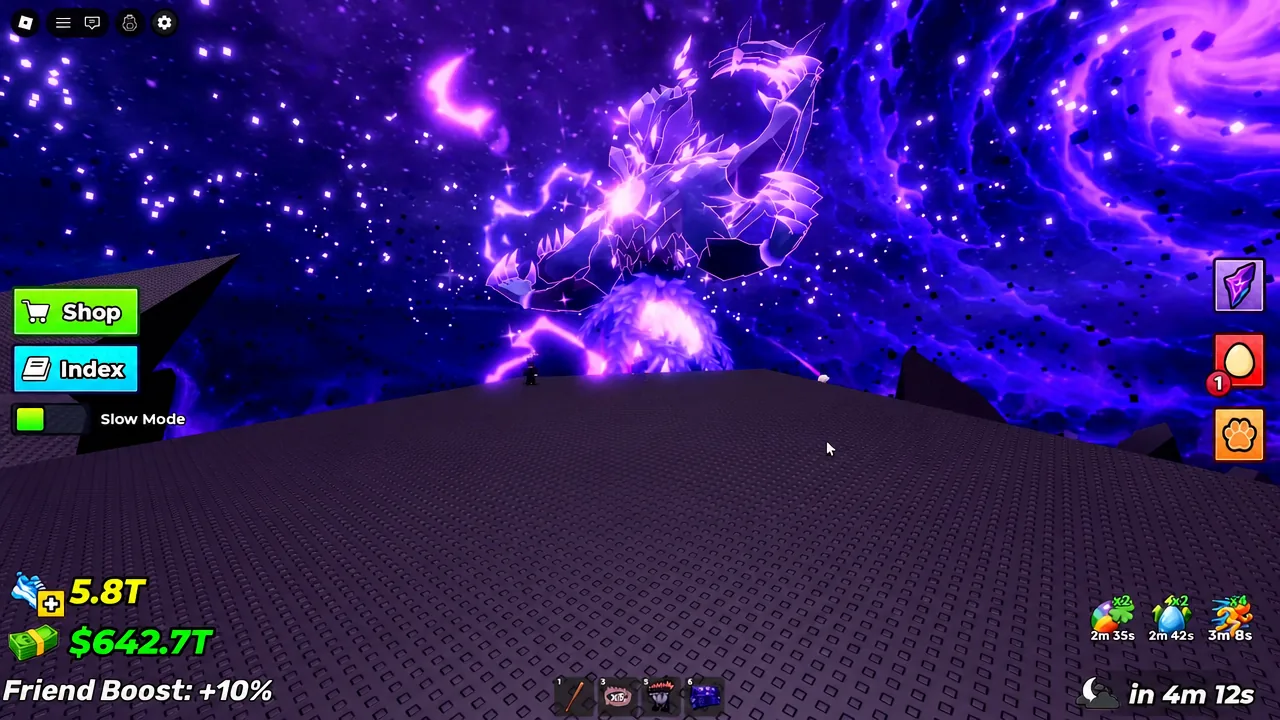
Steal An Egg Rift Update: Full Guide to the Abyss Overlord Boss Fight
How the Rift opens, how to kill the Abyss Overlord, and what Boss Tokens, Mastery, and pet sacrifices actually get you.
-
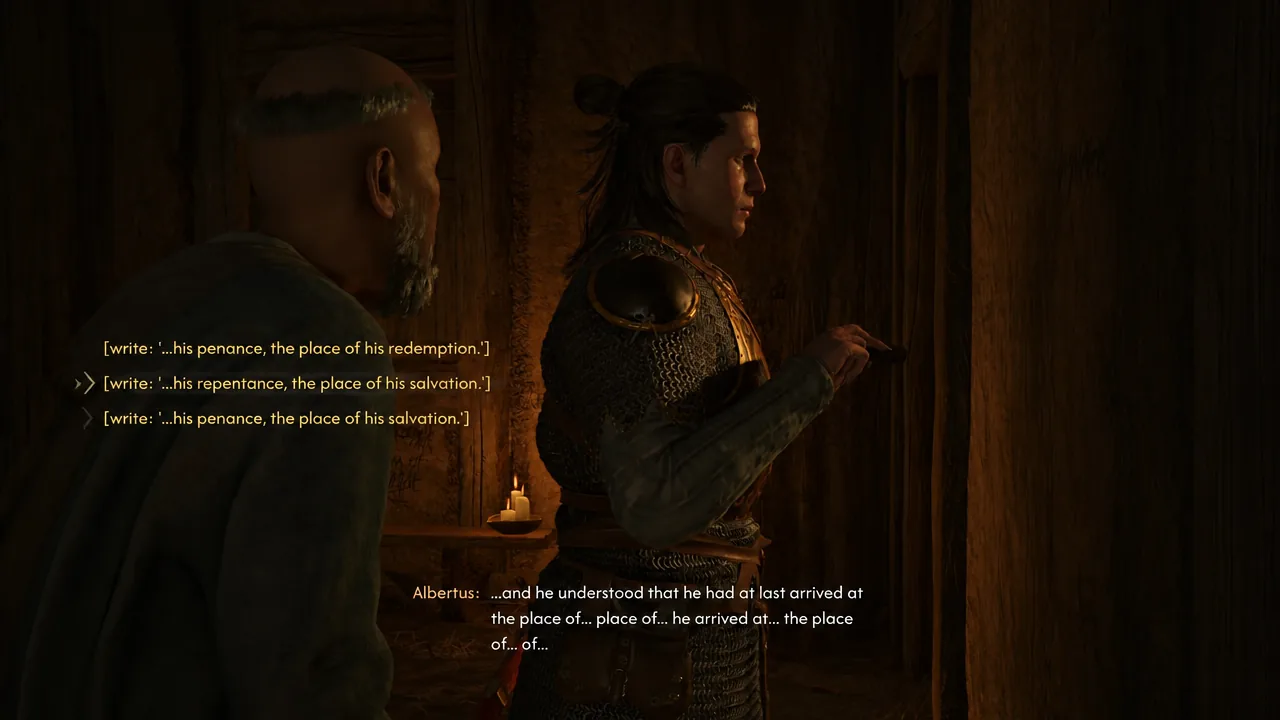
The Blood of Dawnwalker: A Monk and a Saint Full Walkthrough
Find Albertus in the Middens, unlock St. Mihai’s crypt, and claim the Broken Sword to start Forge It Anew.
-
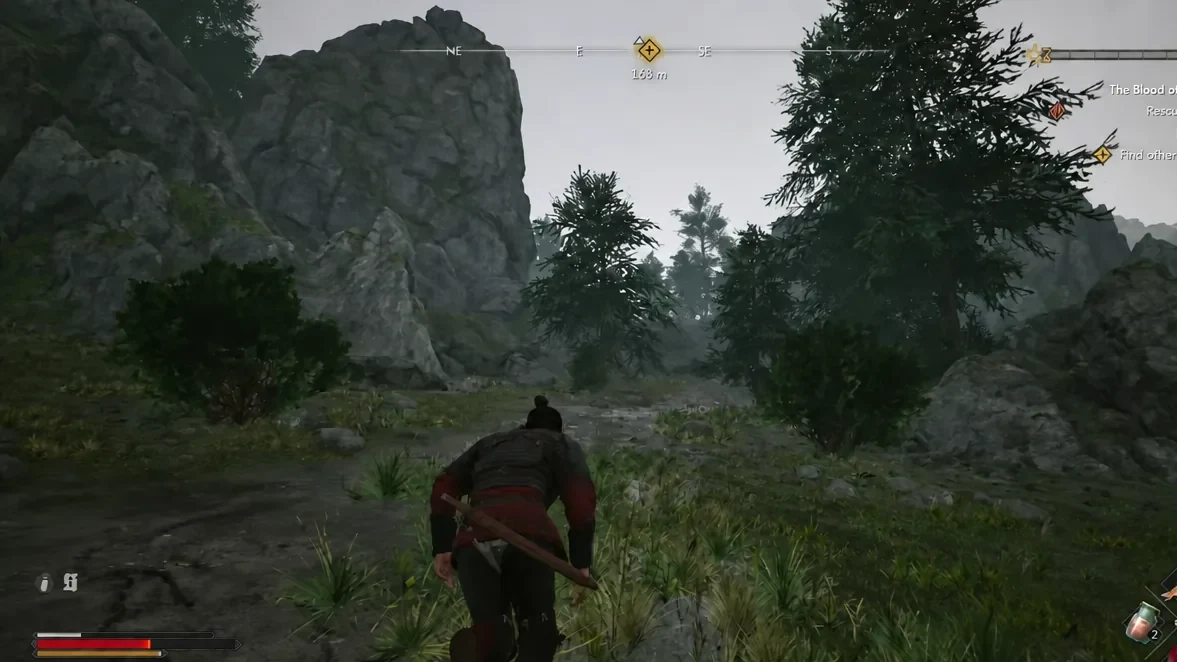
Forge It Anew: Executive Order Walkthrough in The Blood of Dawnwalker
Where the third Sword Shard ends up, how to clear Xanthe’s camp for it, and what unlocks next.
-
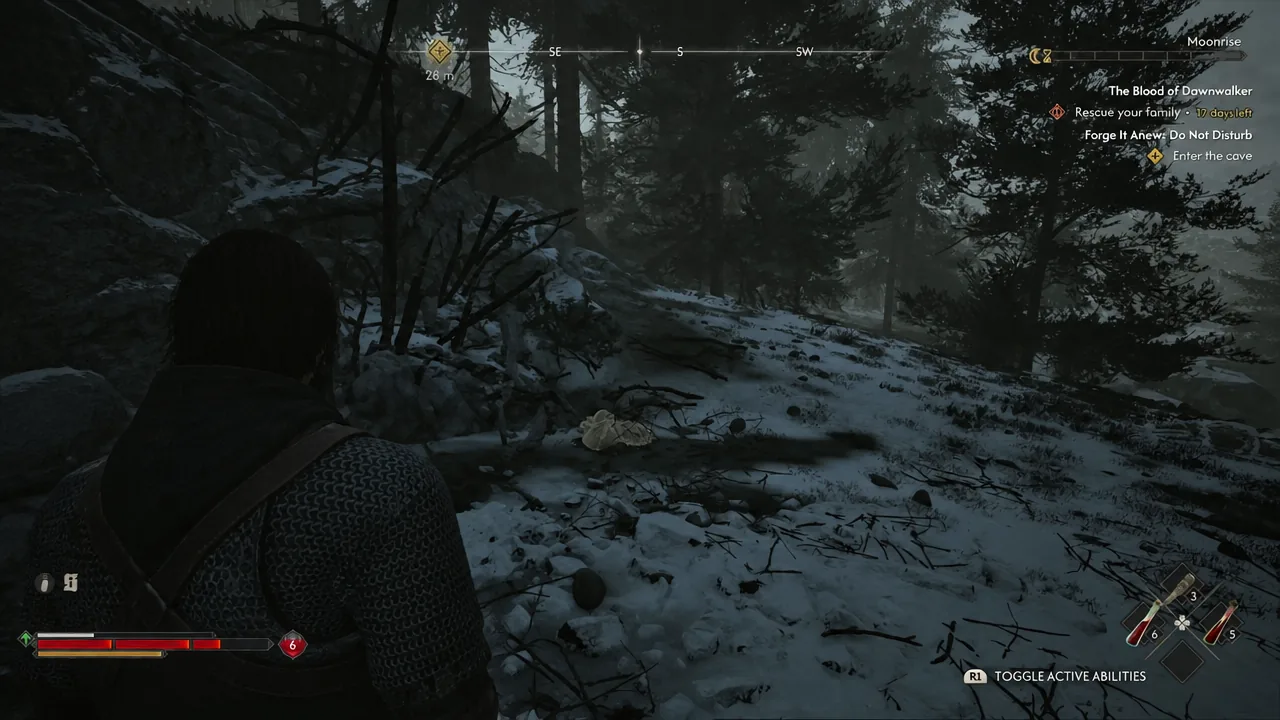
Forge It Anew: Do Not Disturb Walkthrough in The Blood of Dawnwalker
Track the blood trail north of Maragir Wealds to the kobold cave and claim the first Sword Shard.
-
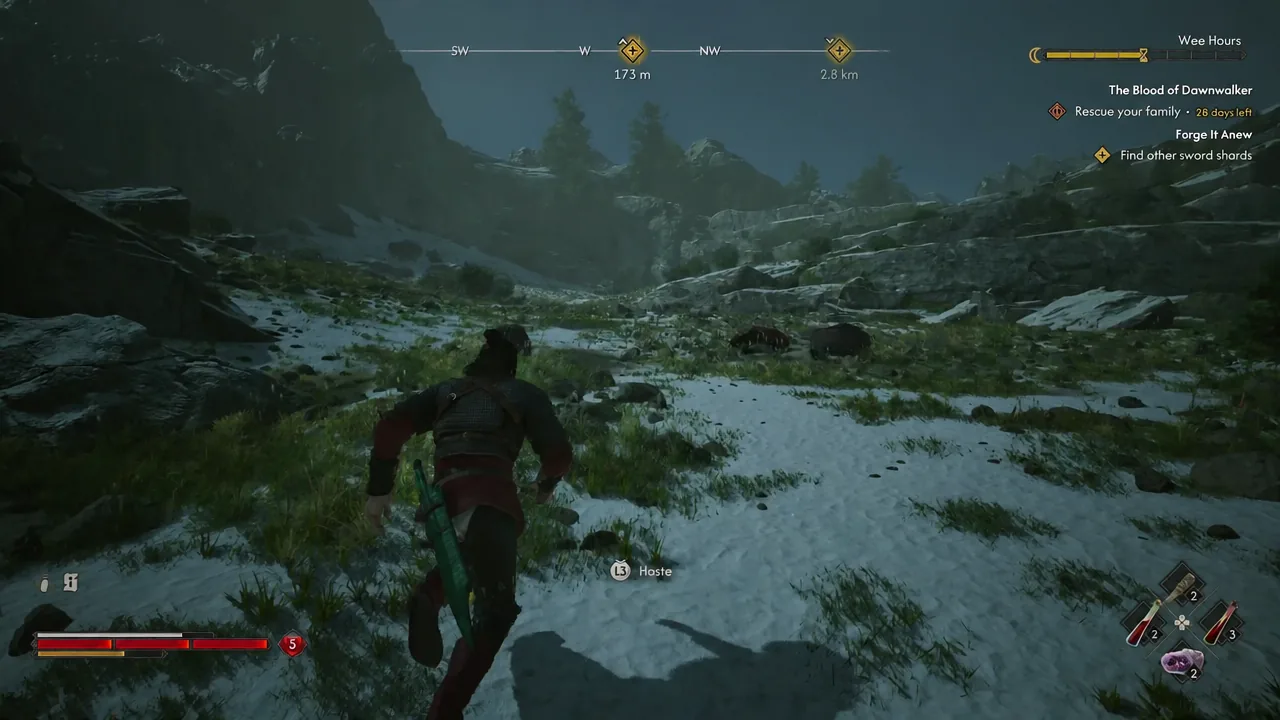
The Blood of Dawnwalker: Forge It Anew Hostile Takeover Walkthrough
Where to find the kobold cave near Shrike’s Crag, how to beat Munch-Munch, and how to loot the Sword Shard.