

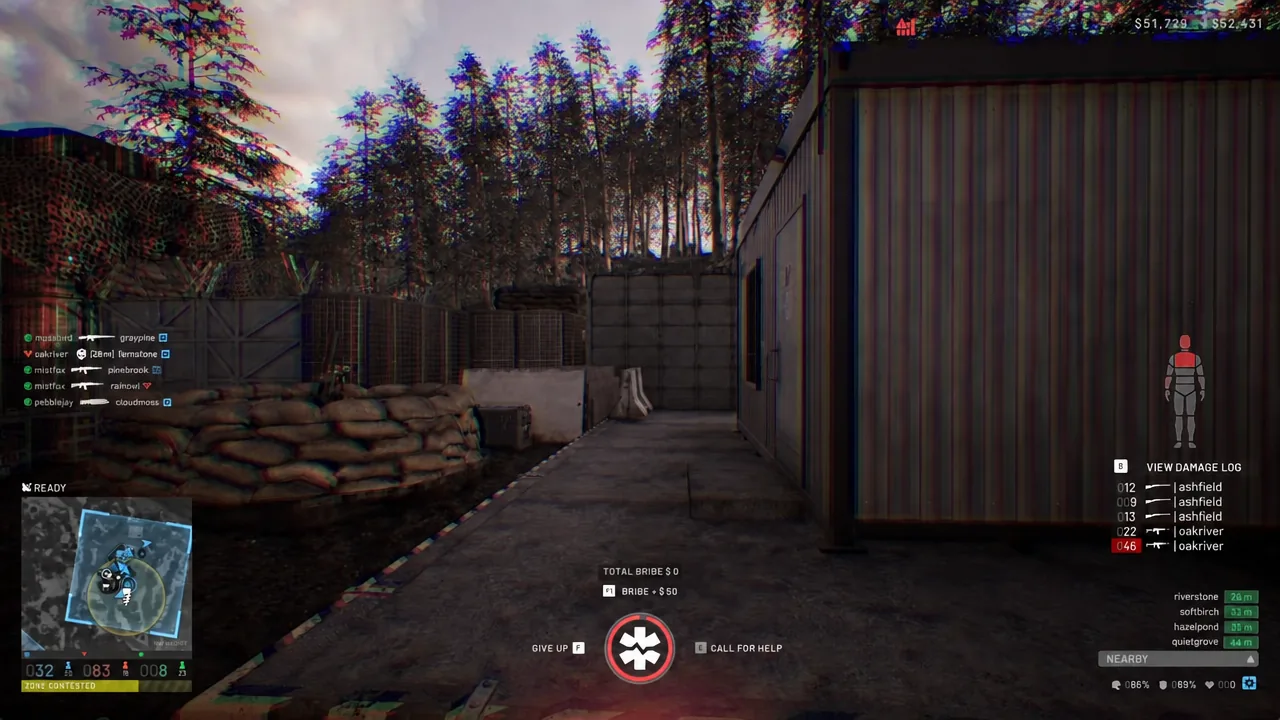
The Stingray is the anti-vehicle drone launcher in WARDOGS. It is a Support-class buildable that has to sit inside a Forward Operating Base radius, and every shot is a one-way kamikaze UAV that you fly yourself from a first-person drone camera. It is expensive, it only works on targets you can actually find, and it leaves you standing blind in the open while you pilot. Used on the right vehicle, one drone can erase an artillery piece in a single pass.
Quick answer: Hit Support level 8, build the Stingray with a Large Hammer inside an FOB radius for 91 Supply Units, stock 900 Mechanical Supplies at the FOB, press B behind the launcher, then left-click to launch.
Stingray requirements and costs in WARDOGS
Everything about the Stingray runs through the Support class and the FOB. The gating item is the Large Hammer, which is the only tool that can place every buildable in the game, and it sits at Support level 8 on the class unlock ladder. The Support role tops out at level 50 with 31 of those levels handing out an unlock.
| Requirement | Cost / detail |
|---|---|
| Support class level | Level 8 |
| Large Hammer | $2,400, plus a one-time $75,000 unlock fee |
 Forward Operating Base Forward Operating Base | $7,500, 6.5kg |
| Stingray build cost | 91 Supply Units |
| Mechanical Supplies per drone | 900 units, $10 each |
The FOB is what makes the whole thing legal. It provides the build radius, holds items and resources for anyone on your team to pull from, and is required before larger structures can go up at all. Mechanical Supplies are the same scrap used to repair vehicles, and they also only work inside an FOB radius.
Each Mechanical Supply is 0.03kg and $10, so a single drone’s 900 units works out to 27kg of scrap and $9,000 of purchases. That is the real cost of a Stingray shot, and it is why teammates dropping supplies at the FOB matters more than anything you can carry alone.
How to build and arm the Stingray
B to build a UAV drone. This is the step that spends the 900 supplies, so only do it when you already have a target in mind.Stingray drone controls and battery management
The drone climbs on its own at first and ignores your inputs. Control returns when the nose pitches back down, and that is when the flight actually starts.
| Input | Action |
|---|---|
| B | Build a UAV drone at the Stingray |
| Left-click | Launch and enter drone view |
| WASD | Steer the drone |
| Left Shift | Boost |
| Left Ctrl | Brake |
| C | Exit drone view |
Steer with the keyboard rather than the mouse. WASD gives noticeably smoother lines, and smooth lines are what keep you pointed at a target you have not spotted yet.
Boost and brake both spike battery drain. Fly clean on neutral throttle until you have a target, or the drone dies before it arrives and takes 900 Mechanical Supplies with it.
Open the map while flying and drop a mark on where you think the target is. The mark shows up as a visual cue in the drone view, which turns a blind search into a heading you can hold.
Locking on and destroying armored vehicles
The drone highlights any armored vehicle in its field of view with a white rectangle, and it does this through heavy tree cover as long as the vehicle is visible to the camera. Fly toward the box and the drone begins acquiring. When the rectangle turns red, you are locked, and that is the moment to spend your remaining boost closing the distance.
Hits from above are brutal against soft armor and merely painful against tanks:
- Artillery vehicle: destroyed outright by one clean hit.
- Full-health tank: needs two successful hits.
- Infantry: killable, but only with a precise impact.
Once locked, you can press C to drop out of the drone camera and get your own eyes back. The drone keeps flying its current line and will still connect, but only if the target stays parked. A vehicle that rolls away while you are looking elsewhere simply does not get hit.
The launcher handles one drone at a time. While a drone of yours is still in the air, you cannot build or launch another, so there is no point stockpiling supplies for a rapid second shot until the first one resolves.
Stingray limits to plan around
- Flight range is limited. You cannot launch from one edge of a Control Zone and strike a vehicle on the far side.
- There is no manual detonation. The warhead only goes off on physical impact.
- Helicopters are effectively immune in flight — the drone is too slow to catch one midair.
- Only one drone can be active per launcher.
How to confirm the strike landed
When the drone explodes, an impact marker appears on your map at the detonation point. That marker is your confirmation the run finished, and it doubles as a reference for the next shot if the target survived and relocates — useful against anything that is not an armored vehicle and therefore never gets a box drawn on it. The other tell is practical: you can only build a new drone once the old one is gone, so the B prompt working again means the previous drone is off the board.
Best Stingray targets and keeping the operator alive
Target selection decides whether a Stingray pays for itself. A known, stationary, high-value asset is worth 900 supplies. Random transport is not. Artillery vehicles and personnel carriers that let the enemy spawn straight into the Control Zone are the two best uses, because both are usually parked and both change the shape of the fight when they die.
Beyond armor, drones can clear the roofs of control towers and the tops of drill towers, where enemy snipers tend to stack up. A hit on a base entrance can also blow open a path for your ground troops to rush through. If your target moved before you launched, hold the shot instead of flying on hope.
While you are in the drone camera, you have no idea what is happening around your body. Building a small covered pit or a barricaded corner for the launcher reduces the odds of a stray shot, mortar, or base raid ending your flight early, and a squadmate standing guard is better still.
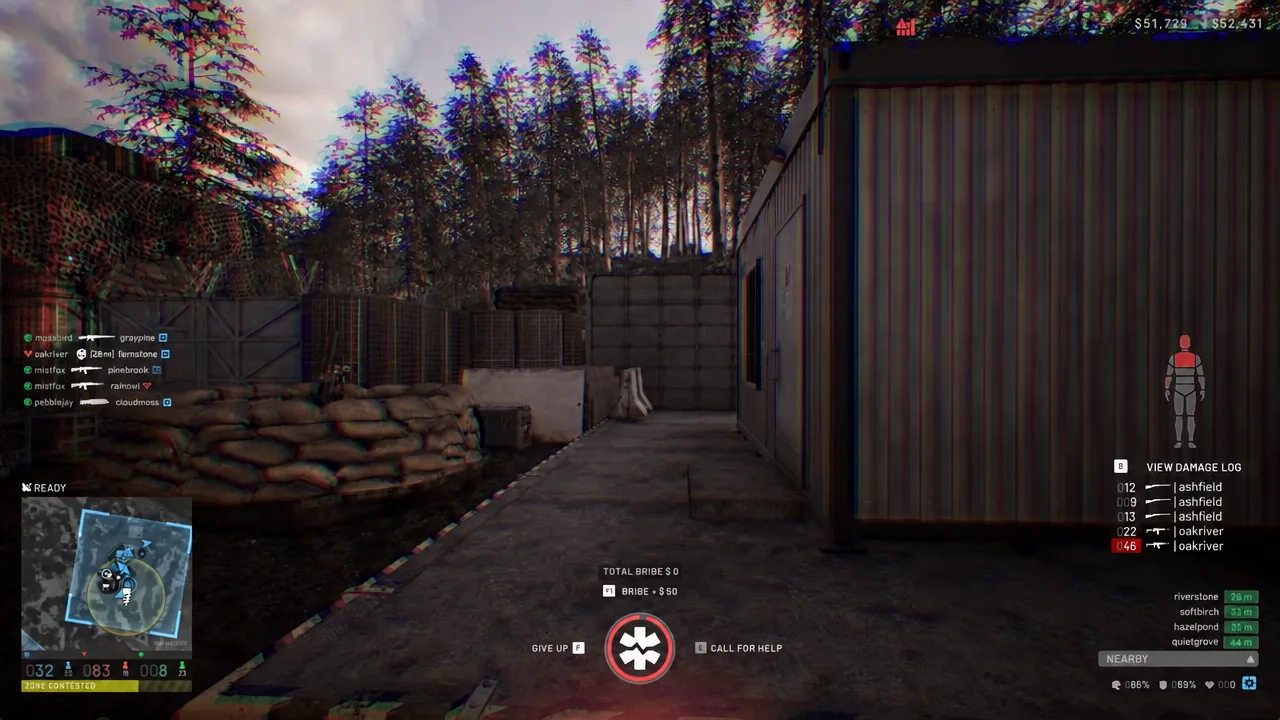
Have squadmates ping targets on the map for you. The operator is the least informed player on the field, and a single mark saves an entire battery’s worth of searching.
Counterplay against an enemy Stingray
Artillery and spawn vehicles should not sit in the most obvious line from enemy territory, and they should move after repeated use. Distance alone is not protection for a stationary asset, and a vehicle that keeps rolling is far harder for a drone to line up than one parked somewhere convenient.
On the defensive side, look for exposed launch structures inside enemy bases and pressure them. Cutting off Mechanical Supplies or forcing an operator out of drone view is often cheaper than killing the drone, since every cancelled flight costs the other team the same 900 supplies a successful strike would have.





