BitLocker provides robust encryption for Windows users, safeguarding data by encrypting entire drives. This ensures that even if someone gains physical access to your device, they cannot access your files without proper authentication. Yet, if you misplace your BitLocker password or smart card, you’ll require the BitLocker recovery key to unlock your drive.
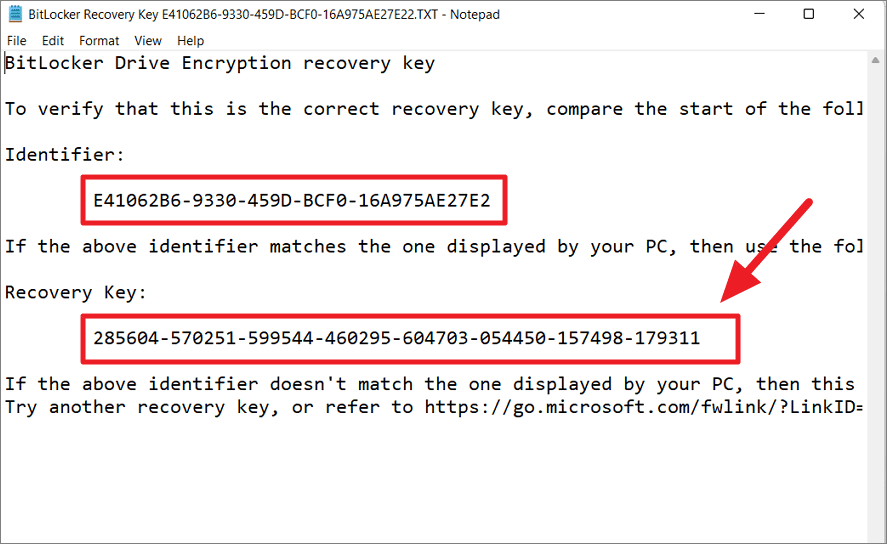
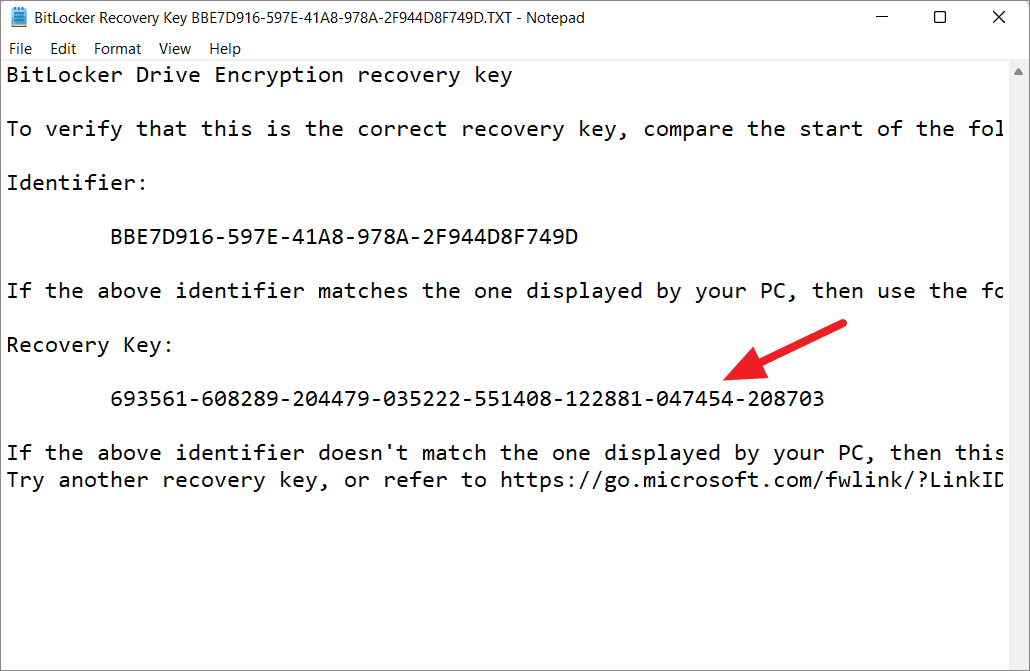
The BitLocker recovery key is a unique 48-digit code generated when you enable BitLocker encryption. It’s essential to have this key stored safely, as it is the last resort to access your encrypted data if standard authentication methods fail.
For guidance on how to enable or disable BitLocker and back up your recovery key on Windows 11, you can refer to our comprehensive BitLocker guide.
Where to Find Your BitLocker Recovery Key
Depending on how you set up BitLocker, there are several locations where your recovery key might be stored:
- In your Microsoft account
- On a saved file on your computer or a USB flash drive
- In a printed document
- In your Azure Active Directory account
- In Active Directory (for domain-joined computers)
- Using Command Prompt
- Using PowerShell
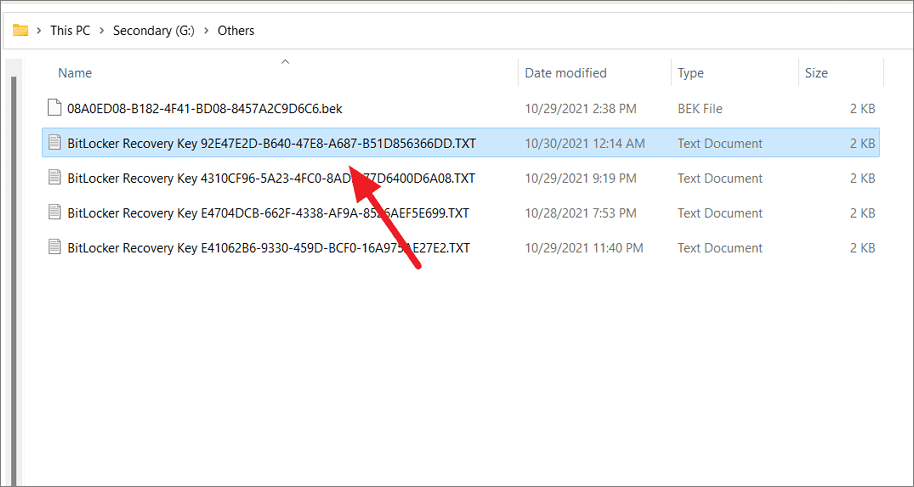
The recovery key file usually has a name like:
BitLocker Recovery Key E41062B6-9330-459D-BCF0-16A975AE27E2.TXTThis name includes ‘BitLocker Recovery Key’ followed by a unique identifier.
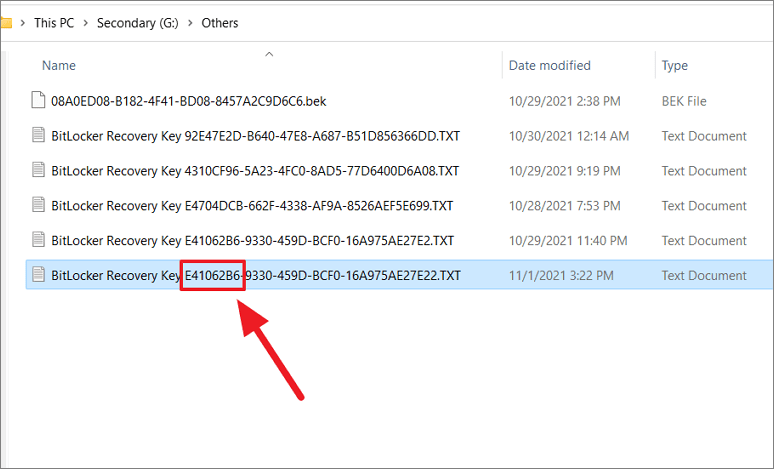
How to Locate the Correct Recovery Key
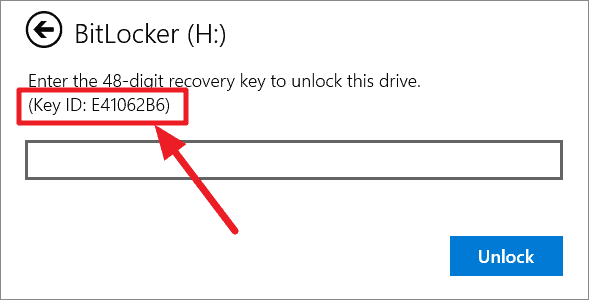
If you have multiple recovery keys stored in various locations, identifying the right one can be challenging. Fortunately, Windows provides a Key ID to help you match the correct recovery key with your encrypted drive.
When prompted to enter the recovery key, you’ll see a Key ID displayed in the dialog. You can use this Key ID to find the corresponding recovery key file.
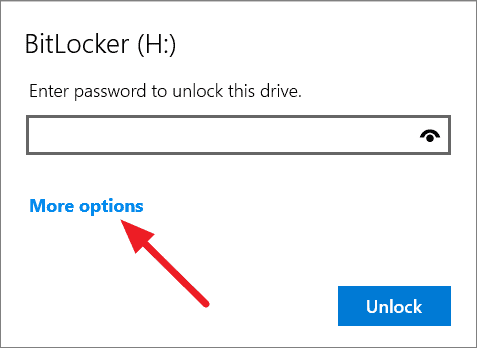
For example, if you’re trying to unlock a drive but have forgotten the password, you can click ‘More options’ and then select ‘Enter recovery key’.
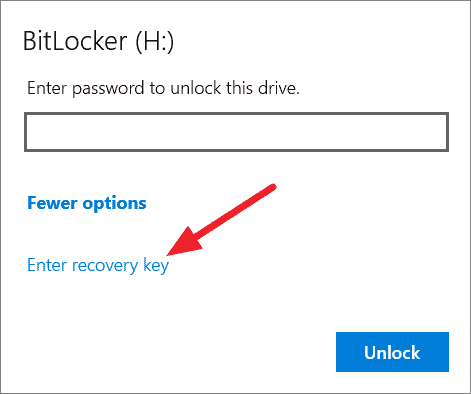
The BitLocker prompt will show a partial Key ID, which you can use to search for the matching recovery key.
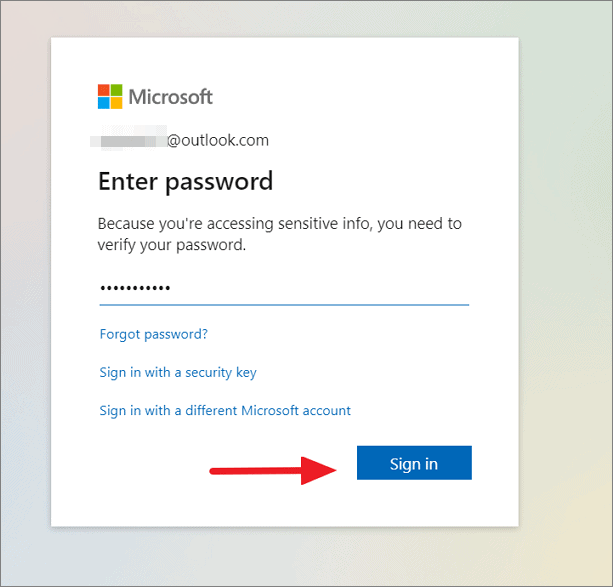
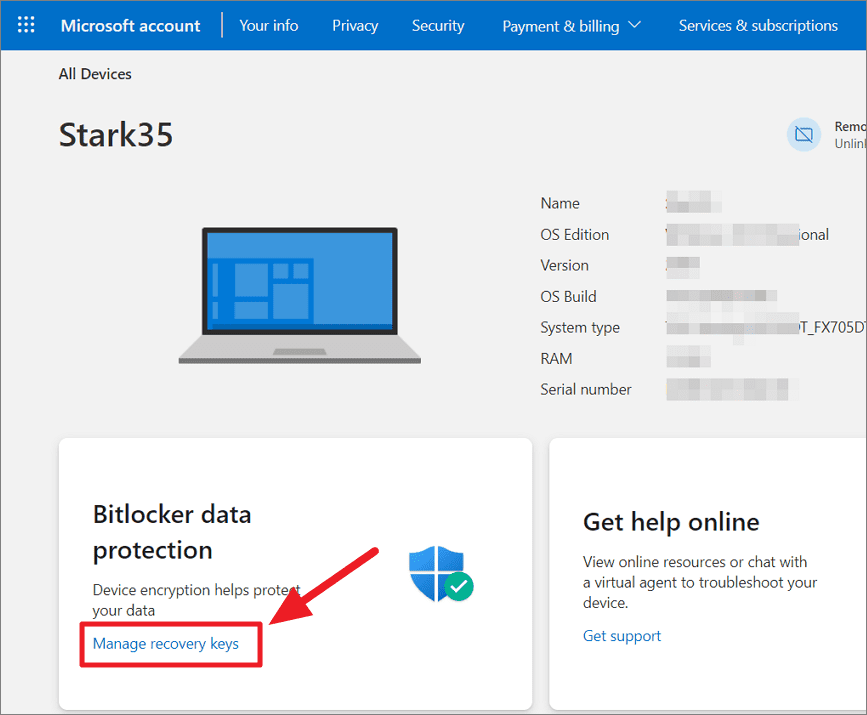
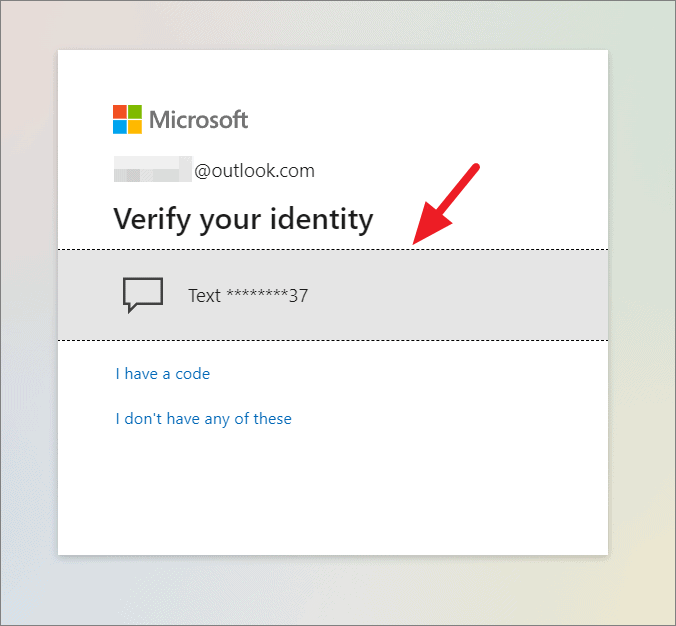
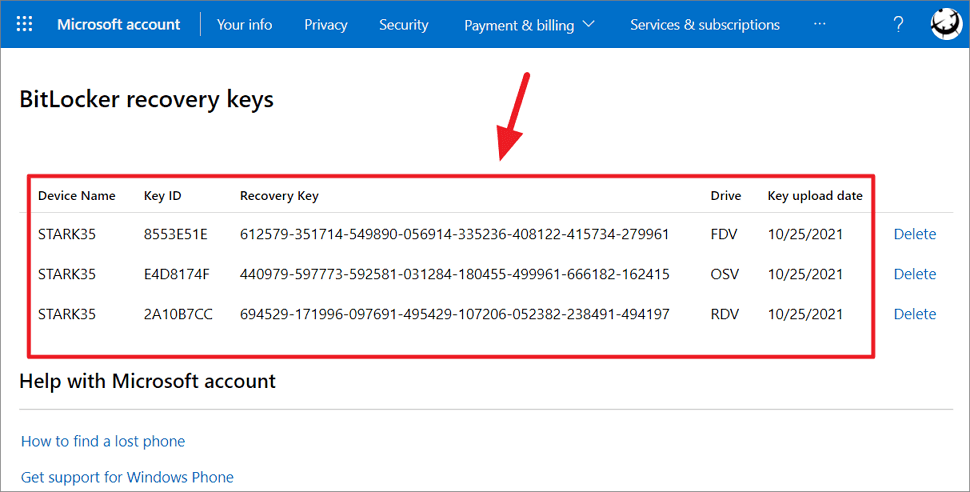
Method 1: Retrieve Your Recovery Key from Your Microsoft Account
If you saved your recovery key to your Microsoft account during BitLocker setup, you can recover it online.


Method 2: Find Your Recovery Key on a Saved File
If you chose to save your recovery key to a file during BitLocker setup, it might be stored as a text file (.txt) on your computer or a network drive.
Method 3: Locate Your Recovery Key on a USB Flash Drive
If you saved the recovery key to a USB flash drive, insert the drive into your computer.
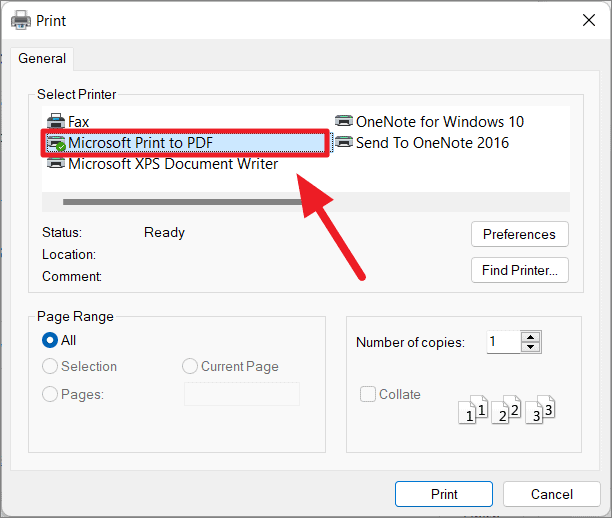
Method 4: Check Your Printed Documents for the Recovery Key
If you printed the recovery key, locate the physical document where you stored it.
If you opted to print it to a PDF instead, search your computer for PDF files that might contain the recovery key.
Method 5: Access Your Recovery Key in Azure Active Directory
If you used a work or school account associated with Azure Active Directory when setting up BitLocker, your recovery key might be stored there.
Method 6: Find Your Recovery Key in Active Directory
If your computer is part of a domain, the recovery key might be stored in Active Directory.
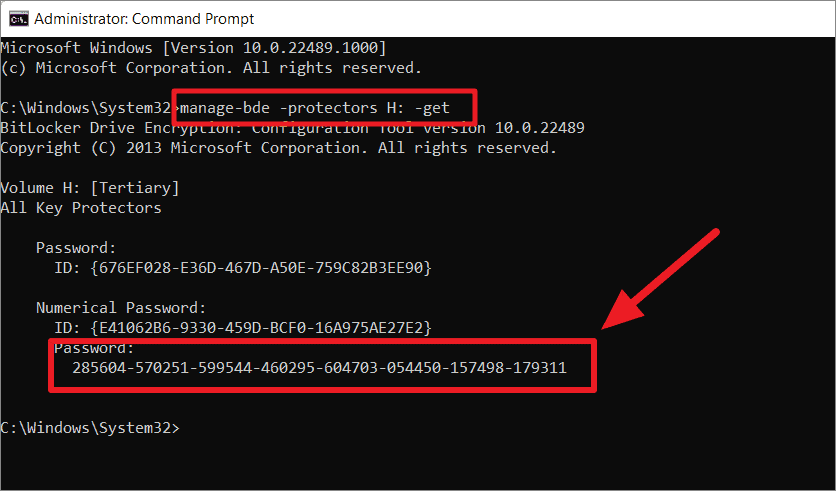
Method 7: Use Command Prompt to Retrieve the Recovery Key
You can use Command Prompt to find the recovery key stored on your computer.
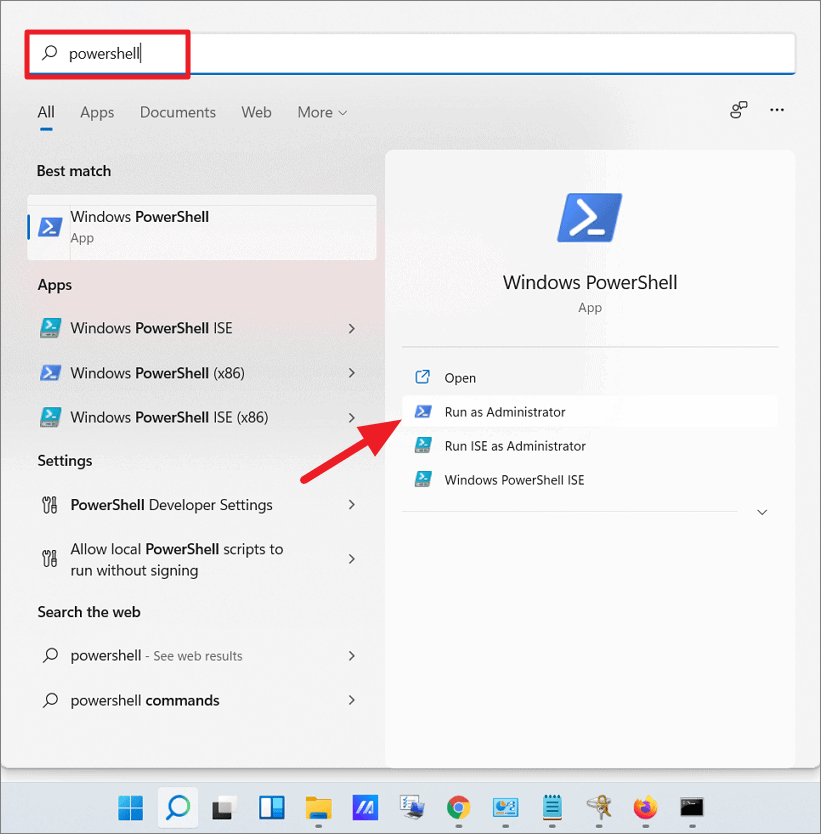
Windows + X and select ‘Command Prompt (Admin)’ or ‘Windows PowerShell (Admin)’ from the menu.manage-bde -protectors C: -getReplace ‘C:’ with the drive letter of your encrypted drive.
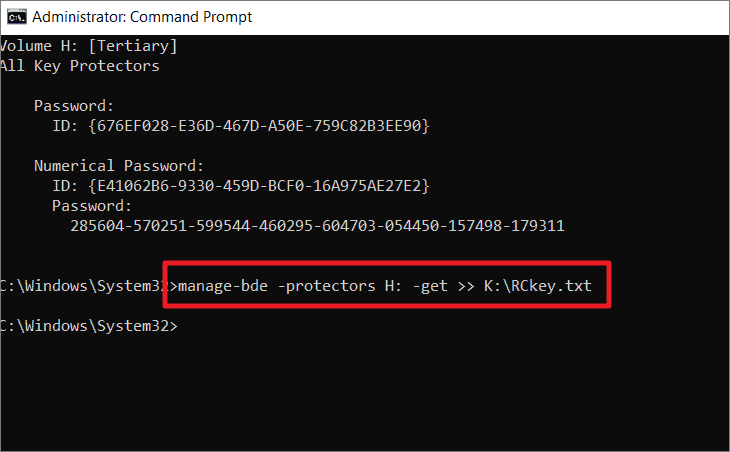
manage-bde -protectors C: -get >> D:\RecoveryKey.txtReplace ‘C:’ with your drive letter and ‘D:\RecoveryKey.txt’ with your desired file path and name.
Method 8: Use PowerShell to Get Your Recovery Key
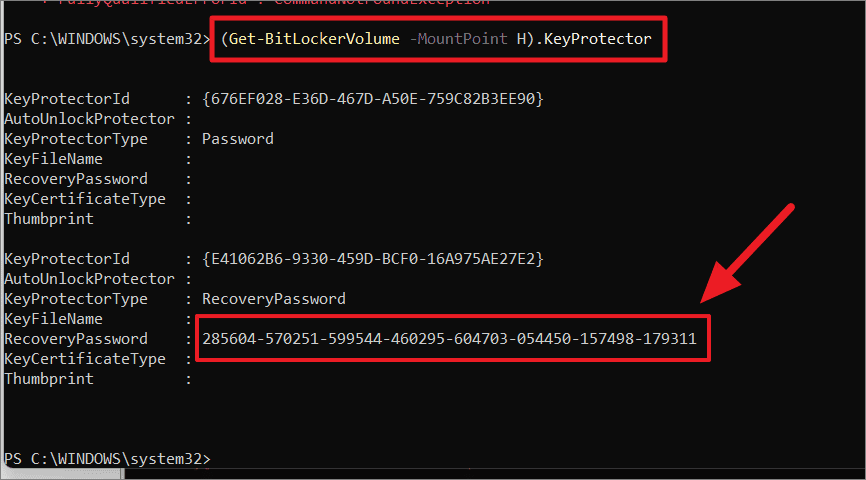
You can also use PowerShell to retrieve the recovery key.
(Get-BitLockerVolume -MountPoint C).KeyProtectorReplace ‘C’ with the letter of your encrypted drive.
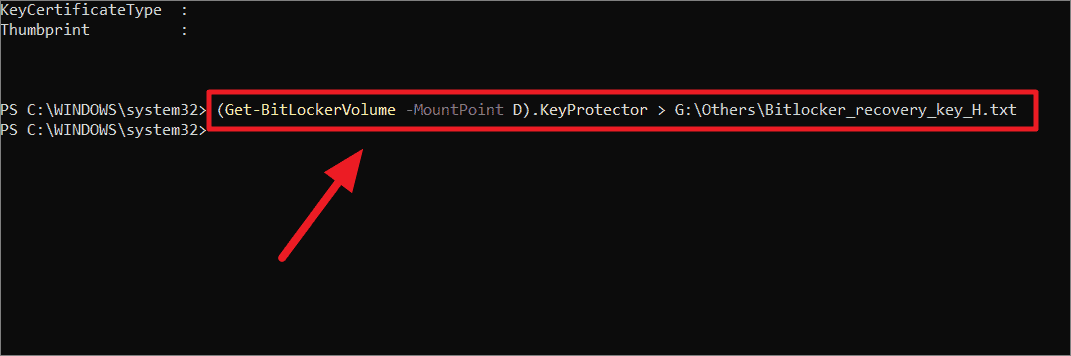
(Get-BitLockerVolume -MountPoint C).KeyProtector > D:\RecoveryKey.txtReplace ‘C’ with your drive letter and ‘D:\RecoveryKey.txt’ with your desired file path.
Get-BitLockerVolume | Format-List -Property MountPoint,KeyProtector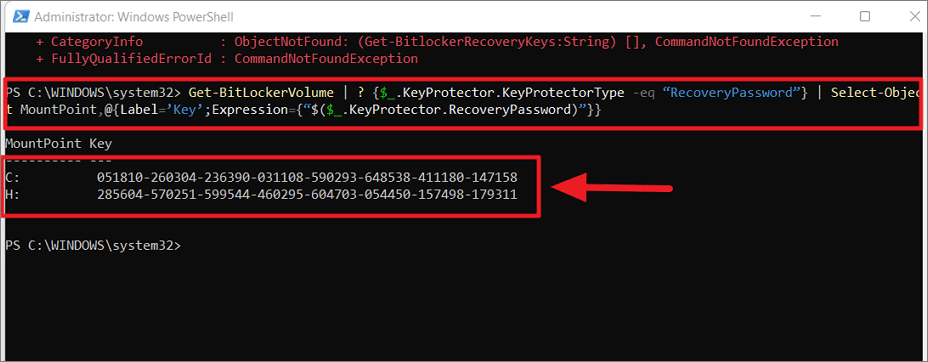
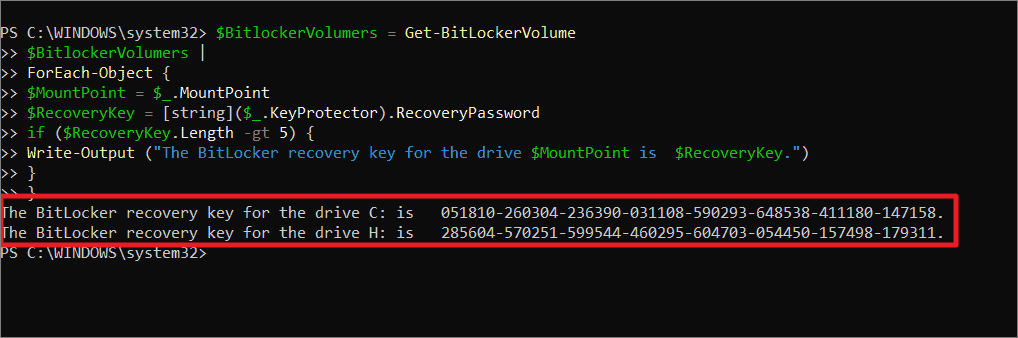
If the above command doesn’t display the recovery keys, try this script:
$BitLockerVolumes = Get-BitLockerVolume
foreach ($volume in $BitLockerVolumes) {
    if ($volume.KeyProtector.RecoveryPassword) {
        Write-Output "Recovery key for drive $($volume.MountPoint): $($volume.KeyProtector.RecoveryPassword)"
    }
}
By following these methods, you should be able to retrieve your BitLocker recovery key and regain access to your encrypted drive. Always ensure that you store your recovery key in a safe and accessible location to prevent data loss in the future.