

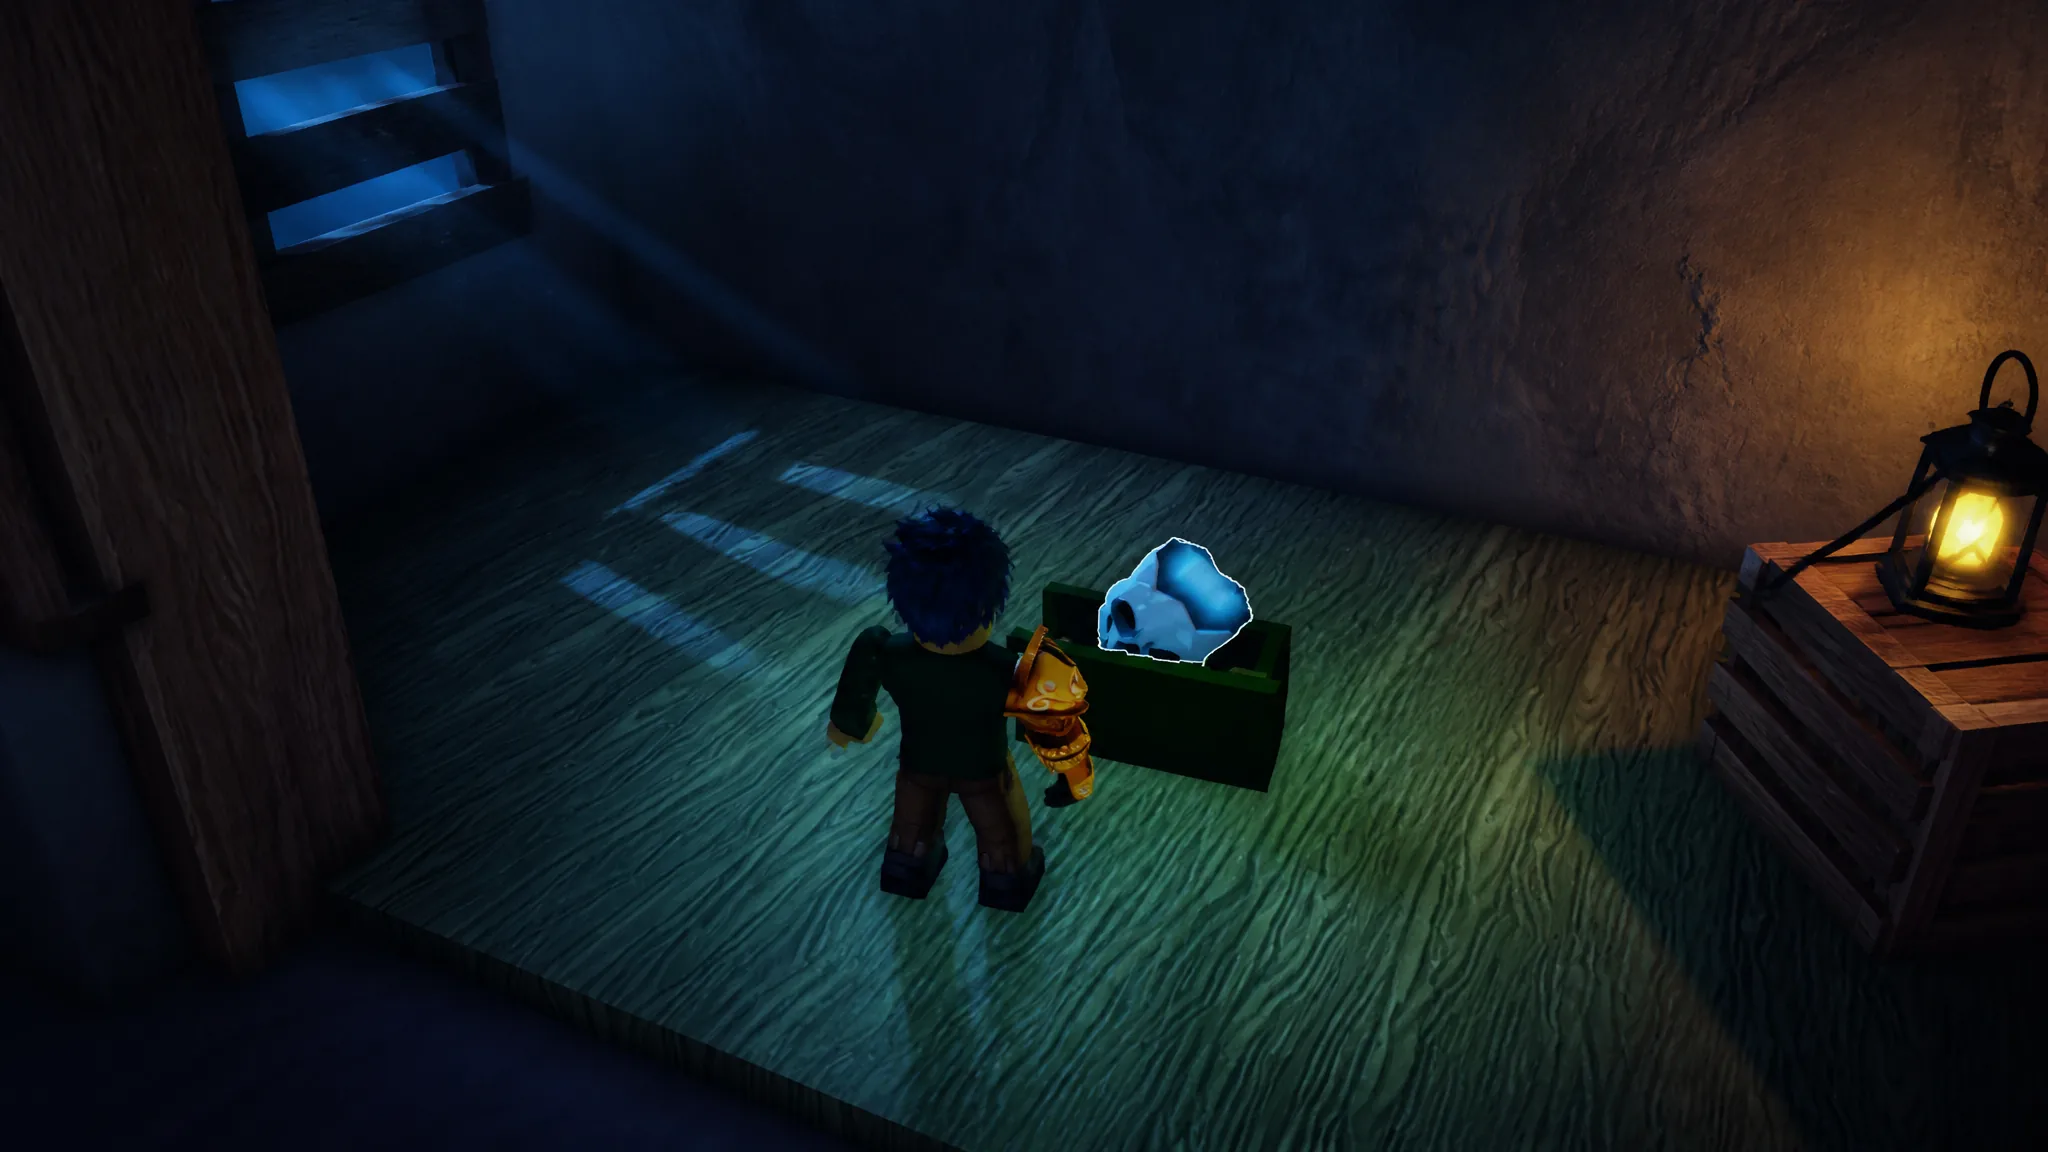
The Shipwreck Region is a randomly generated area in 100 Days At Sea built around five islands, a set of Crystal Skull puzzles, and a central boss arena sealed behind a force field. Your goal is simple to state and slow to finish: solve each island’s puzzle, collect its Crystal Skull, charge it to full power, and use those charges to shut down five lighthouses so you can fight the Lich King.
Quick answer: Complete all five island puzzles, place each Crystal Skull on its pedestal, and defeat the Skeletons it spawns until every skull hits 100% charge. This disables all five lighthouses, drops the barrier, and opens the Lich King fight.
How to find the Shipwreck Region
The Shipwreck Region behaves like every other biome in 100 Days At Sea. It spawns at random, so it will not appear in every run. If it does not show up, you can start a fresh run to reroll the map.
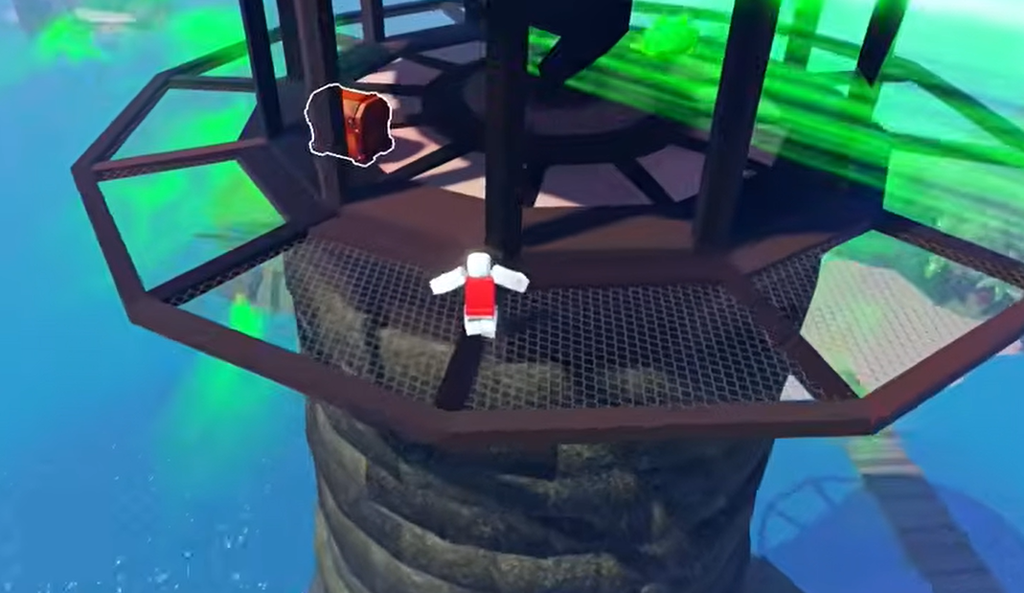
You will recognize the region by its layout. A large central area sits behind a force-field barrier, and several lighthouses around the edge fire beams toward that center. Each of the five Shipwreck Islands carries a lighthouse that emits a green light, which marks it as an island you need to clear.
Every island holds one green Shipwrecked Chest that grants a Crystal Skull, but the chest only appears after you finish that island’s puzzle. Because the region is randomized, the islands do not appear in a set order.
All five Crystal Skull puzzles
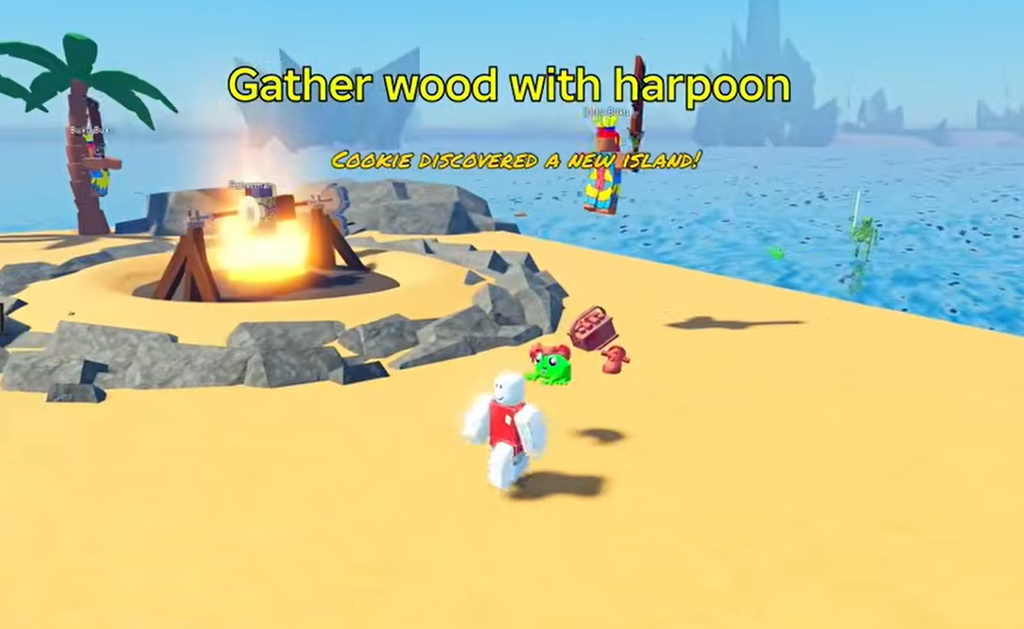
There are five distinct puzzles, one per island. Each one ends the same way: open the green chest, grab the Crystal Skull, and carry it to the island’s pedestal. The table below lists the objective for each puzzle, and the detail follows underneath.
| Puzzle | Objective |
|---|---|
| Digging | Dig marked mounds until you uncover the chest |
| Lantern | Extinguish four or five lanterns on the shipwrecks |
| Grave symbol | Match door symbols to the correct graves |
| Flag raising | Raise every flag while fighting off Skeletons |
| Ship cannon | Fire cannons at the marked ships to destroy them |
Digging puzzle
Look for mounds marked with a red cross scattered across the island. Equip your shovel and dig each spot until one reveals the green chest holding the Crystal Skull. The chest location changes between runs, so keep checking the marked mounds.
Digging can spawn enemies such as crabs. Keep a weapon ready so you can switch off your shovel the moment something appears.
Lantern puzzle
This island is covered in shipwrecked boats, each holding a lantern that glows. Search the wrecks and press E to extinguish every lantern, up to four or five in total. Once they are all out, a short cutscene plays and the chamber holding the Crystal Skull chest opens for you.
Grave symbol puzzle
Inspect the large locked door first. It displays several symbols. Your job is to search the island for graves marked with those matching symbols and activate them in the right order. The symbols are randomized each run, so the sequence changes every time. Matching them correctly opens the door to the Crystal Skull chest.
Flag raising puzzle
Several lowered flags sit around the island’s edges, glowing red. Walk up to each flagpole and hold E to raise it. Raising a flag spawns Skeletons, and they can hit you during the raising animation.
If you are playing solo, stay alert the whole time. Enemies attack while you are locked in the interaction, so clear threats between flags. Once every flag is raised, the Crystal Skull chest becomes available.
Ship cannon puzzle
Out at sea you will spot ships marked with circular red-and-white targets. Man the cannon on the island and fire at each marked ship until it is destroyed. After all the marked ships are gone, the Crystal Skull chest spawns near one of the wrecks.
Charging the skulls to lower the barrier
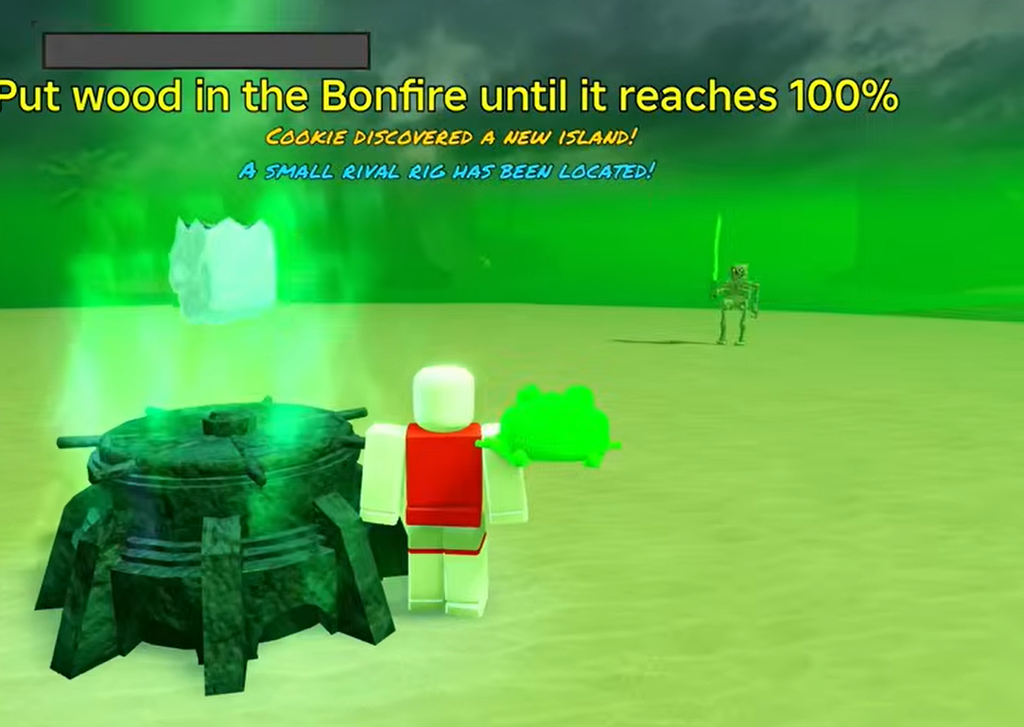
Collecting a Crystal Skull does not turn off a lighthouse on its own. After you pick one up, place it on the central pedestal on that same island. This starts the ritual and spawns waves of Skeleton enemies.
Killing those enemies feeds their souls into the skull and fills its charge bar. You need each skull to reach 100% charge. Every time a skull fully charges, one lighthouse loses power. Watch which lighthouse beams around the central arena are still active to track your progress.
The barrier only comes down after all five lighthouses are disabled. When the fifth skull reaches full charge and the last lighthouse shuts off, the force field around the central island disappears. A message reading “The Forcefield is Lifted, the Lich King Awaits” confirms the boss fight is now open.
How to beat the Lich King
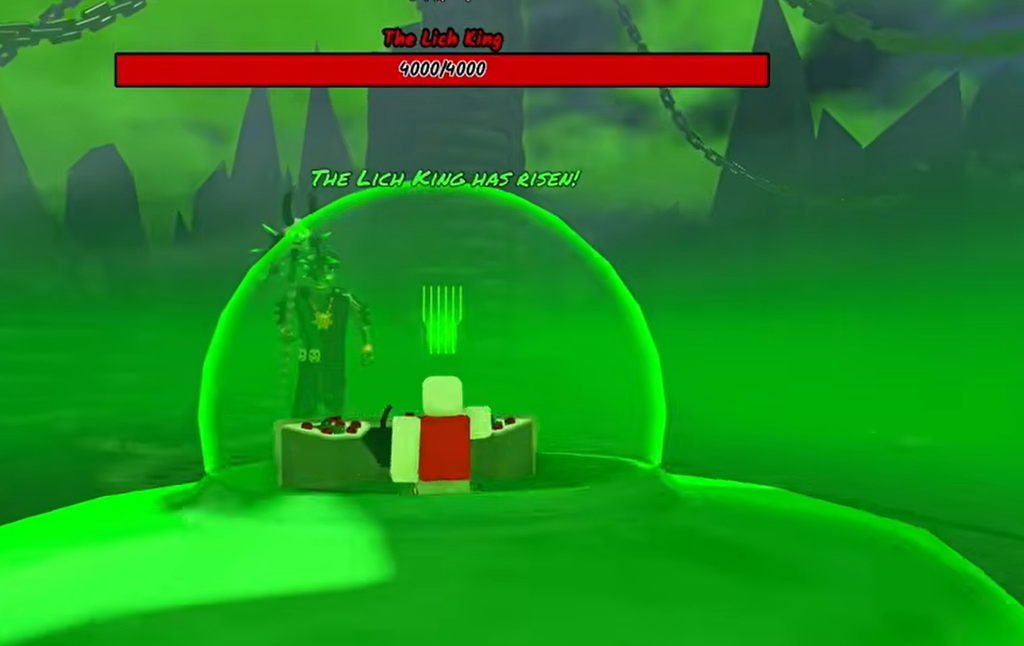
With the barrier gone, enter the central arena through the main door to trigger the fight. The Lich King has 4,000 HP and is backed by Skeletons, including some carrying rifles and Ghost Cutlasses. He also throws out lightning attacks, which makes standing in front of him for long a bad idea.
Keep your distance and deal steady ranged damage while you watch for the lightning. Do not burn all your stamina at once, because you need it to sprint and dodge his attacks. Keep an eye on the surrounding Skeletons so they cannot box you in.
A class with long-range weapons, such as the Ancient Squid or Alien Overlord, makes it far easier to chip away at his health from a safe range.
Lich King rewards
Defeating the Lich King completes the main objective of the region and hands out the rewards below.
| Reward | How you get it |
|---|---|
| Death to the Dead! (Badge) | Awarded for defeating the Lich King |
| Corrupt Shard | Dropped by the Lich King |
| Necromancer Staff | From the chest inside the boss island after the kill |
If you would rather skip the fight for the weapon, the Necromancer Class costs 750 Pearls and comes with the Necromancer Staff as its default weapon, plus a 20% Magic Damage bonus.
You will know the whole sequence worked at each checkpoint: a lighthouse beam goes dark every time a skull hits full charge, the on-screen force-field message appears once all five are down, and opening the chest inside the boss island after the kill puts the Necromancer Staff in your inventory.





