Ensuring that your Wi-Fi driver is properly installed and up-to-date is crucial for maintaining a reliable and efficient wireless connection on your Windows 11 PC. Drivers act as a communication bridge between your operating system and hardware devices, such as your Wi-Fi adapter. Whether you’re setting up a new wireless adapter or seeking to improve performance with a driver update, there are several methods you can use to install or update your Wi-Fi driver.
Install or update Wi-Fi driver from Windows Update
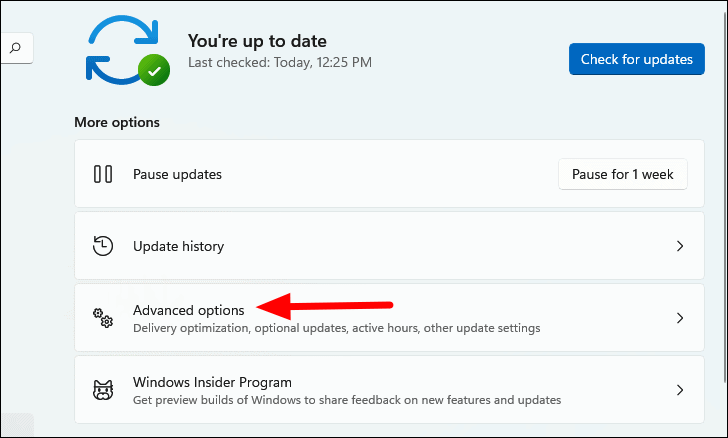
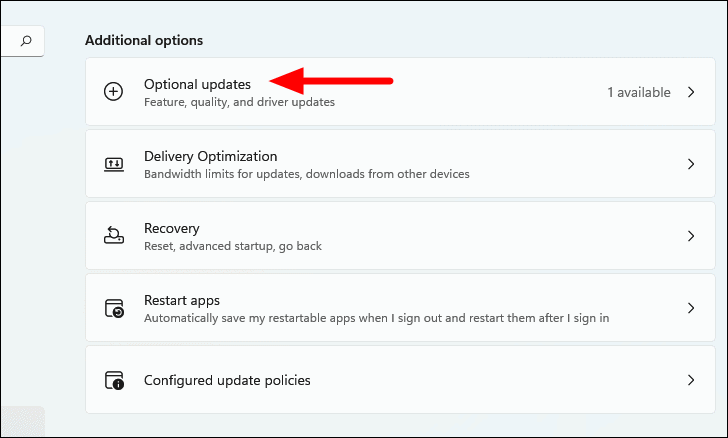
One of the easiest ways to install or update your Wi-Fi driver is through Windows Update. This method ensures that you get drivers that are compatible and verified by Microsoft for your system.
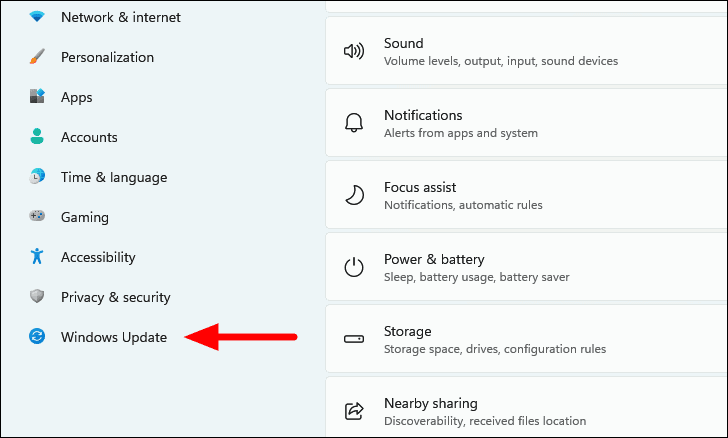
WINDOWS + X to open the Quick Access menu. From the list, select ‘Settings’. Alternatively, you can press WINDOWS + I to open the ‘Settings’ app directly.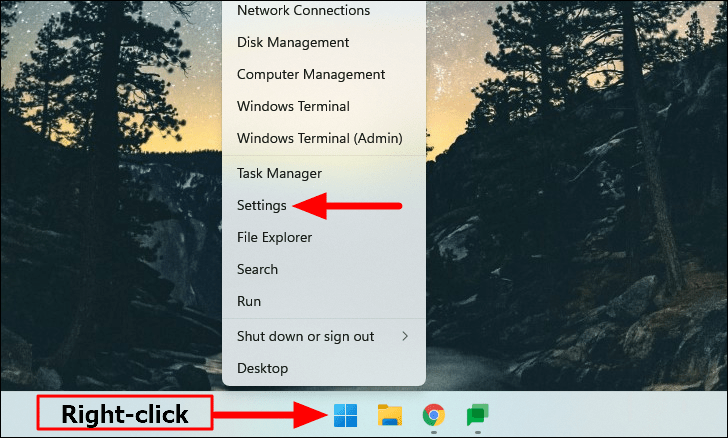
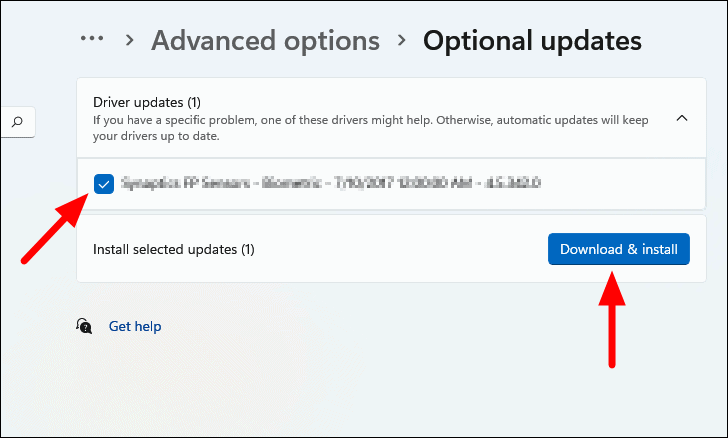
After the installation is complete, restart your PC if prompted to ensure the new driver is properly applied.
Install or update from Device Manager
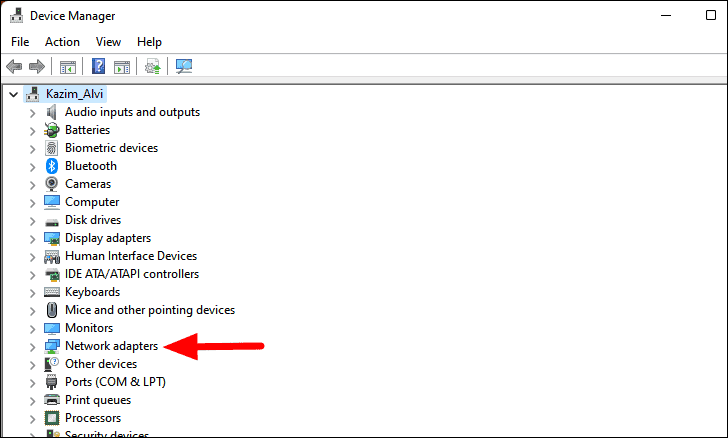
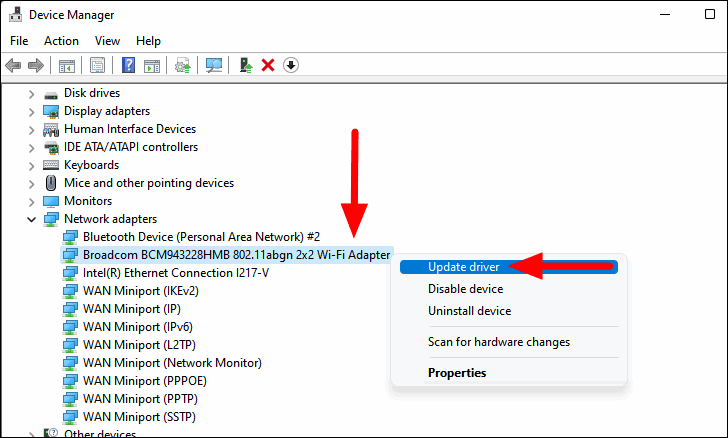
The Device Manager allows you to manage hardware and update drivers manually. You can use it to install or update your Wi-Fi driver as follows:
WINDOWS + S to open the Search menu, type ‘Device Manager’ in the search bar, and select it from the results.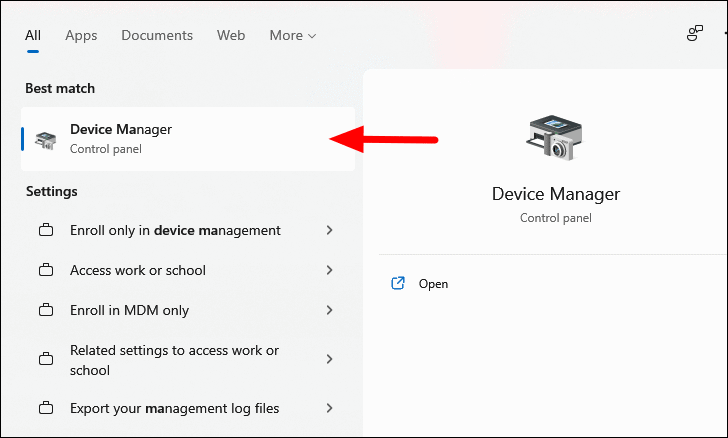
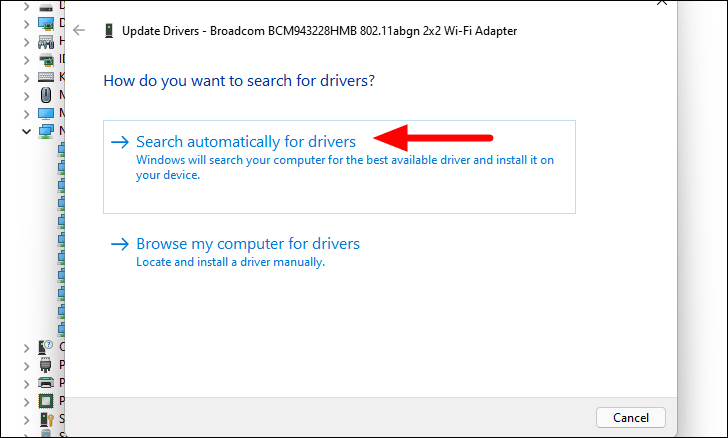
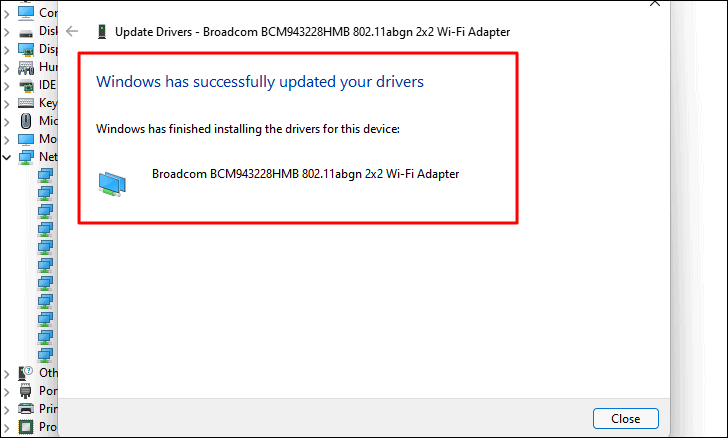
Once the process is complete, Windows will inform you if the best drivers are already installed or if it has updated them. Restart your computer if required.
Download the Wi-Fi driver from the manufacturer’s website
If Windows doesn’t find a suitable driver, you can download the latest version directly from the manufacturer’s official website. This method ensures you have the most recent driver tailored specifically for your hardware.
Note: It’s recommended to create a system restore point before proceeding, so you can revert back if needed.
Step 1: Identify your Wi-Fi adapter and driver version
Note: If you’re installing a driver for the first time, you can skip to Step 2. If you’re updating an existing driver, follow these steps to identify your adapter model and current driver version.
WINDOWS + S, typing ‘Device Manager’, and selecting it from the results. Expand ‘Network adapters’, right-click your Wi-Fi adapter, and choose ‘Properties’.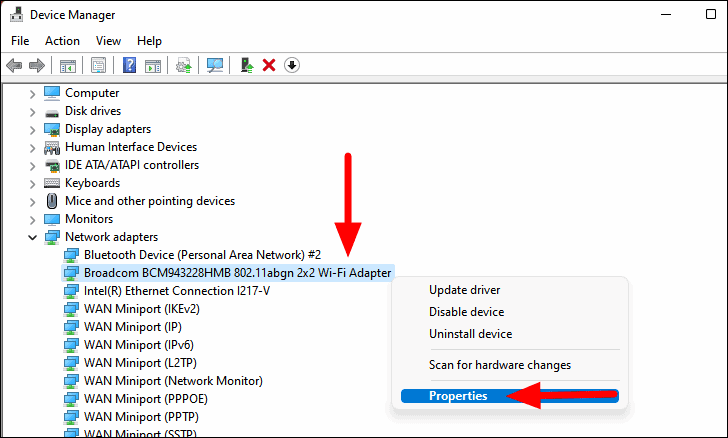

Step 2: Download the driver
Step 3: Install the driver
The installation method depends on the file type you’ve downloaded. Follow the instructions below based on the file format.
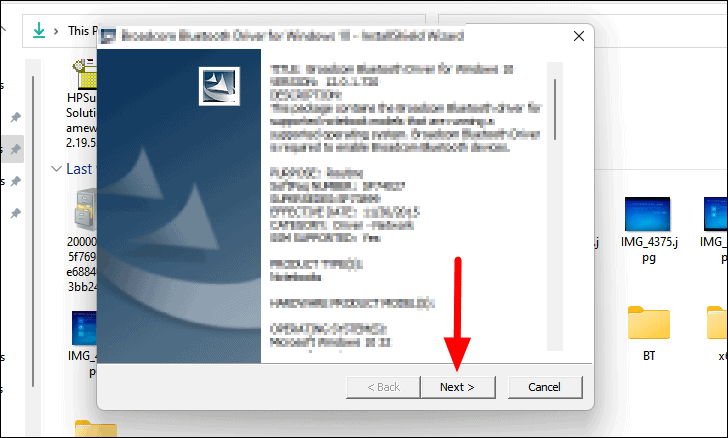
Installing executable driver files
If the driver file is an executable (.exe), you can install it directly.
.exe file to launch the installer. If a User Account Control prompt appears, click ‘Yes’ to proceed.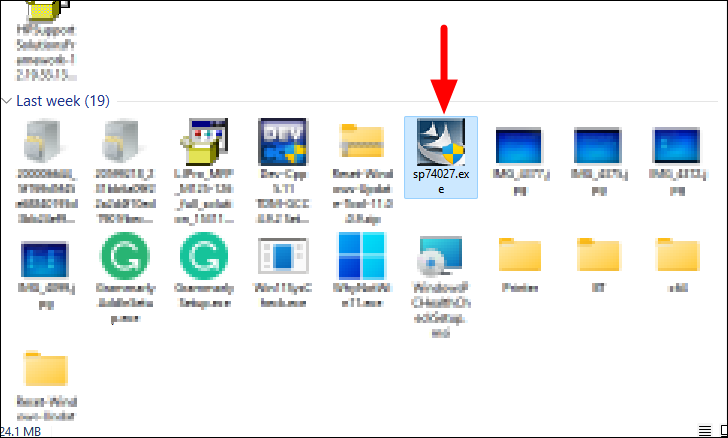
Installing .cab driver files
If the driver is in a compressed .cab file, you’ll need to extract and install it manually through Device Manager.
.cab file to a folder using a file extraction tool like 7-Zip or by opening the file and copying its contents.
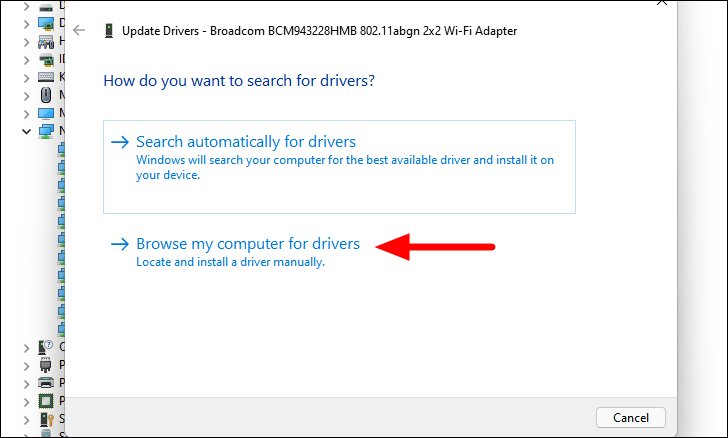
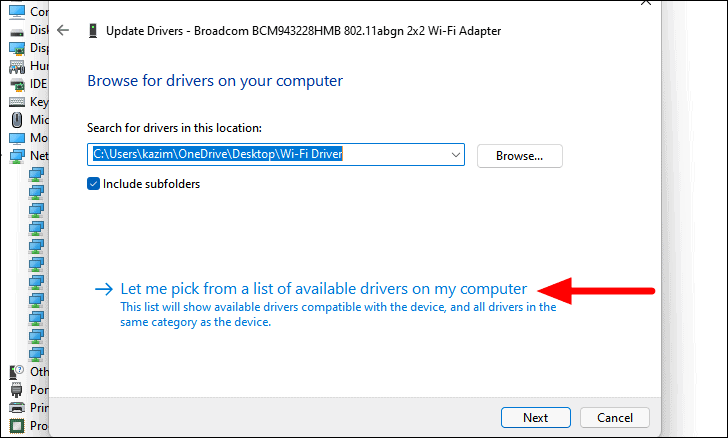
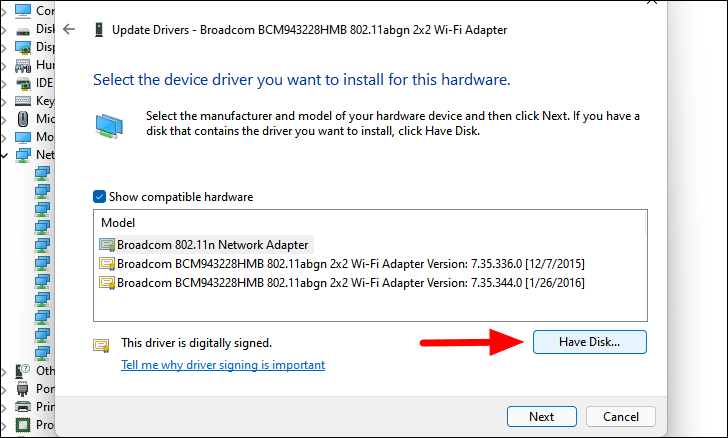
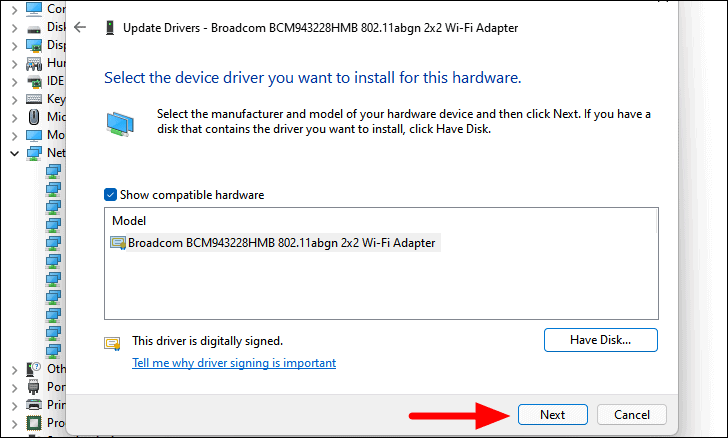
.inf file and click ‘Open’.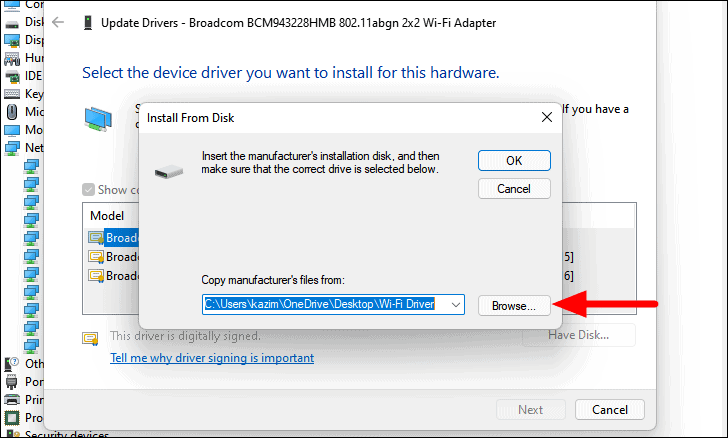
If you encounter different file types, refer to the manufacturer’s instructions for installation. The process is generally similar across different formats.
Install from the disc that came with the external Wi-Fi adapter
If you’re using an external Wi-Fi adapter, it may come with a disc containing the necessary drivers.
Note: Avoid installing any additional third-party software that may be included on the disc. Such software may not provide significant benefits and could slow down your system. Windows can manage driver updates without the need for extra applications.
Keeping your Wi-Fi driver updated is essential for optimal network performance and stability on Windows 11. By following these methods, you can ensure your wireless adapter functions correctly. If you experience any issues after updating, you can roll back the driver update to a previous version.