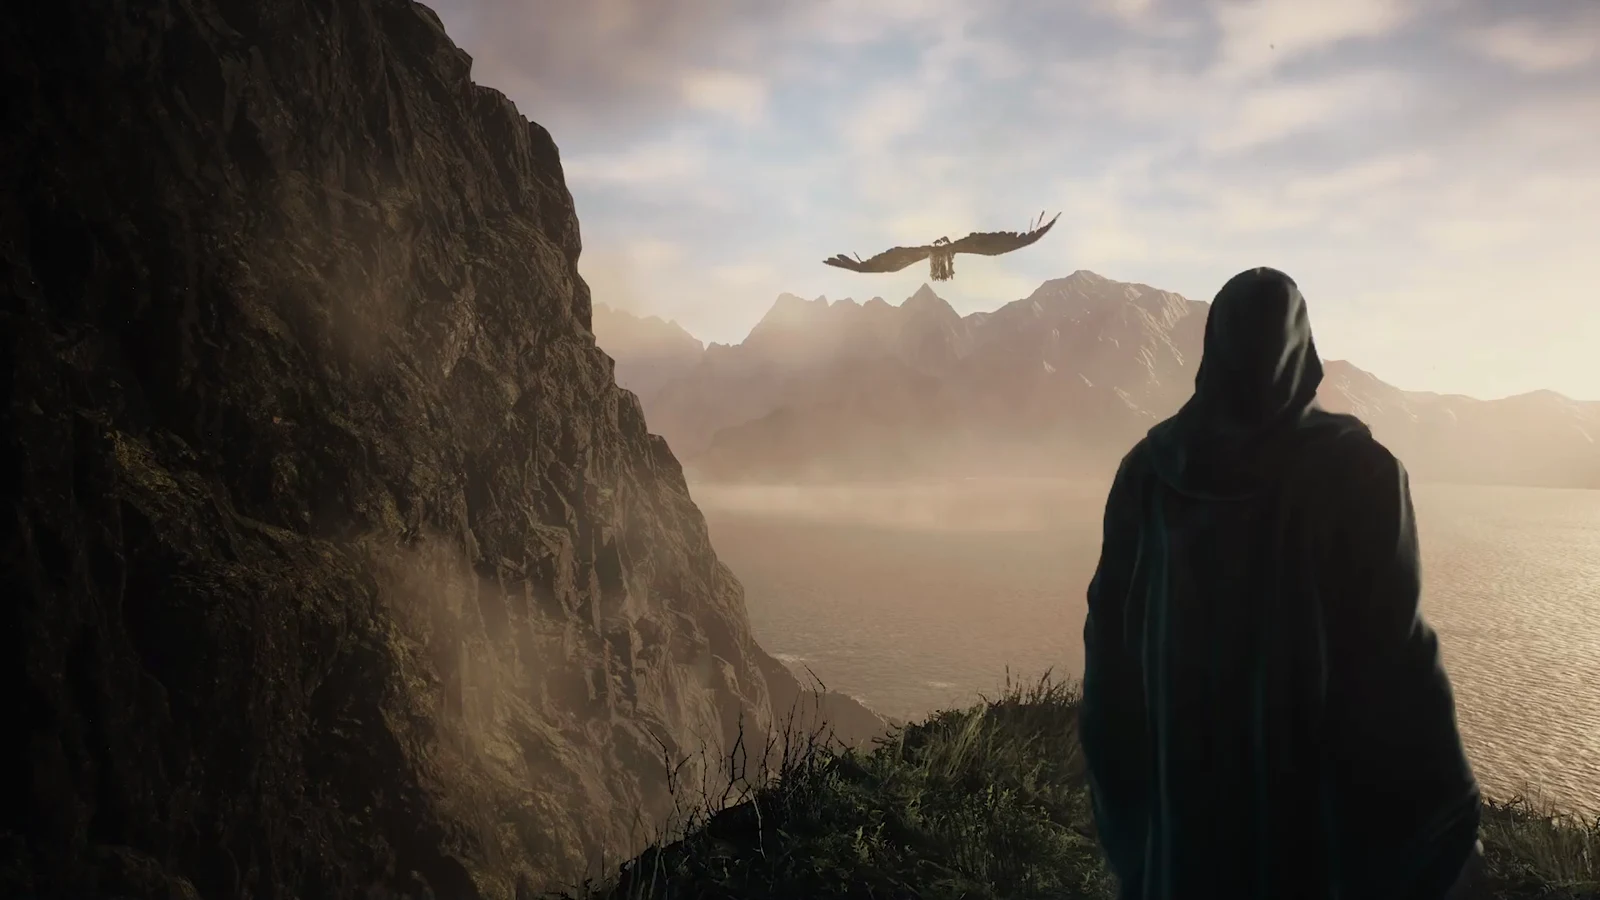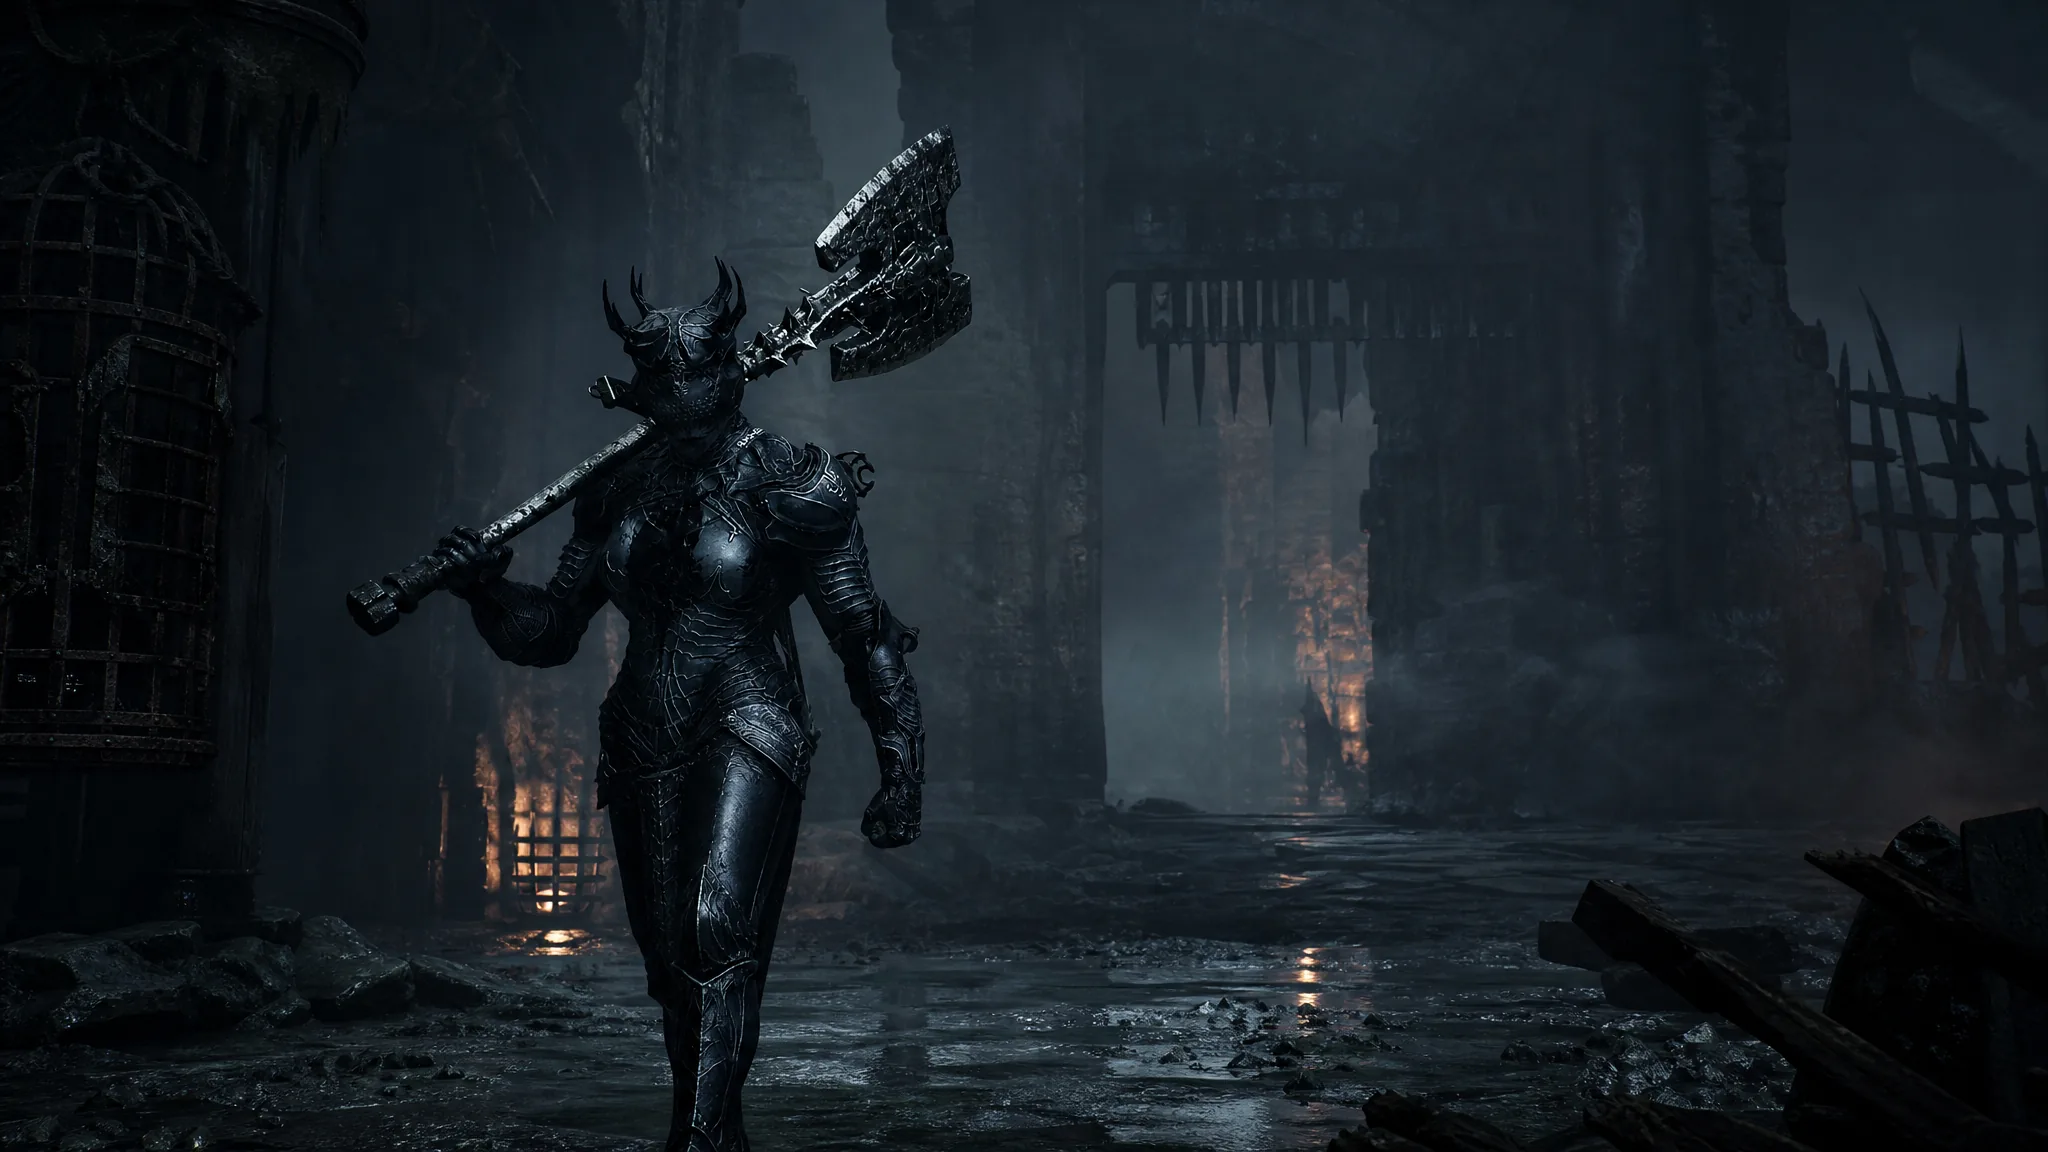
Prisoner’s Way is the opening stretch of Prisoner’s Domain in Mortal Shell 2. You reach the domain through the Nochtean Gate after you cleanse the Beacon in front of it. Past the courtyard lever, the route hides a teleport wall, a locked gate with no key, and Tishina’s Confessor.
Quick answer: Break the boxed-in wall and walk through the glowing barrier, shoot the circular target on the wall opposite the locked gate with a crossbow, then defeat Tishina’s Confessor for the Confessor’s Keepsake.
Prisoner’s Way Hidden Wall and Locked Gate
The main gate into Prisoner’s Way is a short fight, not a puzzle. A Foul Knight, a Headsman, and a Gloom Seeker wait there. Drop all three, then pull the lever. The courtyard on the other side is where the real route starts.
The locked gate sits deeper in that cavern. It has no key and no lever on the frame. Turn around so your back faces the lock. A circular target sits on the opposite wall. Hit that target with a crossbow. The gate opens as soon as the shot lands.
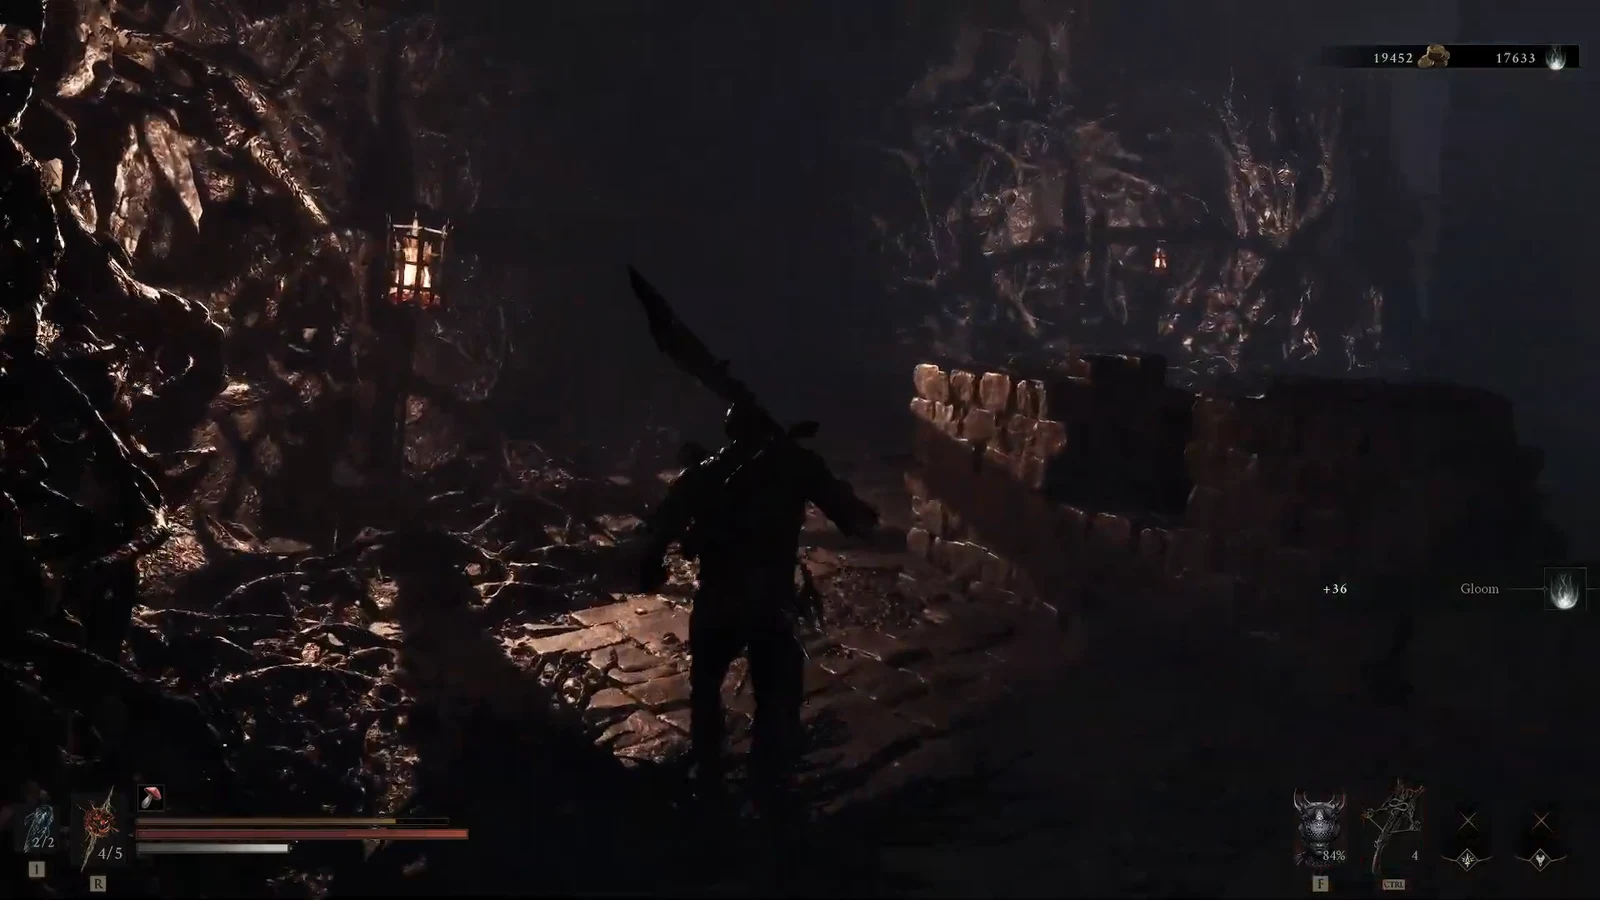
If the gate stays shut, you are aiming at the wrong wall or you are not using a crossbow. There is nothing else to interact with on the lock itself.
Prisoner’s Way Dorsalite Locations
Two Dorsalite pickups sit on this route. The first is in the swamp cavern, before you leave through the gate. The second is next to the elevator after the gate opens.
| Item | Where it drops |
|---|---|
| Dorsalite | Cage in the back corner of the swamp cavern |
| Dorsalite | Glowing statue beside the elevator |
| Confessor’s Keepsake | Tishina’s Confessor |
| Eredrim summon | Rook, for 1 Glimpse |
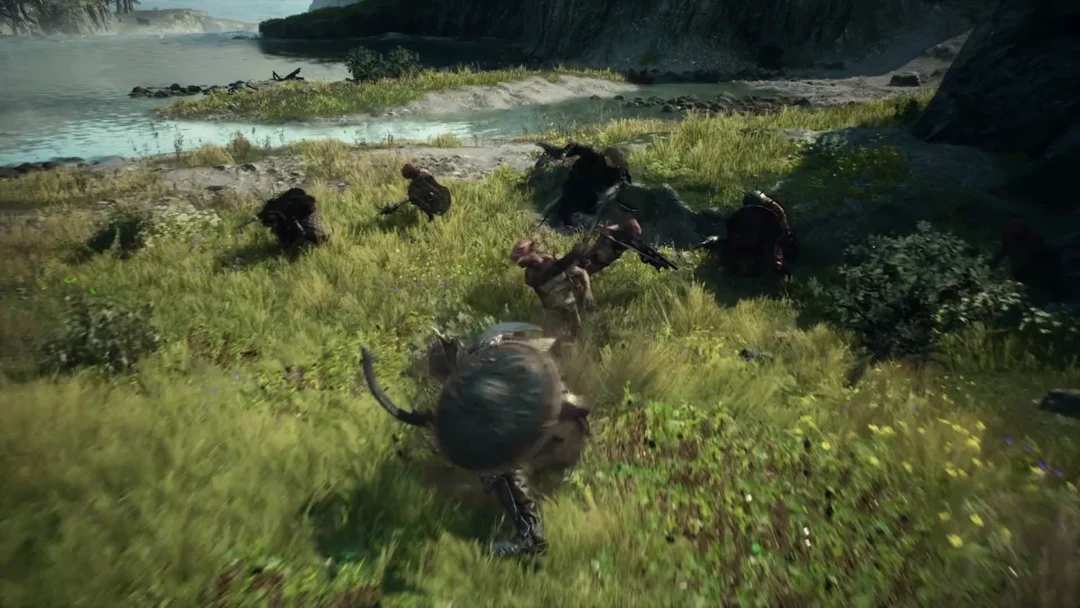
Worm-like enemies patrol the swamp. Work the edges of the cavern until you reach the back corner. A cage sits there. Walk up until the examine prompt appears, then take the Dorsalite inside.
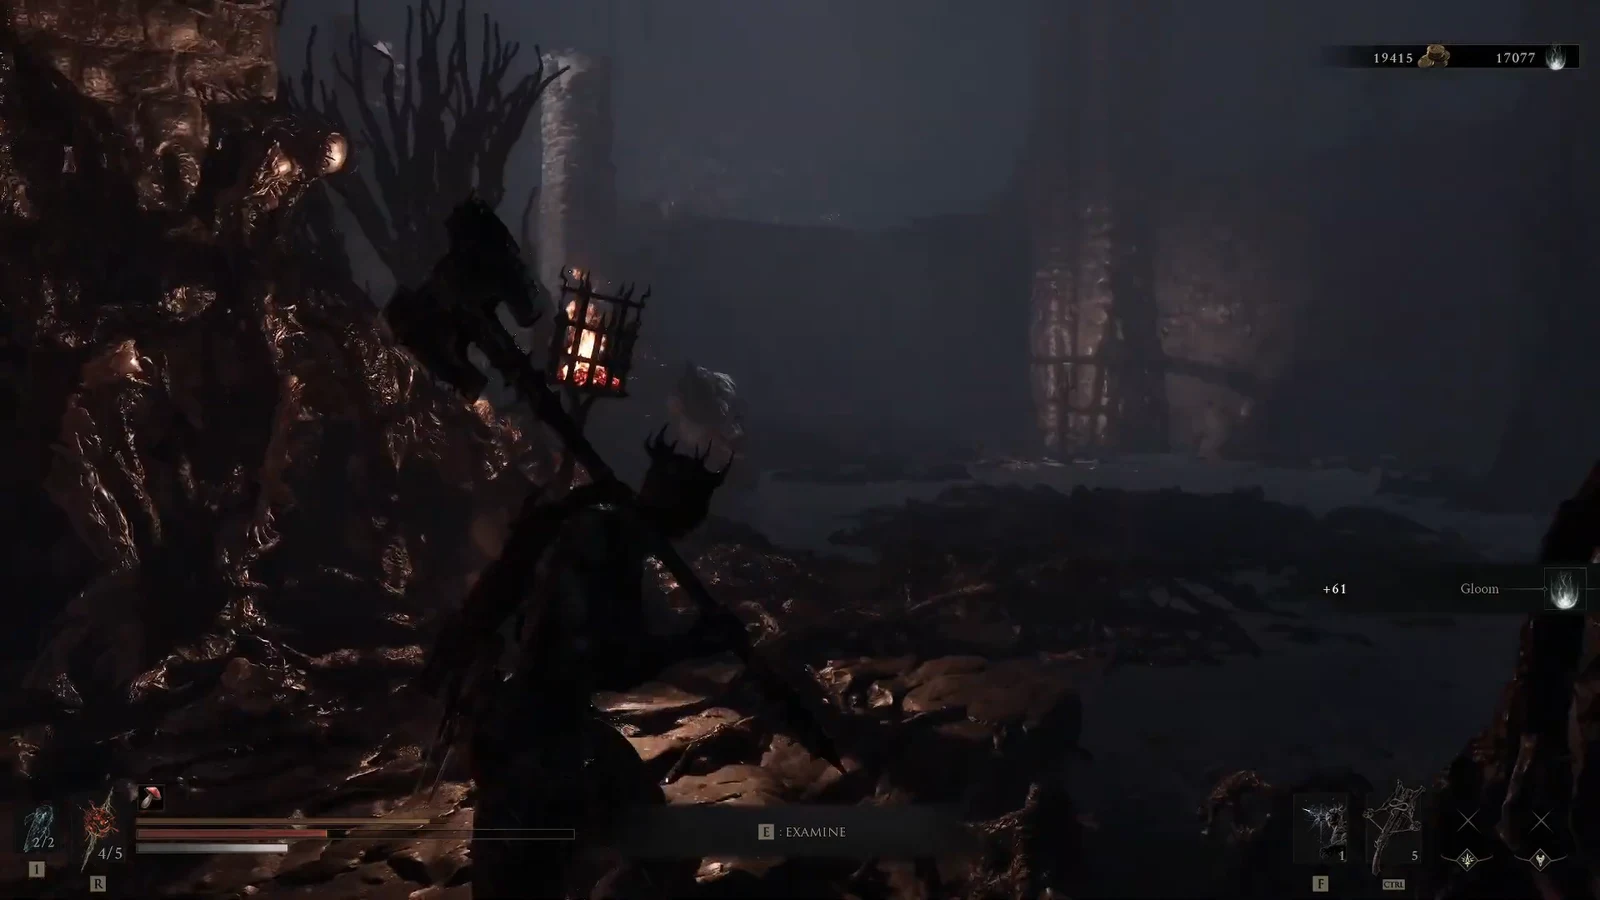
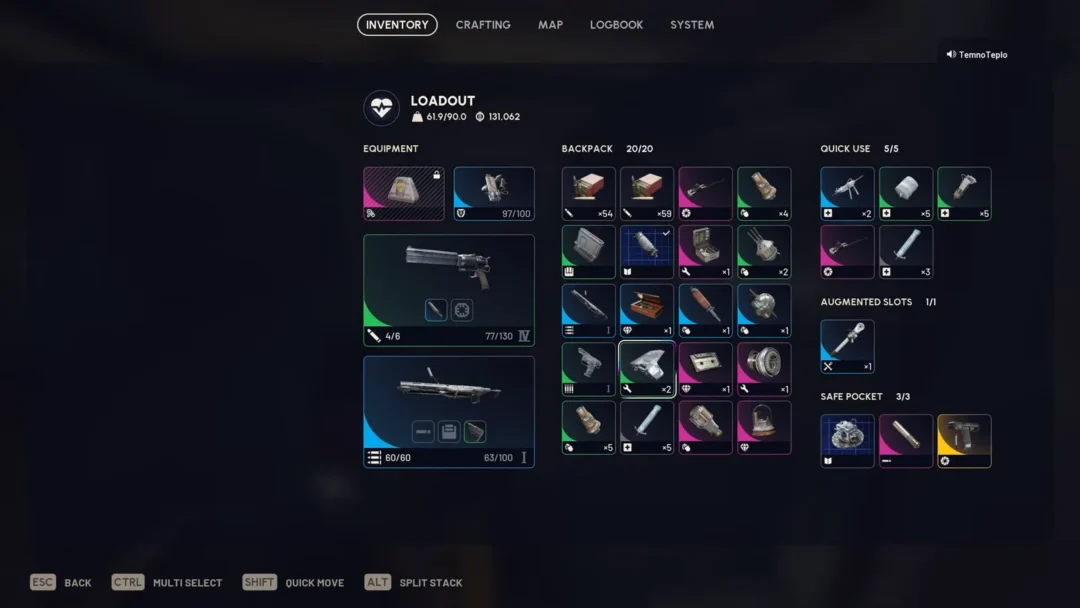
Your HUD updates as soon as the pickup lands. Dorsalite and any Gloom from the cavern fight show up together.
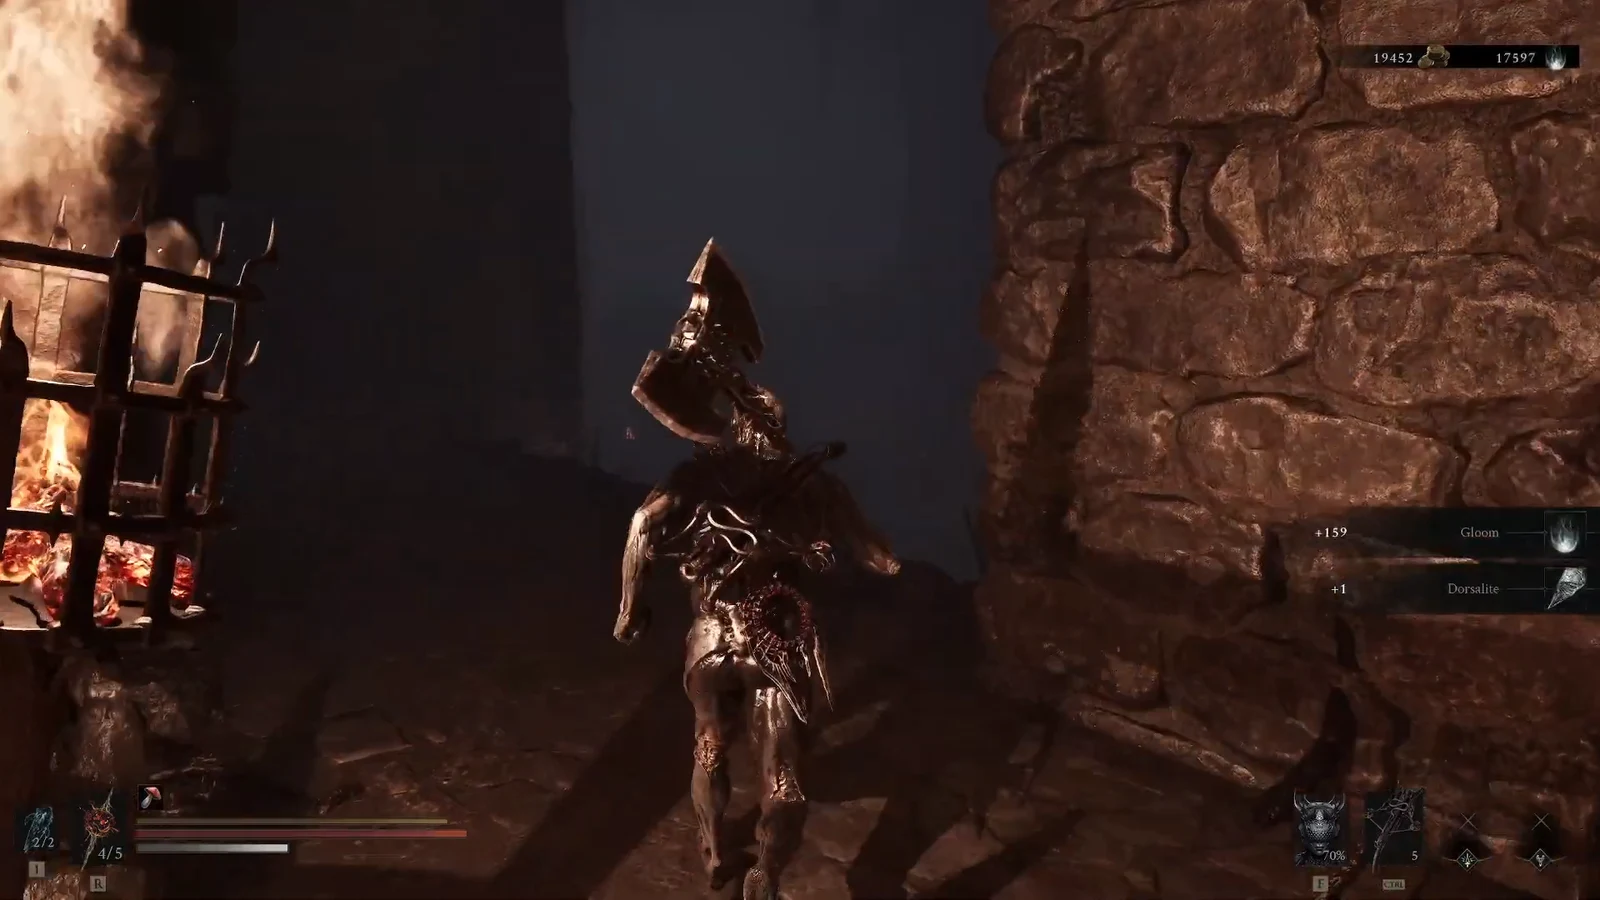
Once the gate is open, sprint toward the elevator. Giant worms and guards sit on that run. You can ignore most of them. If a glowing enemy steps into your path, cut it down and keep moving.
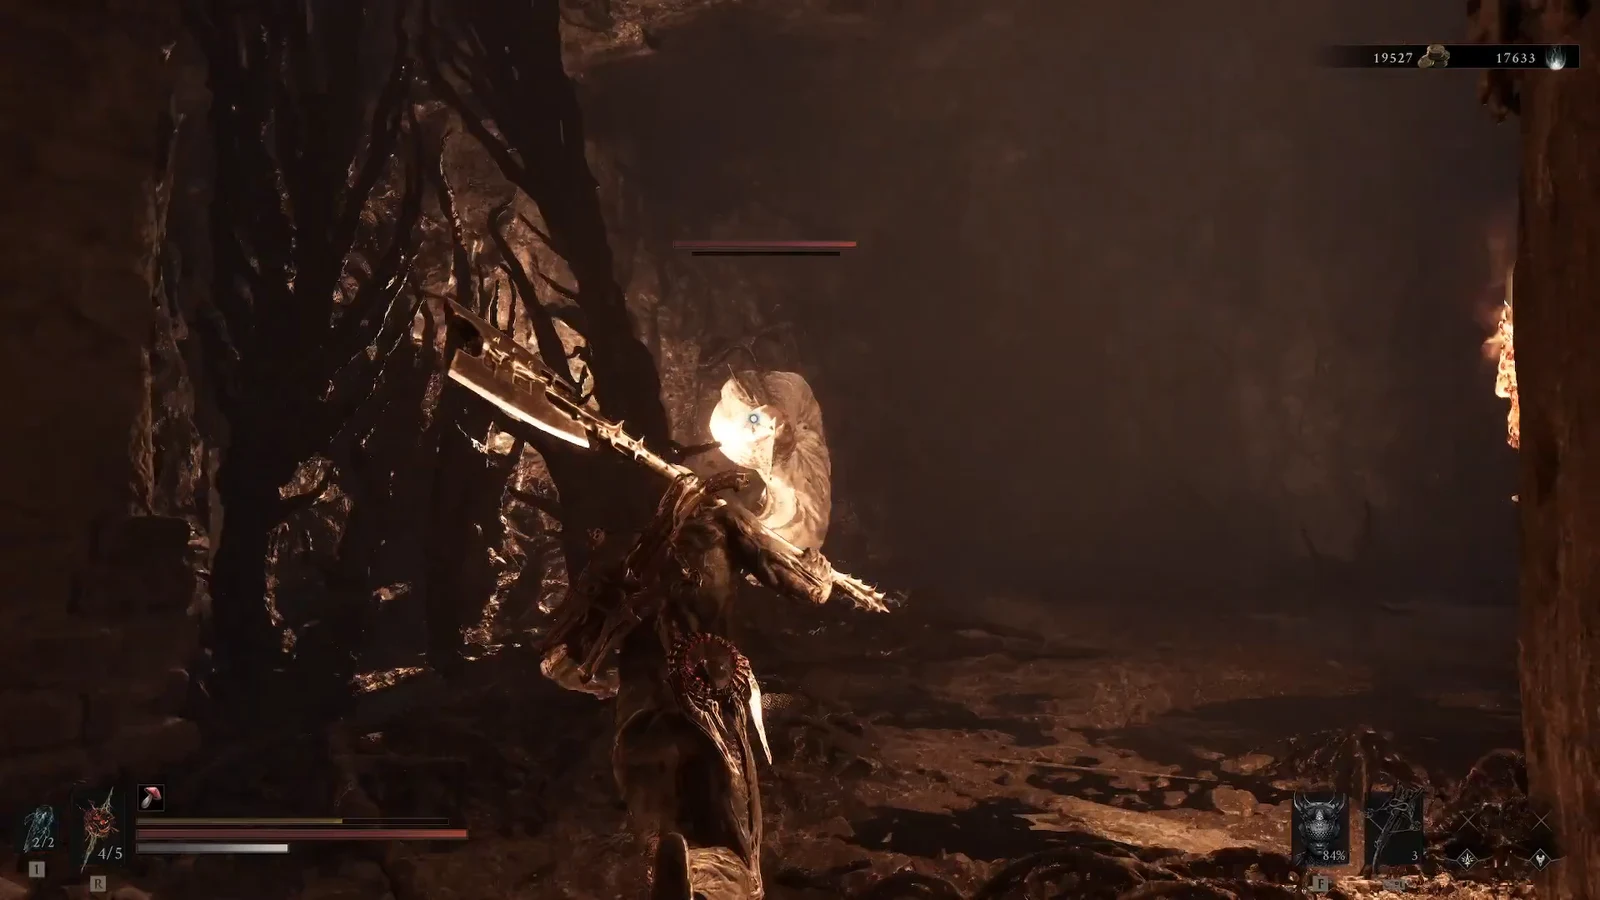
A glowing statue stands by the elevator. Break it for the second Dorsalite, then ride the lift up. That ride is the last stretch before Tishina’s Confessor.
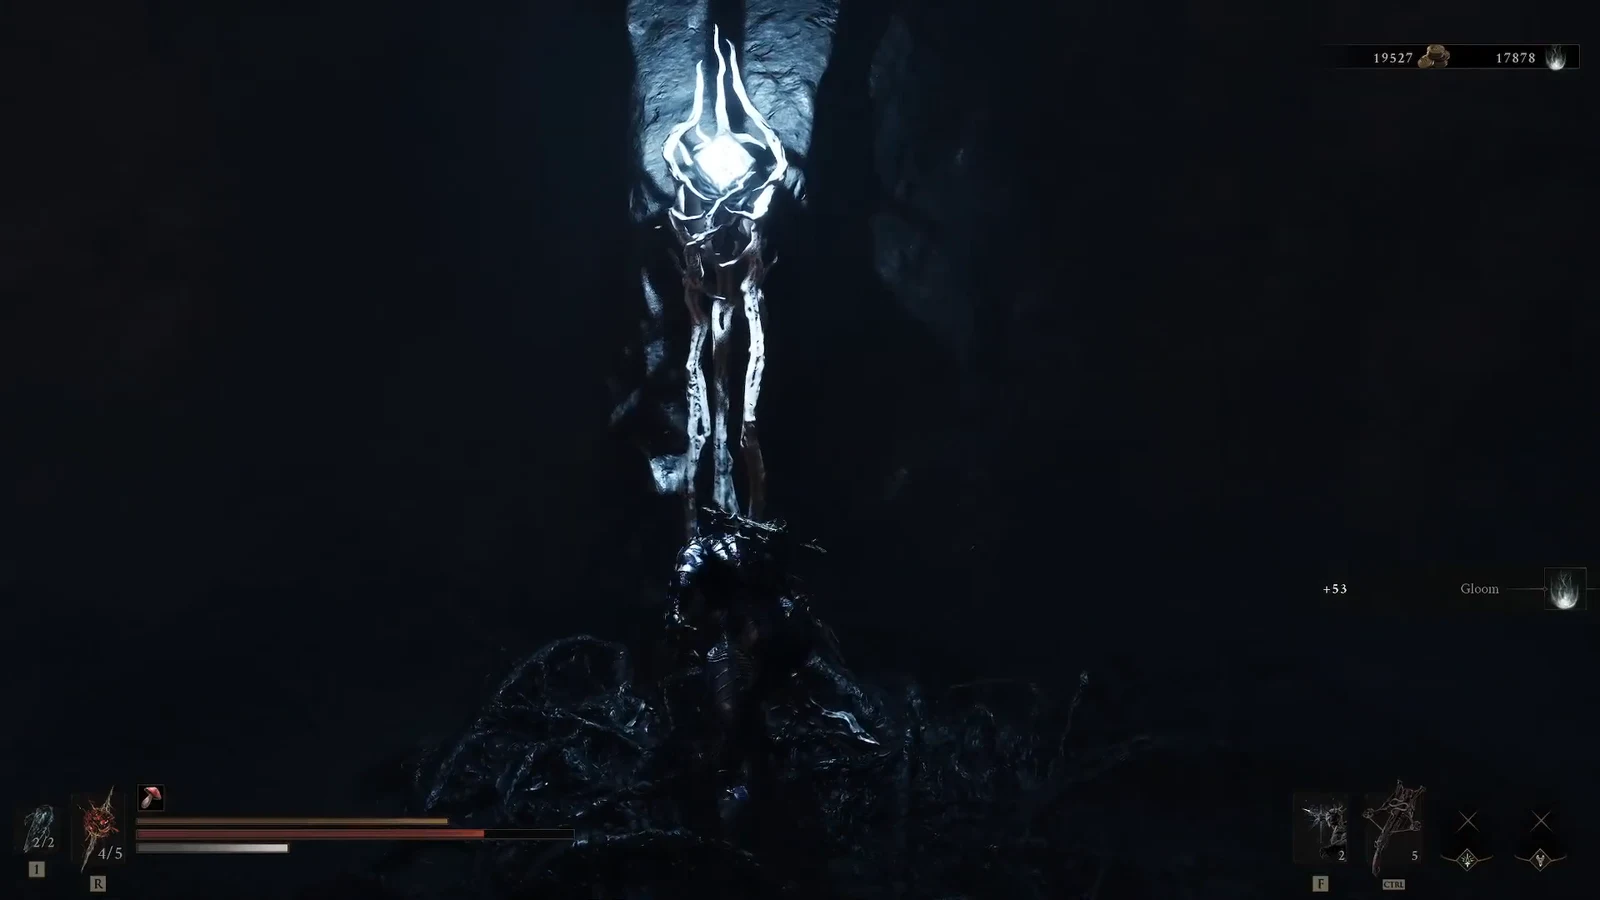
Tishina’s Confessor and Confessor’s Keepsake
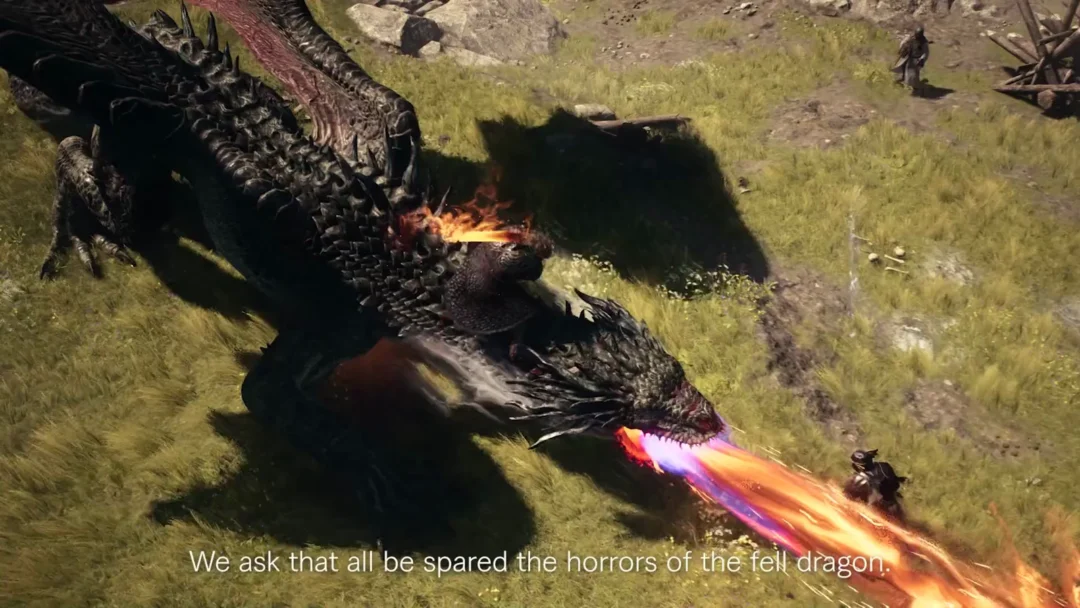
Tishina’s Confessor is the miniboss at the top of the lift. It uses a scythe. Most of those swings can be parried once you have the timing. If the parries feel late, hit once or twice and step out instead of staying in the combo.
When you knock the Confessor down, fire your sidearm before it stands. That extra burst is the cleanest damage window in the fight.
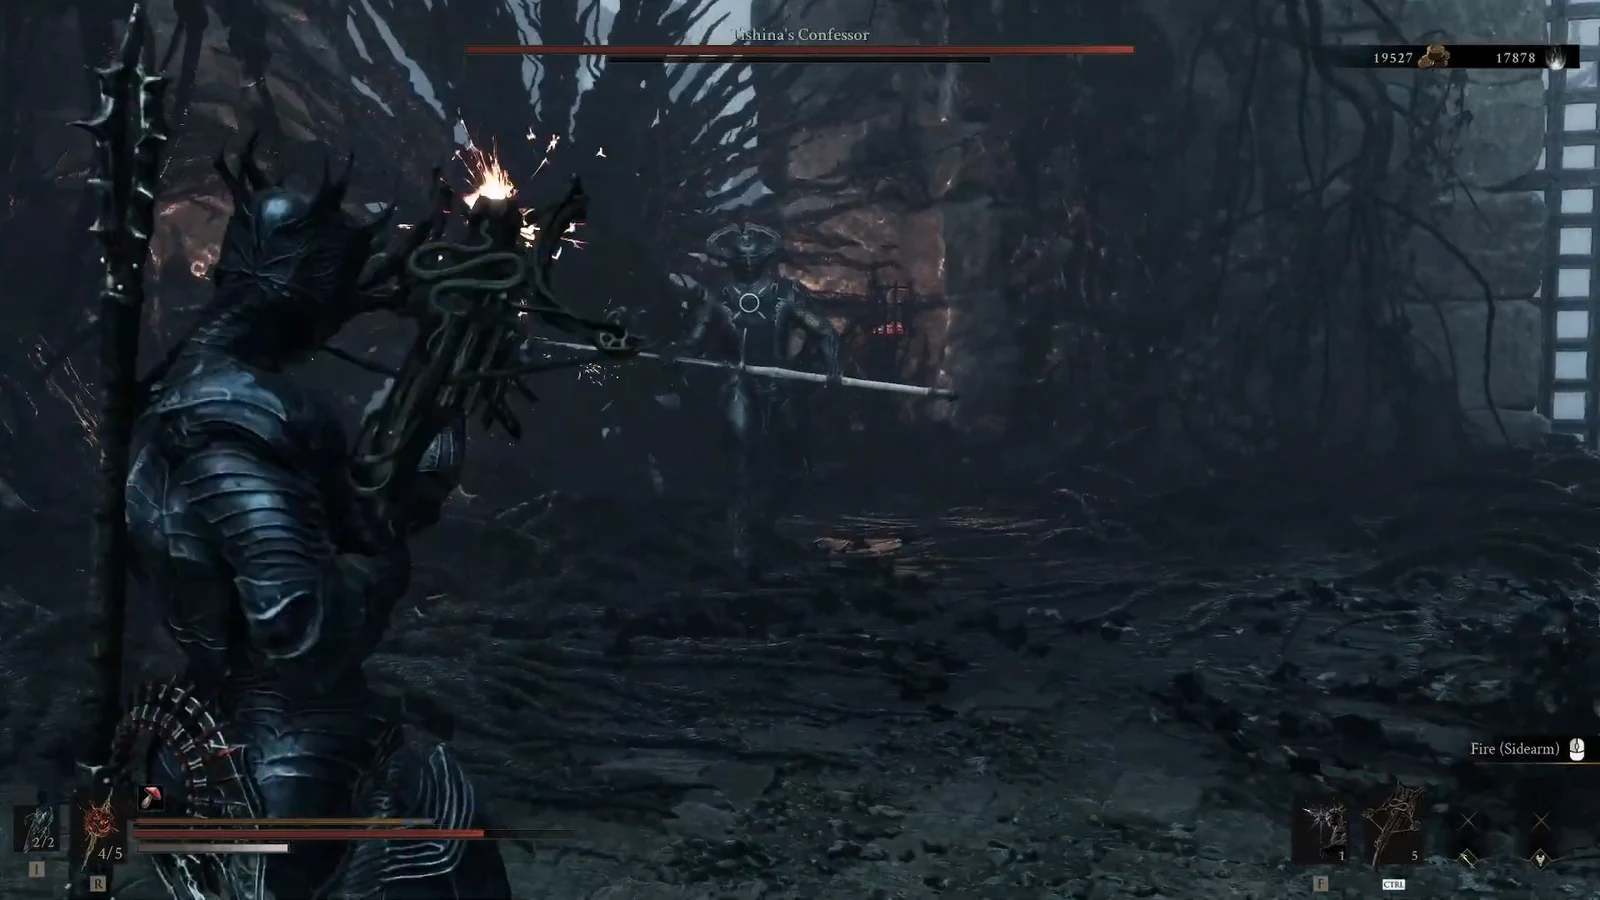
The fight is done when Confessor’s Keepsake appears. That Tarstone lets you fire a charged shot from your sidearm. If the item does not show, the Confessor is still up.
Eredrim Unlock at Rook
Past the Confessor you reach Rook. Rook asks if you hear that, then a prompt appears to unlock a shell summon. Spend 1 Glimpse and confirm Yes.
The unlock is permanent. You know it worked when the screen reads SHELL SUMMONED and names Eredrim. Choosing No leaves the summon locked, and you will need another Glimpse to try again.
Rook remarks that the egress sounds familiar, then leaves. At that point Prisoner’s Way is finished. The Confessor’s Keepsake and the Eredrim summon both stay with you after you move on.