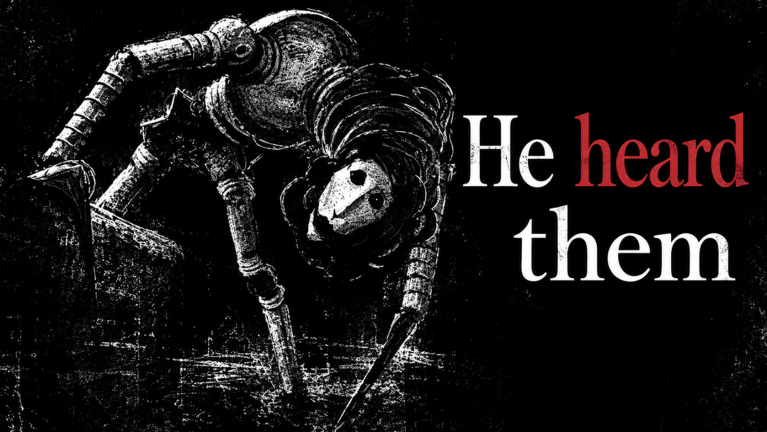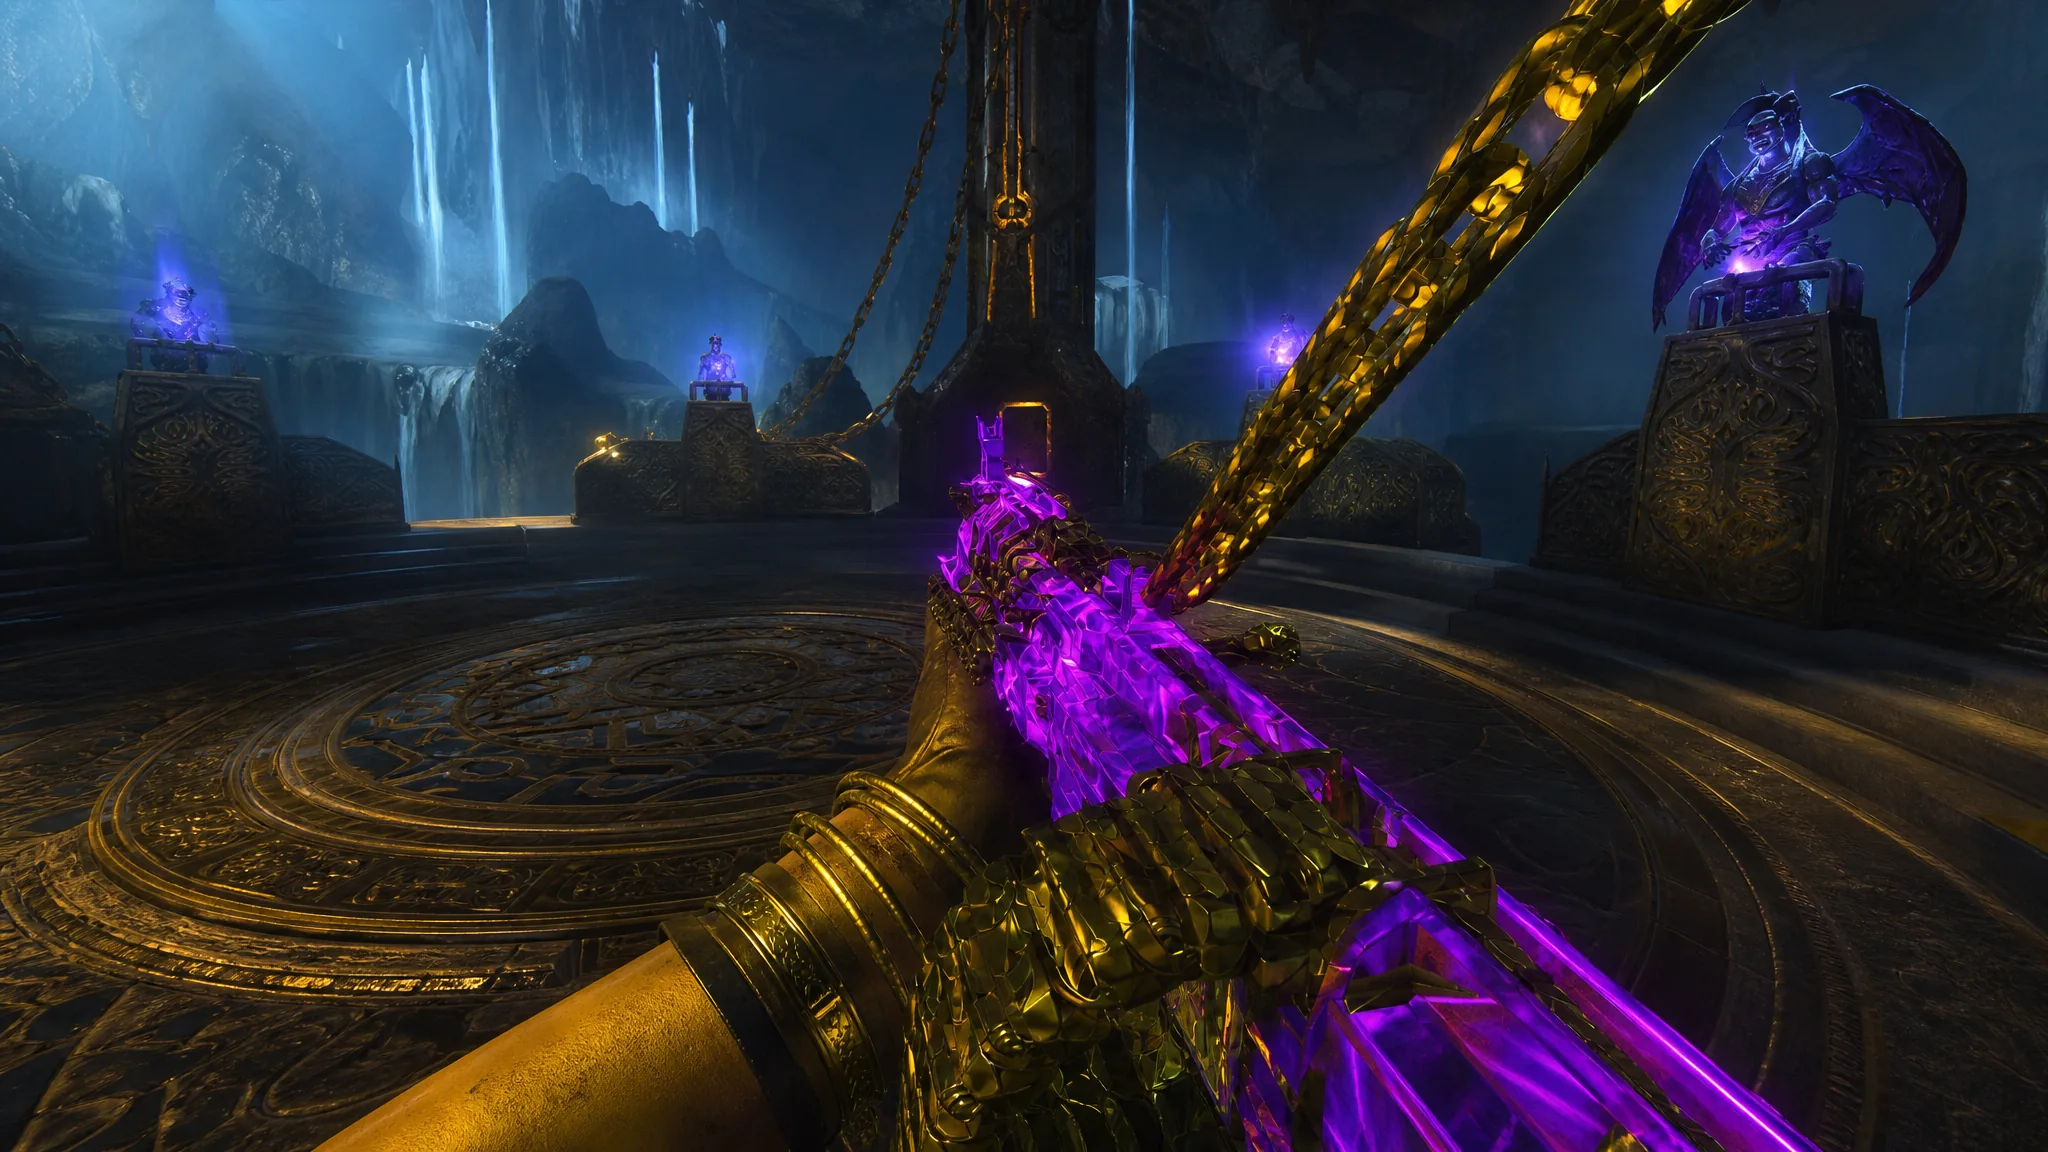
The Warden is the toughest fight in Call of Duty: Black Ops 7 Zombies, the boss that caps off the Rex Infernus finale. It is fast, relentless, and it loves to shove you off the edge of the arena. The good news is that a single light machine gun turns those four brutal phases into a manageable grind. The Sokol 545 with a belt-fed attachment pumps out enough sustained critical damage to melt the Warden’s weak spot every time it opens up, and it holds up well enough to carry the whole fight solo without swapping to a second gun.
Quick answer: Run the belt-fed Sokol 545, destroy the Dread Skulls circling the Warden to stun it and expose the glowing weak spot on its tail, then aim down sights and dump the full belt into that spot before it closes. Keep a Void Claw on you at all times so a knockback never sends you off the map.
The Sokol 545 belt-fed build
The Warden takes real critical damage only during its short stun windows, so your damage weapon has to deliver a huge amount of it in a couple of seconds. The Sokol 545 does that. With the belt-fed attachment feeding an oversized magazine, you can hold the trigger down on the exposed weak point without a reload cutting the window short. That uninterrupted stream is what makes it stand out over the Mammoth LMG, which is the other popular crit pick for this fight.
Push it through Pack-a-Punch and stack damage-focused attachments so each burst on the tail counts. You are not using this gun for zombies or for the Warden’s summons, only for those critical windows, so build it purely around raw damage and magazine size rather than mobility.

A short support kit keeps you upright while the Sokol does the heavy lifting. Armor is nearly useless here because the Warden attacks constantly, so lean on healing and mobility instead.
| Slot | Pick | Why it helps |
|---|---|---|
| Damage weapon | Sokol 545 (belt-fed) | Sustained critical fire on the exposed tail |
| Ammo Mod | Light Mend | Zombie kills drop healing glyphs, giving you health when armor fails |
| Field Upgrade | Aether Shroud | Brief invisibility to focus damage or escape a lethal hit |
| GobbleGums | Shields Up, Power Keg, Aftertaste (solo) / Near Death Experience (co-op) | Refill armor, recharge your field upgrade, and self-revive with perks intact |
Open the weak spot with Dread Skulls
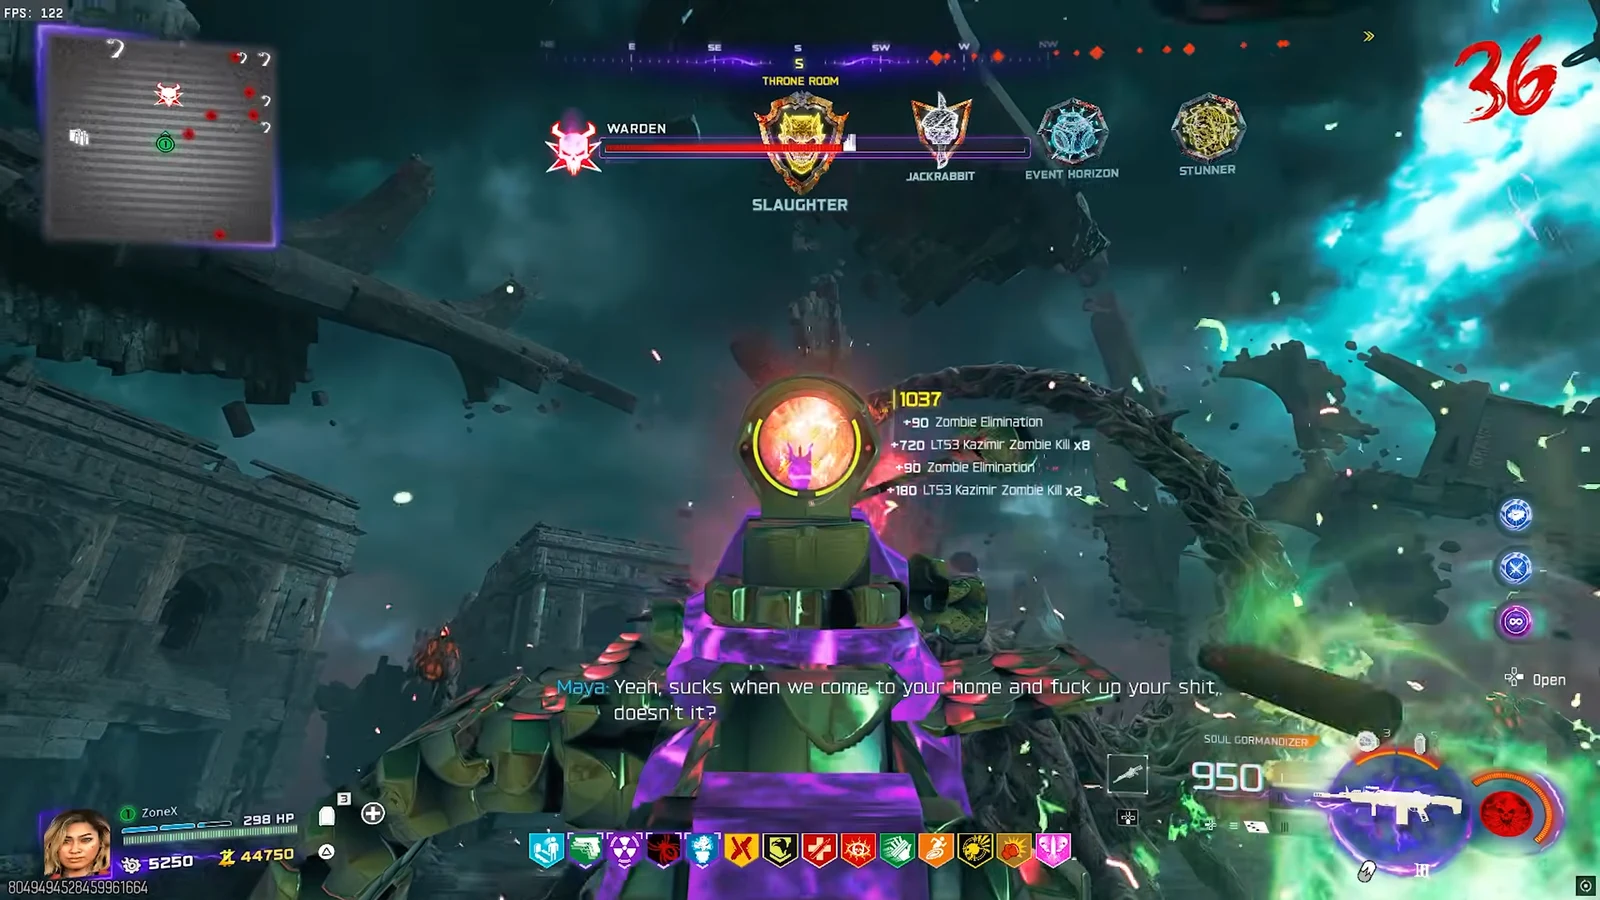
The Warden is only vulnerable after you clear the red Dread Skulls that float around and follow it. Destroy every skull and the boss is stunned, revealing a glowing critical spot on its tail. That is your cue to start firing the Sokol. The window is short, so line up the shot before the last skull dies and keep the belt going until the spot closes.
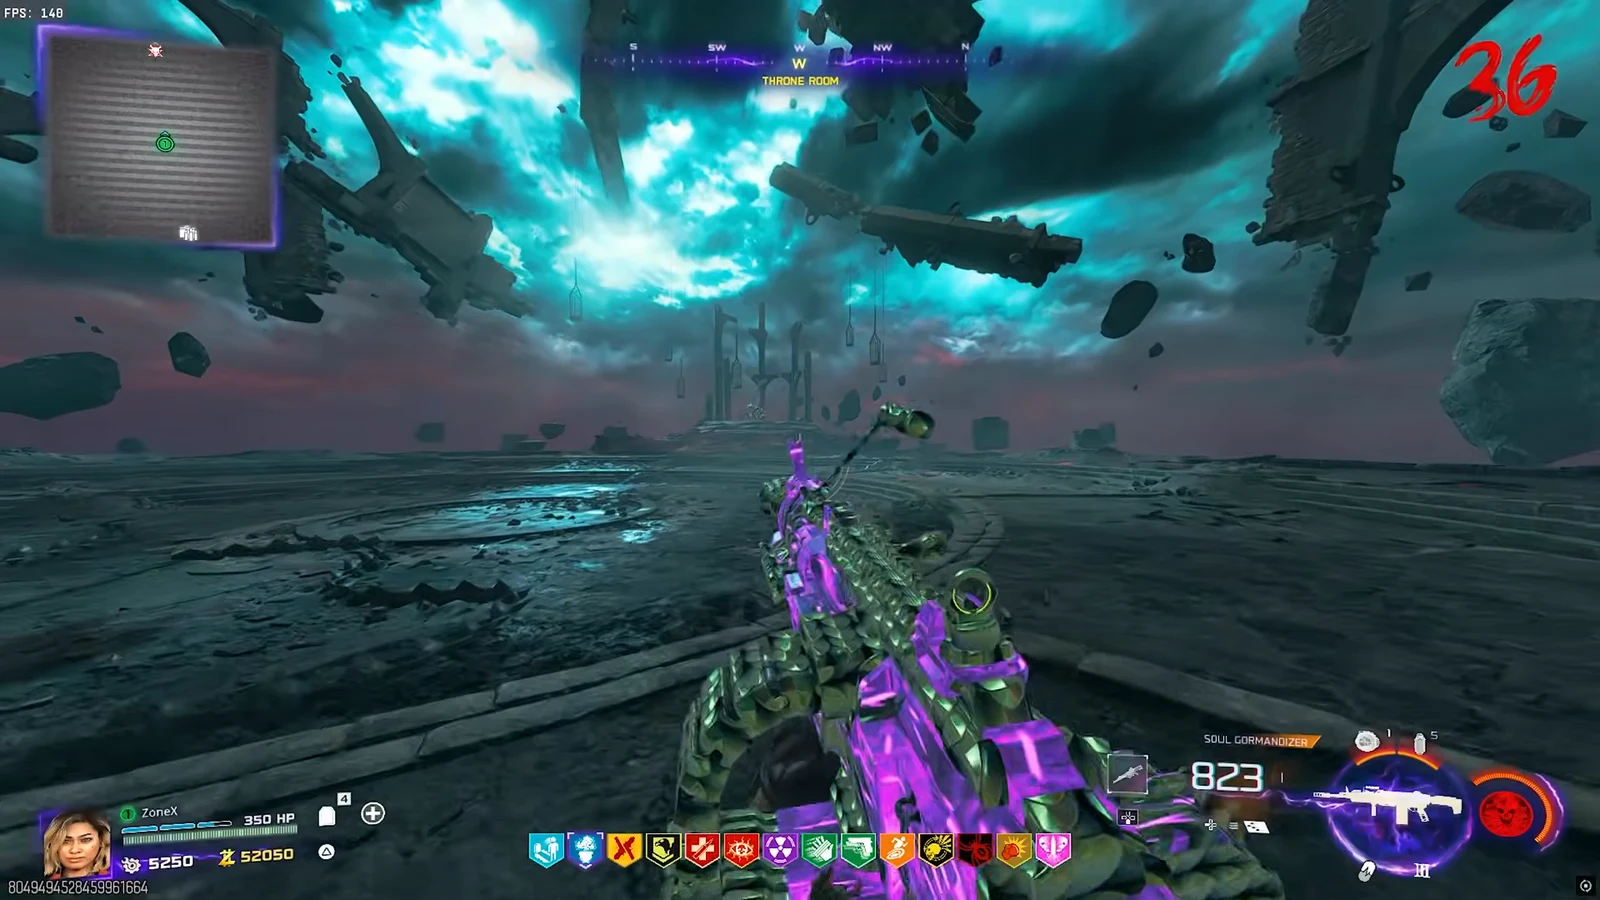
If you brought the Warden’s Blight Wonder Weapon as a secondary, its homing bolts clear the Dread Skulls faster than the Sokol and also handle regular zombies. But the whole point of this build is that the Sokol can pop the skulls and then immediately convert the stun into critical damage on its own, so you never have to switch mid-window.
Stay alive with the Void Claw
The Warden’s two signature moves are a straight-line charge and a wide tail swipe that sends out a shockwave. Both knock you back, and getting knocked off the arena forces a teleport that damages you when you return. Grab a Void Claw from the pedestals along the edge of the arena and keep one equipped for the entire fight. It refreshes instantly, so spam it to reposition, dodge the charge, and yank yourself back up if you slip off.
When the Warden pins you or you are about to take a lethal hit, pop Aether Shroud. It grants a short window of invisibility, not invincibility, so you can still take damage, but it buys enough breathing room to either escape or unload safely on a weak spot.
Every phase and what changes
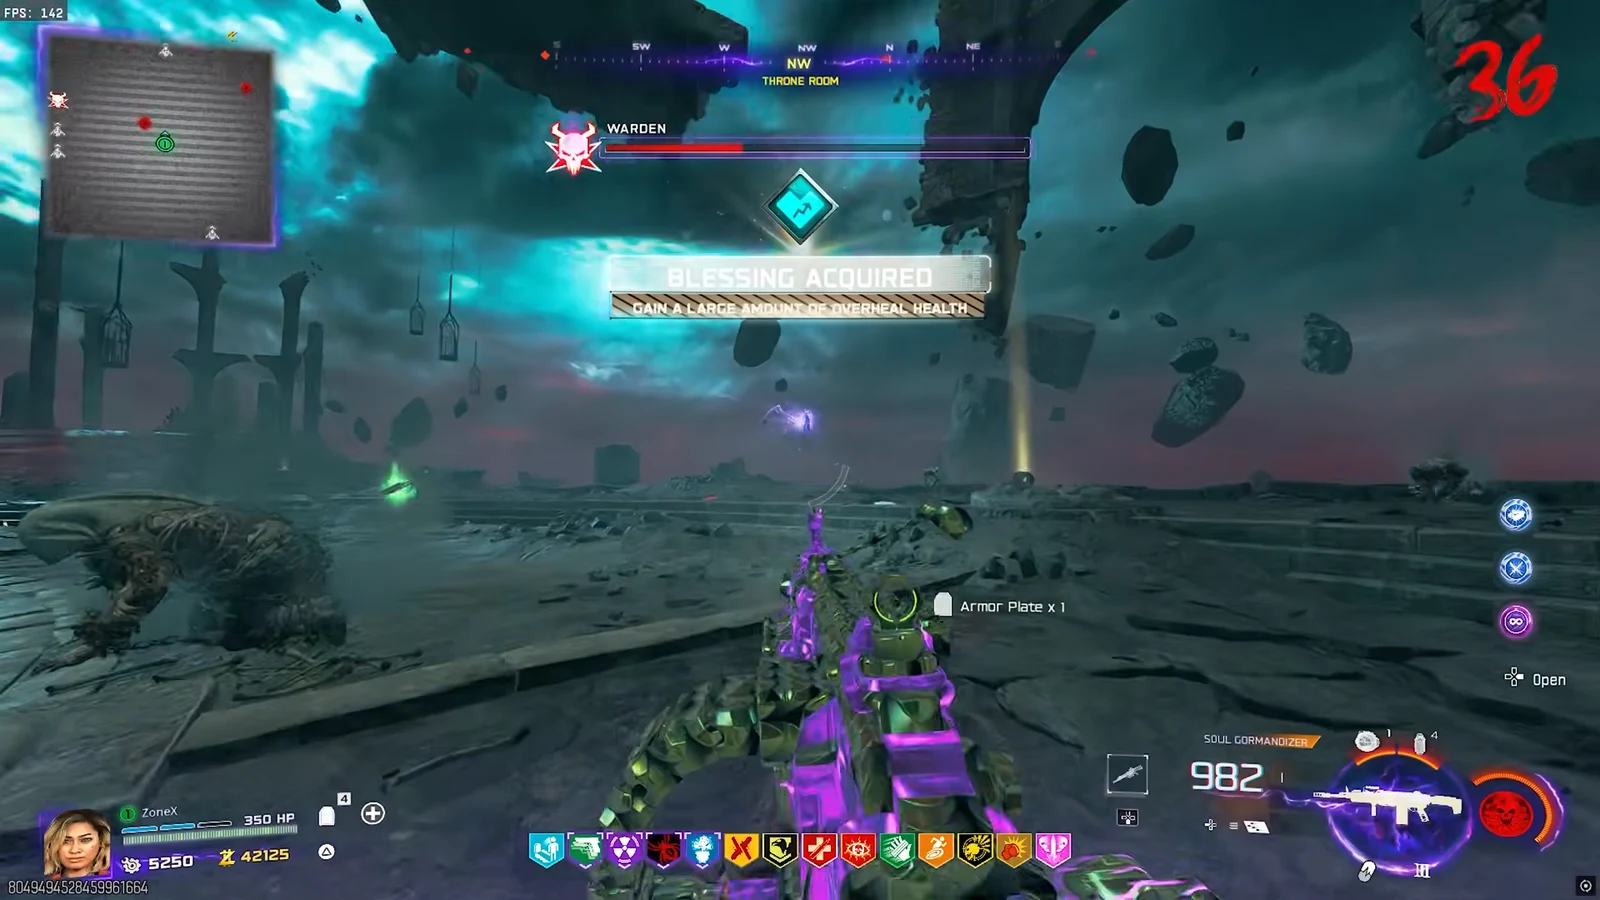
The core loop stays the same across all four phases: dodge, clear the skulls, stun, then dump the Sokol into the tail. What changes is the extra hazard the Warden layers on top each time. After every phase you clear, you can grab Max Ammo, Max Armor, and a Shadowsmith Blessing to reset for the next one.
| Phase | New hazard | What to do |
|---|---|---|
| One | At about 33% health the Warden goes immune and Shadow Souls appear | Destroy the Shadow Souls to strip its shields, then resume the skull loop |
| Two | Stationary Warden’s Stingers spawn and sting you if you get close | Same skull-and-crit loop, but keep your distance from the Stingers |
| Three | Teleport to a jail cell, plus red blights that fire missiles at the ground | Survive 60 seconds or complete the objective (such as killing the Oni) for a Blessing |
| Four (secret) | The Warden at its most aggressive after appearing defeated | Keep focusing Dread Skulls and burn it down during each short stun |
Phase three has a wipe attack you must respect. All the Stingers rise into the sky and charge a red beam that kills instantly. Shoot the Stingers to break the charge, or jump off the map at the very last second to dodge the beam and teleport back.
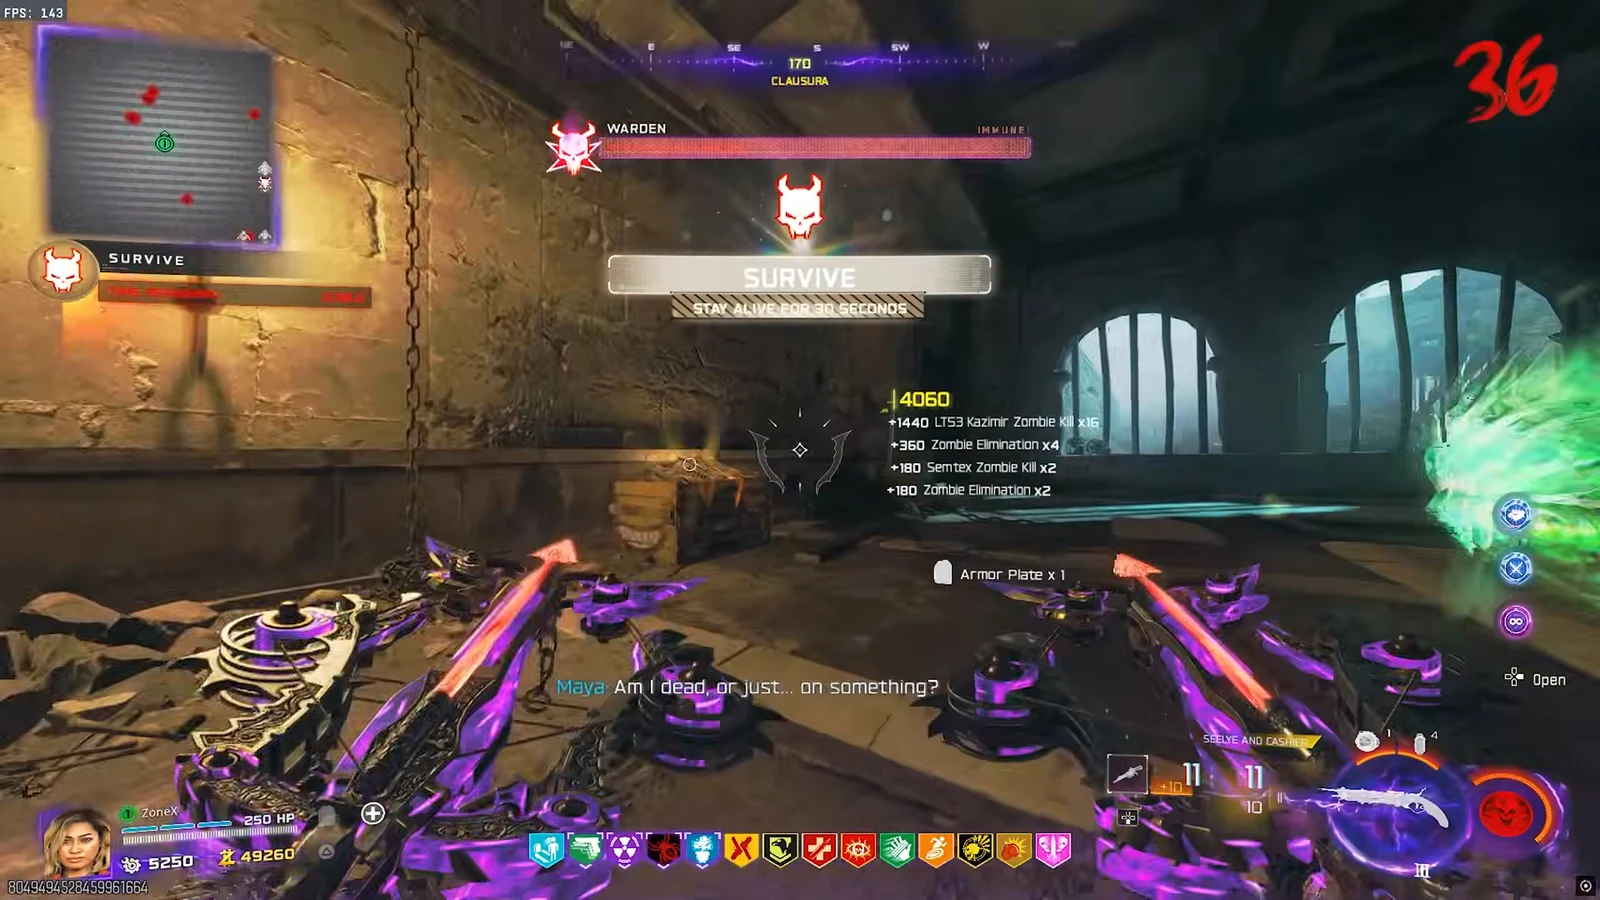
The jail room doubles as a checkpoint tied to death. If you go down for the first time, or hit the later phase, you are sent there to beat a high-value target inside a time limit. Win and you return with a random one-minute buff such as Durable, which raises your maximum health, or Speedy, which boosts movement. Fail the timer or die in the room and you come back with a curse instead, like Ammo Drain draining your reserve for 30 seconds. Dying a second time out in the arena does not send you back to jail, it eliminates you for good.
Confirming the kill
Do not lower your guard when the Warden’s health bar empties the first time. It resurrects with less than half its health for a hidden fourth phase, and this is where it fights hardest. Clear the Shadow Souls first, then the Dread Skulls to reopen the weak spot, and repeat the Sokol burst one last time. When the fourth phase ends, the fight is genuinely over. If you find the weak spot never appears, it usually means a Shadow Soul or a stray Dread Skull is still alive and shielding the Warden, so sweep the arena and finish them before expecting the tail to glow.

Stick to the rhythm and the Warden stops feeling unfair. The Void Claw keeps you off the floor, Light Mend and Aether Shroud keep you breathing, and the belt-fed Sokol 545 does the rest every time that tail lights up. Clear all four phases in that order and you close out the Rex Infernus story for good.