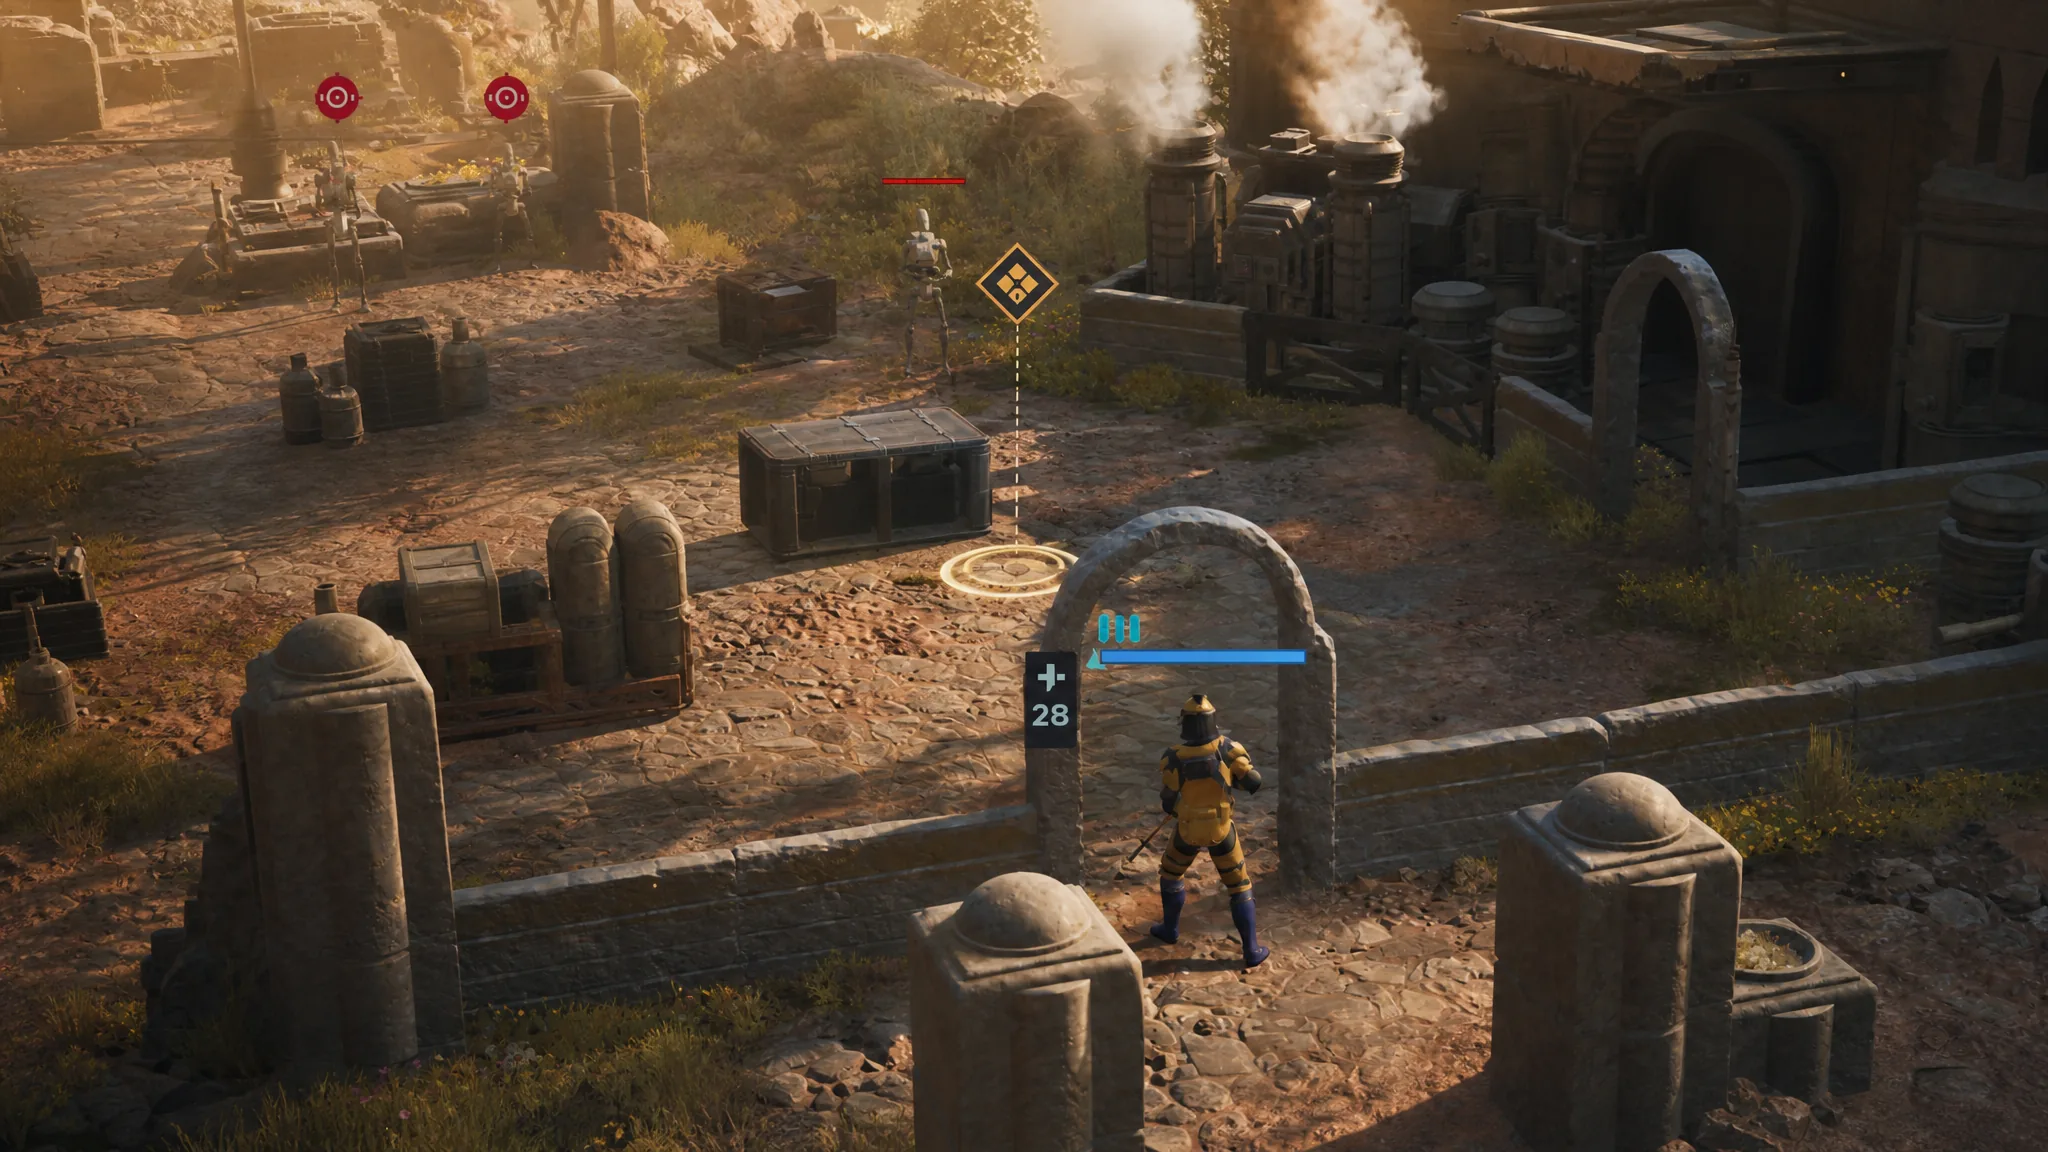
Tactical missions in Star Wars Zero Company run on a strict turn structure. Your whole squad acts first, then the enemy responds, and within your own phase you do not get to freely bounce between Operators however you like. You work through them in a set order, finishing what each one is doing before the game hands you the next.
Quick answer: Click an Operator to select the active unit, spend their Action Points to move and attack, then confirm. The game advances to the next unit in the turn order automatically. You cannot skip a unit to jump ahead to another one.
How unit selection and turn order work
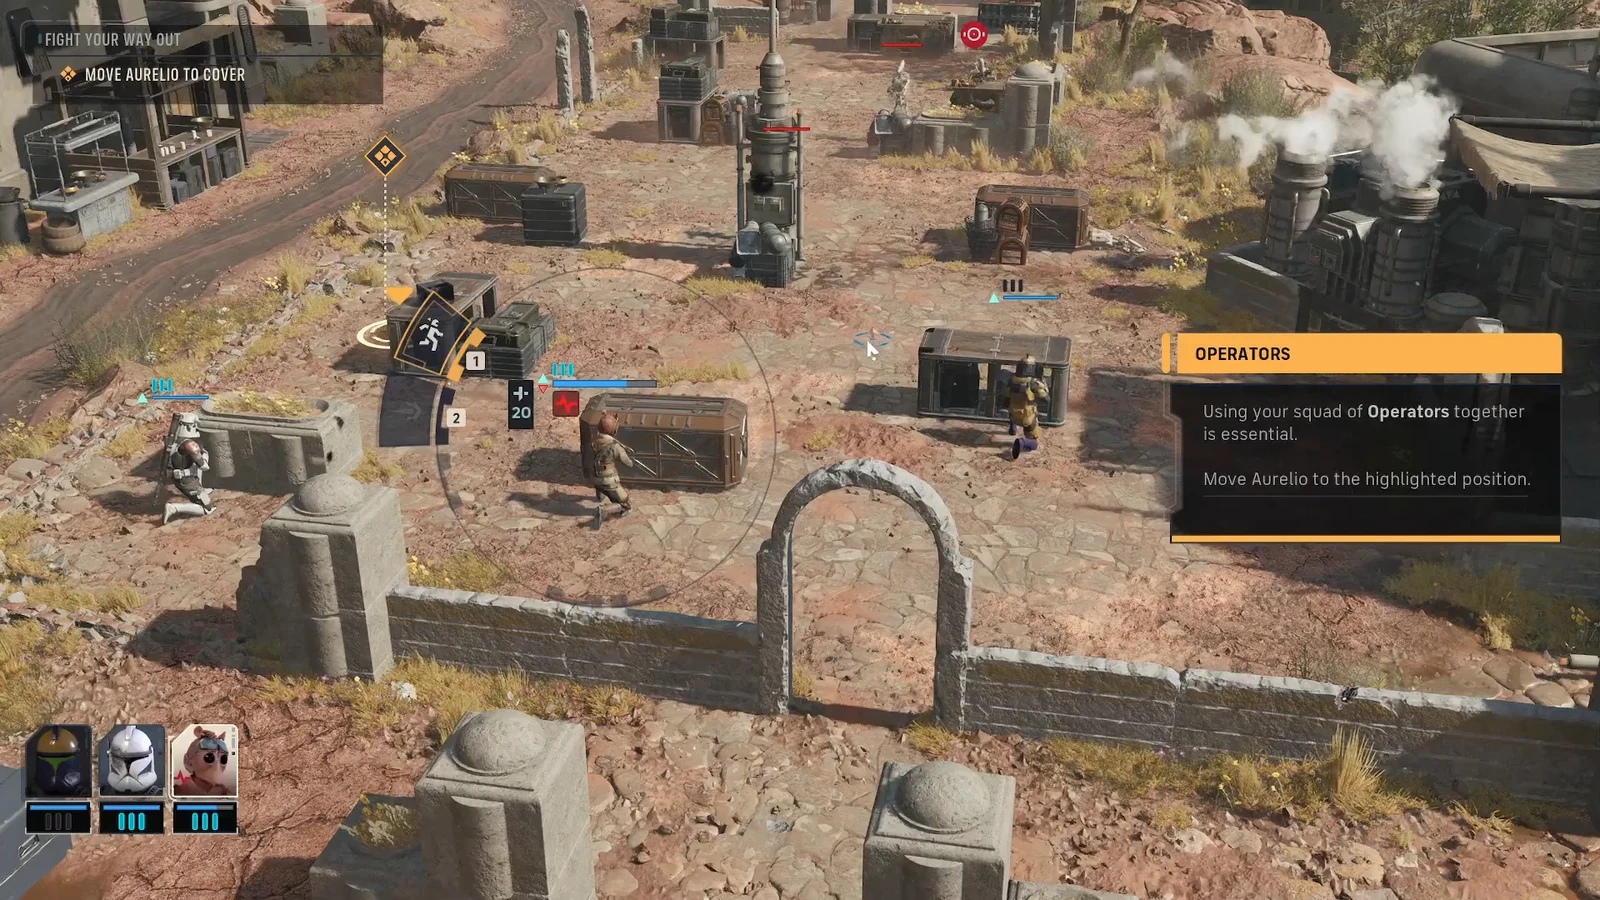
Selecting a unit is as simple as clicking on it when it is that unit’s turn. The important limit is that Operators act in a designated sequence. You cannot leave one Operator mid-action and swap to another purely because you feel like it. Once you finish an Operator’s actions, control moves to the next unit in line on its own.
Each Operator has three Action Points (AP) per turn. Movement, attacks, and abilities draw from that pool, and actions can be taken in any order for that one unit. When their AP is spent or you choose to wrap up, the turn passes along until every Operator has acted and the enemy phase begins.
Move and attack with the active Operator
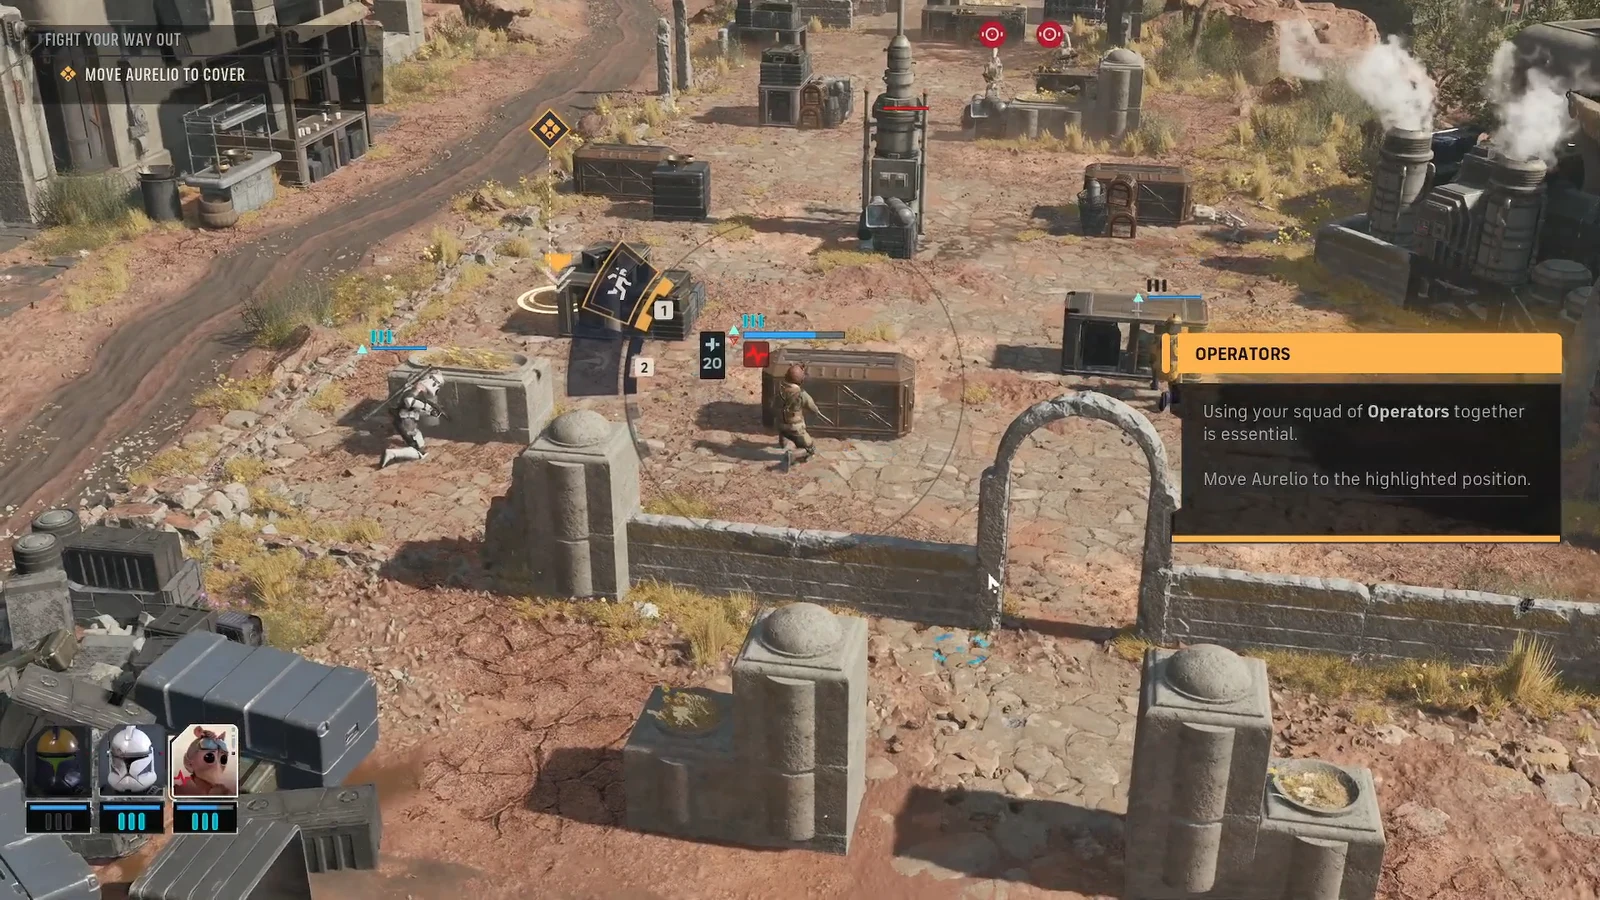
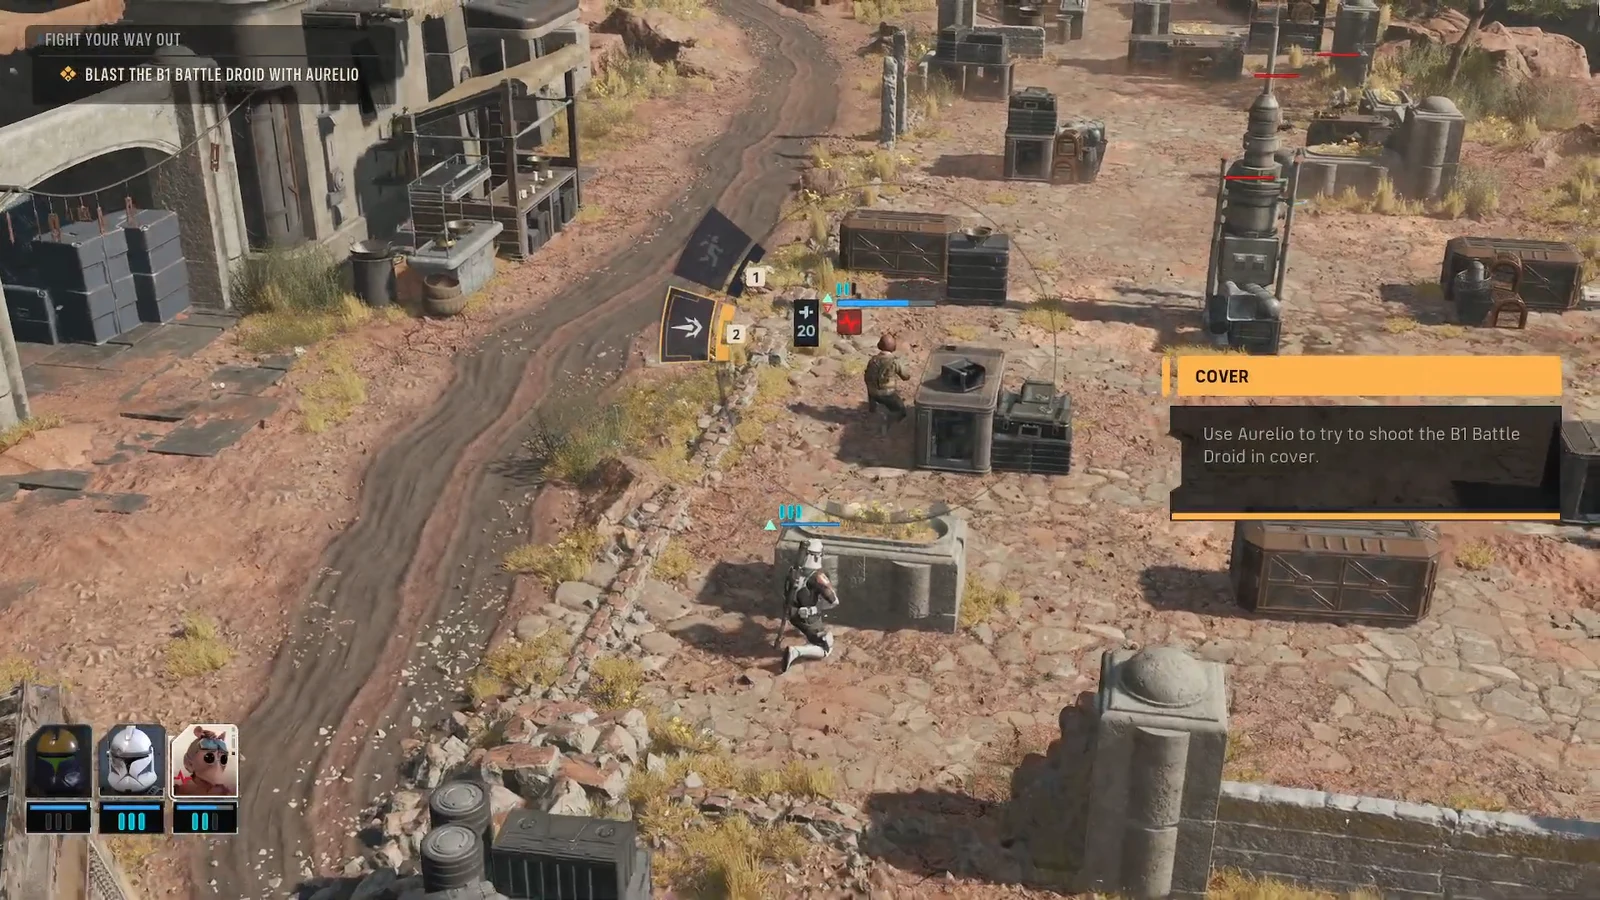
Cover and flanking change your hit chance
Cover works both ways. Full Cover and Half Cover both cut the Chance to Hit against whoever is behind them, which is why moving your own Operators into cover keeps them alive. It also means an enemy tucked behind cover is harder for you to land shots on.
To beat that, look for a better angle instead of trading shots head-on. When the next unit, Trick, moves to a flanking position, the droid’s cover no longer protects it. The target becomes Exposed, and Trick’s Chance-to-Hit rises sharply as a result.
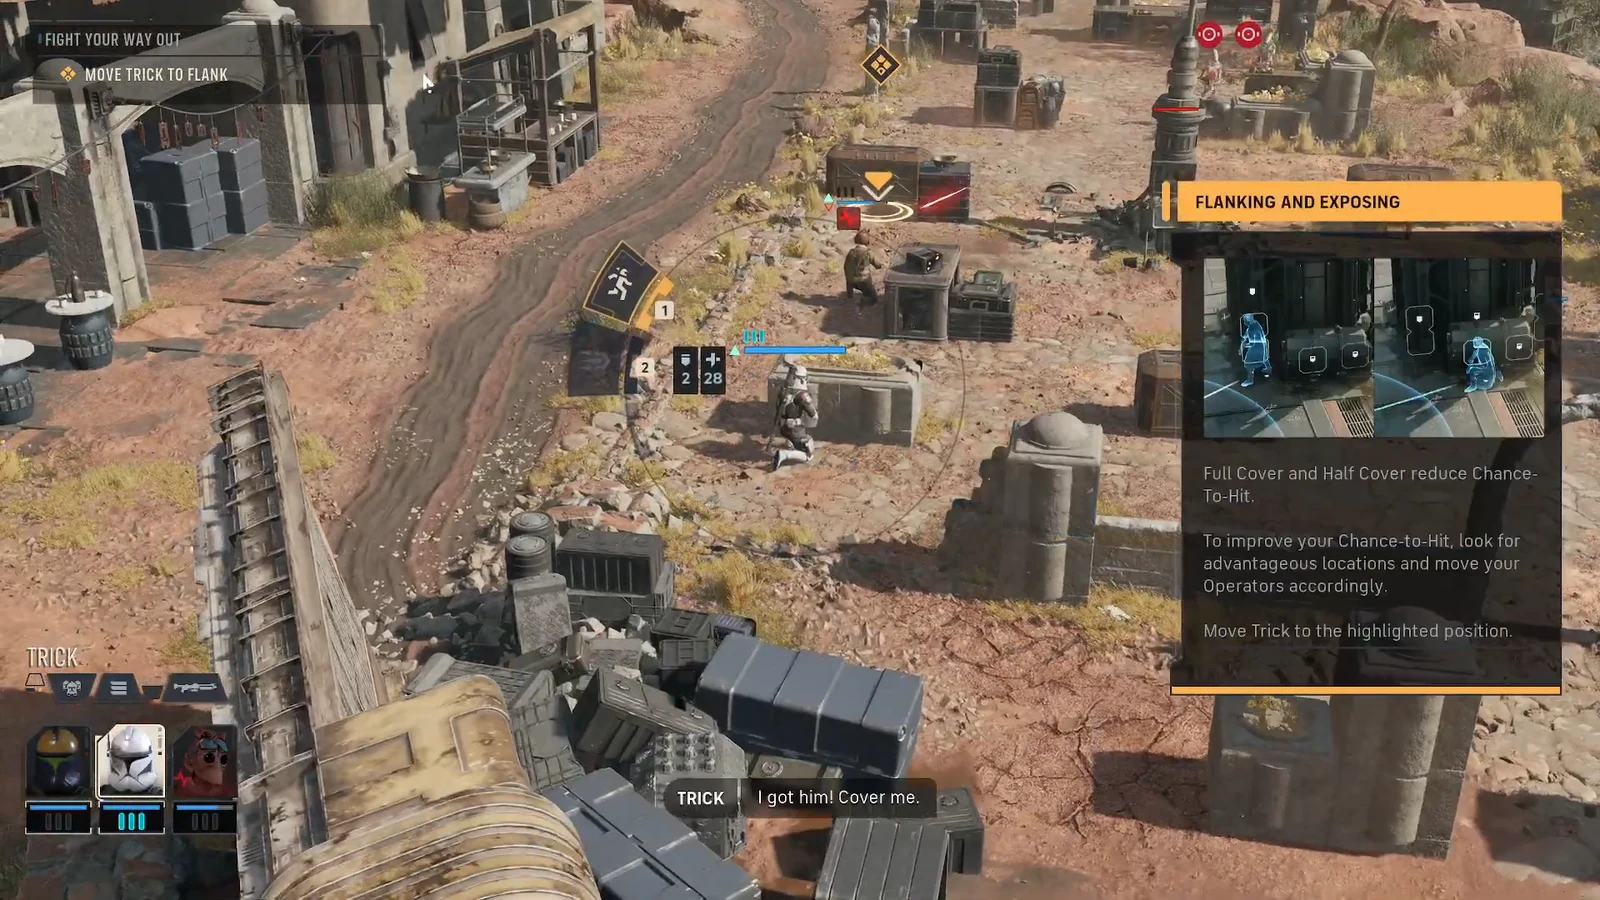
From the flank, firing the repeating blaster at the now-exposed B1 Battle Droid finishes it off. The core lesson holds across every mission. Reposition first, expose the target, then shoot for the much higher hit chance.
| Situation | Effect on Chance-to-Hit |
|---|---|
| Target in Half Cover | Reduced |
| Target in Full Cover | Reduced more |
| Target flanked and Exposed | Cover no longer applies, much higher |
End your turn and confirm it worked
After each Operator acts, the game keeps cycling to the next unit until your side has finished. When you are done, hold the end-turn button to close out the phase. Control then passes to the enemy, so make sure your Operators are positioned before you commit.
You know selection is working correctly when clicking a unit puts it in control and its AP appears, and when finishing one Operator’s actions automatically shifts control to the next in the order rather than letting you pick anyone at will. If you cannot select a specific Operator, it is because another unit still has its turn ahead of that one in the sequence.
That rhythm of select, move, act, confirm, and advance is the backbone of every tactical encounter in Star Wars Zero Company. Once you internalize that you are working through a fixed order rather than freely swapping units, positioning your squad into cover and setting up flanks becomes the main thing you control on each turn.