Genessa the Wayward is the shell most players walk past without knowing it exists. Every other shell in Mortal Shell 2 is a body you find and touch. Genessa is already standing in front of you in Marrow Keep as the training NPC, and she only becomes playable after you bring her a relic from her own past. She is also the only shell you don’t inhabit in the usual sense — you switch to her as a separate character, and she levels through her own menu rather than the Shellkeeper.
Quick answer: Travel to the Revenant Graves in eastern Mammon, near the Abbey Entrance and Sester’s Refuge beacons, touch the glowing censer at the back of the field to be pulled into a boss arena, defeat Sester Secundus for the Sester’s Censer, then offer it to Sester Genessa at the Marrow Keep training grounds and sit through “The Funeral” memory.
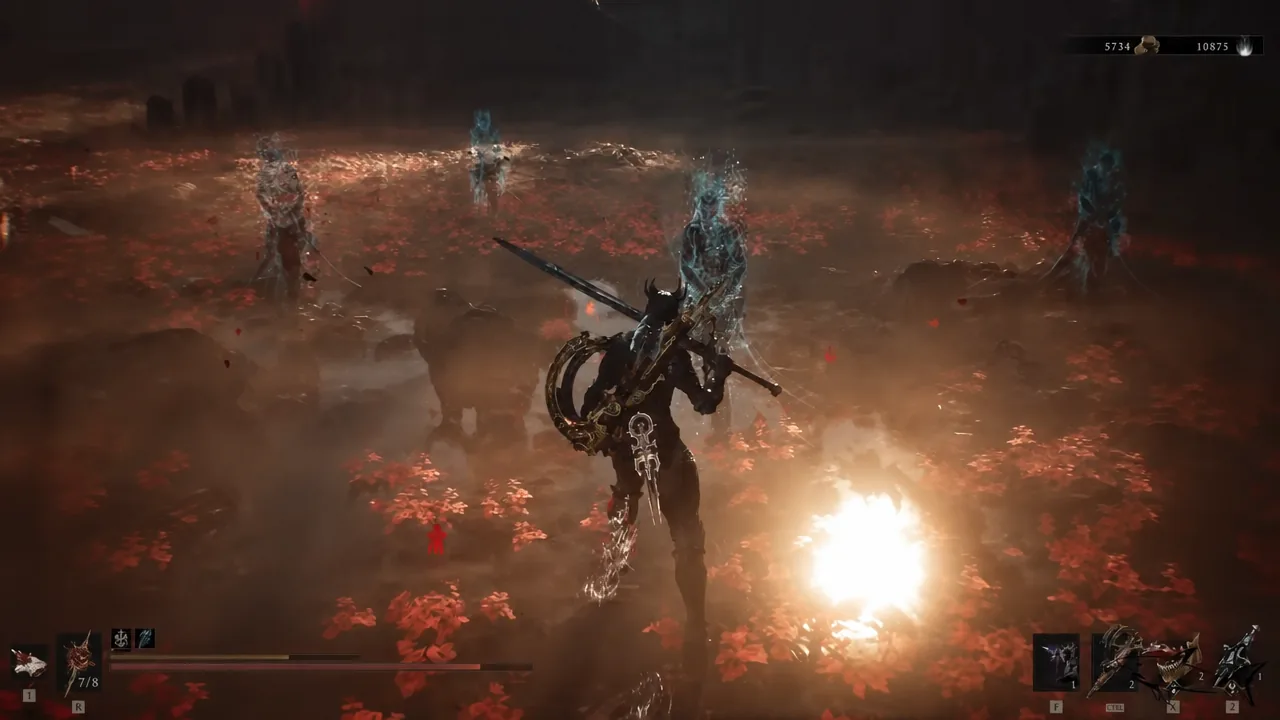
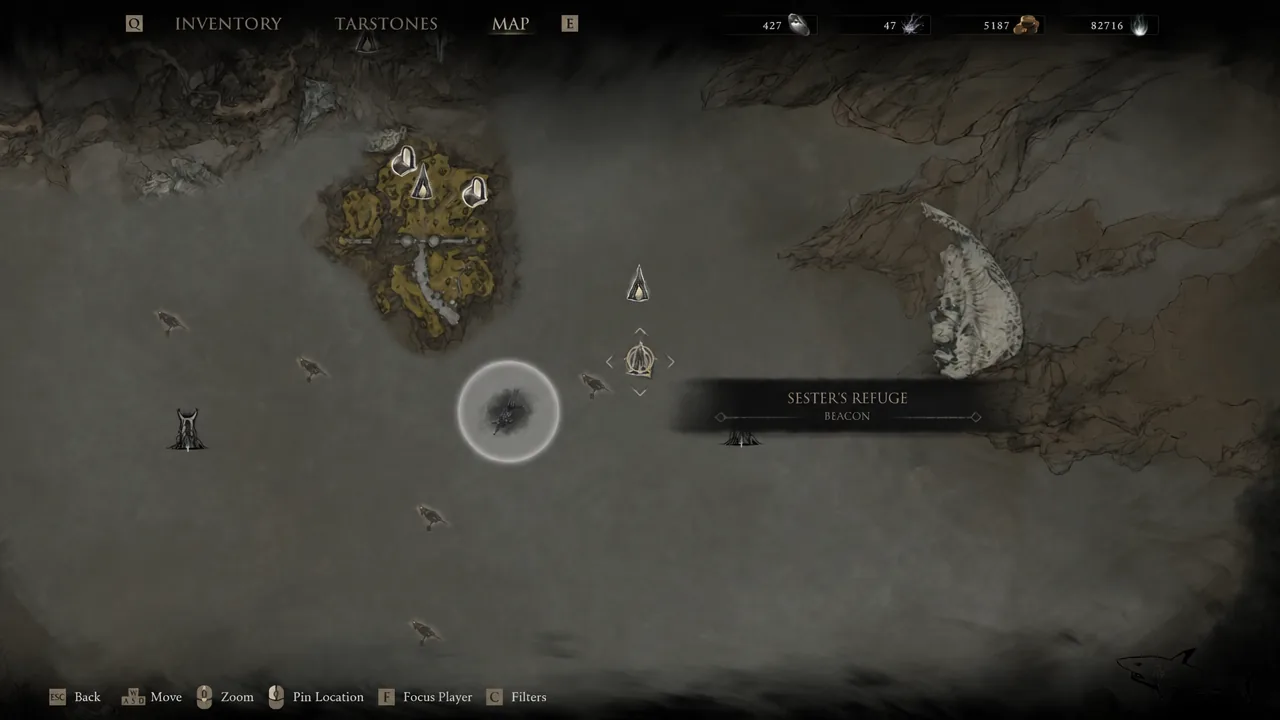
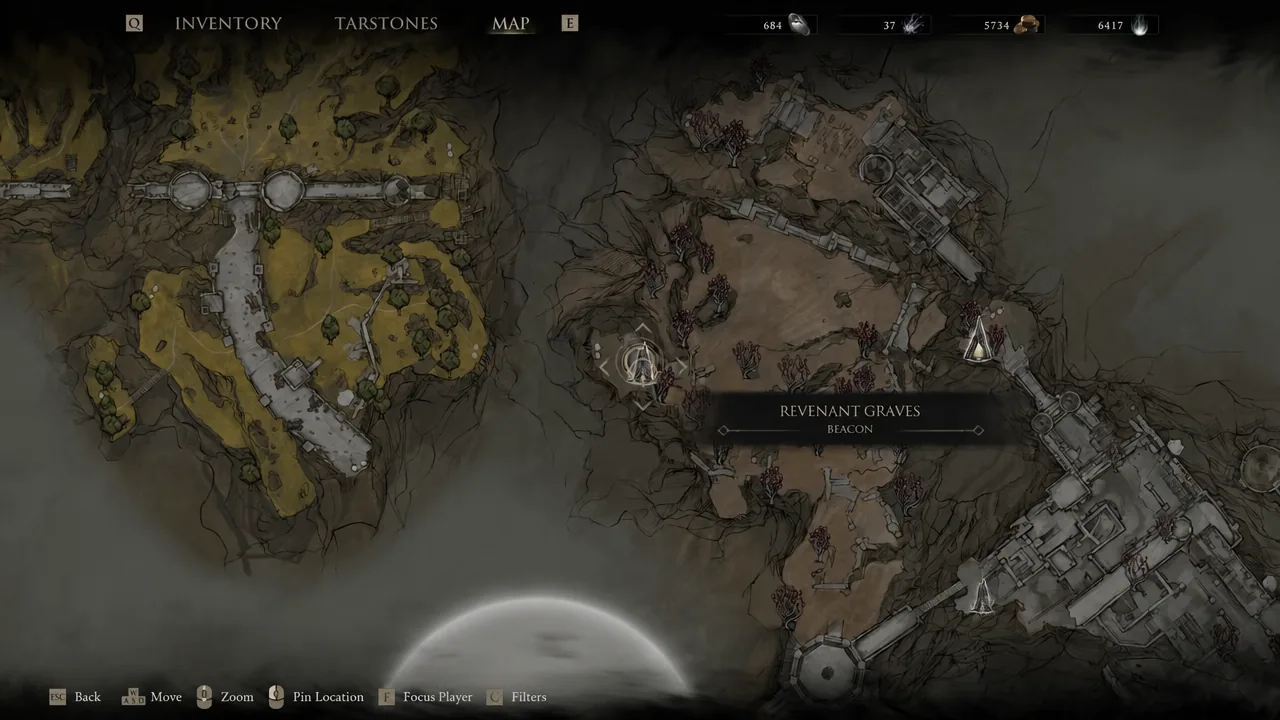
Where the Sester’s Censer is in Mortal Shell 2
The censer sits in the Revenant Graves, a field of red trees on the eastern landmass of the Mammon region. It is close to the Sester’s Refuge and a short walk from the Abbey Entrance beacon, which is the fastest launch point once you have lit it. The clearing is easy to identify: red Sester figures flicker in and out of existence around it, and they are all turned toward the same spot. The censer glows against the cliff wall near the giant stone monuments.
| What you need | Detail |
|---|---|
| Region | Mammon, eastern landmass |
| Closest beacons | Abbey Entrance, Sester’s Refuge, Revenant Graves |
| Boss | Sester Secundus |
| Item | Sester’s Censer |
| Hand-in | Sester Genessa, Marrow Keep training grounds |
Route from the Outskirts of Mammon to the Revenant Graves
If you haven’t unlocked the beacons in this stretch yet, the cleanest approach is to run the chain from the Outskirts of Mammon and cleanse each one as you go. That gives you a fast-travel point right on top of the boss arena and saves the return trip later.
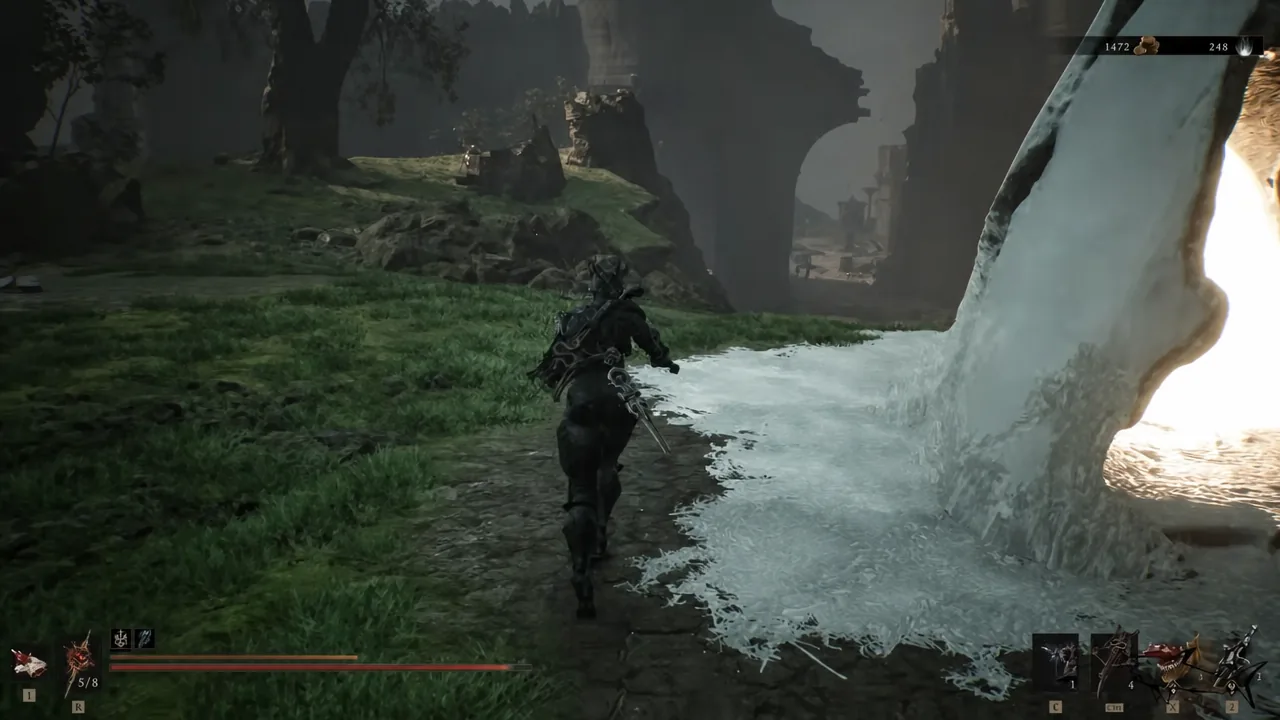
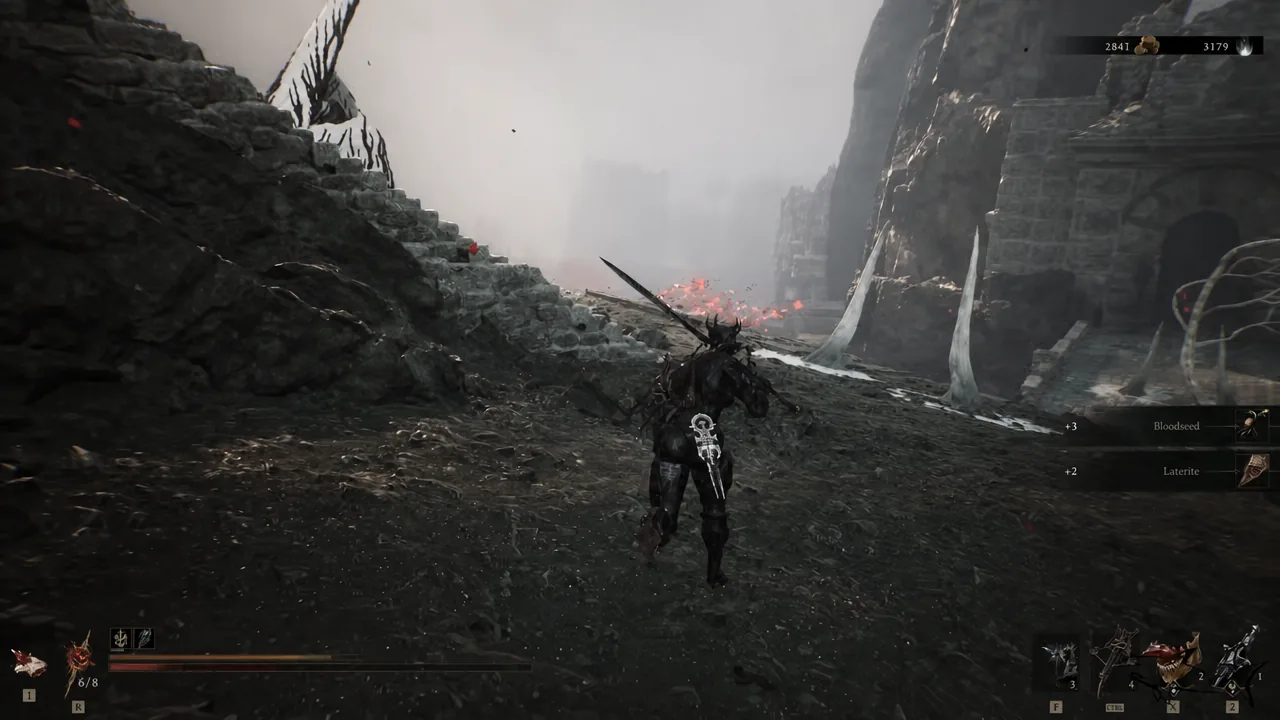
Note: some players run into a pair of Gloombound Ritualists guarding the approach northwest of the Abbey Entrance. They summon exploding enemies that can delete a health bar in a couple of blasts, so kill the summons early and keep space between yourself and the crowd.
Beating Sester Secundus for the Sester’s Censer
Sester Secundus fights much like the female cultists you have already met — a long spear for close range, plus lightning projectiles when you back off. She is manageable once you stop rushing her. Dodge through the spear strings, or hold the Seal to parry and deflect, then punish with a riposte. Eredrim’s Shoulder Bash works especially well here, since it staggers her repeatedly and opens up free ripostes.
She drops the Sester’s Censer on death, and there is no second requirement — the item goes straight into your inventory.
Give the censer to Sester Genessa in Marrow Keep
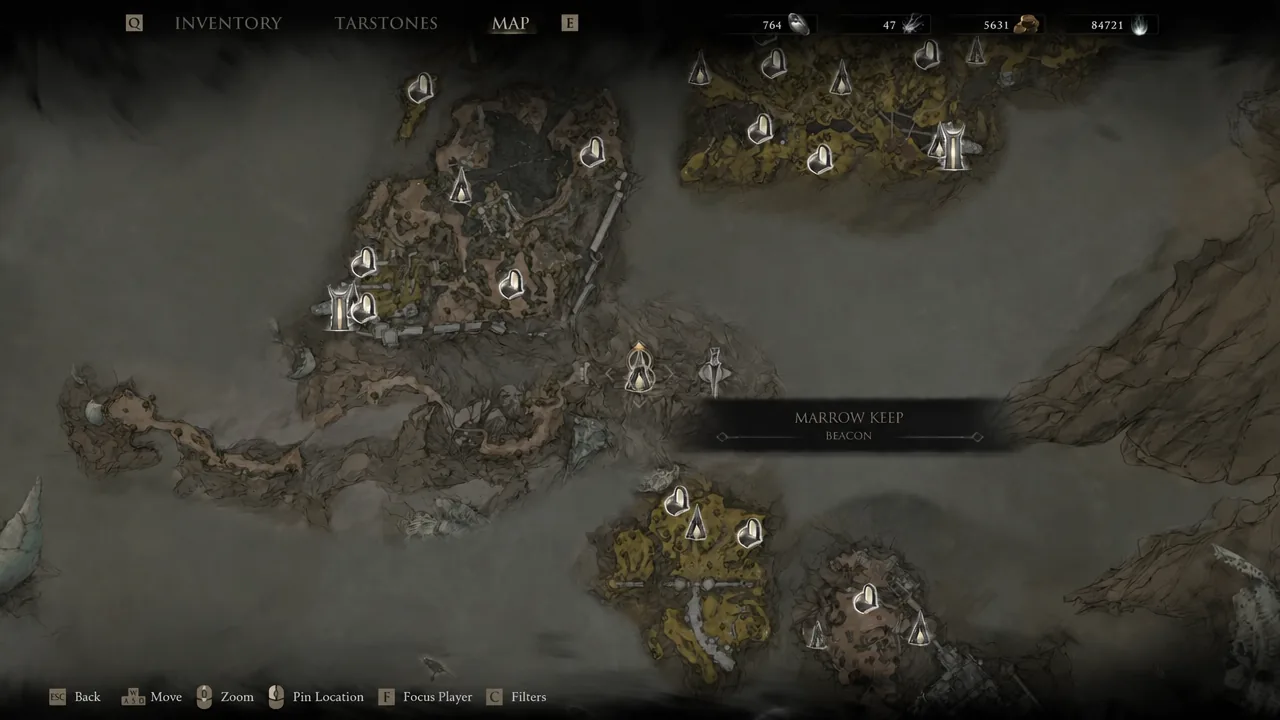
One quirk to expect: while you are playing as Genessa, the NPC back in the training room turns into the Stray Sester. Swap to any other shell and she reverts to Sester Genessa. Nothing is broken when this happens.
Genessa’s abilities: Faithful Doubles, Stray Doubles, and Duality
Genessa is built around summons and ranged pressure rather than trading blows. Her doubles do the damage while she keeps her distance, which makes her one of the safer shells against crowds — assuming the summons pick the right target.
| Ability | What it does |
|---|---|
| Faithful Doubles | Summons copies that perform a weapon attack, then vanish. |
| Duality (passive) | When her health is depleted she becomes Stray instead of being severed from the Harbinger. |
| Stray Doubles | Available in the Stray state; the doubles copy weapon and sidearm attacks. |
Duality is the part worth internalizing. Losing your shell as Genessa does not spit you out as the naked Harbinger — you continue as Stray Genessa. You cannot revert to the normal state during that run, but you gain the Stray Doubles ability in exchange.
She is also the only shell that answers back to NPCs out in the world, which changes a handful of conversations you have already had as other shells.
How to upgrade Genessa (she doesn’t use the Shellkeeper)
Every other shell gets its bond levels through Zhirelle, the Shellkeeper. Genessa does not. Because she isn’t a body the Harbinger inhabits, you spend Glimpse on her by talking to the Stray Sester in the Marrow Keep training room and choosing “Look Within.” Her levels are handled at a Beacon rather than through the usual shell menu.
| Tier | Skill | Focus |
|---|---|---|
| I | Augmentation | Cheaper Faithful Doubles, Resolve regen on hit |
| I | Catalyst | Cheaper Stray Doubles, longer duration |
| I | Timeless | Stasis mitigation, then Stasis immunity |
| II | Affinity | Faithful Doubles hit harder and more times |
| II | Instigation | Doubles apply Warp, Phantom, Weak and Fragile stacks |
| II | Intangible | Extra Faithful Doubles when her health is depleted |
| III | Distraction | Doubles draw enemy attacks and burst into Stasis shockwaves |
| III | Communion | Higher Stray Double melee and ranged damage |
| III | Alteration | Longer Stray Double duration; Genessa defaults to Stray |
| IV | Impetus | Faithful Doubles can use your equipped Weapon Ability |
| IV | Causality | Stray Doubles can apply Weapon and Sidearm Infusions |
| IV | Mirage | Doubles shield Stray Genessa from fatal blows; extra double |
If you plan to lean on her, Affinity and Communion are the two lines that move the damage needle fastest, while Mirage is what keeps the Stray state from being a slow death sentence. The doubles do occasionally lock onto scenery instead of the enemy you targeted, so treat them as pressure rather than a guaranteed burst window, and keep your own weapon in the rotation.