Hunting through a 14th-century night in The Blood of Dawnwalker gets rough fast if your screen is crushing shadows. The fix exists, but it isn’t where most players look for it. Search the menus for the word “Brightness” and you’ll come up empty, because the game files that control under a different name entirely.
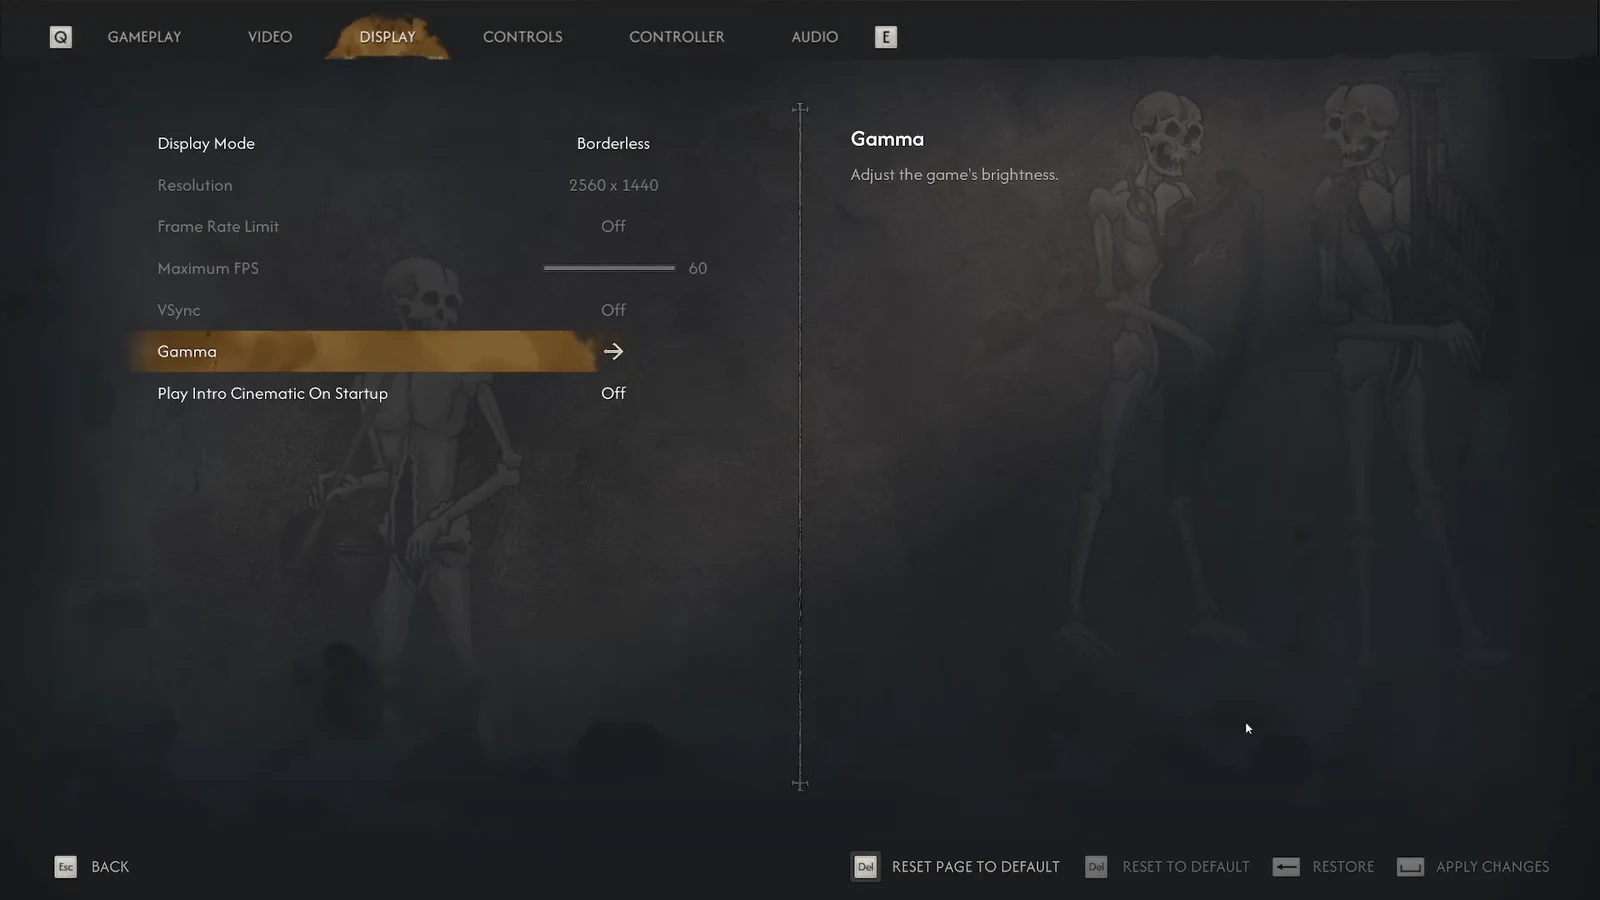
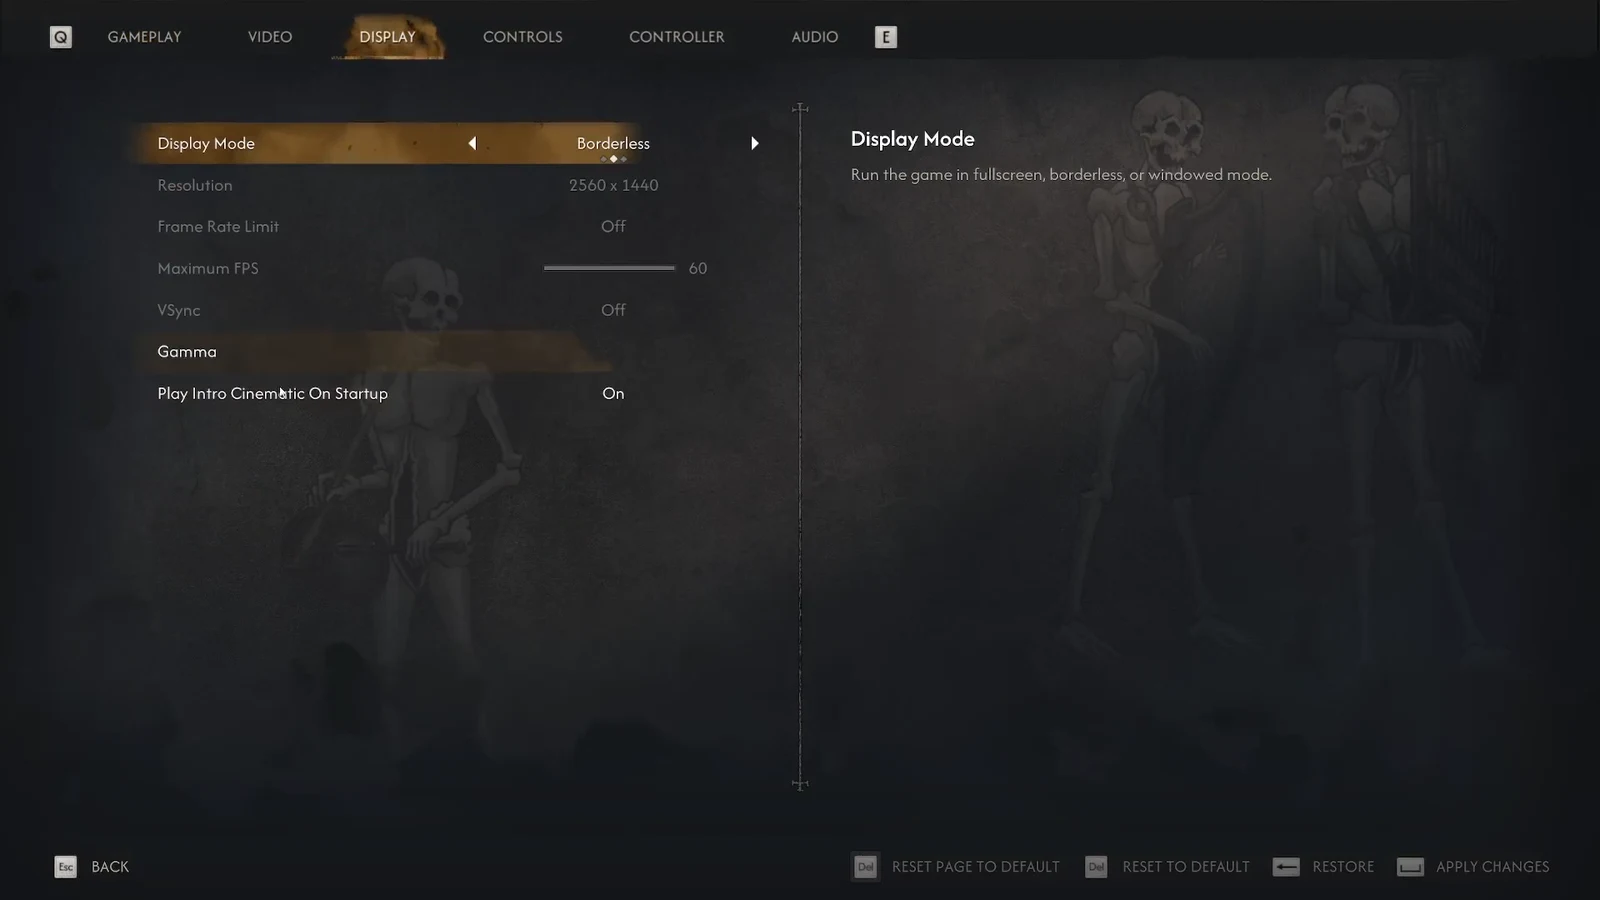
Quick answer: Open the pause menu, go to Settings, switch to the DISPLAY tab, select Gamma, drag the slider until the left-hand image is barely visible, then press CONFIRM.
Why there is no Brightness slider
The Blood of Dawnwalker does not ship a setting labelled “Brightness” anywhere in its menus. Overall image brightness is handled by Gamma, which sits in the DISPLAY tab alongside Display Mode, Resolution, Frame Rate Limit, Maximum FPS, VSync and the intro cinematic toggle. On PC the Gamma value runs from 0.00 to 4.00, so there is plenty of room in both directions.
That naming is the whole reason this trips people up. Gamma is also a mid-tone adjustment rather than a straight backlight boost, which is why raising it lifts detail out of shadowed interiors without simply washing the entire frame out.
How to change brightness in The Blood of Dawnwalker
Escape key, which brings up the menu with Quicksave, Resume, Save Game, Load Game, Settings, Return to Main Menu and Quit Game.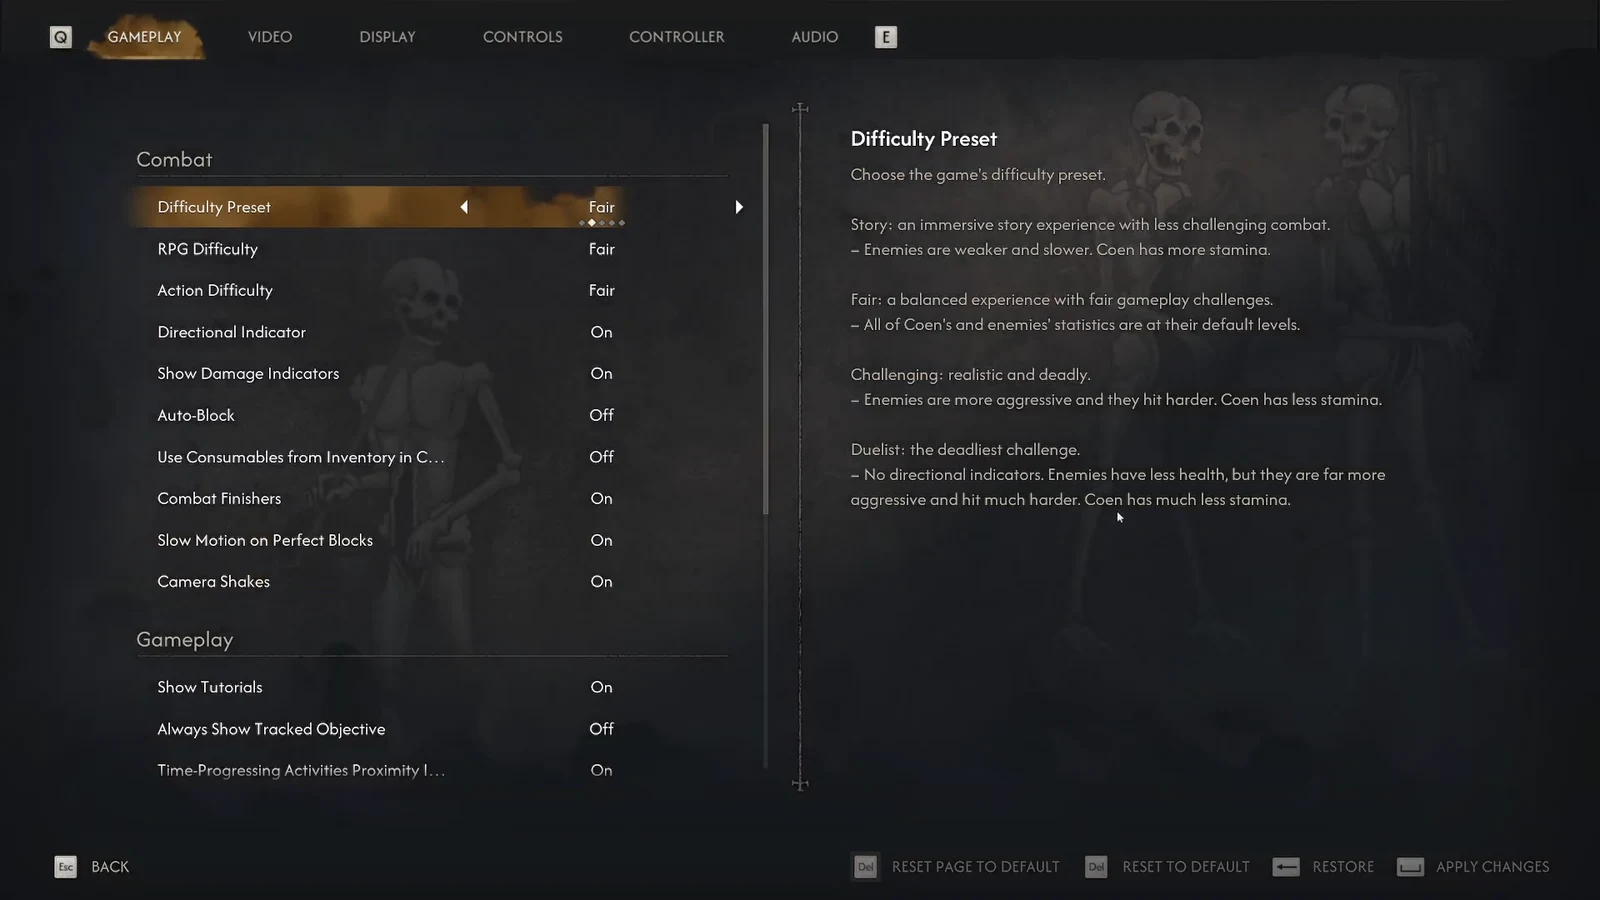
Setting the Gamma slider correctly
The calibration screen is doing something specific, so don’t just crank it to taste. The leftmost image should sit right at the edge of perception — visible if you look for it, invisible if you don’t. Push past that point and you lift the black floor, which turns night scenes into a grey haze rather than making them readable.
Calibrate in the lighting you actually play in. A gamma value that looks right in a dark room will read as murky the moment sunlight hits the screen, and vice versa.
Gamma is a display setting, not a save-file setting, so it carries across your whole playthrough rather than resetting between chapters.
How to confirm the new brightness applied
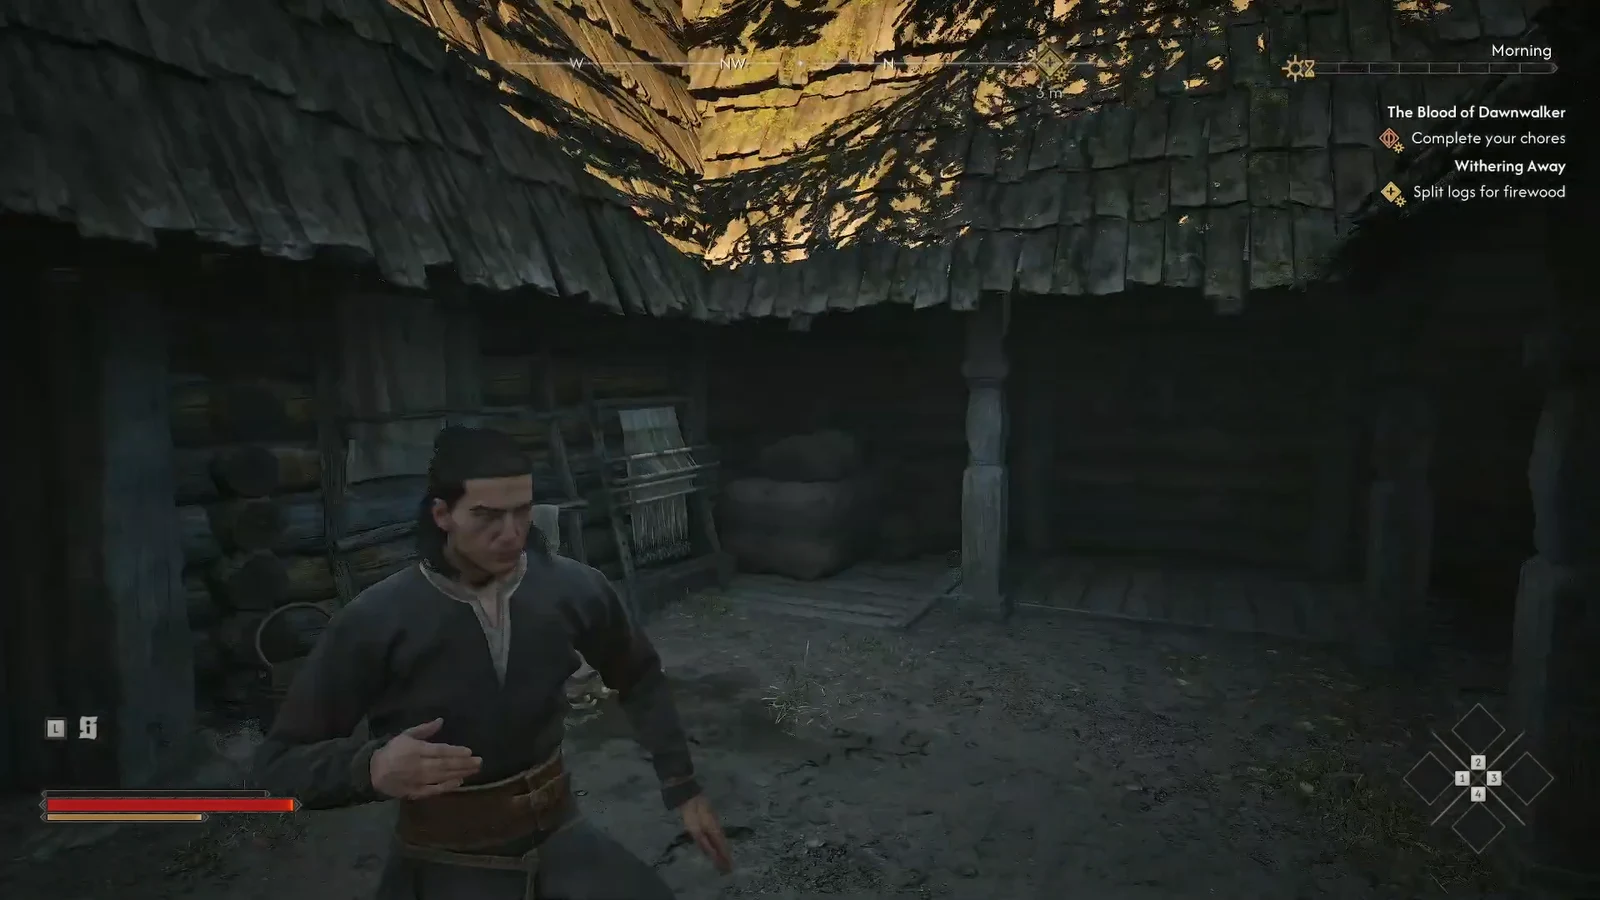
Pressing CONFIRM drops you back into the DISPLAY tab with the new value stored. Resume the game and the change is visible immediately — no restart, no reload. The clearest test is a shaded interior or a night scene rather than an open field at noon, since gamma changes are most obvious in the darkest parts of the frame.
If nothing appears to change, you likely backed out of the calibration screen without pressing CONFIRM. Go back in and finish with the confirm prompt rather than the cancel or back input.
Every option on the Display tab
| Option | What it controls |
|---|---|
| Display Mode | Full Screen, Windowed or Borderless output |
| Resolution | Render resolution, limited by your monitor |
| Frame Rate Limit | Turns the FPS cap on or off |
| Maximum FPS | The cap value, from 30 FPS up to Unlimited |
| VSync | Syncs frames to the display refresh rate |
| Gamma | Overall image brightness, on a 0.00–4.00 scale |
| Play Intro Cinematic On Startup | Skips the opening video on launch |
When Gamma alone doesn’t fix visibility
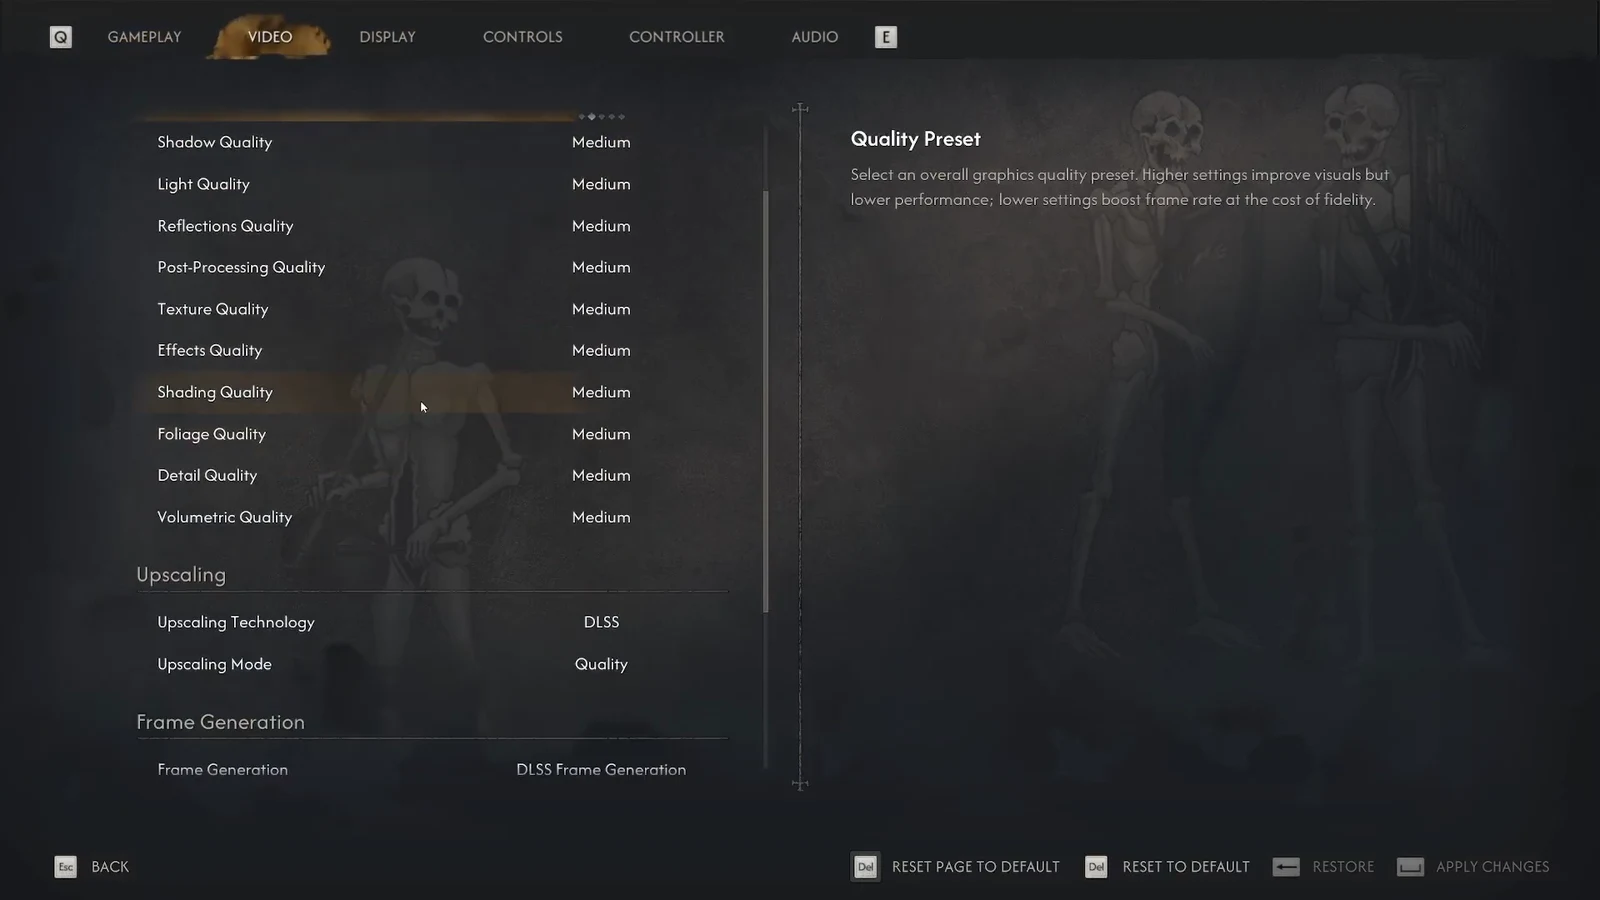
Sometimes the problem isn’t brightness, it’s clutter sitting on top of the image. The VIDEO tab holds Post-Processing Quality along with Motion Blur, Bloom and Chromatic Aberration toggles, and turning those effects off produces a cleaner, easier-to-read picture during fast camera movement. It won’t lighten a dark room, but it stops the frame smearing while you’re trying to track something in it.
The other variable is HDR. The game includes a High Dynamic Range toggle, and when HDR is active your display’s own tone mapping can fight the game’s luminance curve, crushing shadow detail no matter where the gamma slider sits. If dark scenes still look blocked up after calibrating, switch off any dynamic tone mapping on the TV or monitor and let the game handle the luminance values, then recalibrate gamma once.
On PS5, the equivalent controls are the console-side HDR sliders for peak brightness, black level and midpoint. Matching the in-game peak brightness figure to your panel’s actual nit rating is what keeps deep blacks intact while still leaving enemies visible in shadow.
None of this is permanent. Gamma can be re-opened and re-confirmed as often as you like, including mid-quest, so it’s worth nudging once you reach a genuinely dark area rather than settling on a value during a bright daytime opening.