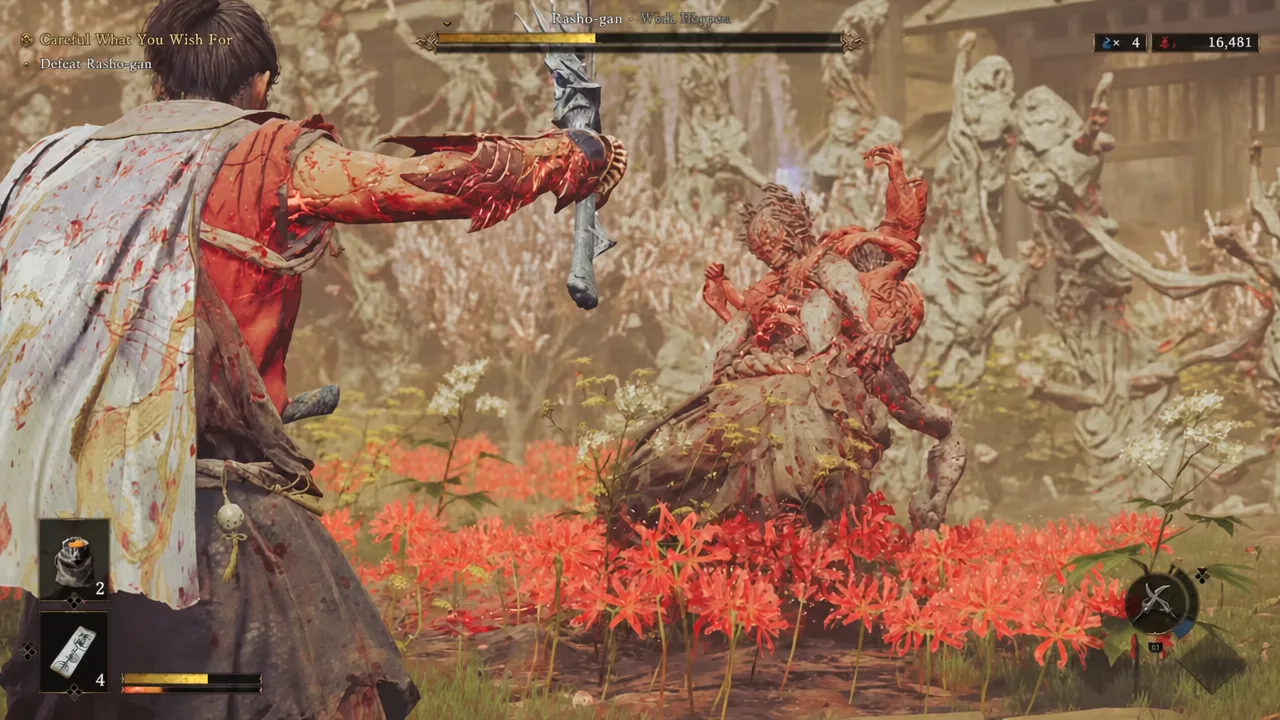
Rasho-gan is the boss waiting at the end of the Careful What You Wish For main quest, a Genma posing as a matchmaking deity at the Yasui Konpiragu Shrine while it grants villagers’ wishes in twisted, ruinous ways. It is also the first real difficulty spike in Onimusha: Way of the Sword. The fight is fast, it hits hard enough to delete Musashi in a couple of exchanges, and it has a second phase that most players walk into unprepared.
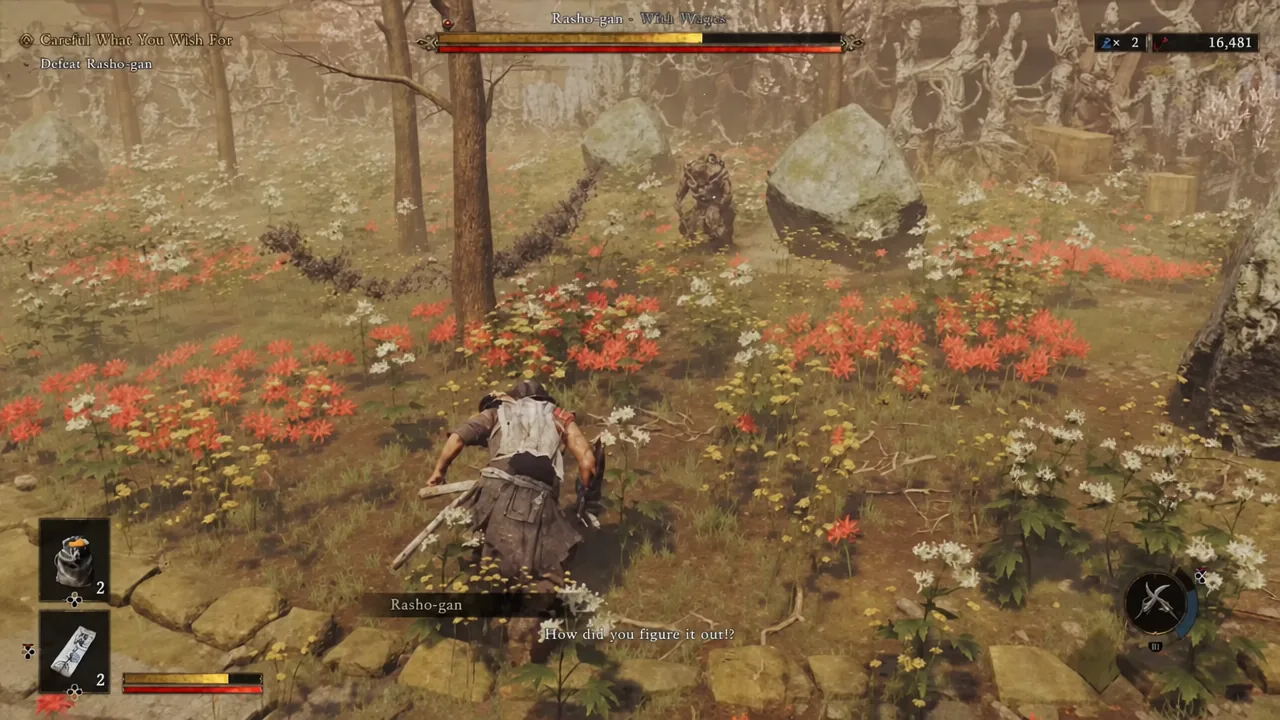
Quick answer: Parry all three hits of Rasho-gan’s blade combo (the third is delayed), then punish with three hits of your own. Reflex Dodge the ground slam and the grab — neither can be parried — and shoot his tendrils with the Oni Bow whenever he picks up a tree, stone, or piece of the arena. At roughly 60 percent health he enters his enhanced state, so keep your healing items for that half of the fight.
Set up before you walk into the shrine
Two settings decisions matter more than anything you bring with you. The Defense fighting style maps guard and parry in line with most modern action games and is the gentler learning curve, while the Offensive scheme is closer to the older Capcom action layout. Difficulty-wise, a first run on Action is the sensible baseline; Carnage only unlocks after you finish the game once.
For charms, a first-playthrough loadout of maxed Charm of the Healer, Charm of Protection, Fencer’s Strength Charm, and the default Hozuki Pouch covers the two things Rasho-gan punishes hardest — chip damage and slow healing. Bring your healing consumables and do not burn them in the opening phase.
Bosses in this game are dynamic. If you take heavy damage early, Rasho-gan can flip into his enhanced state ahead of schedule, which makes the rest of the fight considerably worse. Playing the first phase cleanly is not just about health, it also controls the pacing.
Rasho-gan attack patterns and the correct answer to each
Almost everything Rasho-gan does falls into one of six moves. Learning which ones are parryable and which ones demand a Reflex Dodge is the entire fight.
| Attack | Tell | Response |
|---|---|---|
| Basic combo | Three blade strikes, the third arrives slightly late | Parry all three. He staggers, giving you a three-hit window |
| Slam | Arms raised above his head | Reflex Dodge. Cannot be parried, and it staggers you plus a chunk of health |
| Grab | He reaches for Musashi to lift him | Reflex Dodge. If it lands, expect a punch barrage and a throw into a wall |
| Tendrils | Threads shoot out at you or at the scenery | Counter immediately if you get bound; shoot the tendrils with the Oni Bow if he grabs an object |
| Spin (phase two) | He winds up a rotating sweep | Move out of the path. It can be parried, but the timing is punishing |
| Projectiles | Thrown blobs and shots across the arena | Dodge, counter, or shoot the large blob out of the air before it reaches you |
Opening distance at the start of the fight and simply watching him swing for a few seconds is not wasted time. His animations are quick but readable, and the whole loop depends on you recognising the combo’s delayed third hit rather than reflexively guarding early.
The safe damage loop
What changes at 60 percent health
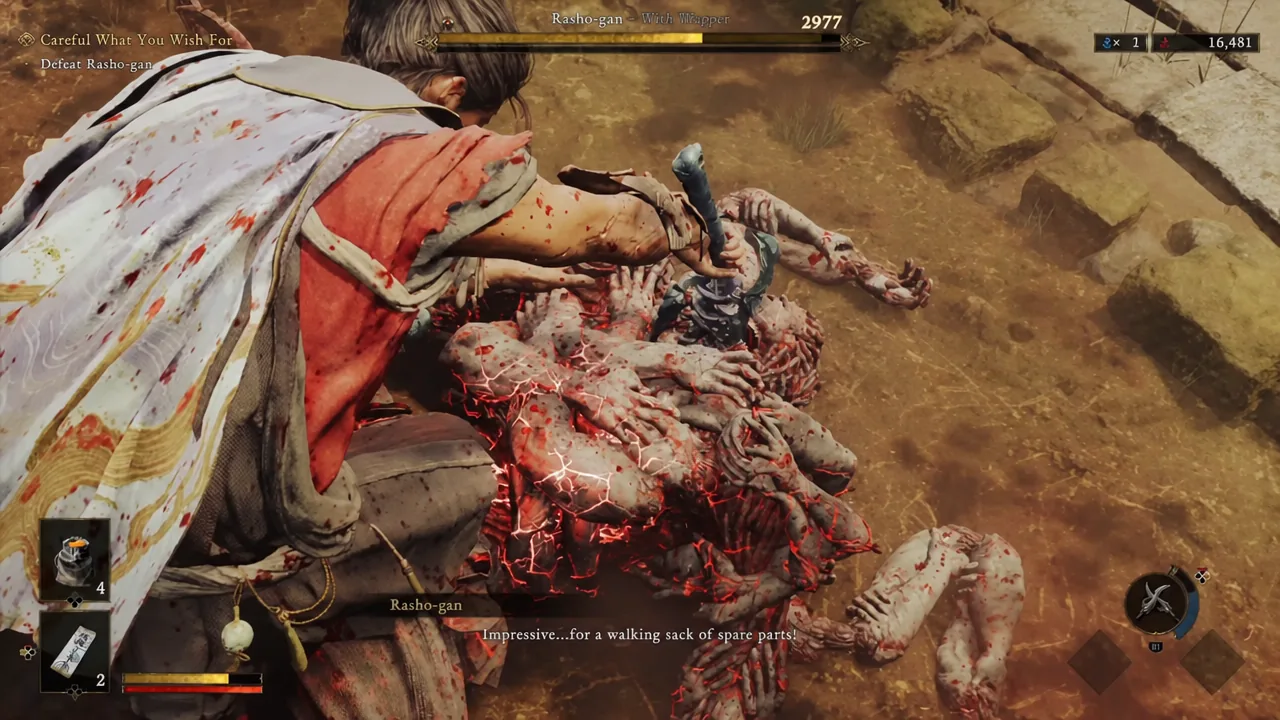
Once you knock roughly 40 percent off his health bar, Rasho-gan shifts into an enhanced state with higher damage output and a handful of additions to his kit. The most important change is a follow-up strike layered onto his basic combo — he attacks again the moment you parry the first hit, so you have to keep countering instead of dropping your guard to reposition.
The spin attack also appears here. It briefly stuns you on contact and the parry window is tight enough that stepping out of its arc is the more reliable answer. His grab remains the single most expensive mistake available, so treat every reach animation as a hard commitment to dodge.
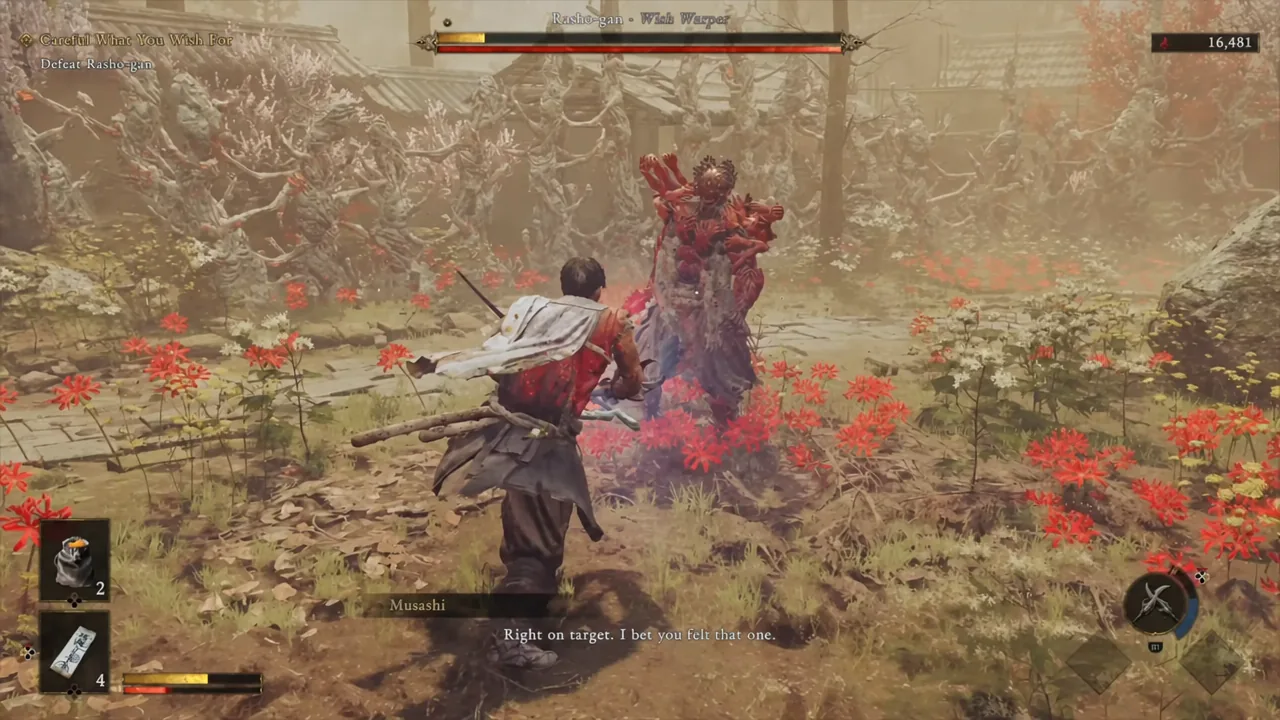
Use the Oni Bow on the tendrils
Rasho-gan’s tendrils do double duty. They can bind Musashi directly, in which case he follows up with a strike and you need to counter the instant you are grabbed. They can also reach out and rip trees, stones, or pieces of the surrounding buildings out of the arena to throw at you.
That second version is where the Oni Bow earns its place. Shoot the tendril while it is holding the object and the attack cancels — if the object drops on Rasho-gan’s own head, better still. The same logic applies to the large blob projectile in phase two, which is worth shooting down rather than eating.
Why attempts fail
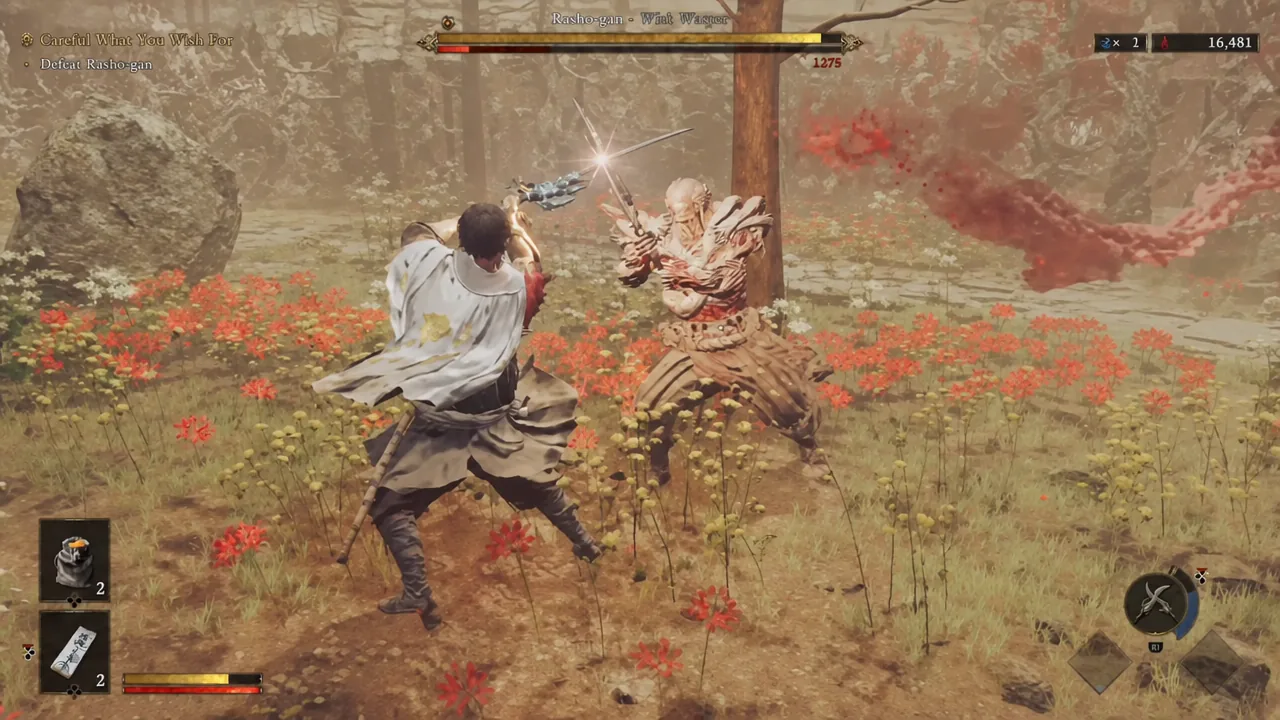
- Guarding too early on the third combo hit, because of the built-in delay, and eating the strike through a dropped block.
- Trying to parry the slam. It is not parryable — the raised arms are your cue to Reflex Dodge.
- Staying in melee range after a punish string instead of backing off, which walks you straight into the grab.
- Spending healing items in phase one, leaving nothing for the enhanced state where his damage spikes.
- Ignoring the tendrils when he starts lifting scenery, which turns an avoidable cancel into a heavy hit.
Confirming the kill and what you get
When Rasho-gan goes down, Minamoto no Yorimasa’s spirit purges the Genma and the Careful What You Wish For quest closes out. You will know it worked from two concrete additions rather than a simple objective tick: Musashi unlocks the Oni Strength ability, and Yorimasa’s monument becomes available, where you can trade Red Souls for items.
If you want to drill the fight afterwards, the temple bell at Rokudo-chinnoji Temple sends you to the Practice Ground, where defeated bosses can be re-fought. That is the cheapest way to rehearse the parry timing on his combo before Carnage difficulty makes those same mistakes fatal.