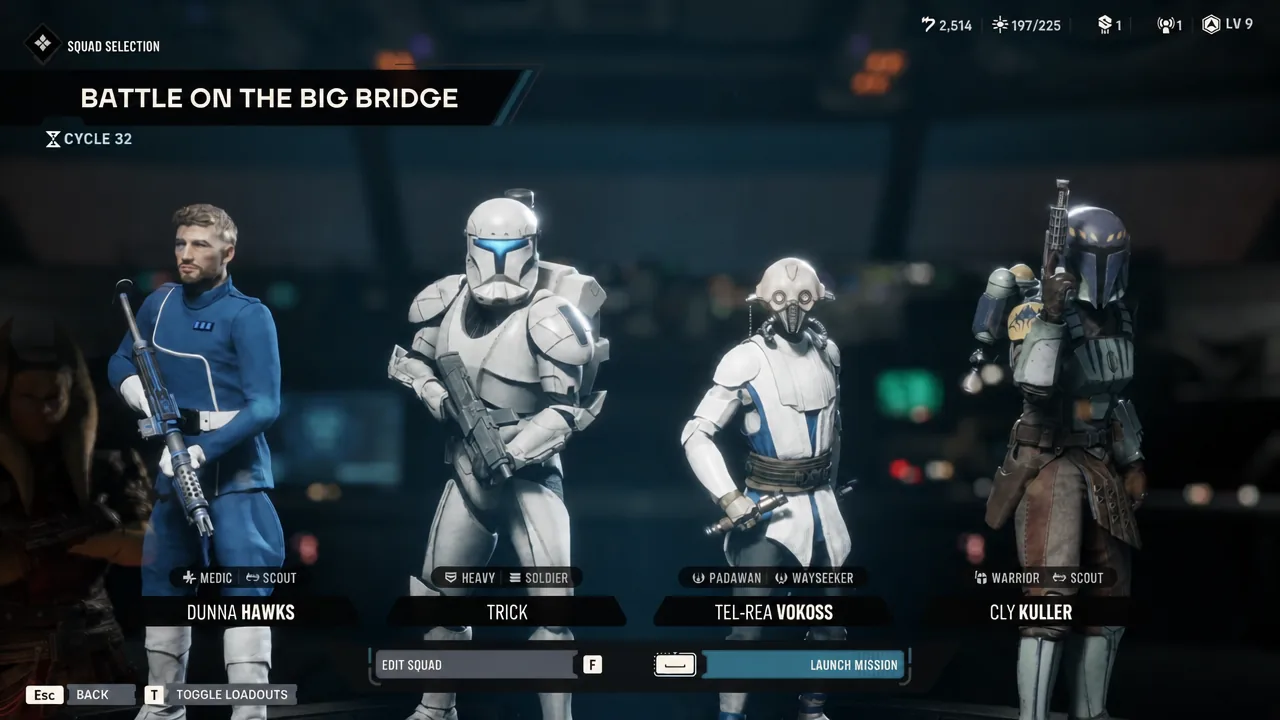
Hawks is the one operator you never bench. As the leader of Zero Company, he is locked into every story mission, which means his specialization, talent tiers, and gear quietly shape every fight in the campaign. The good news is that he has no fixed class, so you can build him around what the rest of your squad lacks.
Quick answer: Build Hawks as a Gunslinger with a pistol, take Scout as his second specialization once it unlocks at Cycle 18, and spend your earliest talent upgrades on Fearless Leader.
Hawks build summary
Every operator in the game is assembled the same way. You pick a specialization, a weapon, a focus tree path, and later a second specialization. Story characters like Hawks also carry a signature talent that survives any respec, so nothing here locks you out of changing your mind later.
| Slot | Recommendation |
|---|---|
| Species | Human (your choice at creation) |
| Primary specialization | Gunslinger |
| Weapon | Pistol |
| Signature talent | Fearless Leader (fixed, upgradeable) |
| Special action | Pico-5 |
| Second specialization | Scout (Medic if your squad keeps taking injuries) |
| Role | Pistol damage dealer and squad-wide force multiplier |
| Availability | Always deployed, required on story missions |
Fearless Leader is the first talent to upgrade
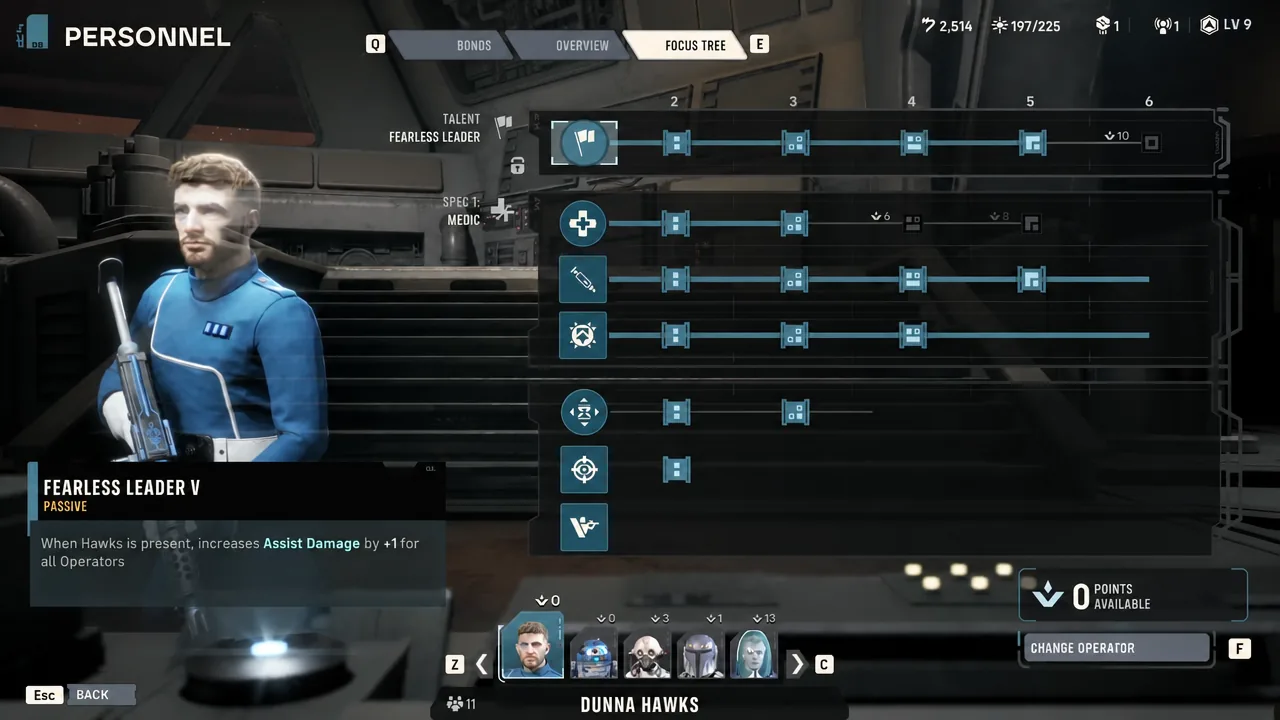
Fearless Leader is Hawks’ fixed signature talent, and it applies to the whole squad rather than to him alone. While he is on the field, every operator gains Assist Damage, and higher tiers add Defense on top of that. Because assists trigger constantly through Scoundrel’s Easy Mark, Jae’s Final Shot, and squad Bonds, each point of Assist Damage effectively multiplies across the entire team every turn.
| Tier | Squad-wide bonus |
|---|---|
| Tier 1 | +1 Assist Damage |
| Tier 2 | +1 Assist Damage, +1 Defense |
| Tier 3 | +2 Assist Damage, +1 Defense |
| Tier 4 | +2 Assist Damage, +2 Defense |
| Tier 5 | +3 Assist Damage, +2 Defense |
| Tier 6 | +4 Assist Damage, +3 Defense |
Pico-5 gives an ally an extra action point
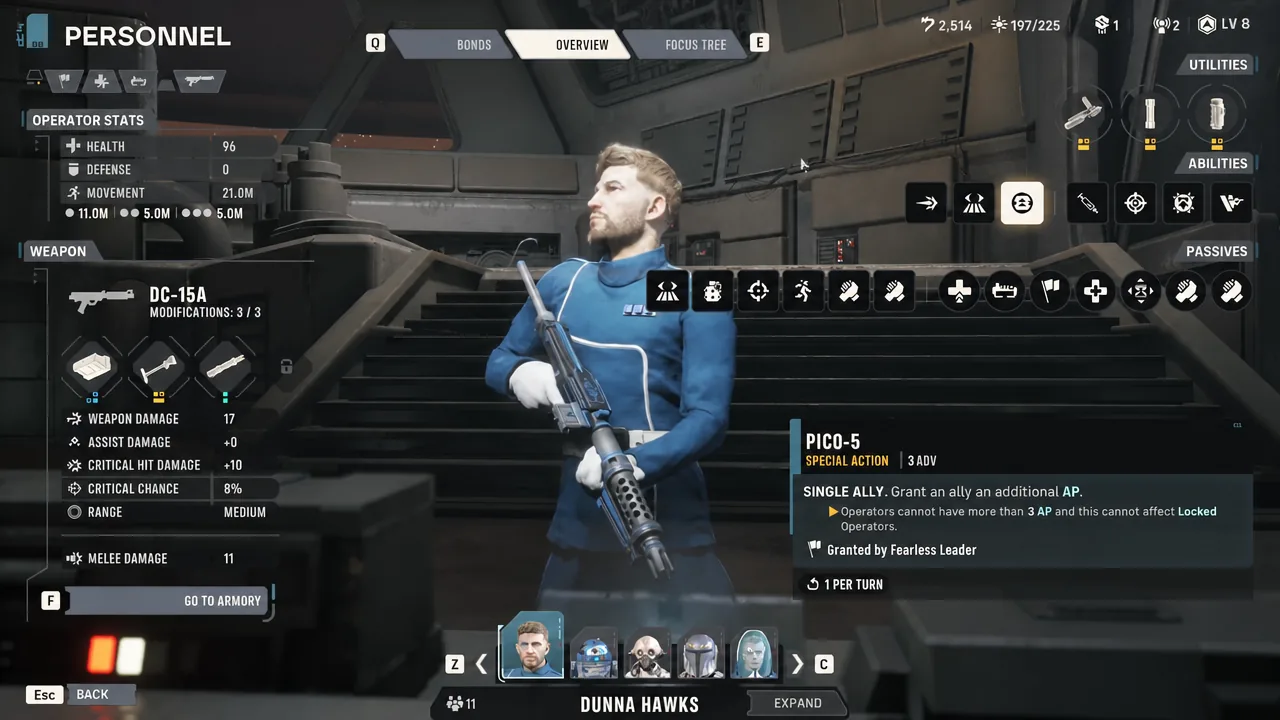
Pico-5 is Hawks’ special action and the reason he works as a support piece regardless of class. It spends 3 Advantage from the shared pool to hand a single ally one additional Action Point, and it can only be used once per turn. Save it for the operator who is one AP short of a kill, not for a unit that is simply repositioning.
Gunslinger abilities for the pistol build
Gunslinger fires more individual shots per turn than any other standard specialization, which is what makes it a good match for Hawks. Between the primary blaster, Quick Draw, and Open Fire, his flat critical chance bonus gets far more chances to trigger, and his damage ramp climbs higher within a single turn.
| Ability | What it does |
|---|---|
| Open Fire (Ultimate) | Fires twice at any combination of enemies for 9 Advantage. Tiers 2 to 5 add up to +20% Chance-to-Hit, and Tier 6 adds a third shot. |
| Quick Draw (Standard) | A 1 AP sidearm shot separate from your primary blaster. Its accuracy penalty shrinks with each tier, and Tier 6 restores 1 AP on a kill. |
| Keen Eye (Passive) | Ranged Critical Chance, starting at +6% and reaching +18% at Tier 5. |
| Onslaught (Passive) | Each attack in a turn adds +1 Blaster Damage, stacking as the turn goes on. Primary blaster only. |
Quick Draw is the priority upgrade. It costs a single AP, does not touch your primary weapon’s action economy, and works as a cheap finisher on a target that needs one more hit. Onslaught rewards the opposite habit, so on turns where a target is still healthy, spend your AP on primary blaster attacks and let the damage stack build.
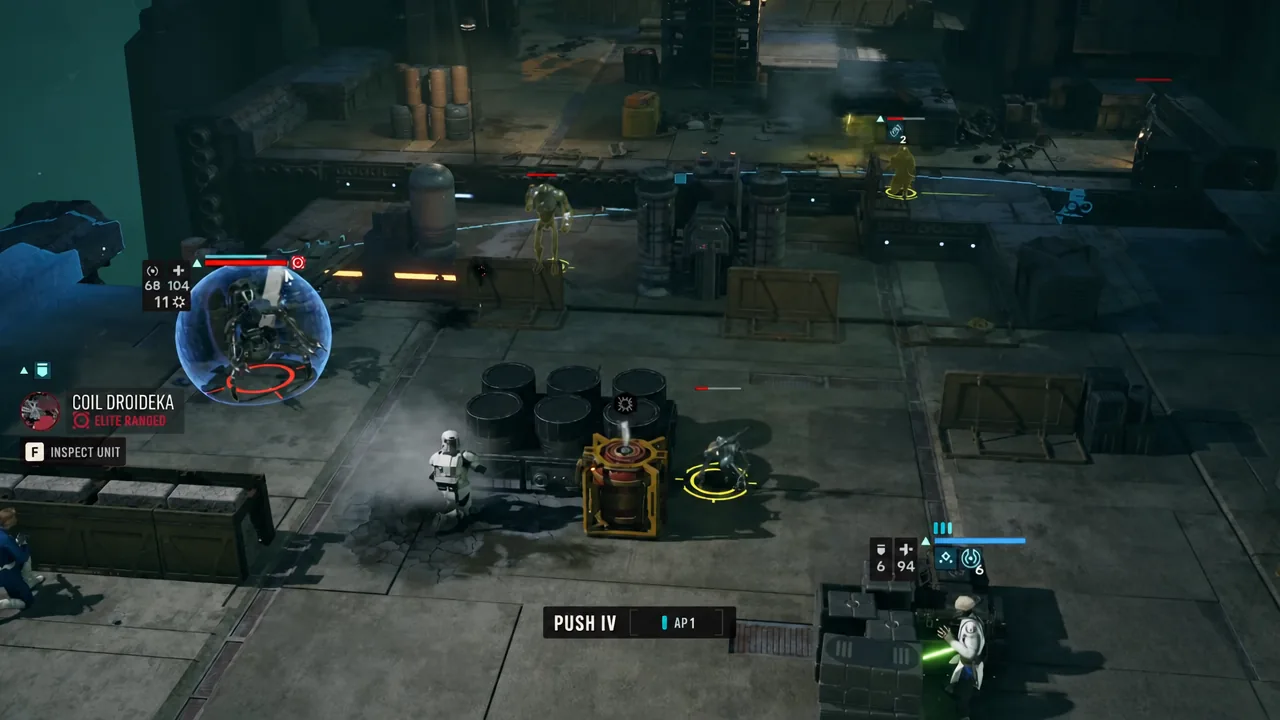
Second specialization: Scout or Medic after Cycle 18
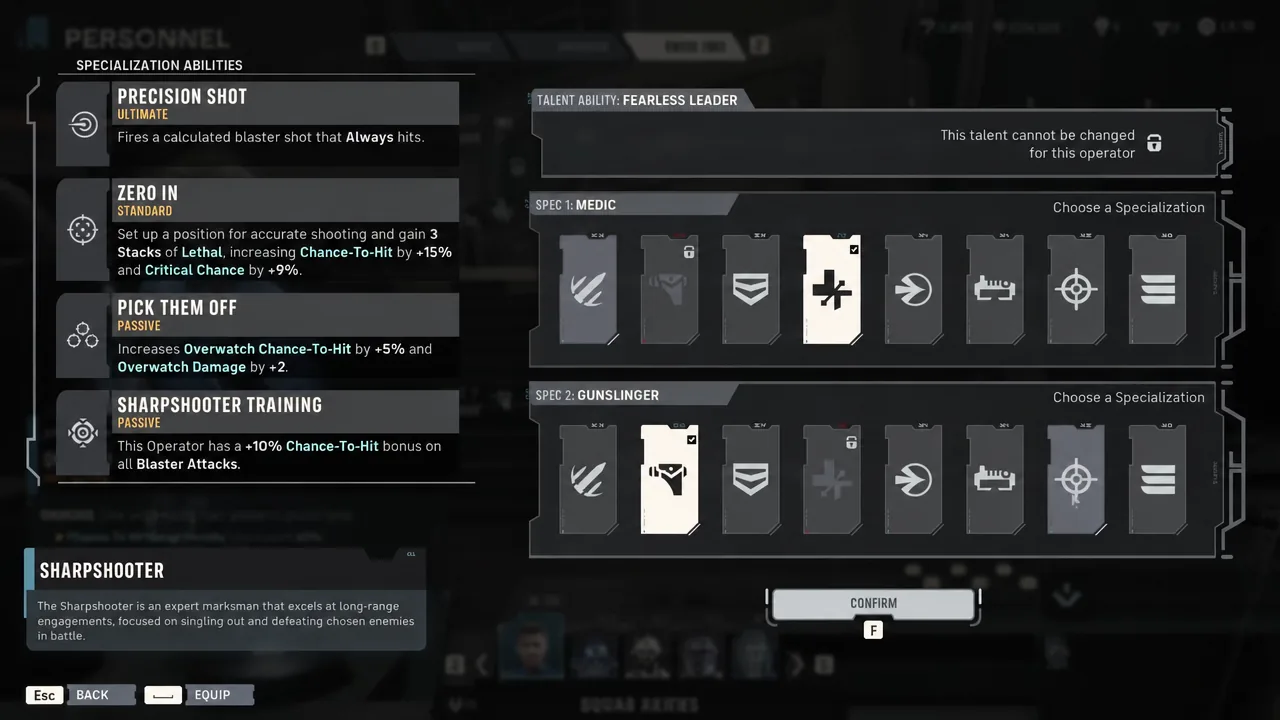
Operators unlock a second specialization at Cycle 18. You can pick any of the other standard classes, with two exceptions: you cannot double up on the class you already have, and the Astromech class is off the table. Focus tree upgrades in a second specialization stop at Tier 5, so it will always be slightly weaker than a primary pick.
Scout is the stronger choice for most squads because it feeds the resource everyone else depends on. Combat Recon converts a scan into Advantage, Tactical Timing generates more on kills, and that Advantage pays for Pico-5, Open Fire, and every other operator’s ultimate.
| Scout ability | What it does |
|---|---|
| Combat Recon (Standard) | Assesses a target area and grants +1 Advantage per enemy inside it. Also reveals hidden enemies. Range and area grow with each tier. |
| Tactical Timing (Passive) | Chance to gain Advantage when this operator defeats an enemy, from 20% at Tier 1 to 100% at Tier 5. |
| The Spotter (Passive) | Marks an enemy as Spotted when this operator damages it with a blaster. |
| Ambush (Ultimate) | Spends all Advantage, requiring at least 4, and scales damage with the amount spent. |
Medic is the alternative when your squad keeps picking up injuries on harder difficulties. Hawks already moves around the map a lot, which makes it easy to end turns within range of a wounded ally. Lifesaving Measures increases how much his Medpacs heal, and Combat Stim hands out stimulants that buff allies while building bond experience.
Note: Ambush and Open Fire both draw from the same shared Advantage pool that Pico-5 uses. Firing an ultimate on the same turn you wanted an AP refresh usually means one of the two does not happen.
Weapons, mods, and utility items for Hawks
A pistol suits the Gunslinger fantasy and pairs with Quick Draw, but a Blaster Rifle is a solid general-purpose option if you want more shots per turn without giving up much damage. For mods, an Amplifier works across most situations, and your remaining choices should follow whether Hawks ends up fighting at close or long range.
- Medpacs — useful before Medic unlocks, and still worth carrying afterwards because the class boosts how much they heal.
- Impact Bombs — direct damage and battlefield control when enemies bunch up.
- Smoke Bombs — cover a bad position or break line of sight when Hawks has pushed too far forward.
How to confirm the build is working in combat
The clearest signal is your Advantage pool. With Scout attached, Combat Recon should hand you a point per enemy in the scan area at the start of an engagement, and Tactical Timing should top it up on kills. If Hawks is generating enough that you can fire Pico-5 and still bank Advantage toward an ultimate, the build is doing its job.
On the damage side, watch assist numbers on your other operators. Fearless Leader applies while Hawks is deployed, so a tier upgrade should raise the assist damage every squad member deals on the very next mission. Pico-5 confirms itself immediately, since the chosen ally’s AP counter ticks up by one on use.
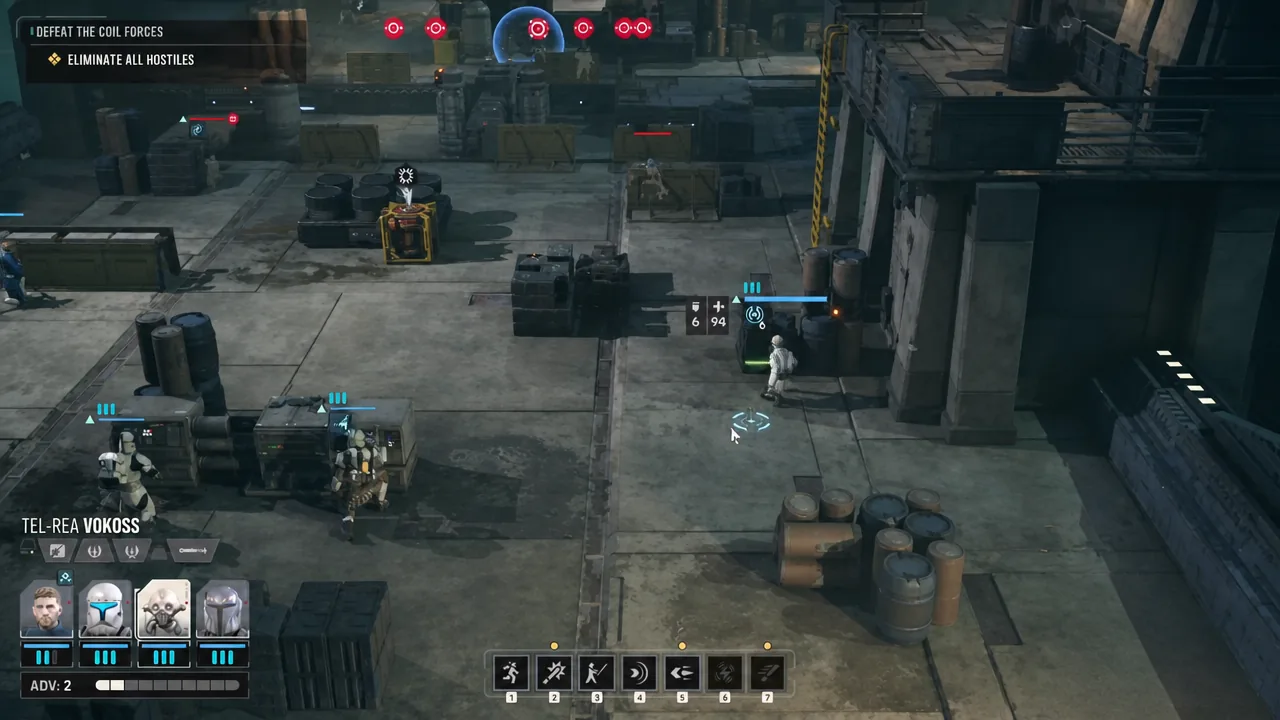
If Pico-5 does not fire, the usual reasons are simple. You are below 3 Advantage, or you have already used it this turn. If a second-specialization ability feels weaker than expected, remember its focus tree cannot go past Tier 5.
None of this is permanent. Hawks can respec freely, and Fearless Leader and Pico-5 stay with him no matter which classes you run, so shifting him to a frontline or pure support role later costs you nothing but the focus points. Start with Gunslinger and a pistol, add Scout at Cycle 18, and adjust only if your squad ends up short on healing rather than short on Advantage.