The Bear’s Maw Shrine sits in the Maragir Wealds as one of the game’s 17 Destroyed Shrines, and it stays useless until you find the piece that was taken from it. Until then, it shows up grey on the map, and you can’t fast travel to it, buy perks there, or skip time.
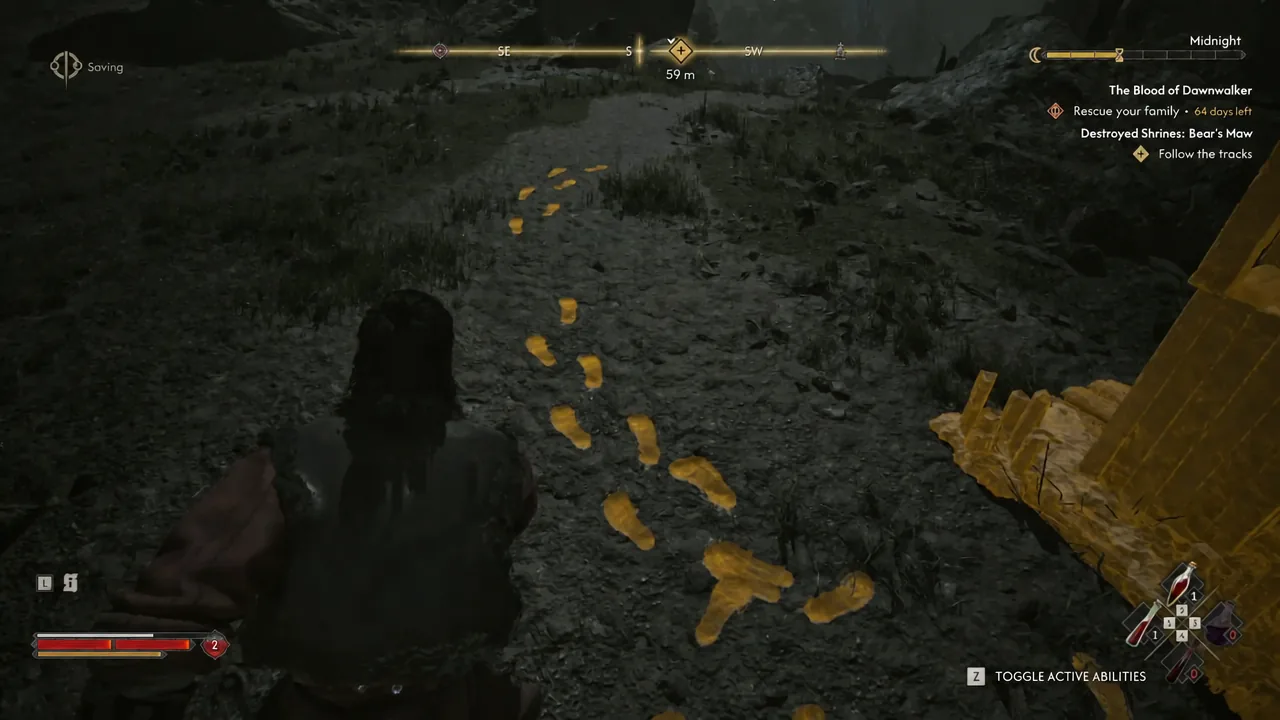
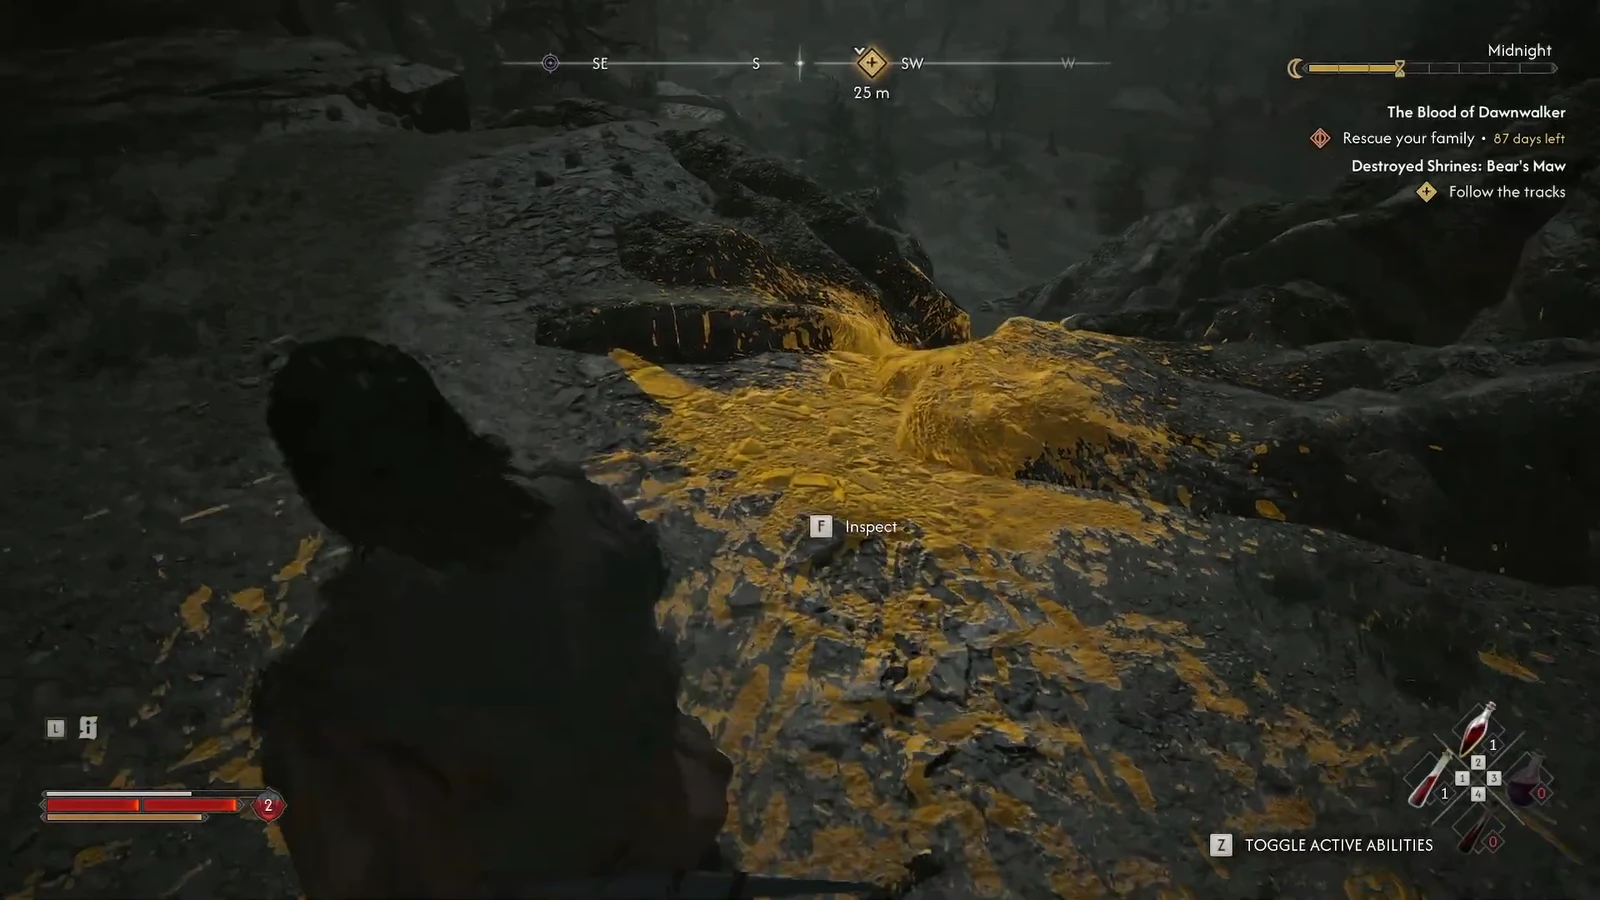
Quick answer: Hold Focus Mode at the ruined shrine, follow the yellow footprints and the blood trail down into the ravine toward Briar Sloughs, loot the corpse for the Bear’s Maw Shrine’s Heart, then return and interact with the shrine to place it.
What you need before starting the Bear’s Maw shrine quest
Nothing gates this one. There’s no prerequisite quest, no item to bring, and no level requirement. You only need to physically reach the shrine site in the Maragir Wealds and have Focus Mode available, which is the hold on L2 or LT.
The objective appears as Destroyed Shrines: Bear’s Maw once you’re close enough, with the prompt telling you to search for clues around the shrine using Focus Mode. Expect the whole thing to take a couple of minutes of walking.
| Detail | Value |
|---|---|
| Objective name | Destroyed Shrines: Bear’s Maw |
| Region | Maragir Wealds |
| Trail ends in | Briar Sloughs, down a rocky ravine |
| Required item | Bear’s Maw Shrine’s Heart |
| Reward | 10 XP and an active fast travel point |
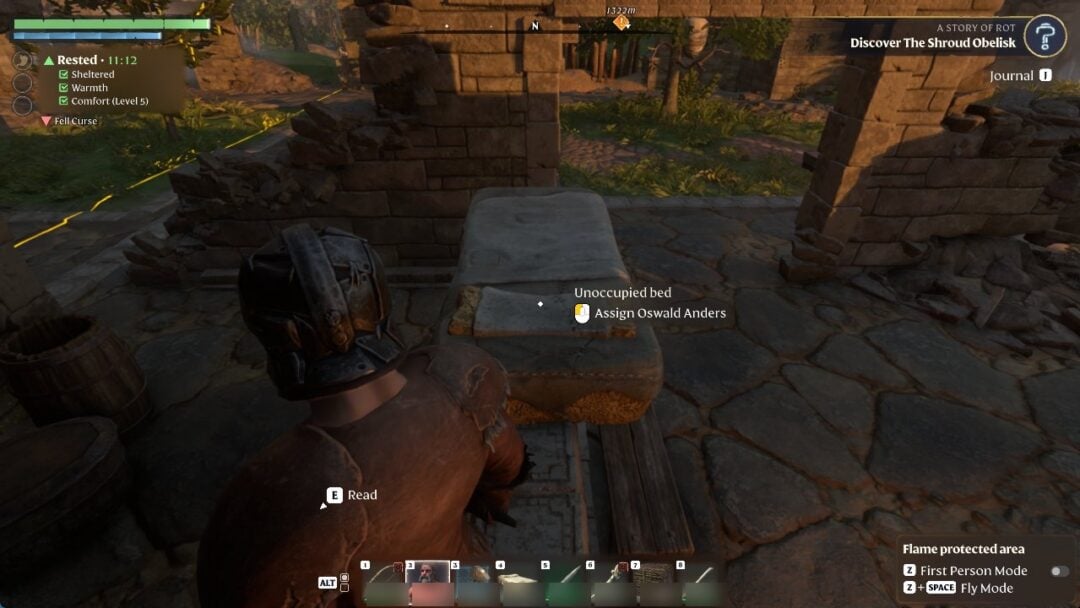
Follow the footprints from the shrine to the body
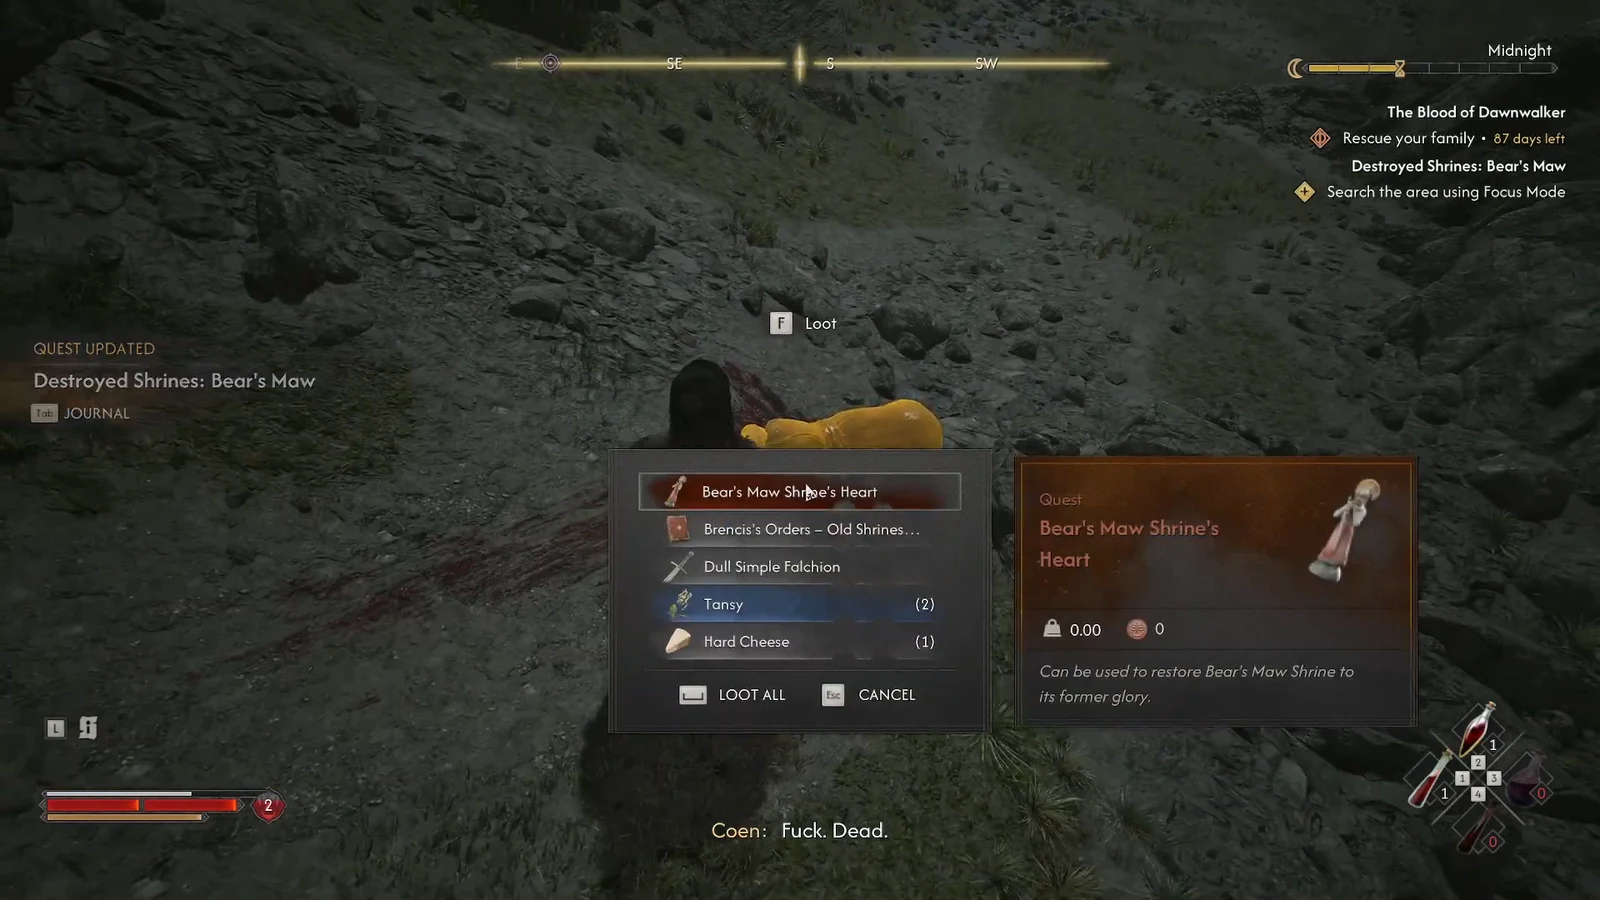
The note is optional reading, but it explains why the shrine was wrecked in the first place. Krysz Brencis of Vale Sangora ordered every roadside shrine and place of worship torn down unless it had been rededicated to the Blood Covenant, with anyone caught praying at them hauled off to Greifberg Castle’s dungeon.
Return to the shrine and place the heart
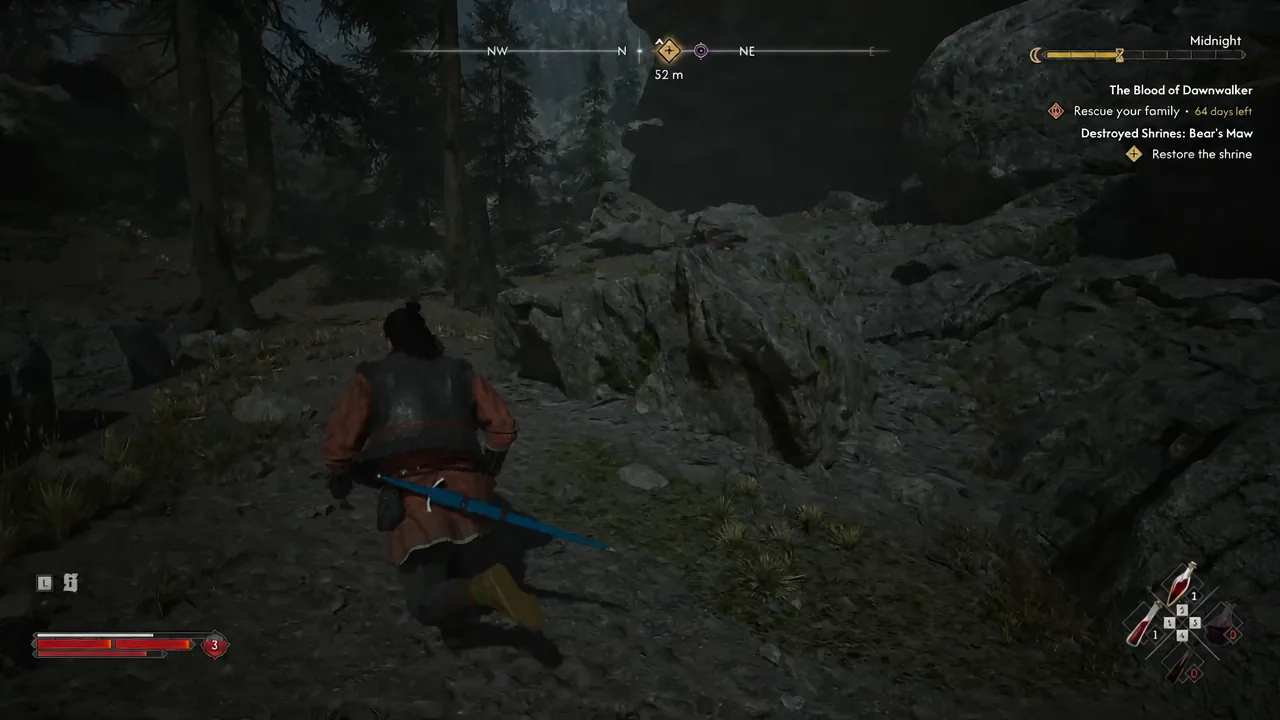
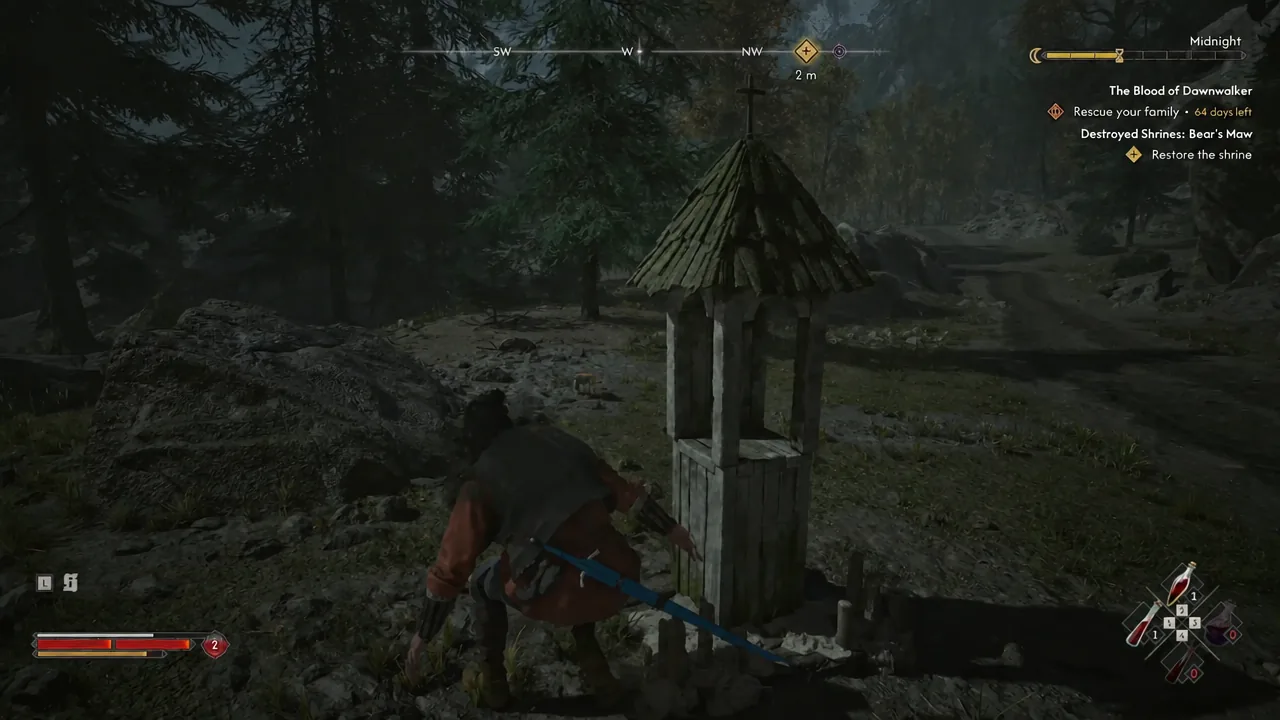
Note: restoring a Destroyed Shrine advances the in-game clock. It’s a small push, but worth knowing if you’re watching the countdown on rescuing your family.
How to confirm the Bear’s Maw shrine is fixed
You get three confirmations at once. A QUEST ENDED banner appears for Destroyed Shrines: Bear’s Maw, you’re awarded 10 XP, and the shrine’s map icon flips from grey to blue.
The practical test is the shrine menu. Interact with it again and you should see the Perks, Fast Travel, Storage, and Wait options. Fast travel only works while you are standing at a shrine, so hovering over the icon on the map won’t move you anywhere, and you can only jump to shrines you’ve already discovered.
Why the trail stops working
Two things account for nearly every failed attempt here. The first is not using Focus Mode at all, since the footprints and blood are invisible otherwise. The second is treating the ravine as impassable and looking for a path around it, when the body is down at the bottom.
If you’ve already killed whatever is around a Destroyed Shrine, check your inventory before retracing the route. Shrine hearts are often carried by nearby enemies, so looting them can hand you the item without ever following the markings.
Bear’s Maw follows the same template as every other broken shrine in Vale Sangora. Find the clue at the site, trace it to whatever caused the damage, take the heart back, and place it. None of the 111 shrines are tied to trophies or achievements, but each restored one is a permanent shortcut across a very large map, and the Maragir Wealds is far enough out that this one earns its keep early.