

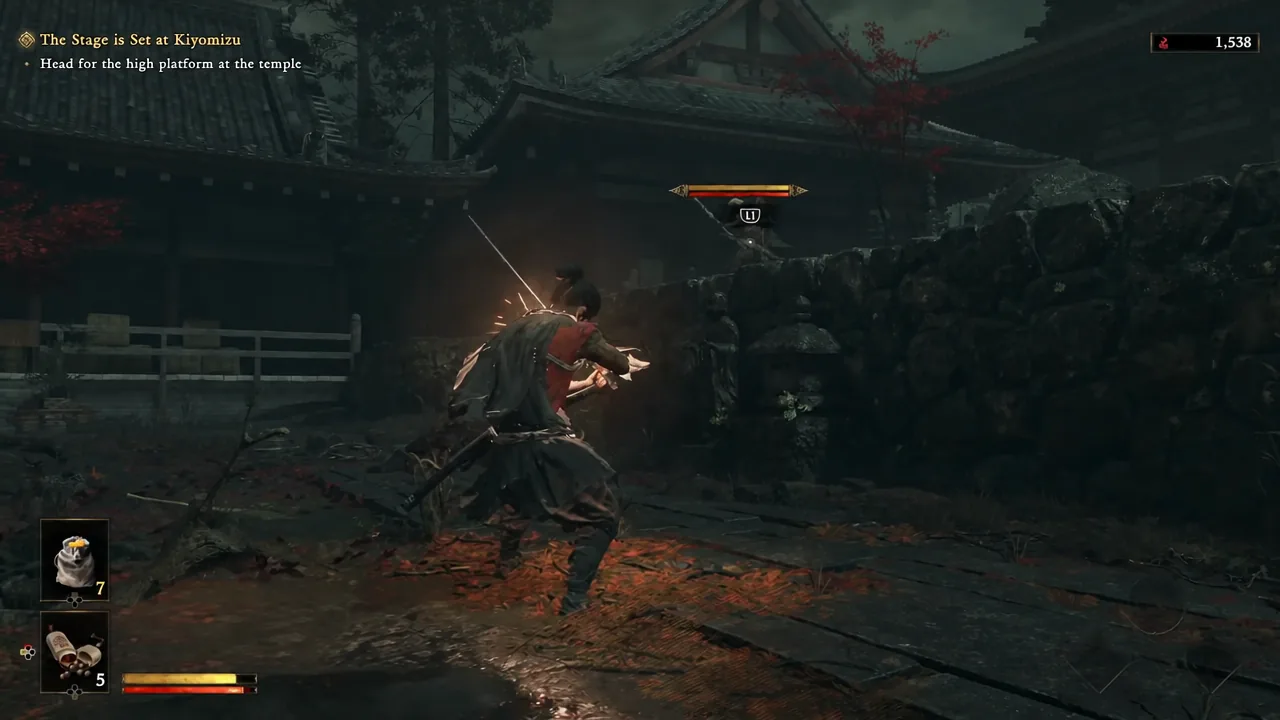
Archers are the enemy type that punishes bad defensive habits fastest in Onimusha: Way of the Sword. Holding guard against a volley works, but it bleeds your stamina bar, and a broken guard leaves Musashi in a long recovery animation while the next arrow is already in the air. Deflecting solves that problem outright, and it is a timing check rather than a stat check.
Quick answer: Face the archer, let them fire, and press the block input at the exact moment the arrow reaches you instead of holding it. A clean deflect costs zero stamina, takes zero damage, and can send the arrow back at the shooter.
Guard, parry, and deflect against arrows: what each one costs
All three defensive layers will stop an arrow. They do not cost the same, and they do not leave you in the same position afterwards.
| Defense | Input | Result against an arrow |
|---|---|---|
| Guard | Held block | Stops the arrow but drains your stamina bar; repeated blocking breaks your stance |
| Parry | Timed block | Stops the arrow cold, builds the Blaze gauge, and sets up a counter |
| Deflect | Timed block plus the secondary input | Zero stamina cost, no damage taken, and the arrow can be redirected back at the archer |
Deflect is also the heavier stamina-breaker of the two timed options. A parry chips a small amount off an enemy’s stamina, while a deflect takes a noticeably larger chunk, which is why it is the preferred answer to ranged and heavy-hitting enemies rather than a stylish extra.
How to deflect an arrow
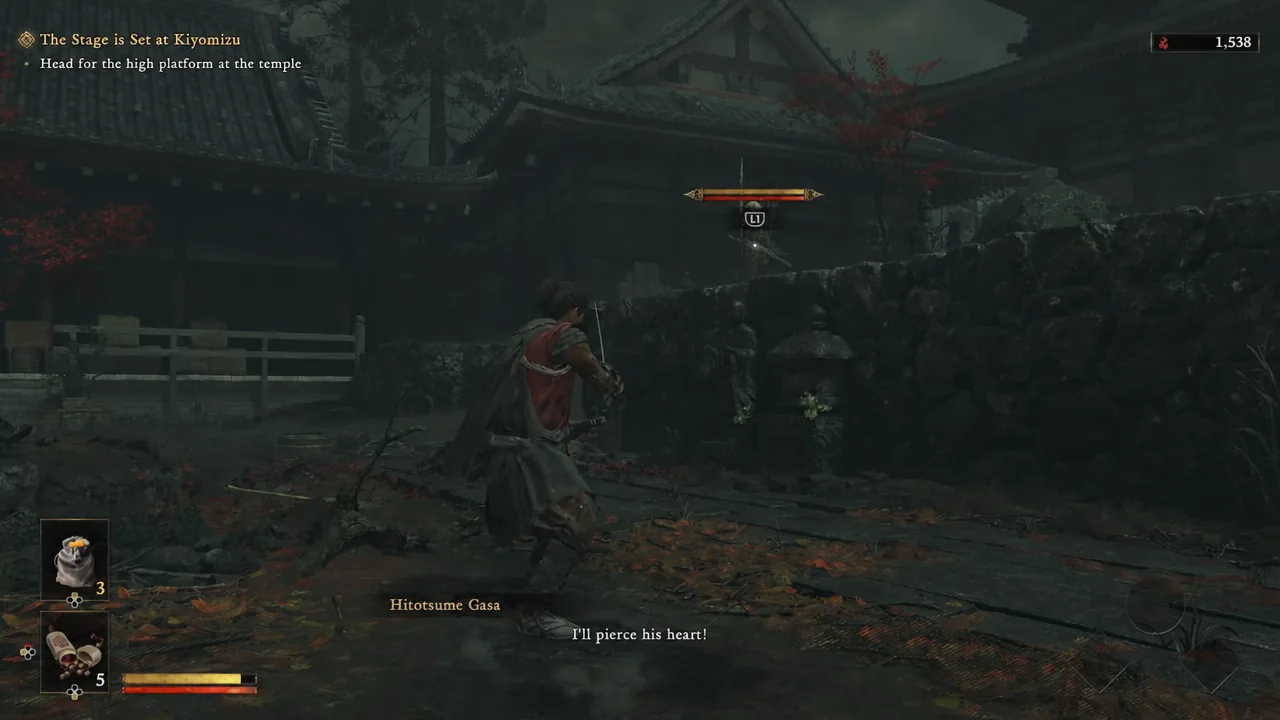
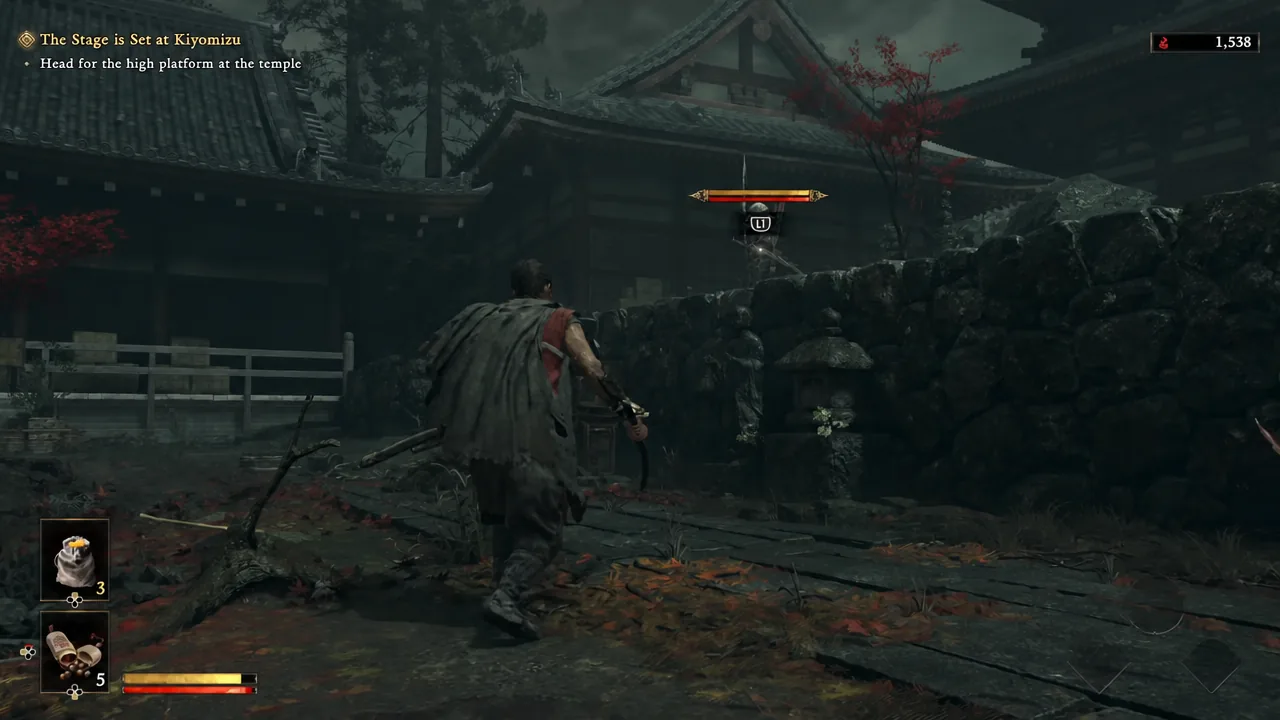
Note: the deflect is not available from the start. It unlocks through progression, and the exact button is a block press combined with a secondary directional or control input depending on how your controls are configured, so check your control layout once you have earned it.
How to tell the deflect worked
The stamina bar is the tell. On a successful deflect it does not move, and Musashi takes no chip damage from the hit. A normal block against the same arrow visibly drains it.
The second confirmation is the arrow itself. With correct timing the shot travels back toward the archer, and a returned arrow damages their stance, which is the fastest way to break a ranged Genma’s guard from a distance. The same principle applies to some other projectiles, turning an enemy’s own attack into your opening.
Why arrow deflects fail
- You are holding guard instead of tapping it, so the input resolves as a stamina-draining block.
- You pressed on the archer’s draw or release rather than on the arrow’s arrival, so the window closed early.
- Musashi is facing away from the shooter while dealing with a melee Genma.
- The deflect has not been unlocked yet, leaving parry and guard as your only ranged answers.
Using cover when you cannot reach the archer
Deflecting is not the only answer to arrow fire. Loose objects in the environment can be raised to catch incoming shots, and pieces of wood or a table used that way can then be kicked into the enemies that were firing at you. It is a slower option than a deflect, but it is useful when several archers have you pinned and you need to close the gap.
Against a mixed group, the practical order is to deflect the arrows first, send what you can back at the shooters, and only then push in. Ranged enemies rarely appear alone, and standing in the open trading guard stamina for arrows is how a manageable fight turns into a stance break.
Where to practice the timing
The Kiyomizu-dera route in the free demo is built to teach this rhythm. It runs about 30 minutes, drops archers into the encounters deliberately, and ends at the Sasaki Ganryu duel. Demo progress does not carry into the full game, but the save data grants Charm: Kubi Akari once the full release arrives on September 25, 2026.
Treat archer encounters as free timing drills. Every arrow is a slow, clearly telegraphed projectile with a fixed travel time, which makes it a far more forgiving place to learn the deflect window than a katana-wielding boss — and once the timing sticks, ranged Genma stop being a threat and start being a resource.





