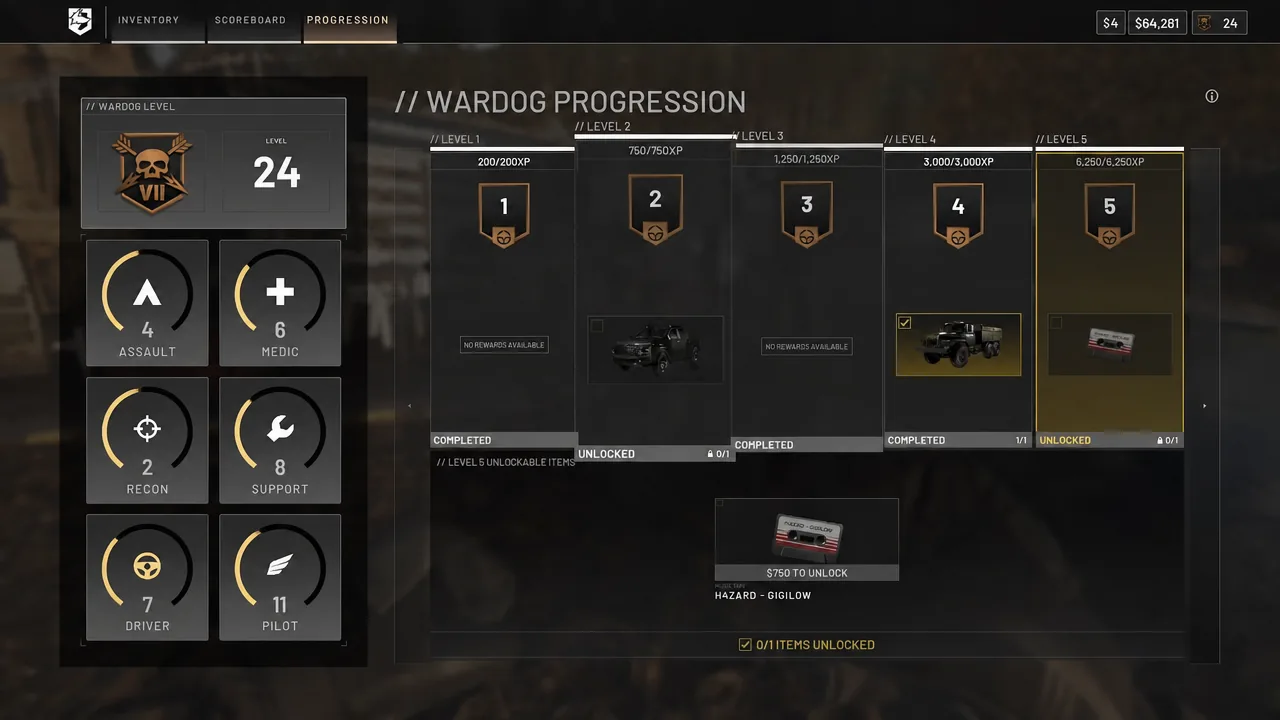
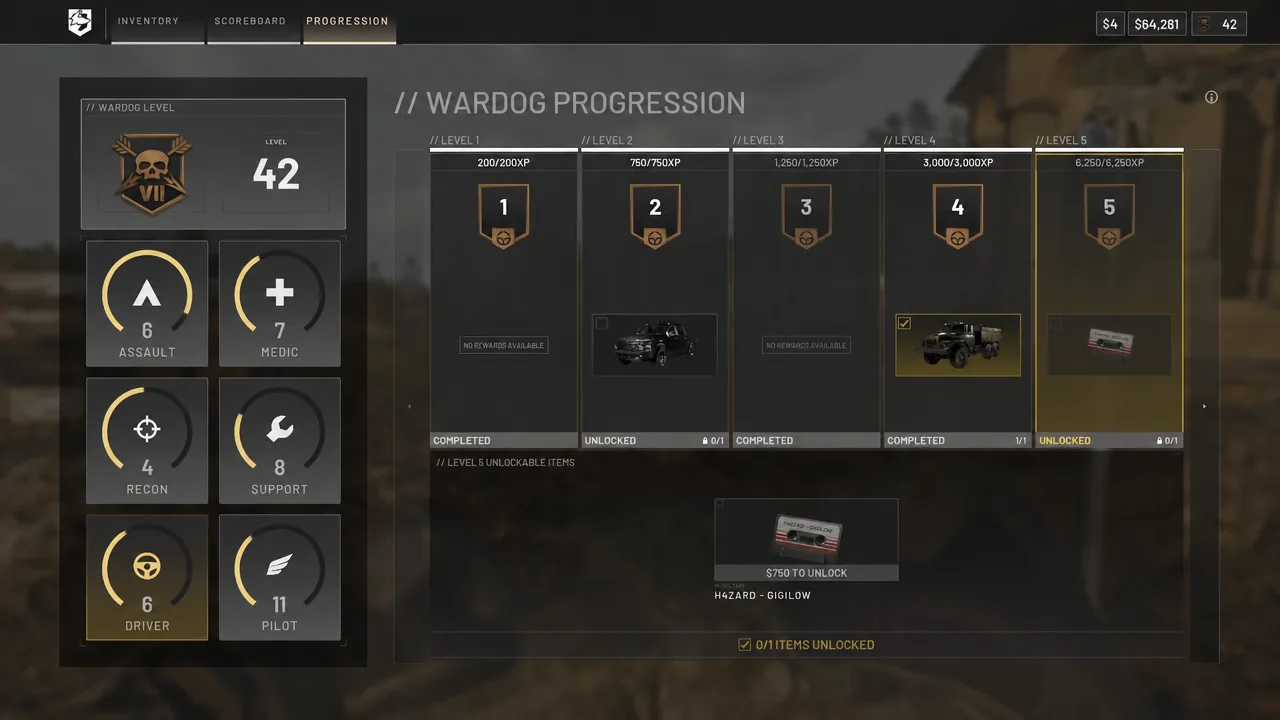
Your overall WARDOG level is not a separate bar you grind on its own. It is the running total of six role tracks — Assault, Medic, Recon, Support, Driver, and Pilot — each capping at 100 and feeding a combined ceiling of 600. Because the first few levels of any role cost far less XP than the later ones, the quickest way to push your account number up is to keep every role moving instead of pouring hours into a single one.
Quick answer: Level all six roles roughly in parallel and stay near the objective. Chase the cheap low levels on every track, buy loose ammo instead of full mags, revive and spot teammates for free XP, and run helicopter and vehicle transport to feed Driver, Pilot, and Support at once. Keep enough cash on hand to actually unlock each item the level grants.
How WARDOG level and role XP fit together
You never pick a class at the spawn screen. The gear you carry decides which track earns XP that life. Assault rifles and most sidearms grow Assault. SMGs and medical tools grow Medic. Marksman rifles and spotting grow Recon. Machine guns, shotguns, launchers, and build tools grow Support. Ground vehicles grow Driver, and helicopters grow Pilot.
There are three layers to keep straight. Play earns role XP and cash. Reaching a level grants the right to buy an item. You then spend persistent cash to actually unlock it. Hitting the level without the money still leaves the vendor entry greyed out, so leveling and cash go hand in hand.
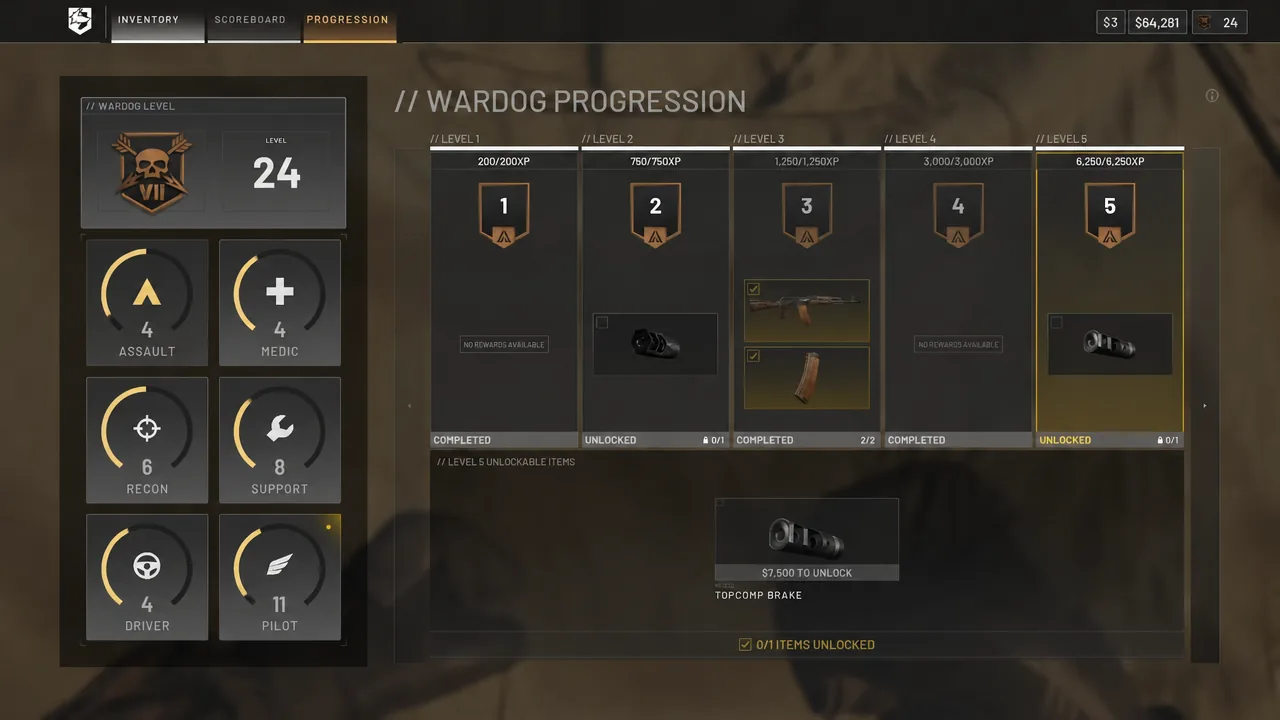
Because early levels are cheap, an even spread across all six tracks raises your combined WARDOG number faster than mastering one. Reaching WARDOG level 35 is what opens the L2A6 heavy armored vehicle, which then costs $500,000 to unlock and around $14,000 plus ammo to field each match.
The habits that speed up every role
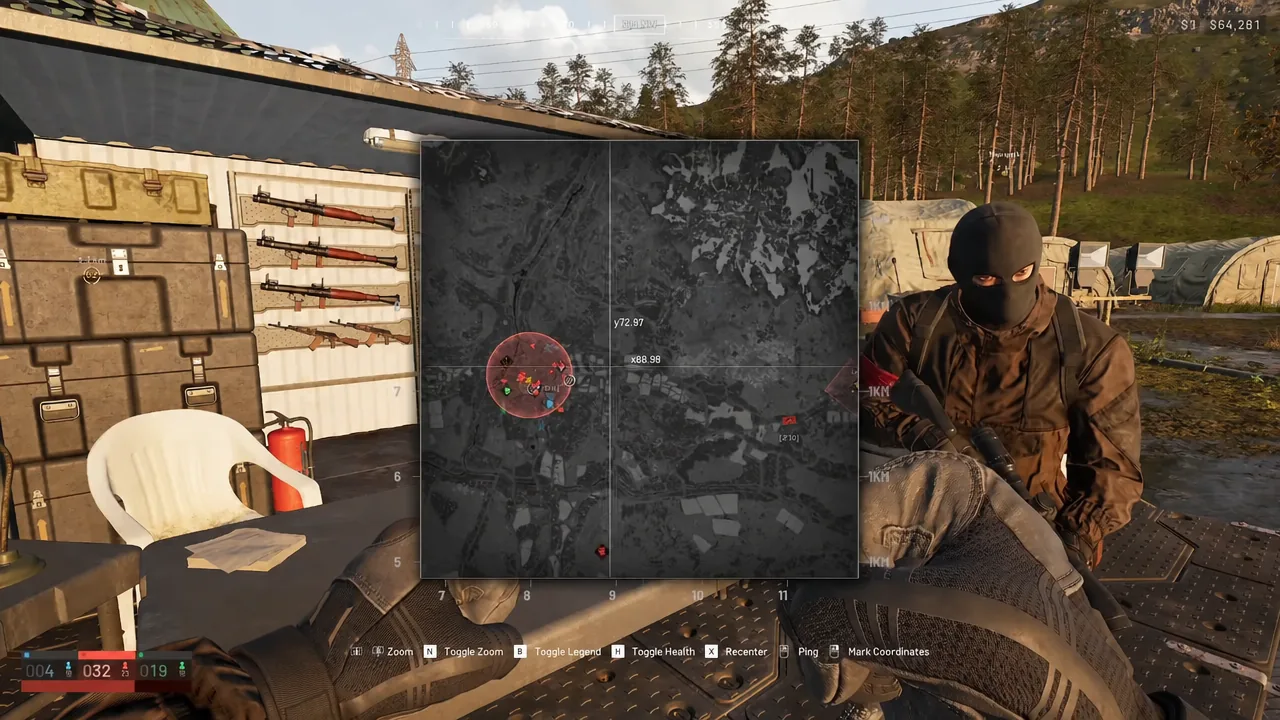
A few playstyle choices pay off no matter which track you are pushing. Matches revolve around a moving Control Zone where three teams fight to reach 100 points. Inside it sits a smaller Hot Zone. Players there count double toward the score, and actions performed inside it can pay double cash and XP. Staying near the objective creates more kills, more support actions, and more progress per minute than fighting off in the map’s dead space.
- Buy loose ammo stacks instead of full magazines. They take up less backpack space, so you stay supplied longer per life.
- Run a cheaper loadout early. A budget kit still counts as a full player for scoring and protects your cash balance for unlocks.
- Carry a spotting tool. Binoculars let you tag enemies for XP and cash on kills you never had to land yourself.
- Bandage and revive teammates rather than only healing yourself. Helping others awards cash and XP that self-healing does not.
Note: every death means a rebuy for that life. Dying repeatedly in expensive kits drains the bank you need for unlocks, so match your spending to how likely you are to keep the gear.
Fast leveling for each role
Assault
Assault levels from kills with assault rifles like the AK74. Fight in contested areas near the zone where targets are dense, and buy individual ammo stacks from the vendor to keep your inventory light. Objective-focused rifle play tends to outperform isolated kills over a full match.
Medic
Medic grows from SMG kills, healing teammates, and reviving them. The PP-19 Vityaz is a natural close-range pick. Grab a resuscitator every life to shorten revive times dramatically, from around 30 seconds down to a few. The Field Resuscitator costs $500 and the Emergency Resuscitator costs $200, while the Defibrillator unlocks at Medic level 11 and revives instantly. The Adrenaline Pen follows at Medic level 15.
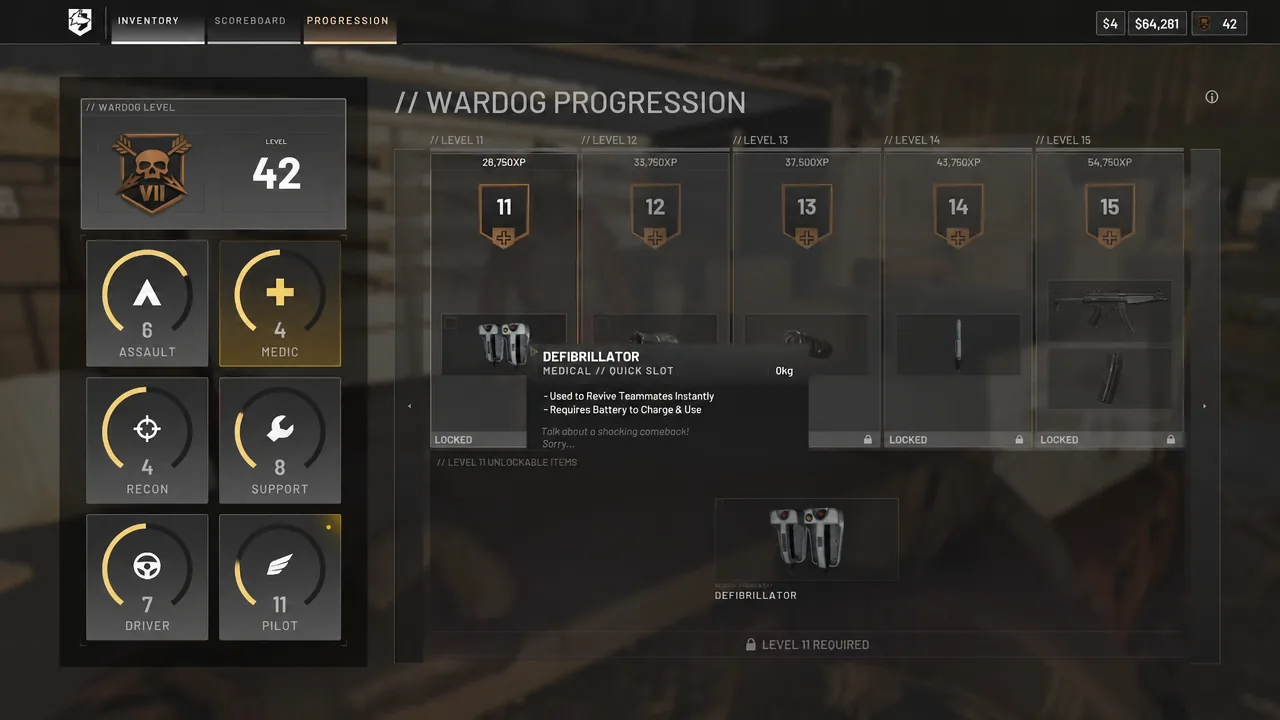
Careful with the Defibrillator in tight spaces, since it can kill a teammate instead of reviving them. Medic leans on your team giving you people to heal and revive, so stay where the fighting is.
Recon
The starter Scout Rifle TD ($1,100) is weak and rarely lands one-shot kills, which makes early Recon slow if you rely on it. Buy Binoculars for $75 and earn Recon XP by spotting enemies and vehicles for your team until you reach Recon level 5. That unlocks the SKS Marksman Rifle for $2,400, at which point ranged kills become a reliable second source of XP.
Support
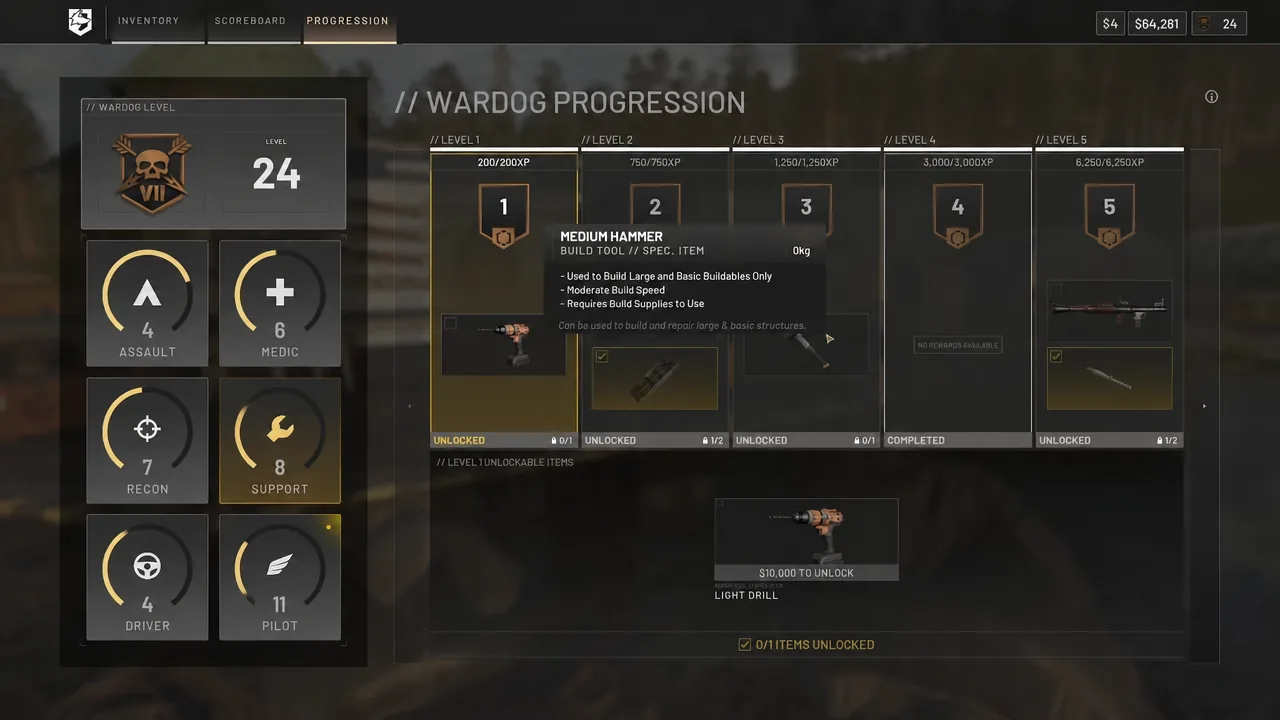
Leveling Support only through shotguns or building is slow. The faster route is logistics. Load logistics crates and deliver them to your FOB using helicopters or trucks for steady Support XP and cash. Explosive and area-denial tools help too, and the track holds several useful unlocks along the way.
| Support unlock | Level | Cost |
|---|---|---|
| RPG-7 Launcher | Support 4 | $50,000 |
| Large Hammer | Support 7 | $25,000 |
| M500 Shotgun | Support 10 | — |
| M249 SAW LMG | Support 15 | — |
Driver
Driver rewards useful vehicle runs, not just time behind the wheel. When your team reaches 20 points, an M113 APC spawns. Drive it from base to the active zone and you can reach Driver level 4 in a single match, which unlocks the Ural Truck for $42,000.
Pilot
Pilot earns the most from practical helicopter work. Fly the free Huey that spawns at base to deliver logistics crates to your FOB, or drop teammates directly into the yellow Hot Zone circle for bonus XP and cash. Practice flying first, though, since crashing or team-killing carries a penalty of around $1,500 per player. The Z20 Lakota unlocks at Pilot level 25 for $50,000.
Stack two roles at once with logistics runs
The single biggest time-saver is combining tracks. Flying logistics crates to your FOB feeds Pilot and Support at the same time, and driving them there feeds Driver and Support instead. Transporting teammates into the zone pays Pilot XP and cash while also helping your team score, which keeps the objective moving. One well-planned run can nudge several bars forward instead of one.
Ground transport is not a downgrade here. Helicopters reach the zone faster but get shot down, and land vehicles are slower but usually safer. Since Driver still needs its own levels, mixing in APC and truck runs keeps that track from falling behind the infantry roles.
Cash is the second key to every unlock
Every player starts a round with $10,000, and cash persists between matches. Since reaching a level only grants the right to buy, you need a bank balance ready when a track hits a milestone. Build your playstyle around actions that pay both XP and cash — objective fights, revives, spotting, and transport — so leveling and earning happen together rather than as separate grinds.
Keep an eye on major update resets. At the end of a cycle, level progression and cash reset, and any leftover cash converts into gold bars. Announced ahead of time, these wipes reward spending on gear you actually field during the cycle rather than hoarding. Plan a spend-down before a reset window, then rebuild the cheap ladders first afterward.
You will know a level unlock landed when the greyed-out vendor entry becomes purchasable and, once you pay the cash cost, the item is available to equip. If an item still looks locked after you hit its level, the usual cause is simply not having the cash to complete the purchase. Keep the tracks moving evenly, stay glued to the Hot Zone, and let logistics runs carry two roles at once, and your combined WARDOG number climbs about as fast as the game allows.