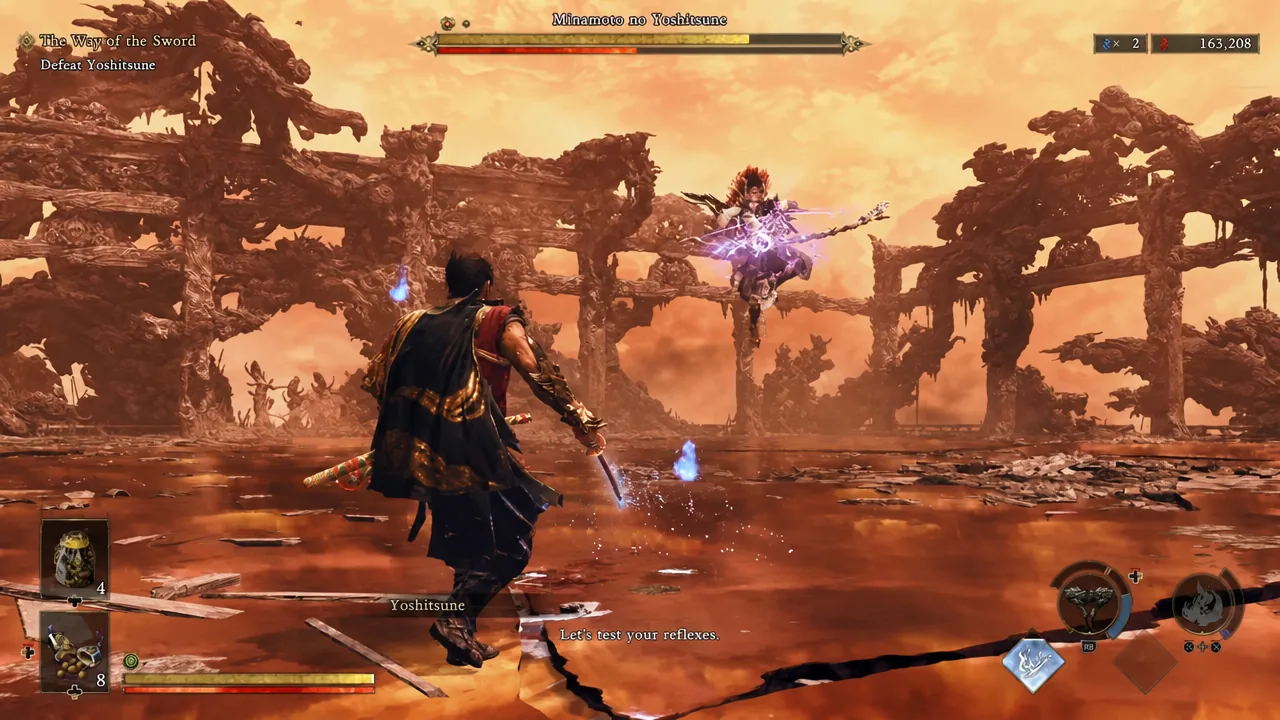
Minamoto no Yoshitsune is the last fight in Onimusha: Way of the Sword, and he is built to punish the habit most players pick up over the campaign — swinging first. He is rated 8.5/10 on Carnage, the hardest fight in the game, and even on Action difficulty he armors up mid-fight and shuts off ordinary damage entirely in his final stage. The fix is mechanical, not a matter of reflexes alone.
Quick answer: Drain Yoshitsune’s Rikido (posture) bar with deflects and parries instead of attacks, take purple souls on every posture break to refill your Oni Power and Oni Awakening gauges, and enter Oni Awakening with L3 + R3 for the final stage — his armor makes deflect pressure the only reliable damage route, and the last phase only takes damage while you are awakened.
Loadout and consumables to bring into the final boss
Set your controller to the Defense fighting style before you walk in. It maps parry, deflect, and dodge in line with most modern action games and makes the counter-heavy loop far easier to hold under pressure. If you are still learning tells, leave Action Prompts on for now — they show which button an attack needs, though never when to press it.
The Action-difficulty charm set leans on survivability, since the fight is long and mistakes stack. Consumables are capped, so there is no stockpiling your way out of a bad run.
| Item | What it does / why bring it |
|---|---|
| Charm of the Healer (maxed) | Boosts healing effectiveness on every restorative |
| Charm of Protection (maxed) | Cuts health lost per hit |
| Fencer’s Strength Charm (maxed) | Raises regular attack power |
| Default Hozuki Pouch (maxed) | Carries the most healing charges |
| Amulet of Introspection (max 2) | Widens the Issen and parry window |
| Stimulant (max 2) | Refills the Oni Awakening gauge |
| Sun-Dried Hozuki (max 1) | Restores 3 Hozuki charges |
| Greater Defense and Might Talismans (max 2 each) | Damage taken down, damage dealt up |
| Heavy Restorative (max 2) | Emergency healing for the armored and awakened stages |
Ration them. Save the talismans, the Amulet of Introspection, and at least one Heavy Restorative for the second half of the armored phase and the whole of the final phase, which is where health drains fastest.
The damage loop: Rikido, souls, and Break Issen
Every boss in the game runs on the same posture economy, and Yoshitsune is the strictest version of it. Guarding and deflecting drain his Rikido bar roughly twice as fast as landing normal hits, which is why defense is the efficient offense here. Chip damage from raw combos will barely move his health.
When the bar breaks, you get a Break Issen choice: red soul sparkles for direct damage, or purple ones that release yellow (health), blue (Oni Power), and purple (Oni Awakening) souls. Against Yoshitsune, purple is usually the better pick — you need both Oni gauges alive going into the last stage far more than you need one burst of damage.
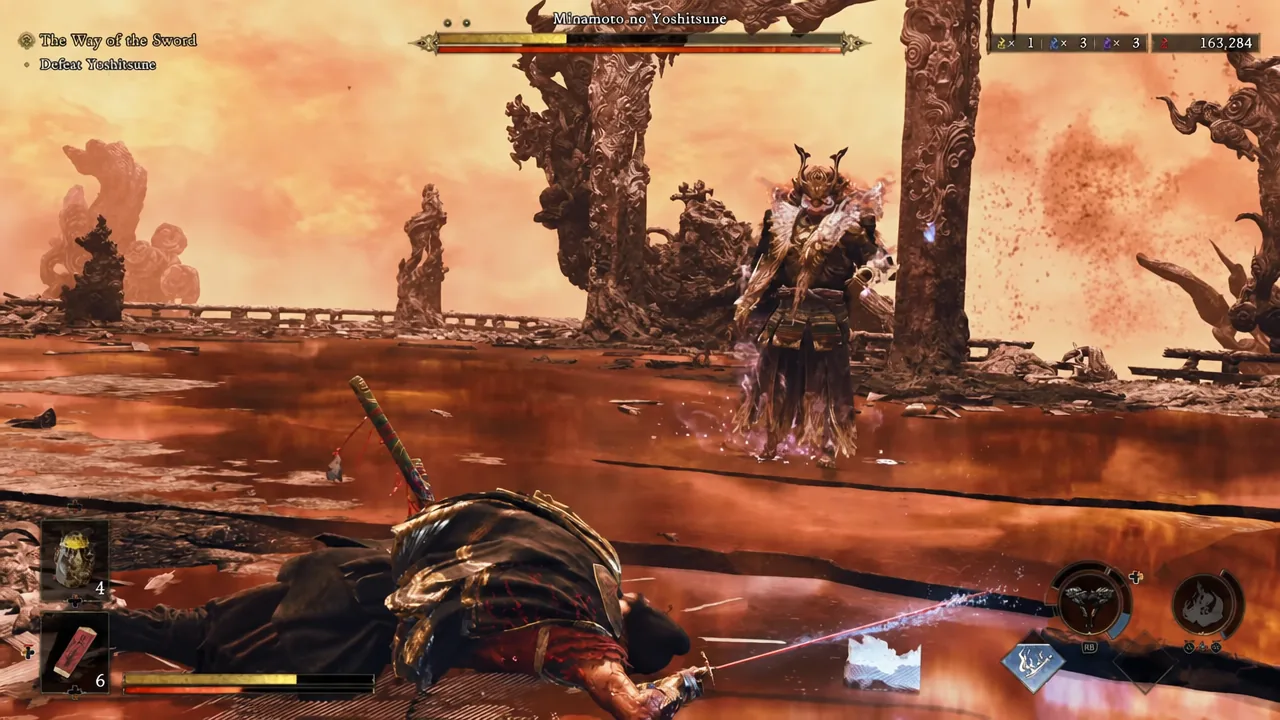
Two supporting systems feed that loop. Regular parries fill the Blazing Gauge in the corner of the screen, and Blazing State raises your damage while making blue souls more likely to appear. Blue souls power Oni Armaments, which in turn generate purple souls and build the Oni Awakening gauge. Chaining parries and dodges without taking a hit also triggers Ki-en State, a conditional buff that stacks with Break Issen damage.
Stamina is the other limiter. Guarding covers every direction but drains your own bar, so once you are at roughly 30% remaining, dodge instead of blocking. A broken guard mid-punish closes the window you just spent thirty seconds earning.
Fighting Yoshitsune phase by phase
Opening phase: bank your gauges
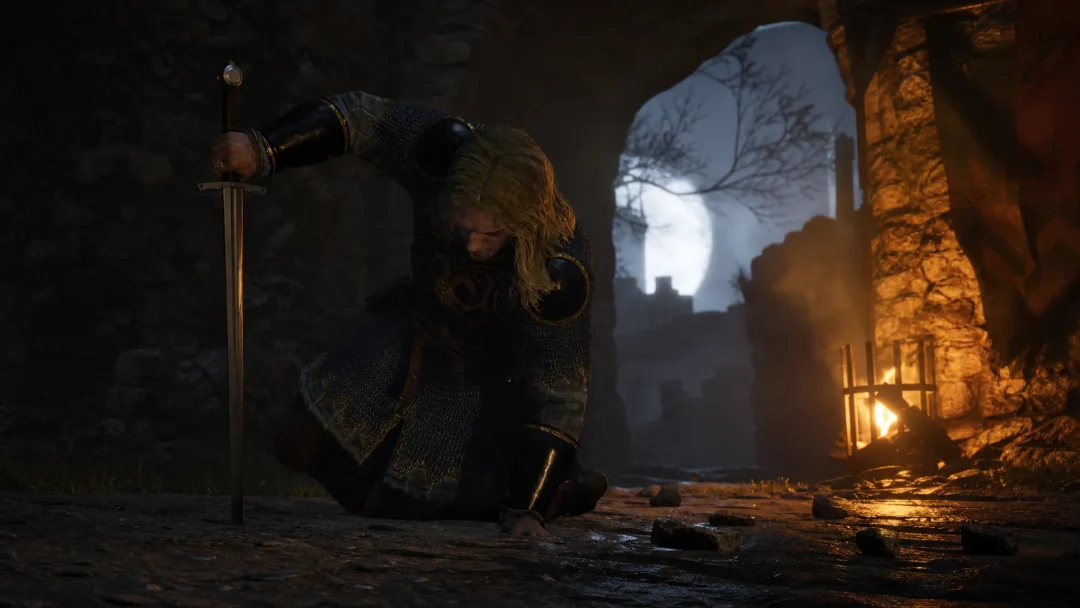
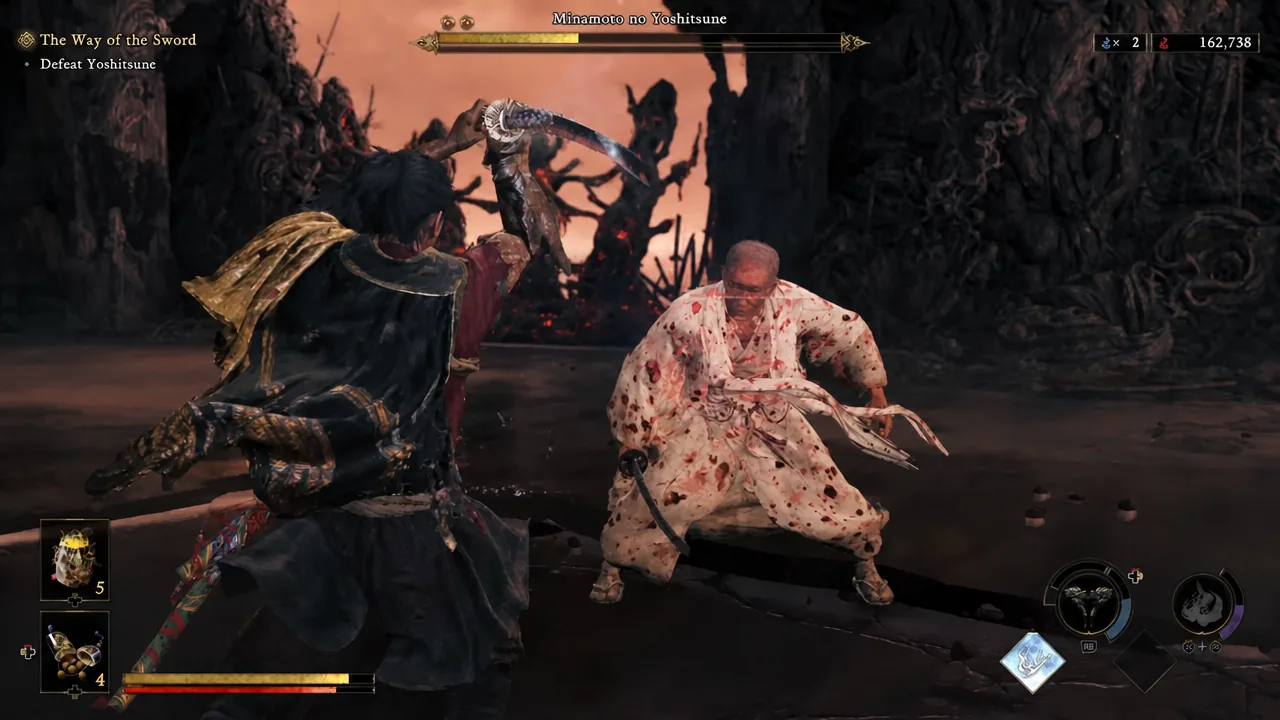
The fight starts in the ruined temple with Yoshitsune fully mobile and unarmored. Treat this stage as gauge-building rather than a damage race. Deflect his katana strings, take purple souls off each posture break, and use Oni Awakening early to bank a chunk of health off him while the fight is still readable.
He mixes in a grab that pulls Musashi in and cuts to a short exchange of dialogue. It is not a deflect prompt — get out of its path, because eating it hands him free damage and pushes you toward the enhanced-state trigger sooner than you want.
Armored phase: deflects are the only posture damage
Once he armors up, ordinary attacks stop moving his posture bar. Deflects are the only thing that drains Rikido from here, so stop trying to open him up with combos and commit fully to reading his swings. This is the stretch where the Amulet of Introspection earns its slot, since the wider window turns marginal timings into clean deflects.
You will still get punish windows after a full posture break — that is where combo damage and guard-breaking pressure belong. Take the opening, land the hits, then immediately return to a defensive stance rather than chasing him across the arena.
Final phase: stay awakened or deal nothing
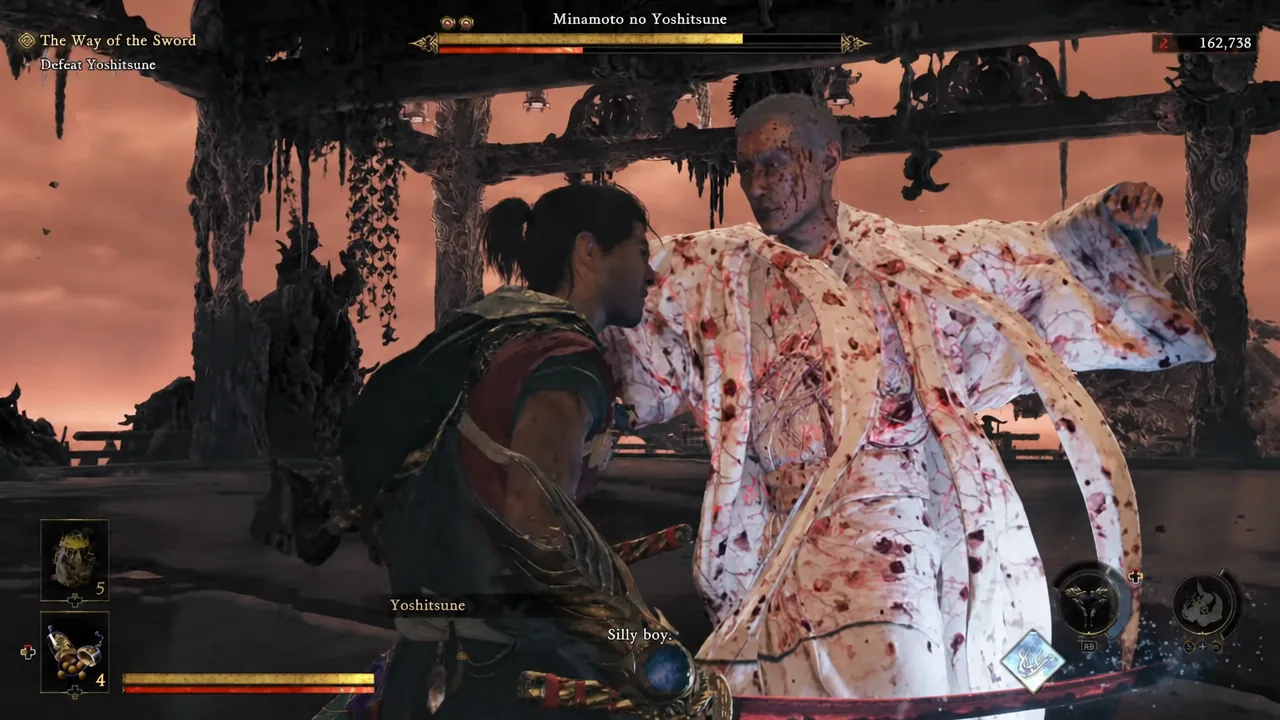
The last phase has a hard gate. Yoshitsune only takes damage while your Oni Awakening is active, so arrive with the gauge full or a Stimulant in reserve. Transform with L3 and R3 together the moment the phase begins rather than saving it.
Do not press R1 for the awakened finisher straight away. Issen counters land far more easily while awakened, so spend the state landing those, and hold R1 until the meter is nearly empty so the finishing blow lands as the transformation runs out. If the gauge drains before he does, drop back to deflects, rebuild through purple souls, and awaken again.
Why the fight stalls out
- You keep attacking into the armored phase. Normal hits will not drain Rikido there, so the fight goes nowhere until you switch to deflects.
- You entered the last phase with an empty Awakening gauge and no Stimulant, leaving no way to deal damage at all.
- You spent the R1 finisher at the start of Oni Awakening instead of at the end, wasting most of the state’s Issen advantage.
- You took heavy damage early. Bosses here are dynamic and slip into their enhanced state sooner based on how much damage you take and what type it is, so a sloppy opening makes the rest of the fight harder.
- You kept blocking below 30% stamina, broke your guard, and lost the punish window after a posture break.
What plays after the final blow
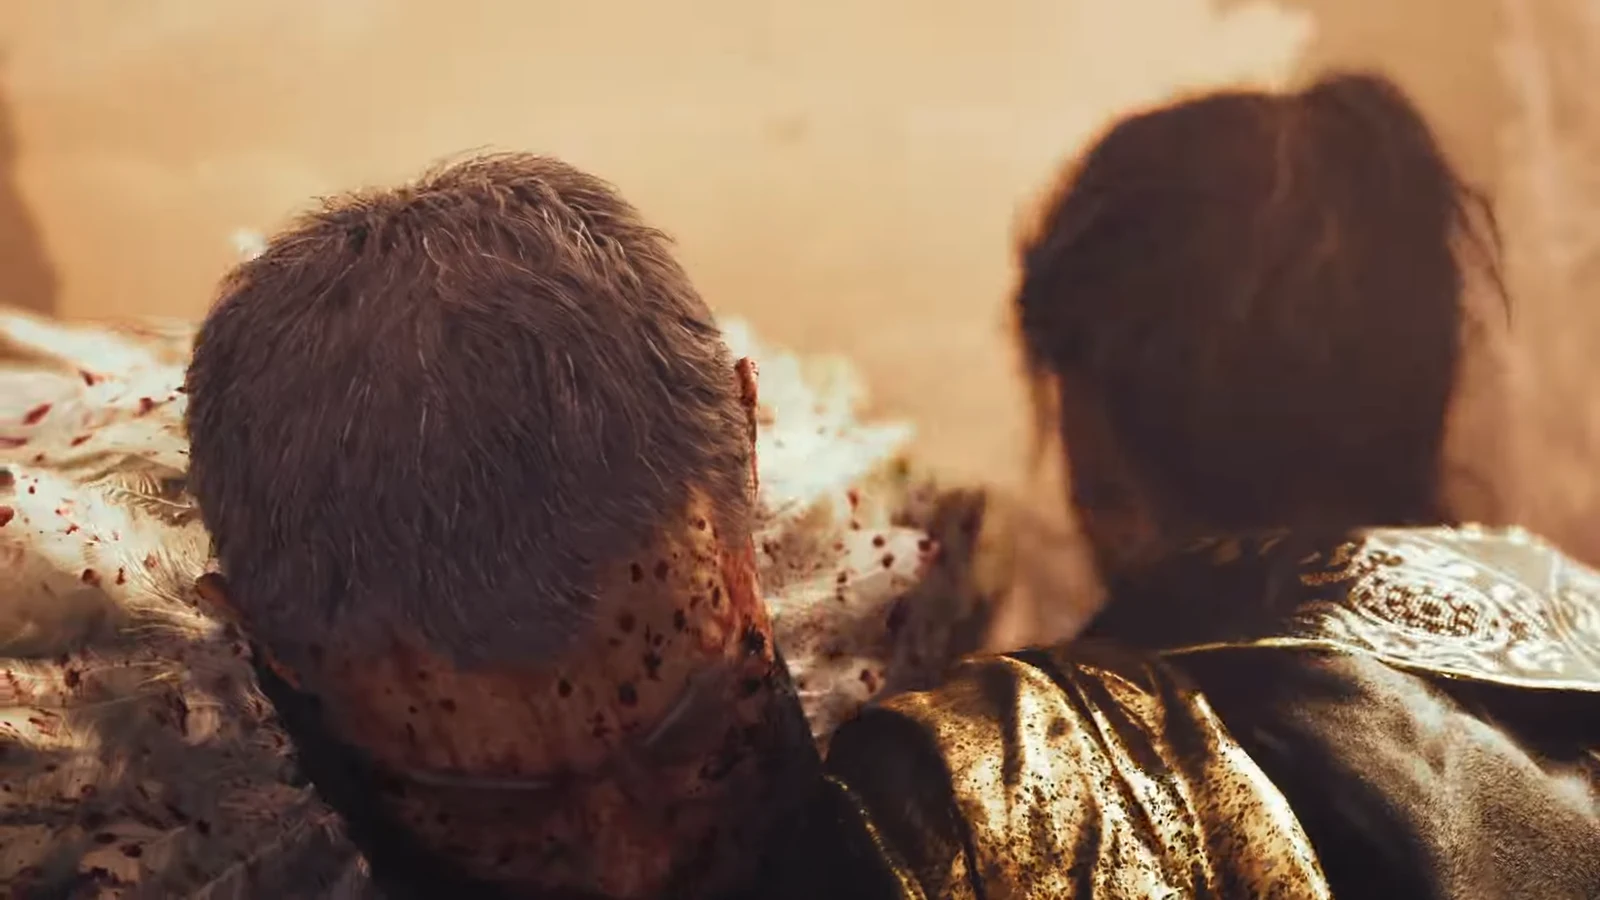
The kill is unmissable — the fight cuts straight into the ending sequence with no further prompts. Shizuka Gozen departs, the temple comes apart around the arena, and a lighter exchange between Musashi and Okuni closes the story out before the credits roll. There is no additional boss stage waiting after that.
Post-credits unlocks: Carnage, Boss Rematch, and outfits
Clearing the game once unlocks Carnage, the highest difficulty, which is not selectable on a first playthrough. Action Prompts are disabled automatically there, so if you plan on a Carnage run, turning them off during your first clear is the cheapest preparation available.
Yoshitsune also becomes replayable through Boss Rematch in the Practice Ground, alongside the game’s other main boss fights. Beating the game on Carnage earns the True Onimusha trophy or achievement, and clearing every boss on every difficulty in Boss Rematch earns Glutton for Punishment. A set of cosmetic outfits opens up too, including the Panda and Wataru-kun costumes.
If a Carnage run is next, change your charm setup before you start. The Action-difficulty survivability build gives way to maxed Charm of Awakening, Charm of Oni Power, and Fencer’s Strength with the default Hozuki Pouch — a set tuned around filling gauges quickly, which is exactly what Yoshitsune’s final phase demands the second time around.