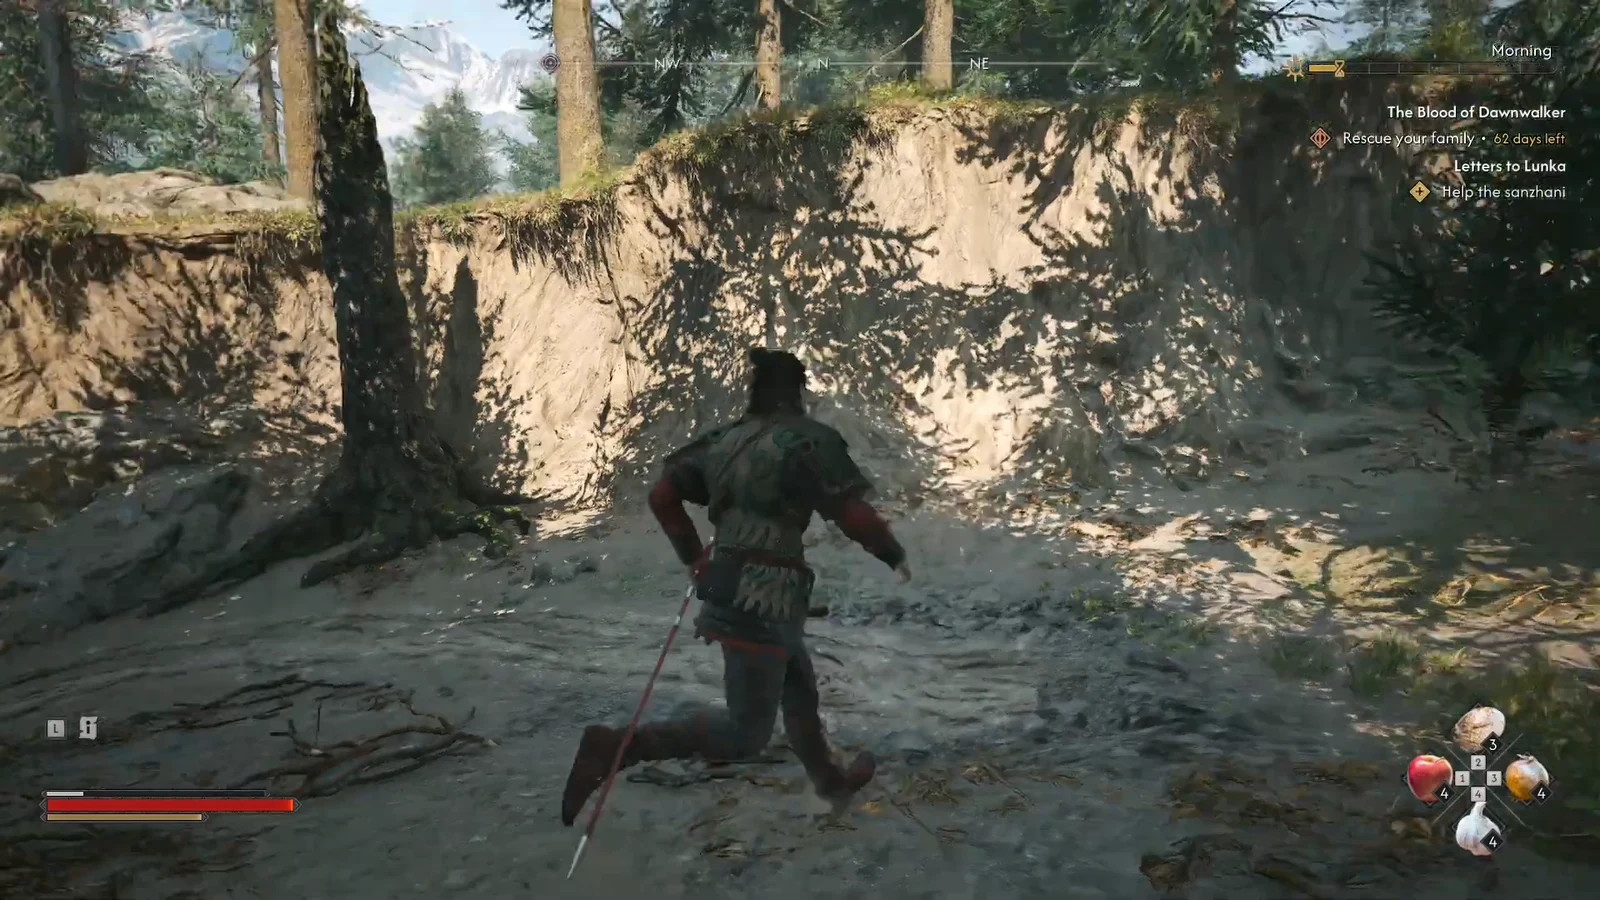
The “Help the sanzhani” objective in Letters to Lunka is one of the few tasks in The Blood of Dawnwalker that refuses to hold your hand. It sits in the journal with no waypoint, no destination, and no hint about who needs helping. That is by design. The sanzhani scatter their favours across the map, and you have to go dig them up yourself.
Quick answer: The objective clears every time you finish one of the four hidden sanzhani side quests — Pearly and Precious, Burrow Sorrows, Tiny Dancer, or Come Hither. None of them auto-add to your log, so open the world map, look for a question mark icon at one of the four spots below, travel there, and trigger the quest manually.
Why Help the sanzhani has no quest marker
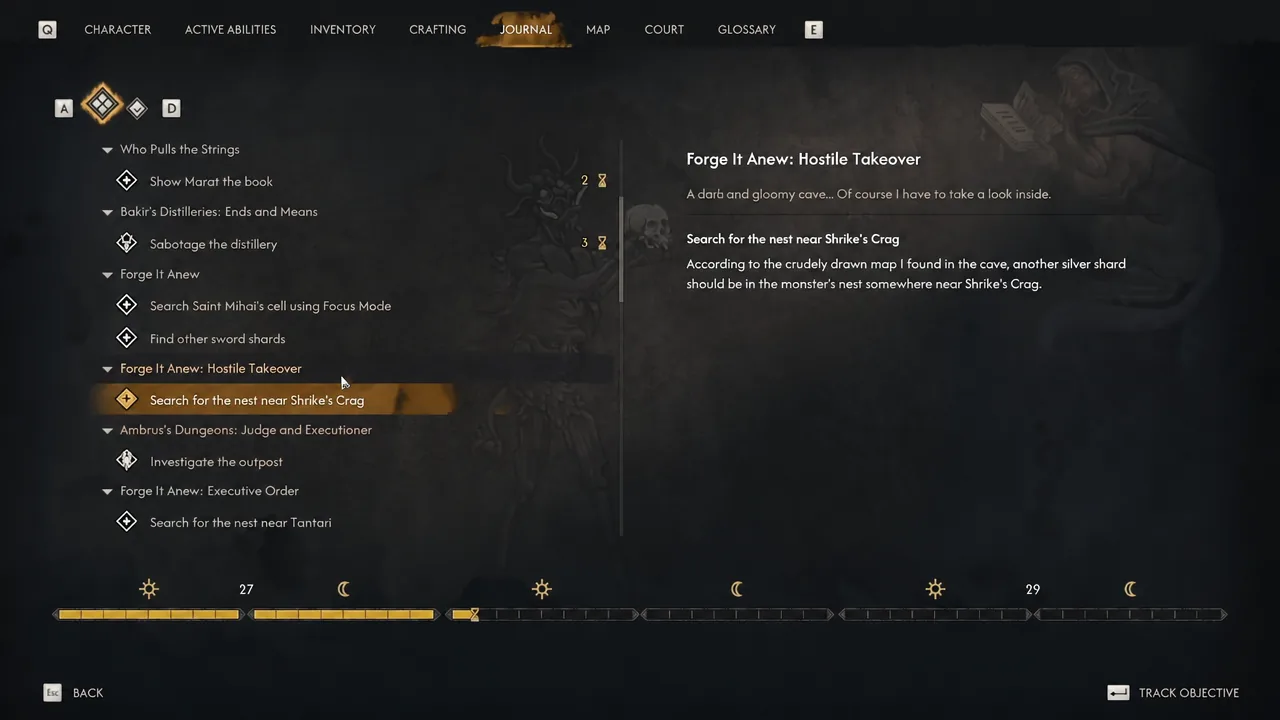
Letters to Lunka runs in stages. Each letter you send to your sister needs a favour paid to the sanzhani first, and the journal reuses the same “Help the sanzhani” line every time without telling you which favour is available. The four side quests exist in the world from the moment the Tsarina opens the letter service, but they only register as generic question mark icons until you physically walk into them.
So the loop is simple. Help a fairy, return to the Tsarina, send a letter, wait a day-night transition for the reply, then go help the next fairy. You do not have to wait for a reply before scouting the other locations, though. All four sites are live at the same time and you can clear them in any order you like.
Finish Good Home first or nothing spawns
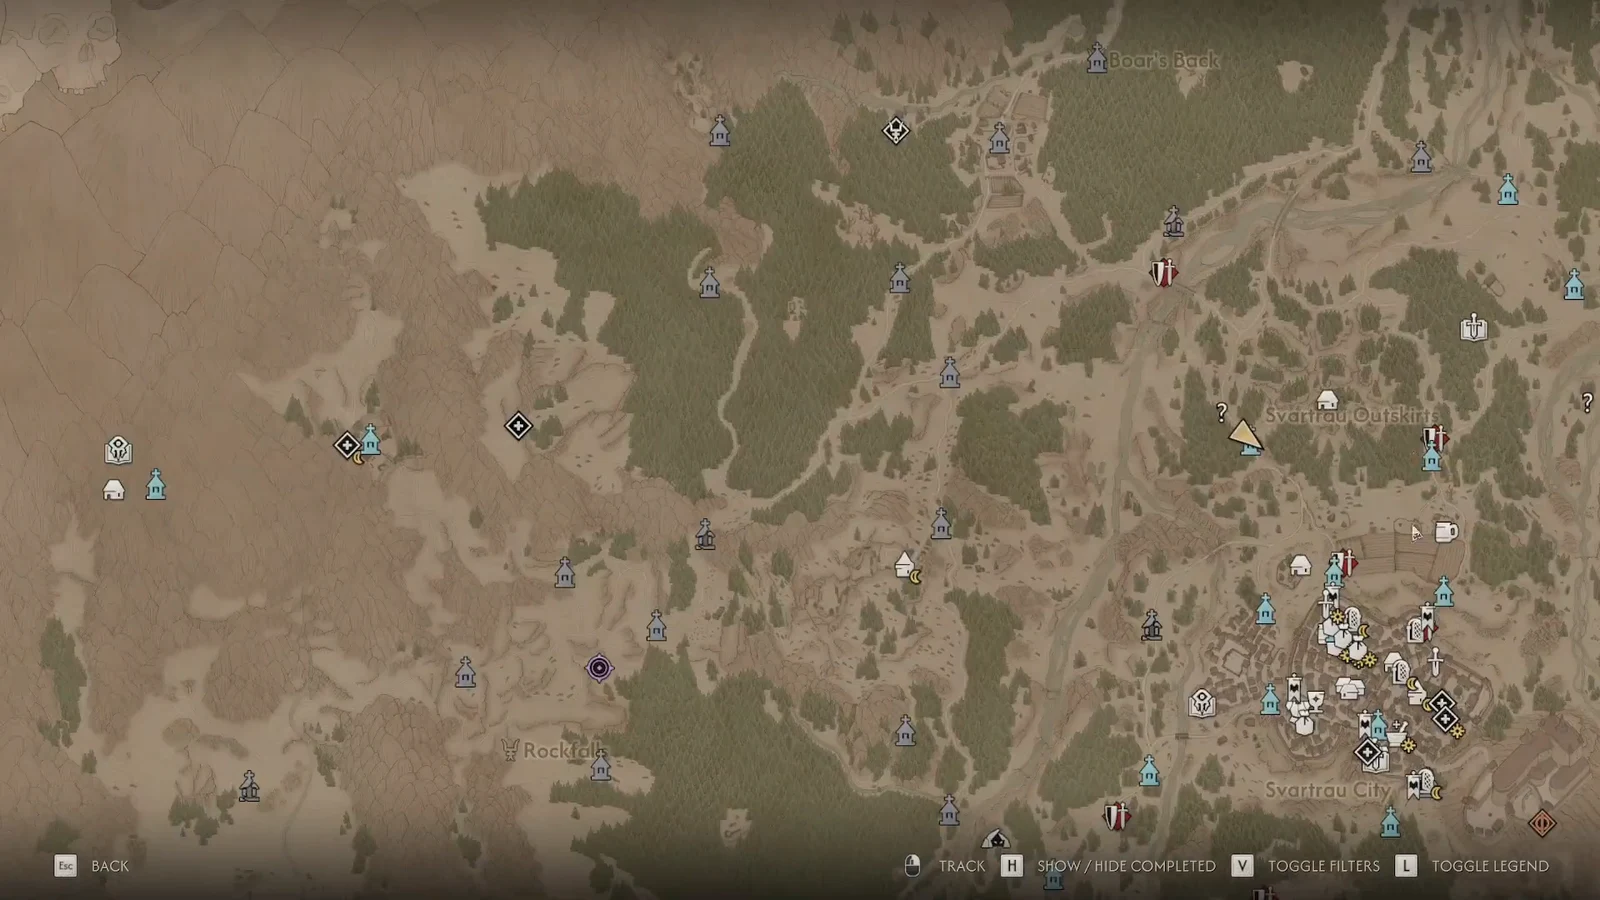
There are five sanzhani in the game, and the first one gates the other four. Head to the Svartrau Outskirts, north of Svartrau, and make for the area around the Sandy Gorge Shrine. A ring of glowing mushrooms with moths circling it starts the Good Home quest. Follow the fairy circles to a small opening, crawl through, and you arrive at the Yawning Burrow.
Inside you meet Heile, a girl who wants to see her brother. Investigate the ruined village of Oghasti to the south, then the larger house she calls the Wooden Palace, and the trail leads you to the Coal Burners’ Camp. Look for trees marked with an X and a man sitting alone at a campfire. That is Tonis. Hand him a drink, convince him Heile is better off in the burrow, and the Sanzhani Tsarina appears.
The Tsarina asks for three Shiny Teeth before she will carry messages. They drop from humans and the undead, so you likely have some already. Deliver them and Letters to Lunka begins properly, with the other four fairies now findable on the map.
Note: Do not agree to help Tonis with his task at the camp. That branch costs 3x Time Segments and gets you nothing the drink does not.
All four sanzhani quest locations and objectives
| Quest | Where the icon appears | What clears it |
|---|---|---|
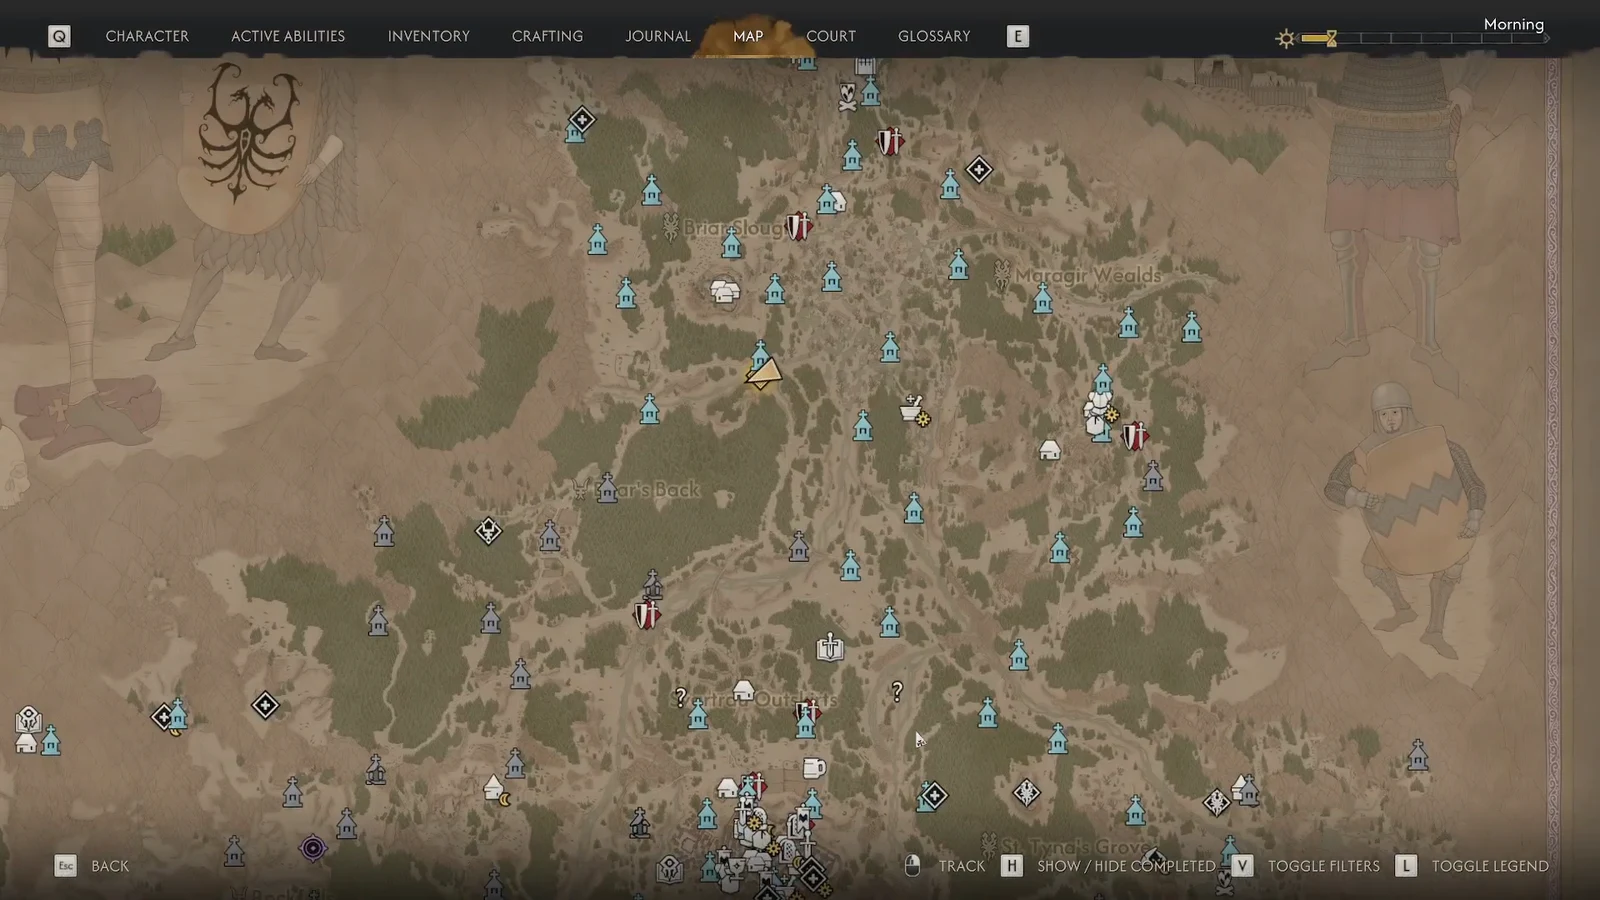
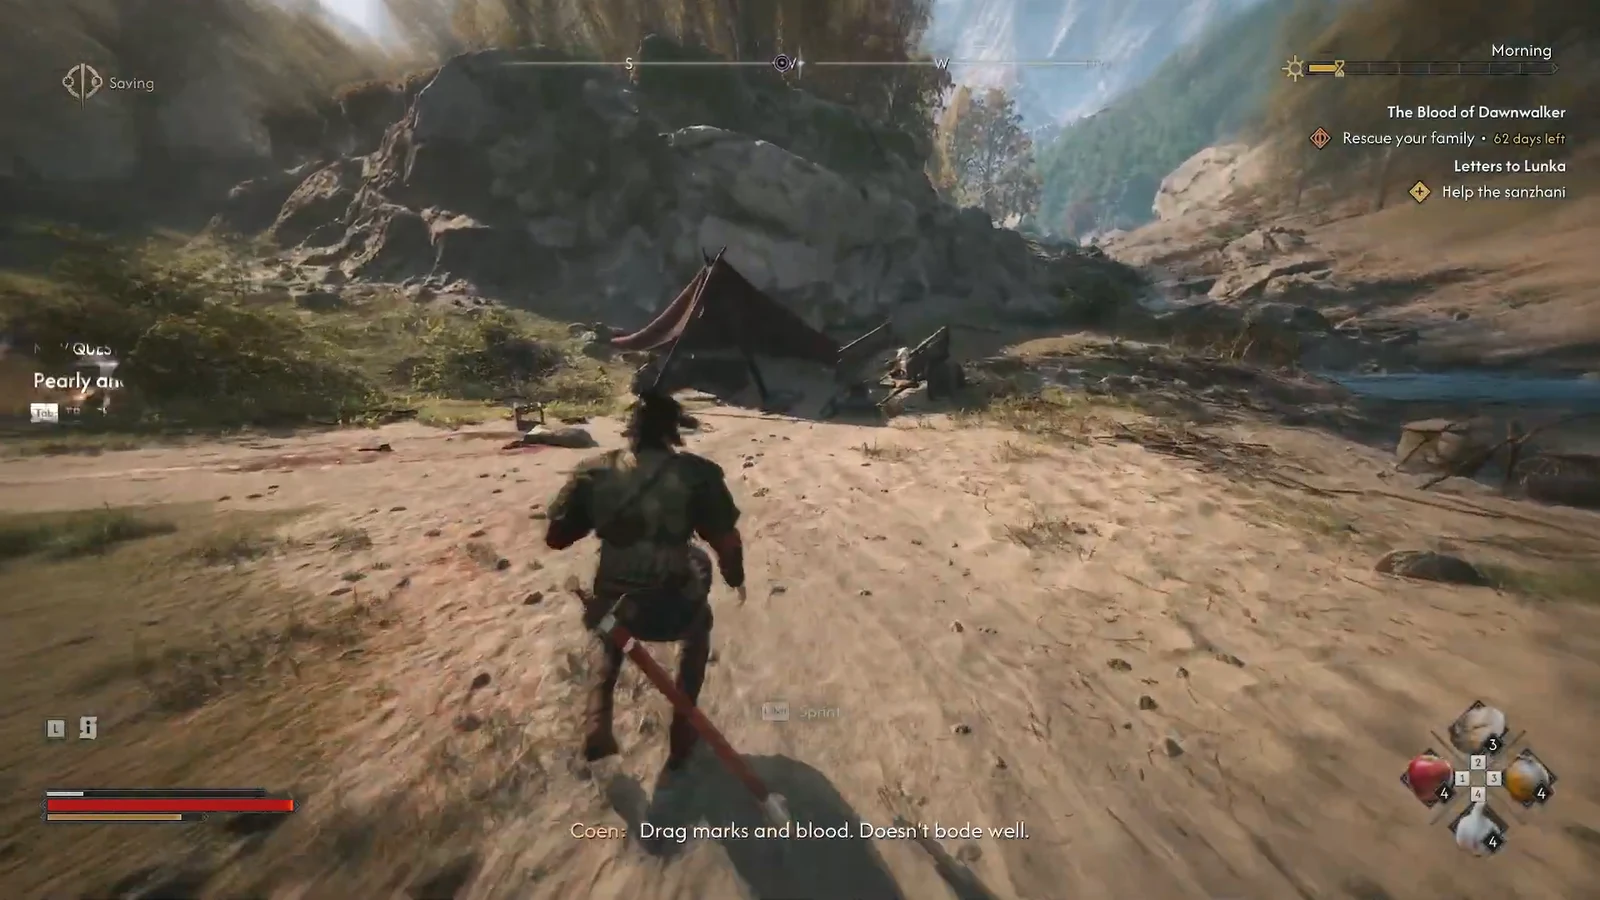
| Pearly and Precious | Southern Briar Sloughs, across the river from the Small Bridge Shrine | Search the abandoned camp with Focus Mode, follow the trail to the fairy, then wipe out the bandits southwest of her |
| Tiny Dancer | Central Svartrau City, in the Altenmarkt area west of the Cathedral Complex | Enter the house from the second-floor balcony, take the Cage Key from the desk, free the caged fairy |
| Come Hither | East of the Silty Mug Inn, north of the Vedera Marsh Guardpost | Drop into the cavern below and kill the Murohn, a feral part-vrakhiri creature |
| Burrow Sorrows | Rockfalls region, in the woods near the Boarback Trail Shrine | Clear the kobolds from the den and grab the charm from their shrine before leaving |
A few of these pay out beyond the letter. The Pearly and Precious fairy turns into a permanent vendor once the bandits are dead, buying Shiny Tooth items at 150 denarii each and selling skill manuals, the Fear of the Wilds legendary amulet, and a Silk Thread priced around 5,750 denarii. She relocates to the Yawning Burrow after you leave the area. Come Hither hands you Silk Threads for free next to the Murohn’s corpse. The Tiny Dancer fairy points out silver hidden under the floorboards, and the Burrow Sorrows sanzhana turns out to have lied about the kobolds — she just wanted the den for herself.
For Tiny Dancer, use Focus Mode near the Altenmarkt to spot the gold-and-green glow coming from inside the house. At night you can reach the balcony with Shadowstep or Planeshift. During the day, take the sloping path up and make a running jump across the gap.
Triggering a hidden quest: Pearly and Precious
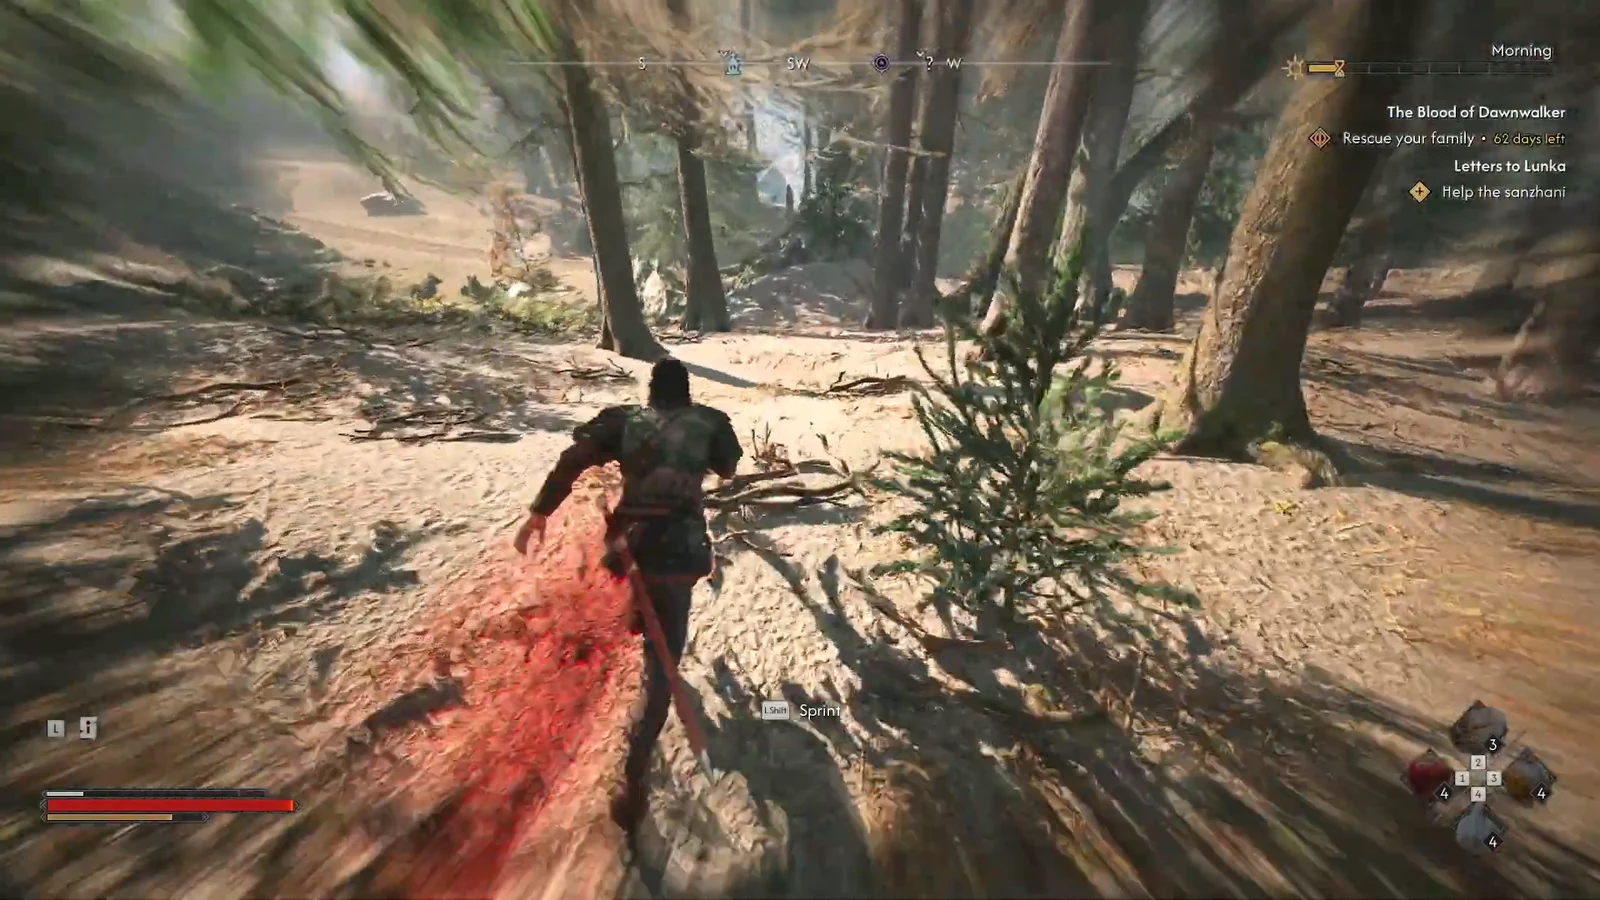
The activation pattern is the same at every site, so it is worth walking through one. Pearly and Precious is the easiest to demonstrate because the entry point is a plain abandoned camp with nothing obviously quest-like about it.
How to confirm the objective actually advanced
Two things change once a favour lands. The helped sanzhana moves into the Tsarina’s burrow permanently, so you can count heads down there, and the journal swaps “Help the sanzhani” for the next letter objective — “Send the second letter to Lunka“, then the third, fourth, and fifth.
Return to the Yawning Burrow, pick a subject, and send the message. Replies do not arrive instantly. You must wait one day-night transition, after which the letter appears in your inventory under the Quest Items tab and the journal logs a “Read Lunka’s answer” objective. Her answers cover your father Pieter, Greifberg Castle’s defences, what Brencis is doing inside the castle, and a gift she would like — practical intel for the infiltration later on.
If the objective looks stuck, there are only three realistic causes. Good Home is unfinished, so the other fairies have not spawned. You have not delivered the three Shiny Teeth to the Tsarina. Or you cleared a site’s combat but never returned to the sanzhana to finish the conversation.
Time Segment costs and the payoff
None of this is free. Each sanzhani quest carries actions costing roughly 2x Time Segments, and Good Home adds more on top — examining the axe embedded in the wall of Heile’s house costs 1x, and investigating the second floor of the Wooden Palace costs 2x. Letters to Lunka itself is listed at zero segments to accept, so the spend is entirely in the legwork.
Finish all five sanzhani and speak to the Tsarina in her burrow, and she pushes Brencis’ coronation back by a full day. That is eight daytime segments and eight nighttime segments added to the clock, and it is the only known way to extend the deadline. You also unlock The Tsarina’s Favourite Human trophy and achievement.
Because the reward is time, the order in which you do this matters more than usual. Clearing the four hidden quests early means the extra day is banked while it can still change your route through the endgame, and it leaves enough day-night cycles for all five of Lunka’s replies to arrive before you march on Greifberg Castle.