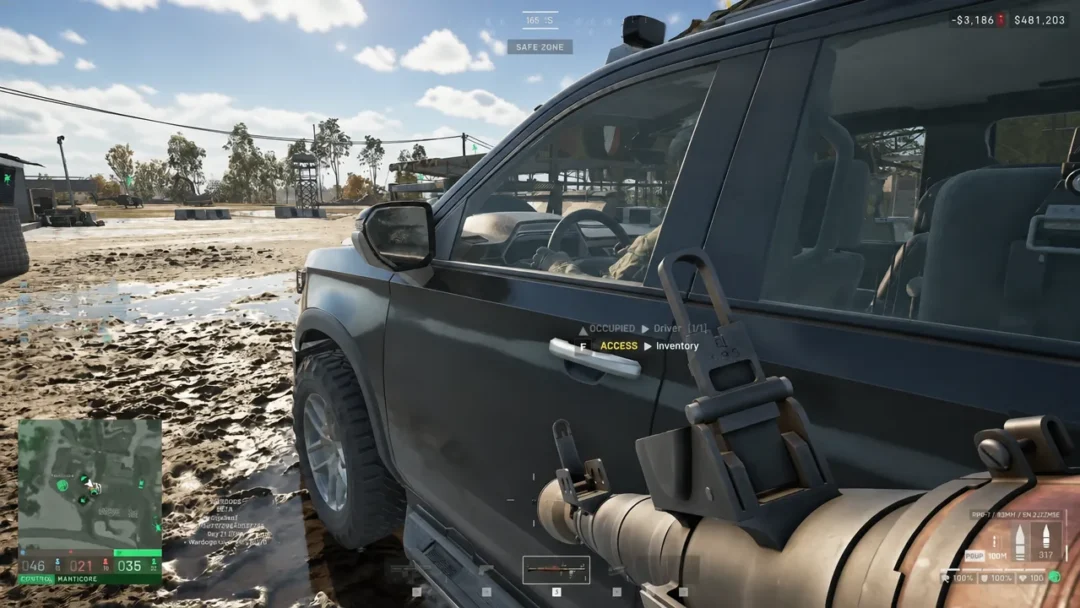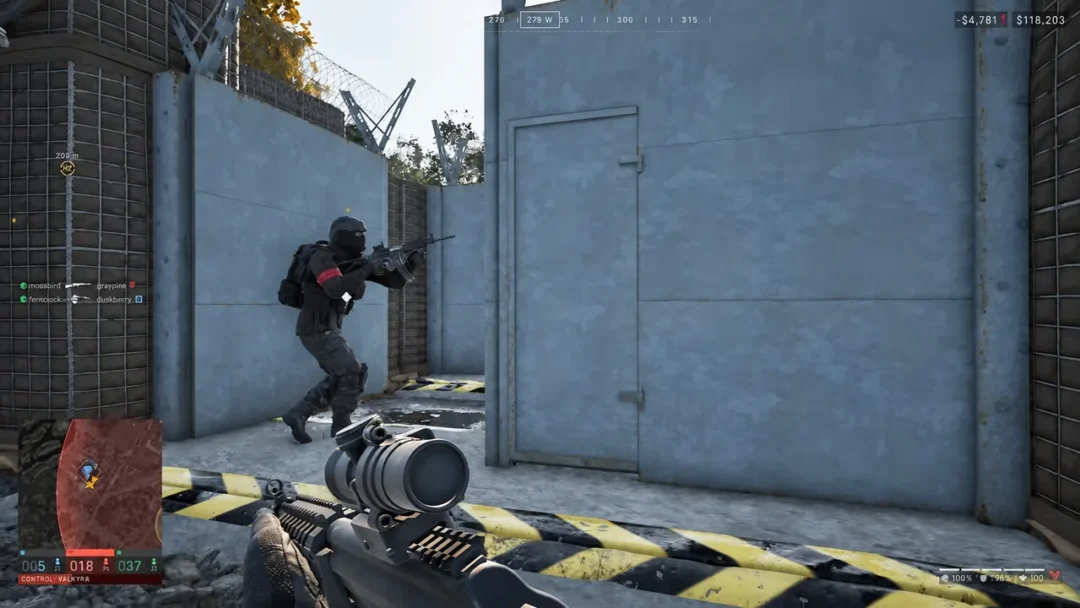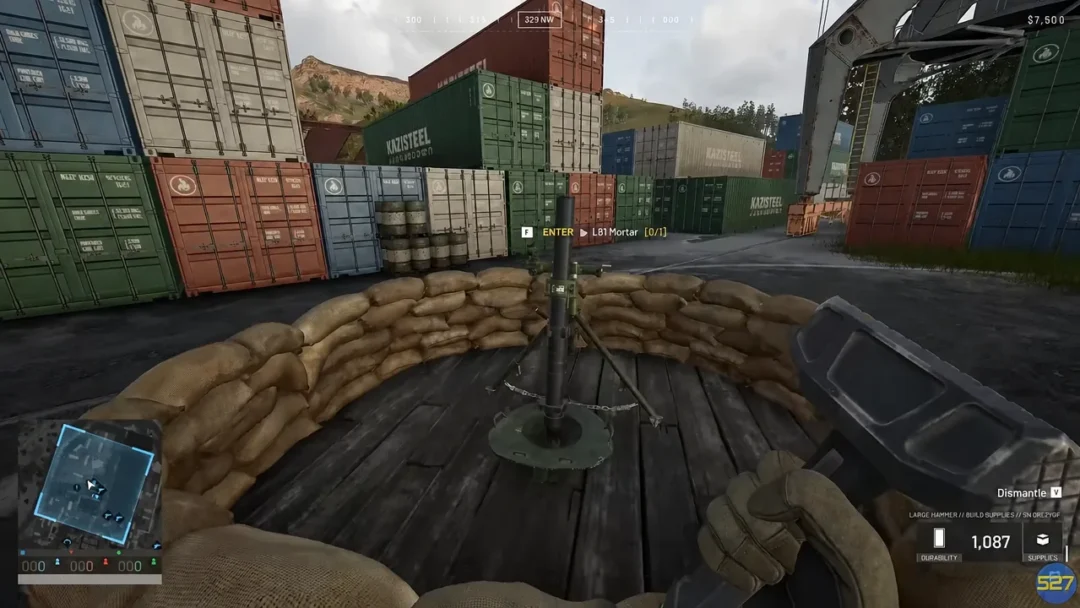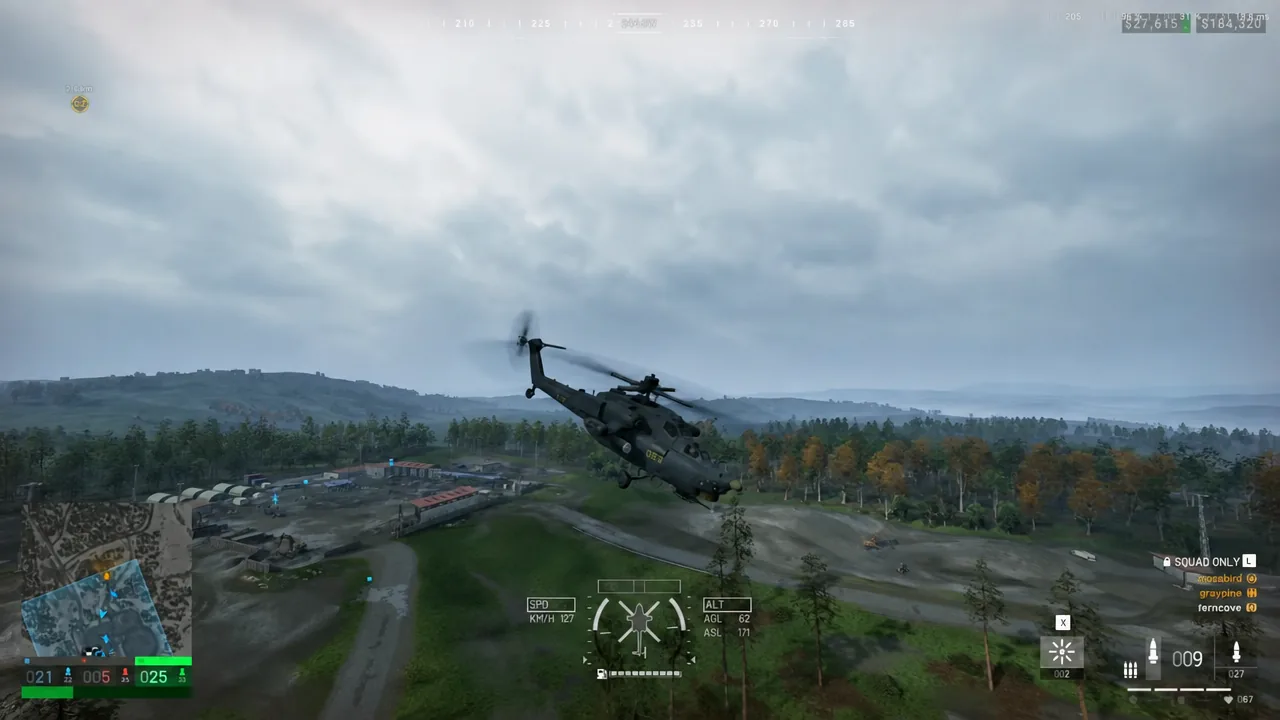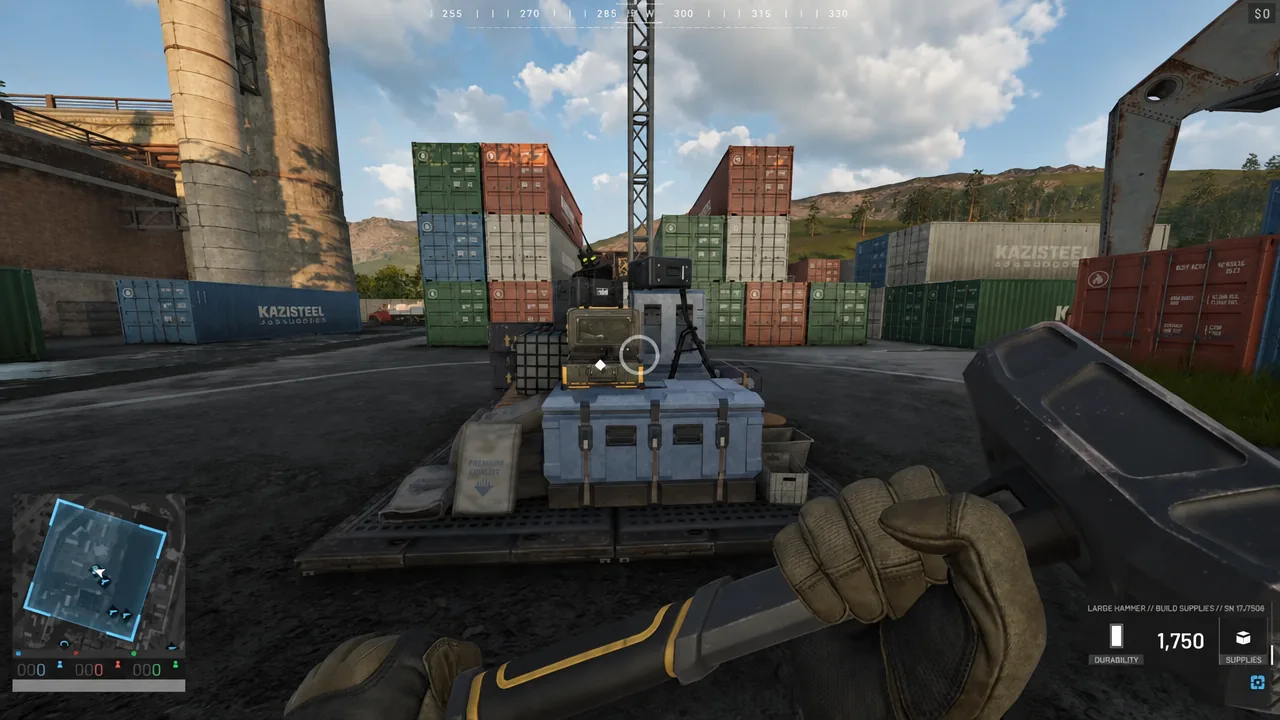
Building in WARDOGS is not a side activity. A Forward Operating Base turns an empty patch of a 16x16km map into a walled position with stored supplies, mortars, anti-air, and a gate your team can actually watch. The system itself is small once you strip it down. Three hammers, four supply types, one FOB kit, and a placement hologram that tells you yes or no.
Quick answer: Buy a hammer, Build Supplies, and the Forward Operating Base item from the equipment vendor, deploy the FOB where the placement hologram shows white, deposit supplies into the FOB terminal, then hit the yellow X markers with your hammer until each structure finishes.
What to buy at the equipment vendor before you build
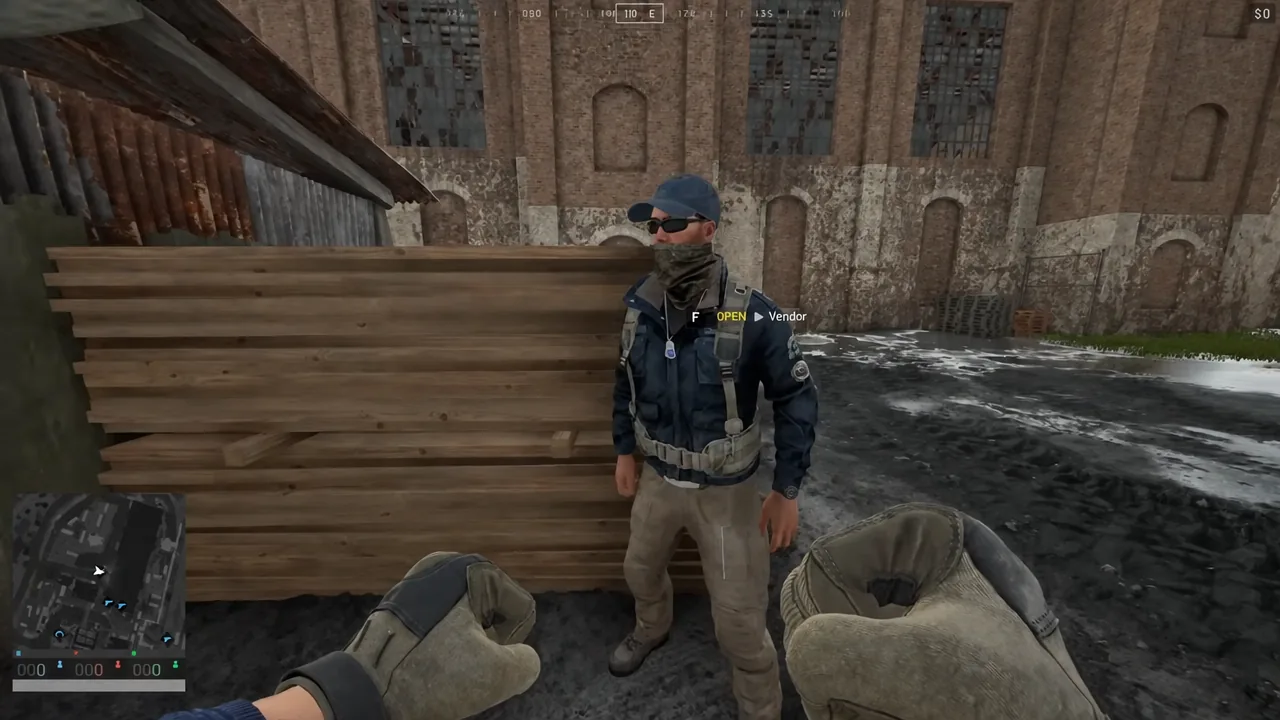
Everything starts at the vendor stall in HQ. Aim at it, take the [F] OPEN // Vendor prompt, then open the Items tab and the Building category. That single menu holds the hammers, the FOB kit, and all four supply types.
Build Supplies are the resource that actually gets consumed by construction. Ammo Supplies feed emplaced weapons, Fuel Supplies keep things like the Drill Rig and refuel stations running, and Mechanical Supplies cover repairs. All four have weight, so a backpack is worth buying at the same time. Pallets and vehicle supply crates move far more than you can carry on foot, and a helicopter can drop a pallet next to the base without landing.
Hammer tiers: what each one can build
The hammer is your build tool and your repair tool, and its tier decides which entries appear on the radial build wheel. Higher tiers also swing faster, which matters when a wall is half-built and the fight is already at your gate.
| Hammer | Requirement | Build access | Beta price |
|---|---|---|---|
| Small Hammer | Basic access | Recon Tent, Hedgehog, Barbed Wire, Sandbag Wall, Builder’s Radio, Hesco Block (Small) | $100 |
| Medium Hammer | Support Level 3 | All Small options plus Door, Gate, Hesco Wall, Loudspeaker | $800 |
| Large Hammer | Support Level 7 | Every tier, including Bunker, Recon Tower, Bremer Wall, Indirect Fire Shelter, L81 Mortar, Stingray, Vanguard CIWS, Talon 9K-SAM, Refuel and Repair Stations, Drill Rig | $1,600 |
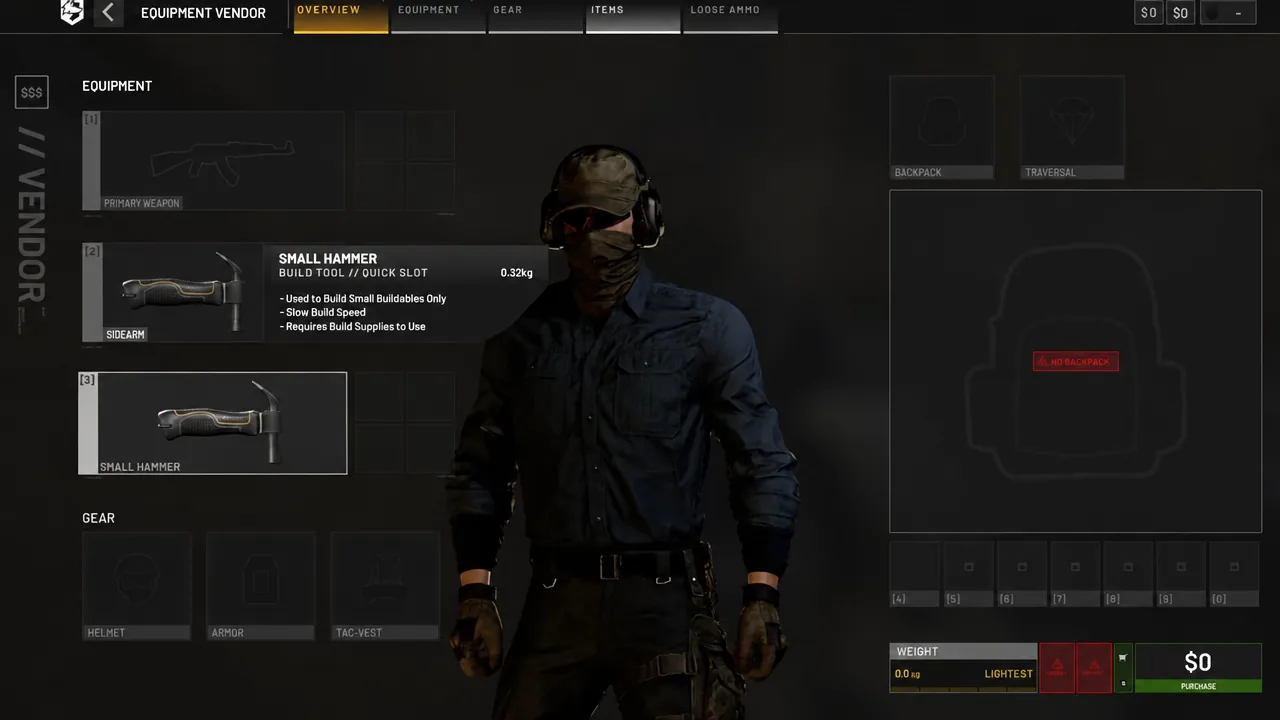
The Small Hammer is enough for field cover during a fight. Sandbags, barbed wire, and hedgehogs need no FOB at all, so you can drop them mid-push. Anything structural or armed needs a FOB in range and stored Build Supplies.
Placing the FOB
A placed FOB cannot be picked up and moved, so the confirmation is final. It also does not work as a respawn point. Treat it as a construction and logistics hub, not a spawn beacon. It can be planted outside the Control Zone, which is useful when you want a fallback position rather than a forward one.
Loading supplies into the FOB terminal
Supplies in your backpack do not count as base stock. Walk up to the deployed FOB, take the [F] OPEN // F.O.B. prompt, and right-click your Build and Ammo Supplies to move them into base storage. Structures then draw from that pool.
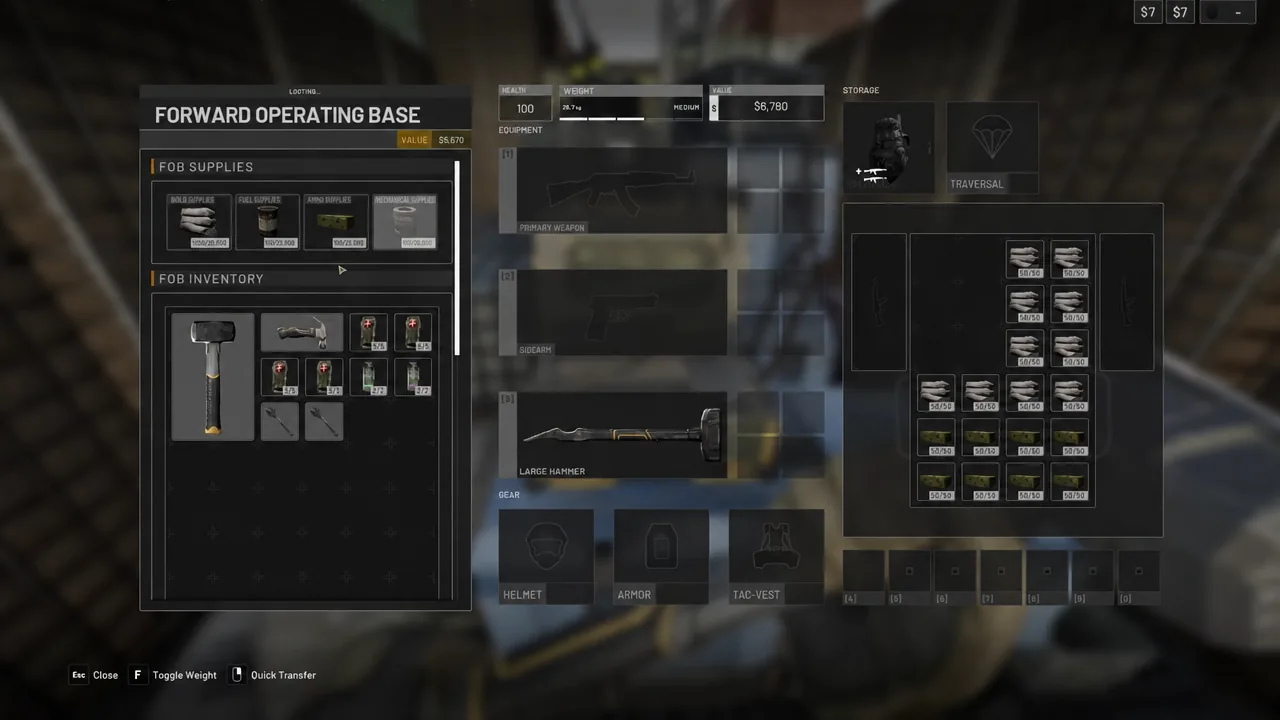
The terminal also holds free basics for the team, including bandages, small and medium hammers, wrenches, and signal grenades. Delivering supplies by vehicle is faster than shuttling on foot. When a pallet lands nearby, the unload prompt pushes its contents straight into base inventory.
Build Supplies cost per structure
Check the stockpile before committing to anything expensive. Spending a full load on walls leaves nothing for the mortar or the anti-air you wanted the walls to protect.
| Structure | Build Supplies | FOB needed |
|---|---|---|
| Recon Tent | 5 | No |
| Barbed Wire | 5 | No |
| Sandbags | 10 | No |
| Hedgehog | 14 | No |
| Hesco Block (Small) | 10 | Yes |
| Bremer Wall | 10 | Yes |
| Builder’s Radio | 13 | Yes |
| Hesco Block (Large) | 14 | Yes |
| Door | 14 | Yes |
| Hesco Wall | 46 | Yes |
| Gate | 52 | Yes |
| Bunker | 61 | Yes |
| Recon Tower | 61 | Yes |
| Indirect Fire Shelter | 61 | Yes |
| Loudspeaker | 61 | Yes |
| Stingray | 91 | Yes |
| Mortar | 91 | Yes |
| Refuel Station | 121 | Yes |
| Repair Station | 121 | Yes |
| Talon | 601 | Yes |
| CIWS | 901 | Yes |
| Drill Rig | 1351 | Yes |
Placing structures, snapping, and stacking
Equip the hammer, open the radial build wheel, and page through to the piece you want. Each buildable gets the same white-or-blocked preview treatment as the FOB, so move it until the game accepts the position.
Snapping aligns adjacent pieces so walls run straight and blocks stack cleanly. It is a toggle, mapped to B by default, though bindings differ between players, so confirm yours in the controls menu rather than assuming. When a corner or an odd angle refuses to sit right, switch snapping off and place the piece by hand. Stacking has a height ceiling, which becomes obvious once you try to build a turret platform.
If a piece lands somewhere useless, aim at it and use the on-screen dismantle prompt, shown as V, instead of building around the mistake.
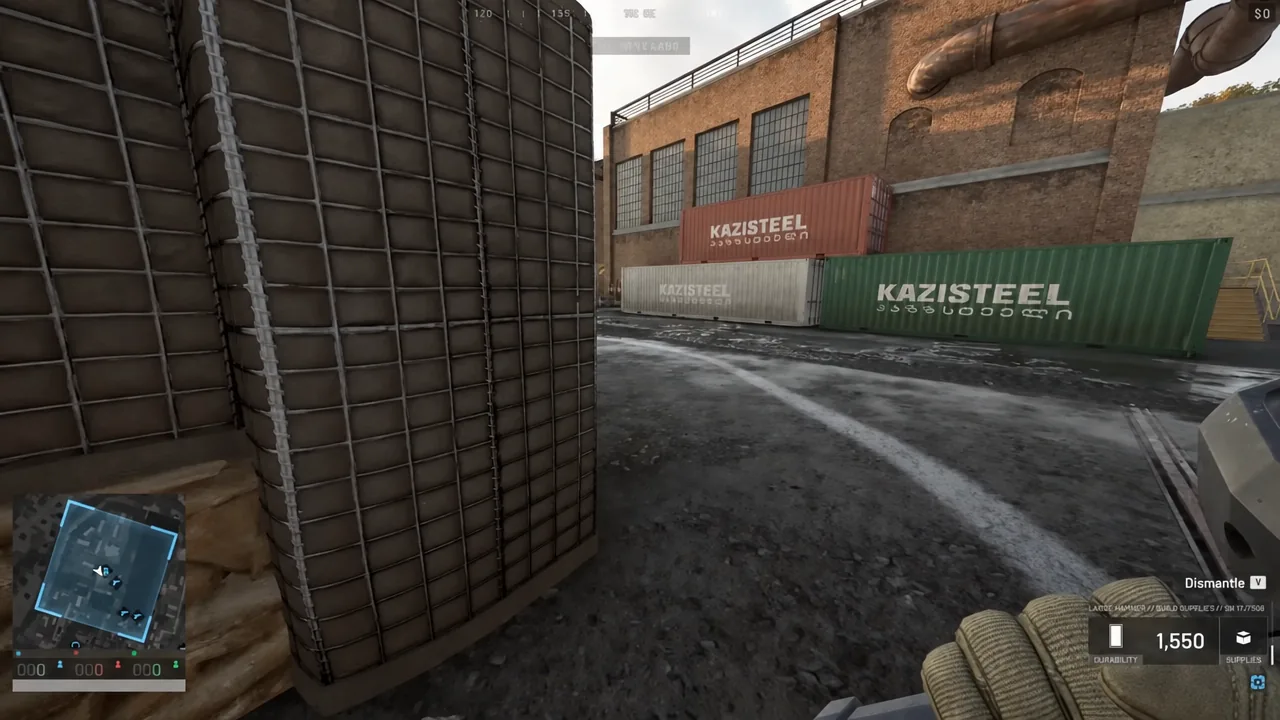
Finishing construction with the yellow X markers
A placed structure is a ghost until you hammer it. Every swing adds progress, but yellow X marks appear on the frame as you work, and landing hits on those spots adds progress faster than swinging at random. The percentage counter on screen tells you exactly where you are. Building also pays out cash and Support progression, which is one of the least contested ways to earn during a match.
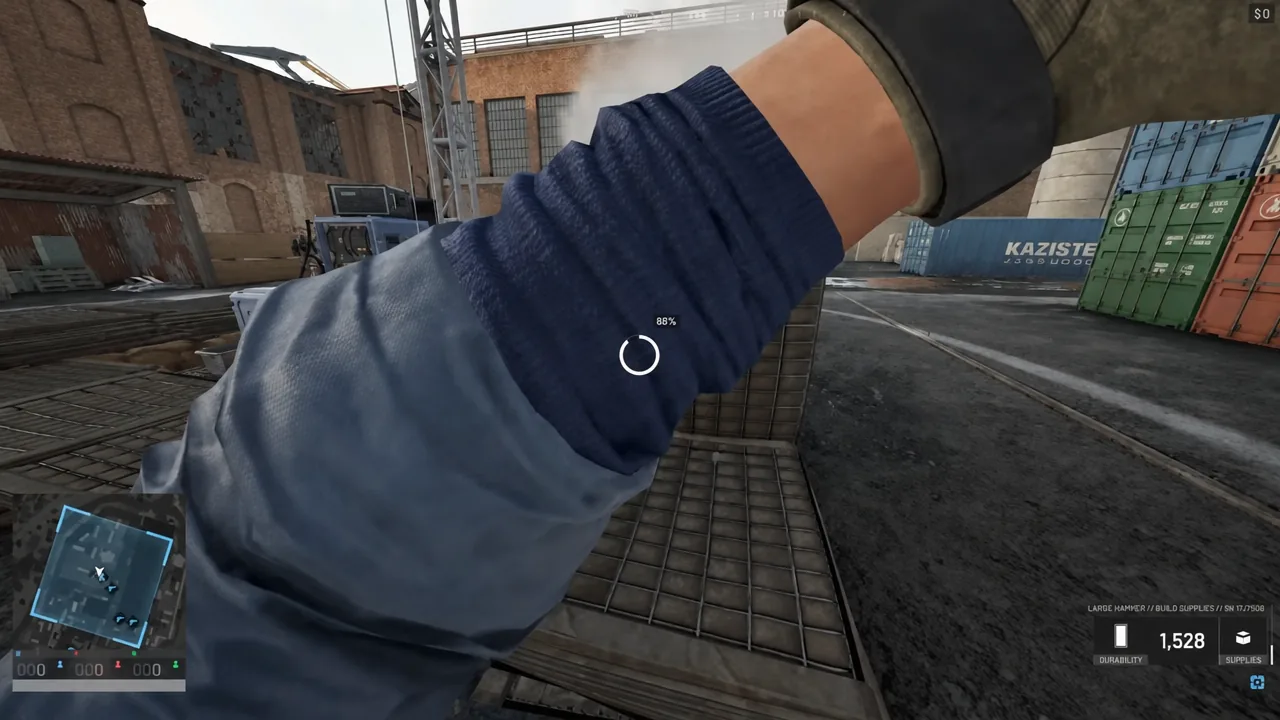
You know a piece is done when the progress indicator fills and the ghosted frame becomes a solid object you can no longer walk through. Supplies are deducted as the build completes, so watch the FOB stock between structures.
Building a perimeter that actually defends the FOB
The first thing worth enclosing is the FOB itself. A ring of Hesco Walls with a single Door is a fine starter shell. Enemies who reach the terminal can damage it, hack it, or place explosives on it, and losing the FOB usually means losing the base.
Limit entrances instead of leaving gaps on every side. One gate or an airlock built from two interlocking doors gives you a choke point that a single defender can watch. A Recon Tower behind that entrance adds a raised firing position over the approach.
Vaulting is the most common way a perimeter fails. Barbed wire along the top of walls, tall concrete sections, or an extra raised Hesco layer all stop players from hopping in. Emplaced weapons need their own clearance, too. A mortar surrounded by tall walls will land its shells on those walls, so ring it with spaced Hesco blocks instead, and keep anti-air sightlines open rather than boxing a Talon or CIWS in.
Tip: Seal the base against enemies, not against your own squad. Your team still needs a clear path to the terminal, the stored supplies, and the unloading area.
Why a build fails to place
There are only a handful of reasons the game refuses you, and they are easy to tell apart.
| Symptom | Cause |
|---|---|
| Preview is red | Terrain or another object is colliding with the piece; reposition, or turn snapping off for tight angles |
| Structure missing from the build wheel | Your hammer tier is too low for that item |
| Build wheel option greyed out or unavailable | Not enough Build Supplies stored, or you are outside the FOB’s construction radius |
| Piece will not stack higher | You have hit the stacking height limit |
| Build progress crawls | You are missing the yellow X markers, or using a lower-tier hammer |
A Small Hammer and a stack of sandbags will get you through most early matches. Once you can afford the Large Hammer and a FOB kit, the loop is straightforward. Place it under cover, feed it supplies, wall it in with a single controlled entrance, and only then start adding mortars, launchers, and repair stations. Beta prices and unlock requirements shift between builds, so check the vendor before you plan a spend.