WARDOGS never asks you to pick a class. You carry all six roles at once, and the only thing that decides which bar fills is what you actually did that life. Heal a squadmate and Medic climbs. Fly a pallet into the zone and Pilot climbs. That single rule is what makes early progression feel slow for new players, because a mixed loadout spreads XP across six tracks that each need their own grind to 100.
Quick answer: Buy the $75 Binoculars in your first loadout and mark every enemy you see, then drive your faction’s spawn vehicle from HQ into the Control Zone for a one-time $3,000. Neither action needs an unlock, both pay cash and role XP, and the spawn vehicle keeps paying $100 every time a teammate deploys on it.
How WARDOGS progression works: six role tracks, one Wardog level, and cash
There are three layers stacked on top of each other, and mixing them up is the most common reason players stall. The first layer is six role XP tracks — Assault, Medic, Support, Recon, Driver and Pilot — each with its own bar and its own cap at level 100. The second is your overall Wardog level, which is the sum of those six role levels and tops out at 600. Assault 7 + Medic 8 + Support 5 + Recon 13 + Driver 3 + Pilot 2 gives you Wardog level 38.
The third layer is money, and it is the one that catches people out. Hitting a role level does not hand you the weapon. It grants the right to buy it, and you still spend persistent cash at the vendor to unlock the item for use. A full XP bar with an empty wallet leaves the gun greyed out, and a fat wallet with no levels cannot buy rights you have not earned.
Cash is also a running cost. Every death means rebuying the kit for that life, so a loadout you cannot afford to lose repeatedly will quietly bankrupt your unlock plan.
Highest-paying XP actions in WARDOGS, by role
Role XP thresholds climb fast, so repeating one high-value action beats sprinkling small ones across several bars. These are the confirmed values worth building a session around.
| Role | Best repeatable action | XP |
|---|---|---|
| Pilot | Drop a supply pallet into the zone | 750 |
| Pilot | Drop a small supply crate | 250 |
| Support | Artillery kill (SPH-2 / L52 cannon) | 350 |
| Support | Vehicle destroyed with artillery | 150 |
| Recon | A target you marked gets killed | 150 |
| Medic | Bandage heal on an injured teammate | 80 |
| Driver | Deliver a passenger to the zone | 50 (+50 if they survive) |
| Recon | Mark an enemy player or vehicle | 25 |
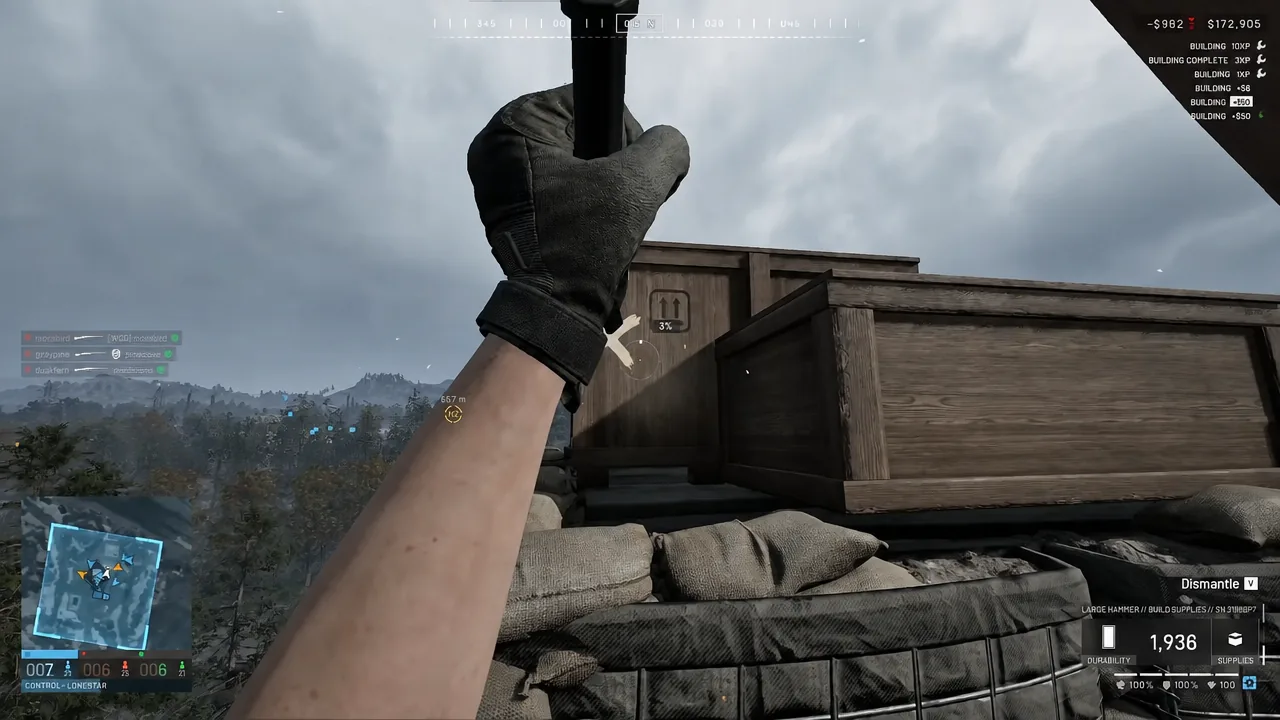
| Support | Finish a structure | 15 (+4 per yellow build marker, +1 per hammer hit) |
The pallet drop is the single highest-paying action in the game, roughly nine times a Medic heal. The catch is that it needs a helicopter, and no air vehicle is free. The bandage heal is at the other end of the scale — small, but it only needs an injured teammate rather than a downed one, so it is the most repeatable XP source available. Bandaging yourself does not pay, so patch your squad, not your own arm.
The Hot Zone multiplier: why position sets your payout
Almost every cash payout in WARDOGS is a modest base number multiplied by where the action happened. A kill is $300 and a headshot is $350. Move that same headshot into the Hot Zone and it becomes $3,500. Anything you earn outside the circle is scored at base rate, which is the same effort for a fifth of the money.
Standing in the zone also pays rent on its own. A score tick lands every 22 seconds, and it does not care who currently holds the point.
| Action | Payout |
|---|---|
| Entering the Control Zone | $250 |
| Control Zone tick (every 22s) | $160 |
| Hot Zone tick (every 22s) | $320 |
| Revive in the open | $400 |
| Revive in the Control Zone | $800 |
| Revive in the Hot Zone | $1,600 |
| Defibrillator revive, Control Zone | $1,200 |
| Defibrillator revive, Hot Zone | $2,400 |
Note: reviving the same teammate over and over pays about a quarter less each time, so a $1,200 defib comes back nearer $900 on the repeat. Spread pickups across the squad.
Fast early money in WARDOGS with no unlocks
| Transport payout | Cash |
|---|---|
| Passenger dropped in the Hot Zone | $300 |
| Passenger dropped in the Control Zone | $150 |
| Passenger dropped outside the zone | $75 |
| Teammate spawning on your vehicle | $100 |
| Round trip home, per surviving passenger | $250 (minimum three counted) |
The MH-6 seats six, which is $1,500 a run into the Hot Zone. The larger Z20 Lakota seats thirteen and turns the same trip into $3,600. The flight home is never worthless either, since the round trip bonus never counts fewer than three passengers, so an empty cabin still banks $750. Delivery counts also stack a multiplier: ×1.1 at ten players delivered, ×1.3 at thirty, ×2 at fifty and ×3 at seventy-five.
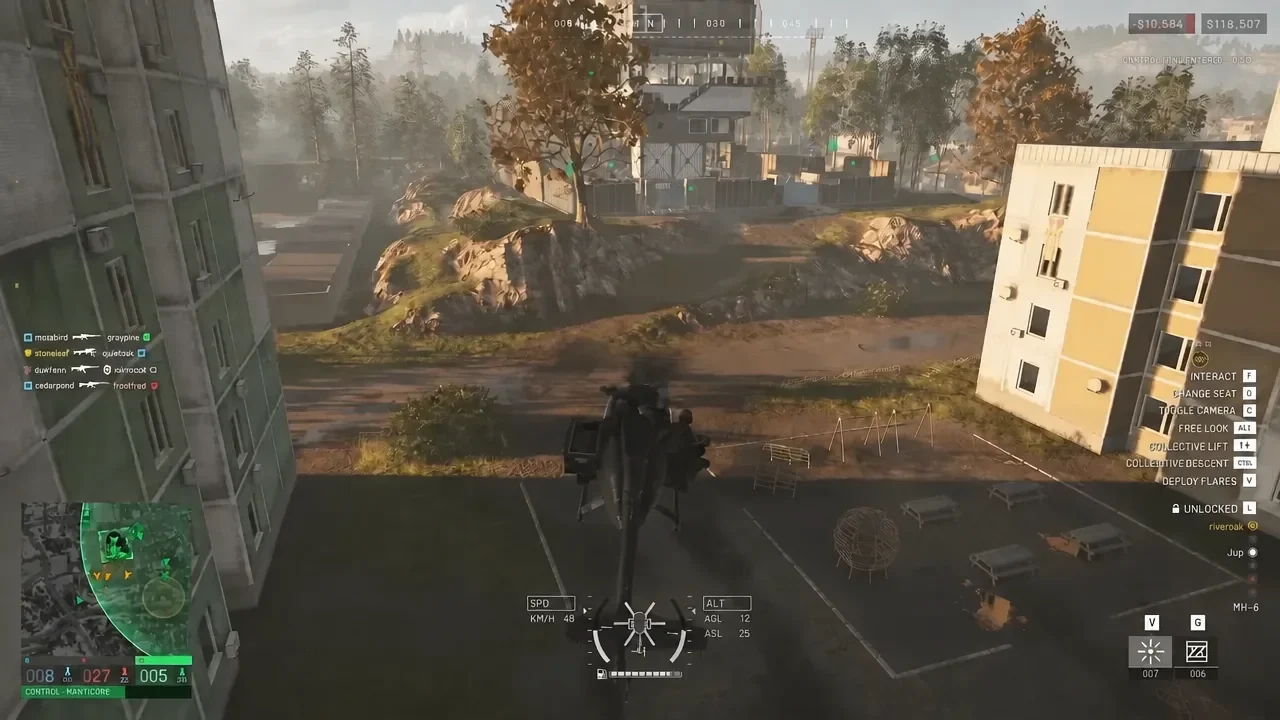
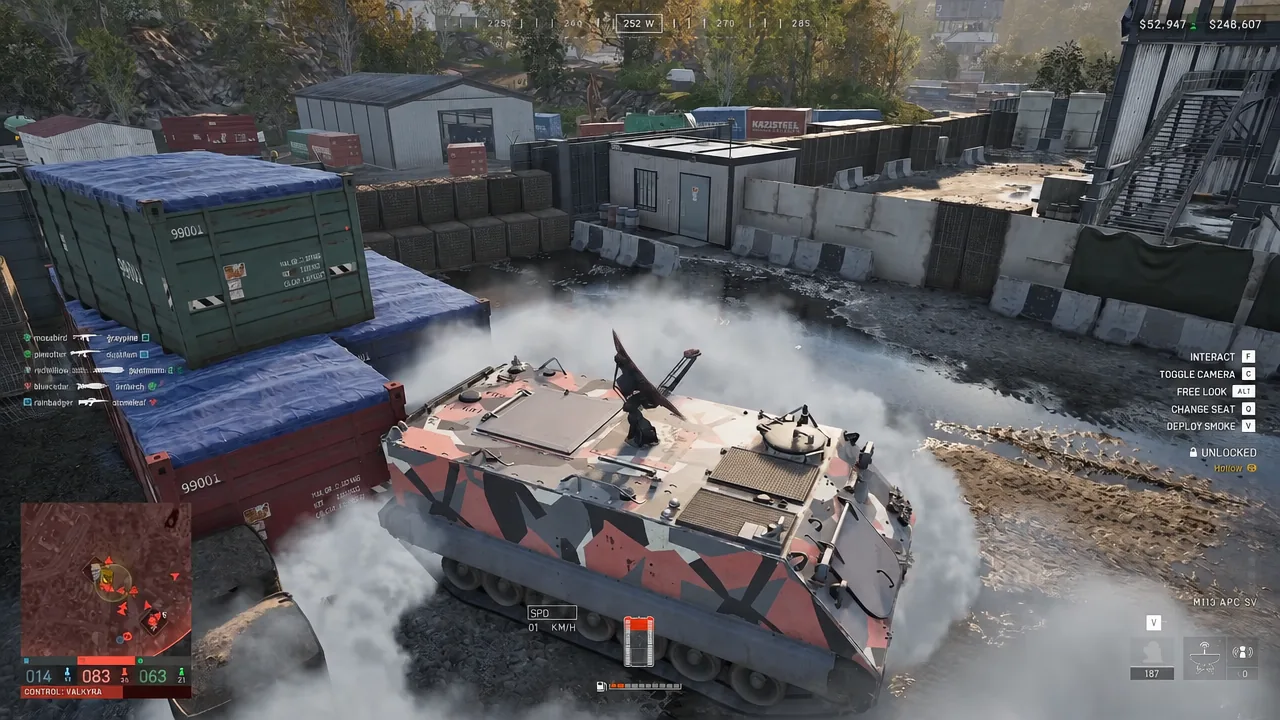
Ground transport pays more per head — around $500 against the helicopter’s $150 for a Control Zone drop — but the road round trip takes two to three times longer and passengers queue for birds first. Full seats at a worse rate wins. Grab a helicopter from the vendor at match start rather than idling on the pad, because passengers, not aircraft, are the scarce resource.
Long-range rifle kills and vehicle kills: the biggest paydays
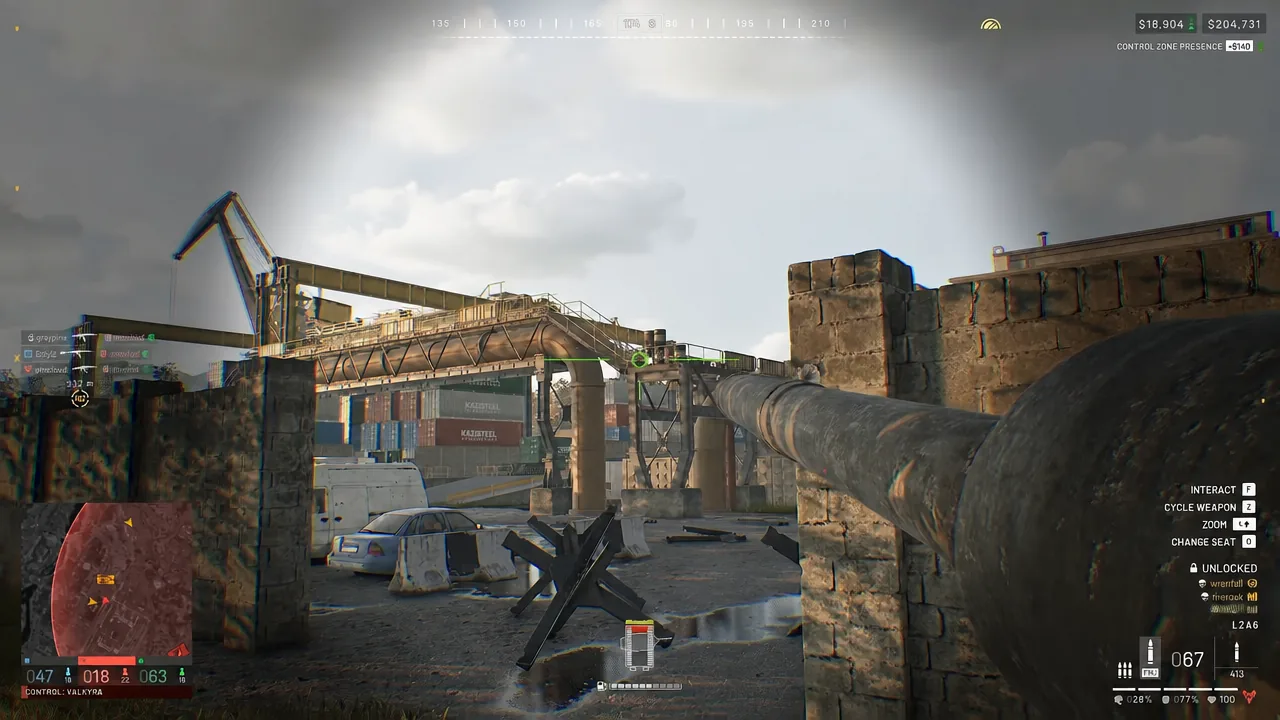
Rifle kills carry a distance multiplier on top of the zone multiplier, and unlike a normal kill, a rifle kill scores entirely on where the target is standing rather than splitting the difference with your own position. Sitting on a ridge a kilometre outside the fight costs you nothing, which is why recon players out-earn the squads holding the point.
| Distance | Multiplier | Headshot into the Hot Zone |
|---|---|---|
| Under 300 m | ×1 | $3,500 |
| 300 m | ×1.5 | $5,250 |
| 400 m | ×2 | $7,000 |
| 500 m | ×2.5 | $8,750 |
| 600 m | ×3 | $10,500 |
| 800 m | ×3.5 | $12,250 |
| 900 m+ | ×4 | $14,000 |
Brackets step at each threshold, so 399 metres pays the same as 300. Kill streaks add another $50 per kill up to five deep. None of it works without a rangefinder, though — you cannot dial elevation for a range you have not measured, and past roughly 300 metres a guess is a miss. The Range Finder at $400 is the upgrade to buy the day you start shooting long, and it is both lighter and smaller in the pack than the Binoculars. The 6-10x Scope at $1,050 matters because its zero reaches a thousand metres, exactly where the ×4 bracket begins.
Vehicle kills scale harder than anything else. Half the payout scores on your position and half on the target’s, so a launcher shot fired from inside the Hot Zone at something above it collects both multipliers.
| Target destroyed | Base | Maximum |
|---|---|---|
| Havoc attack helicopter | $9,000 | $22,500 |
| SPH-2 artillery | $14,000 | — |
| L2A6 tank | $7,000 | $17,500 |
| Spawn vehicle | $5,000 | — |
An RPG-7 costs $2,000 and a single attack helicopter repays that many times over. One rule saves wasted rockets: a vehicle nobody paid for pays nothing to destroy. The free ride parked at an enemy HQ is not a target, but the bought Havoc circling the point is.
Which weapons and actions feed which role XP track
Hovering over any item in the vendor tells you which role it feeds. The tagging is consistent, and it means you can deliberately mix a loadout to level two tracks at once — a helicopter carrying supplies feeds Pilot and Support, a truck carrying the same feeds Driver and Support.
| Role | What feeds it |
|---|---|
| Assault | Assault rifles, all pistols, M67 frag grenades, prying doors with the Halligan Bar |
| Medic | SMG kills, bandages, first aid kits, medical bags, all revive tools; also XP when a player you revived scores a kill or assist |
| Recon | Sniper rifles, marksman rifles and DMRs, the Compound Bow, and every spot made with Binoculars, Monocular, Range Finder or Infrared Range Finder |
| Support | Shotguns, LMGs, launchers, C4, AT mines, claymores and IEDs, hammer building, supply crate and pallet drops at a FOB, vehicle repairs, fuel can refuels, mortars, anti-air emplacements, SPH-2 and L52 artillery |
| Driver | Ground vehicles, passenger transport, spawn vehicle deployment, and the 35mm Oerlikon, L55A1 cannon, mounted M249 and MG3A1 coaxial |
| Pilot | Helicopters, air transport, air-dropped supplies, and the 2A42 autocannon, B-13 rocket pods and M134D Minigun |
Two tagging quirks are worth remembering. Kills scored from inside a ground vehicle credit Driver instead of Assault, which is why the L2A6 tank is the fastest Driver route once you can absorb the risk. And artillery counts as Support despite sitting on wheels.
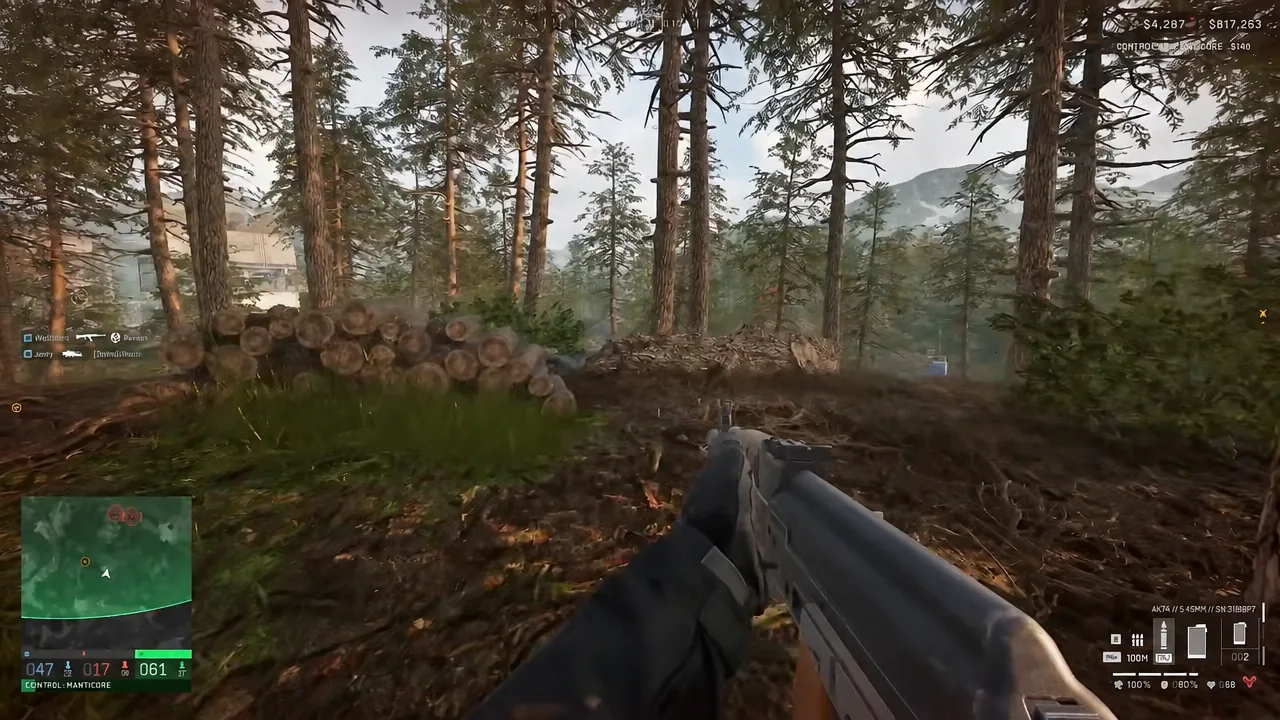
Spotting also cannot be done through a scope or with a button press. You need one of the four recon tools in your specialist slot, which is why the $75 pair is the fastest Recon progression in the game and starts working in your first match.
WARDOGS level gates: what each role unlocks
If you are chasing one specific weapon or vehicle, only its own track unlocks it. Nothing else counts.
| Role | Unlock gates |
|---|---|
| Assault | GALIL at 10, M4 at 20, FAL at 35 |
| Medic | MP5 at 15, Super-45 at 35 |
| Support | M500 at 10, M249 SAW at 15, PKM at 30 |
| Recon | SV98 at 19, MK22 at 25, BMR-308 at 30, AMR 50 at 35 |
| Driver | Ural at 4, L2A6 tank at 35 |
| Pilot | UH-1Y at 10 |
Some levels hand out nothing at all. Empty rungs are normal, and the XP curve steepens as you climb, so early levels fly past while later ones need real session time. Check weight class whenever new gear arrives, too. Heavy and Super Heavy are tradeoffs against your mobility, not straight upgrades.
What quietly cuts your payout
Four penalties take money back, and none of them announce themselves in the kill feed.
- Killing the same player repeatedly cuts roughly a quarter off each time, four deep, so farming one unlucky opponent stops working quickly.
- If an enemy medic revives your kill, you keep one percent of it.
- A teamkill is charged at three times a normal kill and taken straight out of your balance.
- Everything done outside the circle scores at base rate.
The Ghillie Body Suit at $3,000 is the one luxury that protects a long-range earner. It strips the death cam from anyone you kill, so nobody learns where the shot came from, and it hides you from infrared as well.
Progression resets and gold bars
At the end of a major update cycle, role levels and cash both reset. Whatever money is left over converts automatically into gold bars, and reset windows are announced in advance. No reset date is currently confirmed.
The practical read is that hoarding cash is a losing play. Spend into kits you will actually field during the cycle rather than saving for a rainy day that gets wiped, and skip panic-buying heavy gear you will never carry. After a reset, rebuild the cheap ladders first — an attachable rifle, basic medic tools, and one transport route.
If you are starting from zero, the honest plan is to main one track per week with a light secondary, and let the objective do the earning. Combat pays the most per attempt but it is the only route where dying costs you the kit you paid for. Spotting, healing, building, driving and flying supplies all pay steadily and risk nothing when you go down — and because all six tracks feed the same Wardog level, playing whichever of them you actually enjoy still moves the account forward.