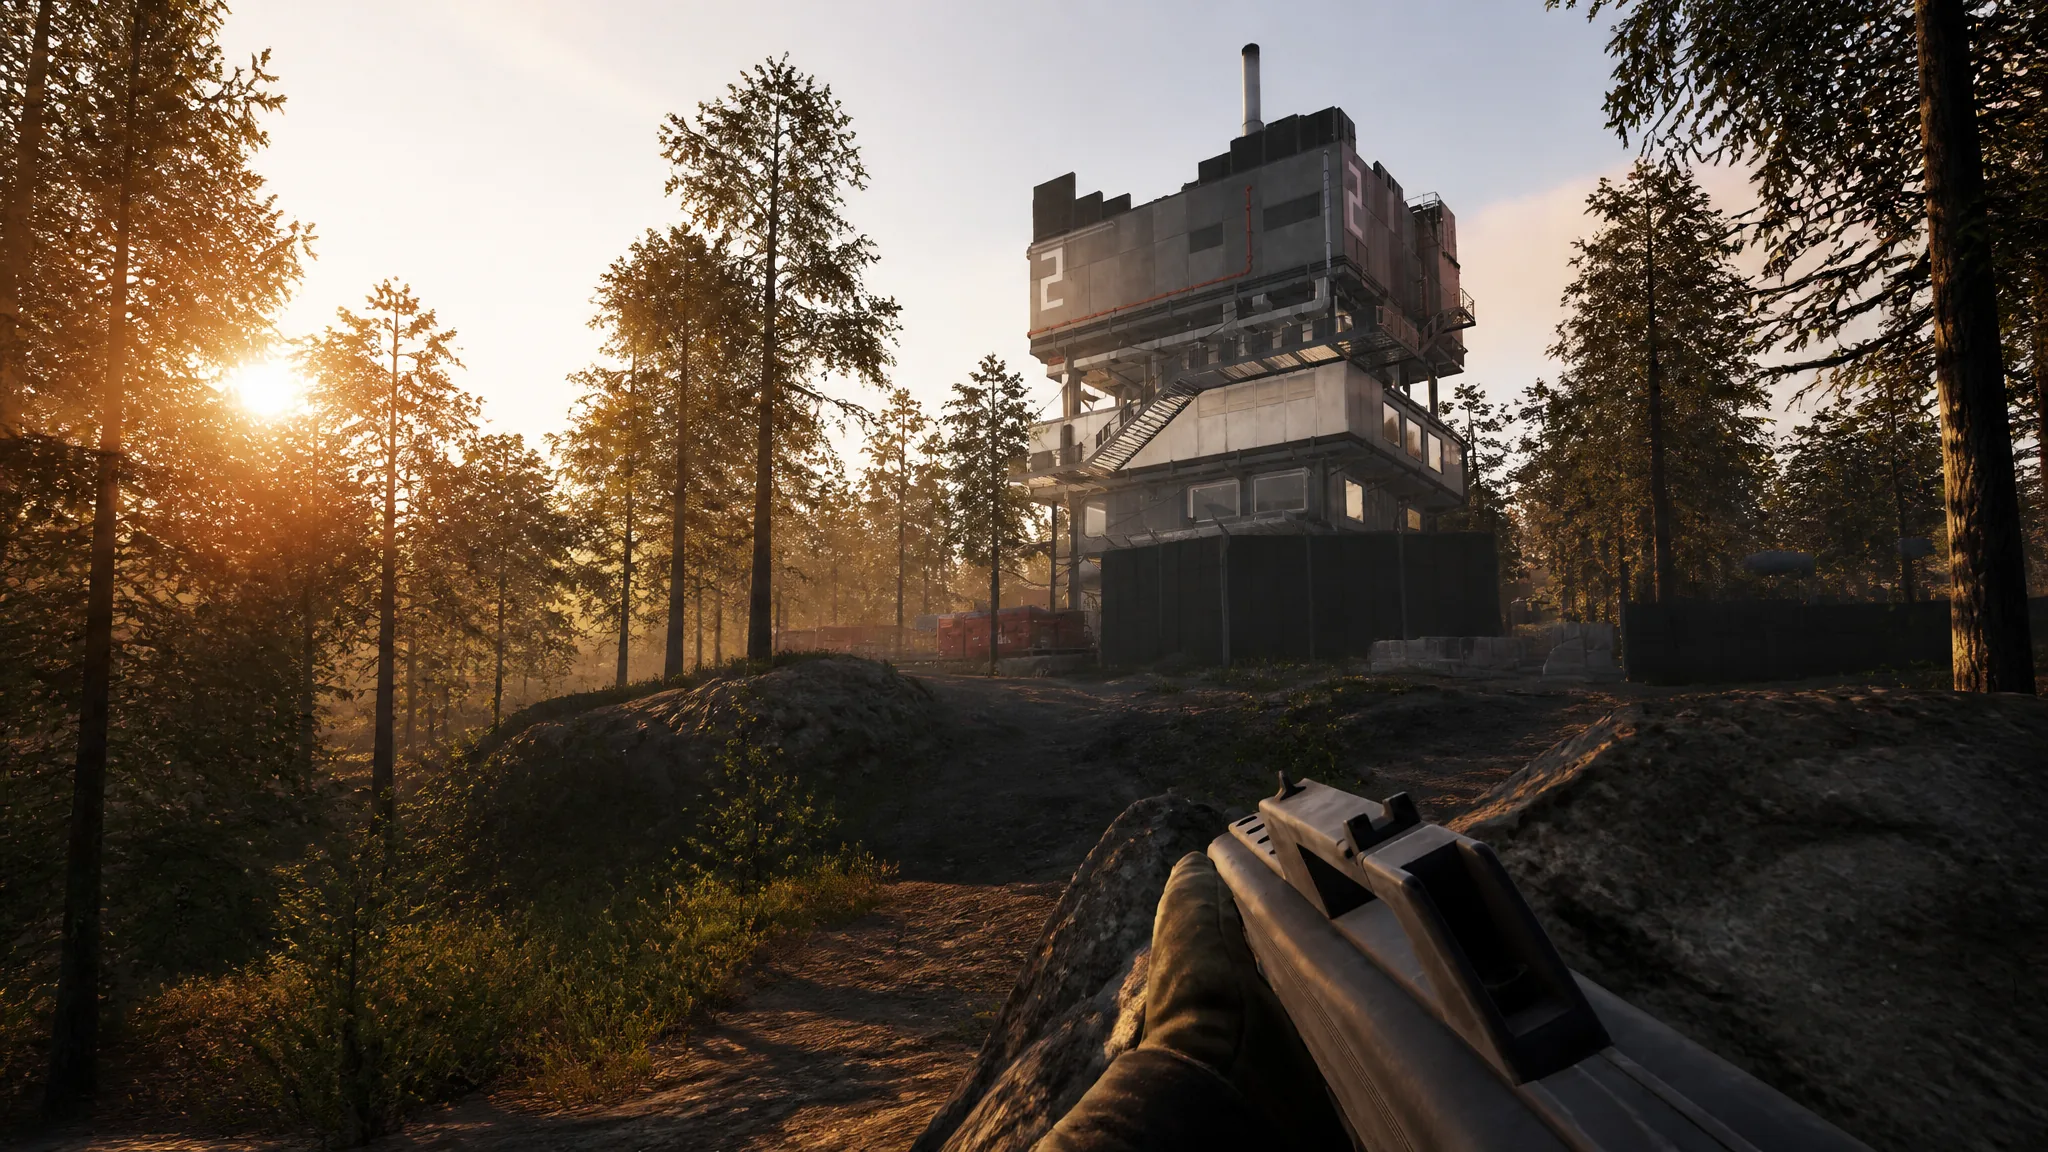
Towers are the objective sitting on top of the main objective in WARDOGS. The match itself is won by holding the Control Zone, but the towers scattered inside it decide where the double-value Hot Zone ends up. Capture enough of them and you can drag that Hot Zone onto a position your team has already fortified, which is the single biggest swing a coordinated squad can pull off in a round.
Quick answer: Capture every tower in the active Control Zone to collect all four digits of the match code, then enter that code at a terminal your faction holds to pull the Hot Zone toward that tower.
What towers do in WARDOGS
Every match is a three-faction king-of-the-hill fight over a randomized 2×2 km Control Zone drawn from a much larger map. Whichever faction keeps the most players inside the zone banks points, and the first to 100 wins. Kills only matter because they remove enemy bodies from the count.
Inside the Control Zone sits the smaller Hot Zone. Players standing in it count double toward their faction’s score, and every cash-earning action there pays double. Towers are the one part of the match a team can deliberately steer toward that Hot Zone, and they serve three practical purposes:
- Elevated hardpoints with long sight lines for spotting, sniping, and anti-air support.
- A strong foundation for a FOB, turning the tower into a fortified base.
- A source of code digits that let you activate the Hot Zone Magnet.
You can open the map at any time to see where towers are, which faction controls each one, and how much cooldown remains before it can be captured again. Only towers inside the active Control Zone function as objectives.
How to capture a tower
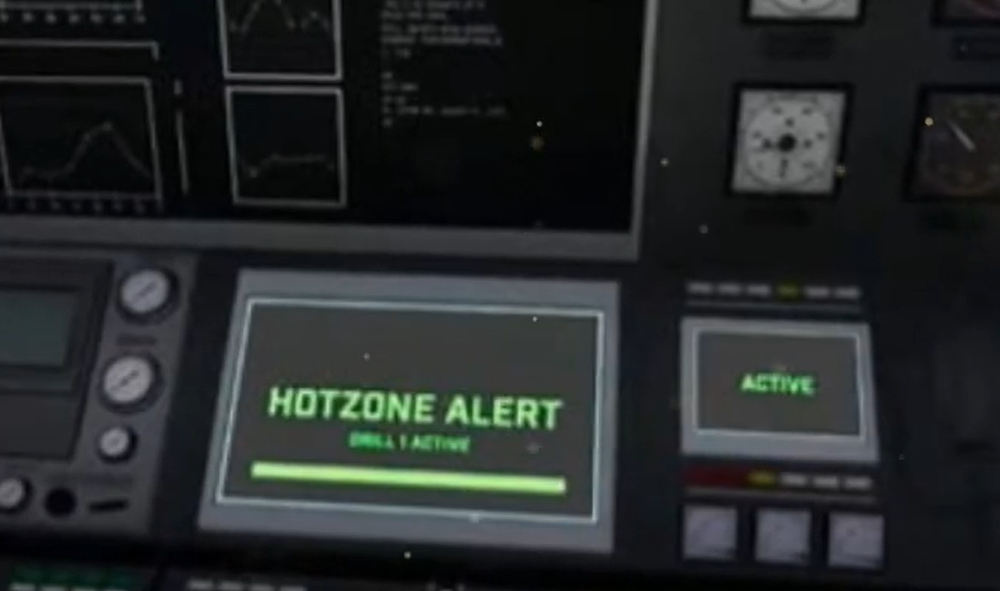
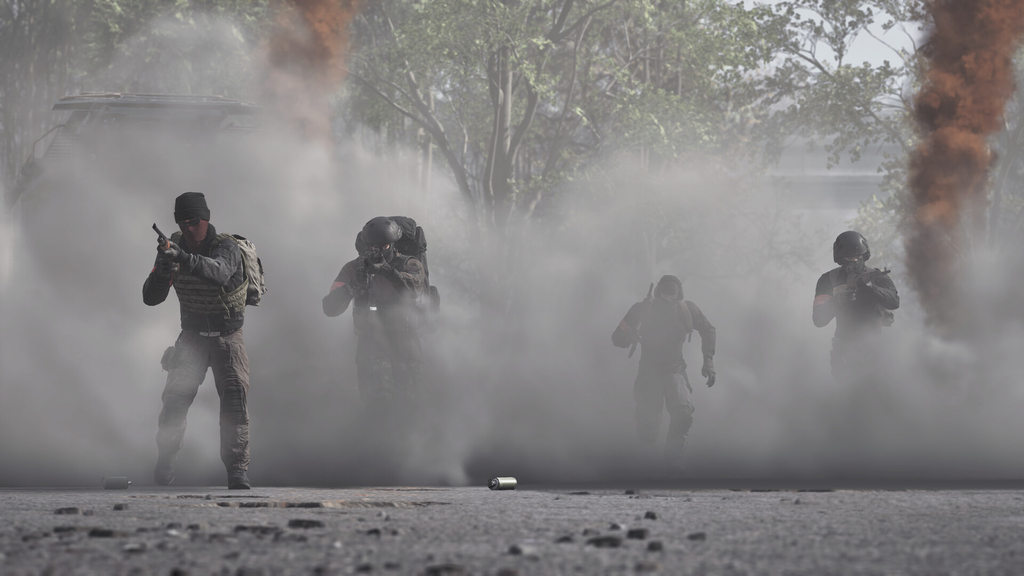
Capturing with a small squad is far safer than doing it solo. One player works the console while the rest watch the entrances and roof.
The four-digit code and the Hot Zone Magnet
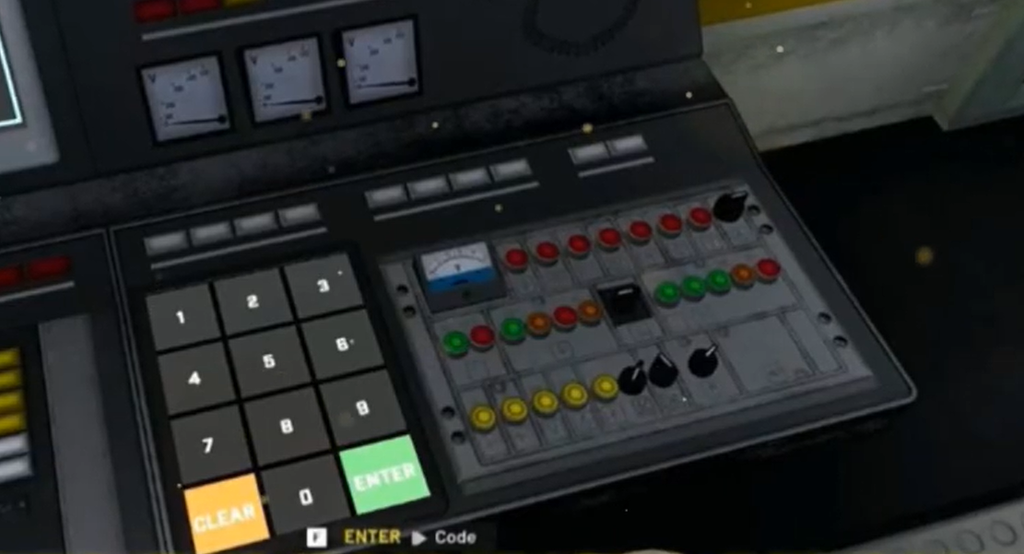
Each tower you capture reveals one digit of a four-digit code, and the console also shows that digit’s position in the sequence. The code is generated fresh every match, so nothing you learned in a previous game carries over.
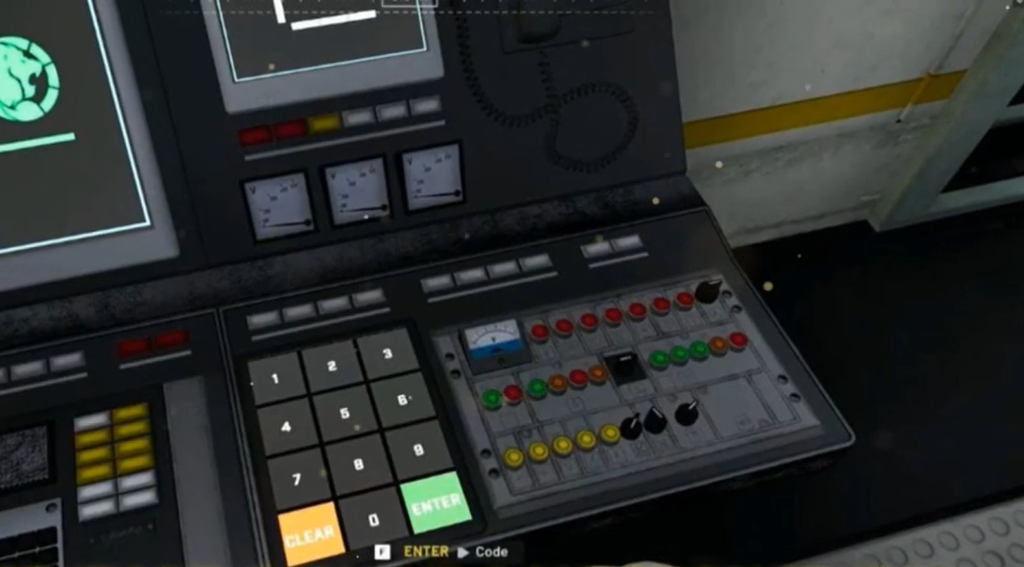
Once your faction holds all the digits, go to a tower you control, use the number pad to the left of the main console, and enter the code. This activates the Hot Zone Magnet. The Hot Zone then starts moving toward the tower you activated it from, no matter where it currently sits, and stays there for a period before returning to its normal wandering behavior. You can see the pull on the map as white dashed lines running from the Hot Zone to the target tower.
Because the Hot Zone drifts rather than teleports, the other two factions get advance warning and the fight tends to follow it. That is exactly why you want to trigger the magnet from a tower you have already built a base around, not the first terminal you reach.
You can try guessing the missing digits, but you only get two attempts. Too many wrong entries lock you out of the keypad for a short while.
Tower drill vs. building your own FOB drill
You do not strictly need towers to move the Hot Zone. With the right tools, a faction can build its own drill site on a FOB and use it as a mini-tower. Fuel it to the maximum of 6000/6000 and you can activate it to become a Hot Zone Magnet in the same way. The two methods behave very differently, though:
- FOB drills need a constant supply of fuel; tower drills do not.
- Tower drills cannot be destroyed; FOB drills are vulnerable to artillery and Stingray drones.
- FOB drills can be shut down by anti-logistics tactics that cut off their supply.
In most public matches, building a FOB drill is the safer and simpler play, since teams rarely coordinate enough to capture every tower or storm a fortified FOB. But when a team does crack the full tower code, it skips all the fuel logistics and construction that a FOB drill demands.
Tower counts by map
Tower positions stay fixed on each map even though the Control Zone moves between matches. Only the counting towers matter for the code; abandoned towers act as landmarks and do not contribute a digit.
| Map | Counting towers | Notes |
|---|---|---|
| Bakurani | 7 | Plus 4 abandoned towers that do not count |
| Ozeti | 4 | — |
| Zestafona | Unknown | Not playable yet |
What to keep in mind before you commit
A tower is worth holding even before you touch its code mechanics. The height gives your recon players clear lines of sight, and the surrounding area supports a FOB, supplies, and defensive builds like sandbag walls and mini-bunkers. Determined enemies can still push through those defenses with the right weapons, so keep spawns, ammo, and medics ready if you plan to sit on a position.
The in-game tutorial does not cover towers at all, which is why so many players capture one without realizing what the terminal is for. Treat the capture flow above as it plays in the current build. Because WARDOGS is early, the way towers work may shift between updates.