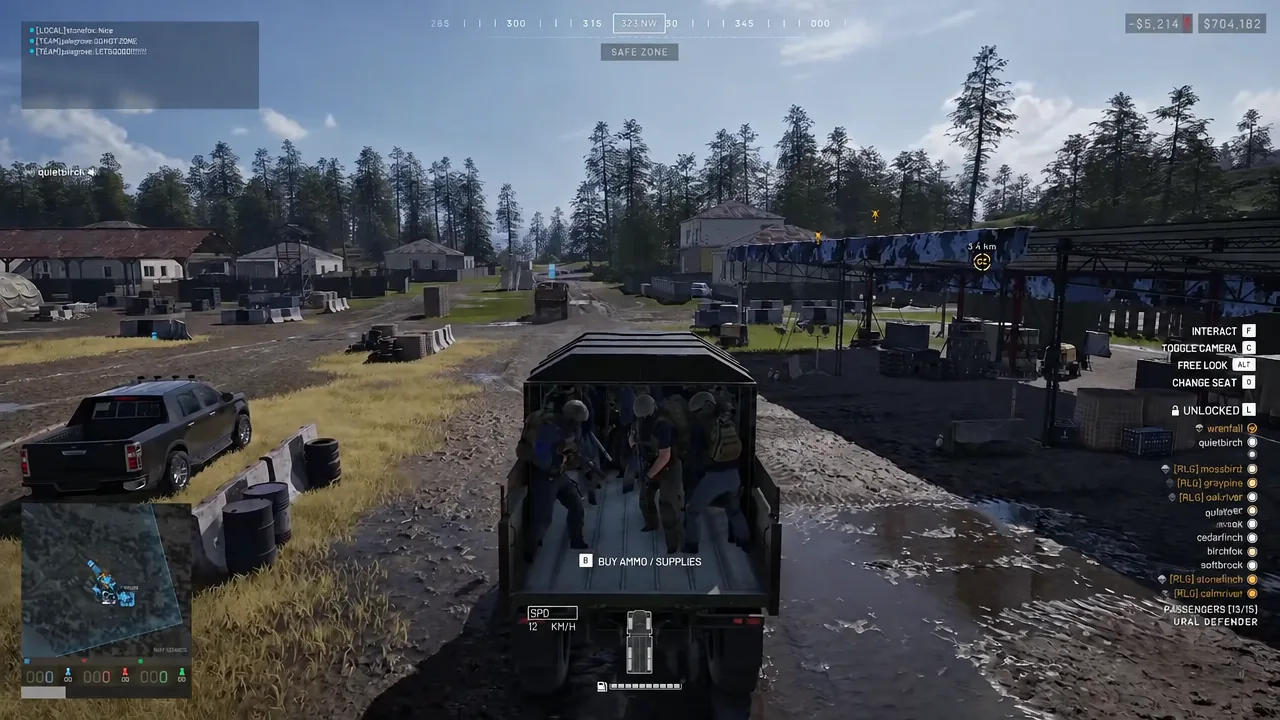
Driver is the slowest track in WARDOGS to fill by accident. Shooting people does nothing for it, flying does nothing for it, and most matches you spend maybe ninety seconds behind a wheel before abandoning the vehicle at the edge of the zone. The track only moves when you are doing something useful with a ground vehicle, which means the fast route is a deliberate loop you repeat every round.
Quick answer: Fill a transport at spawn and drop the whole load into the control zone in the first two minutes, then run supply crates to FOBs for the rest of the match.
What counts as Driver XP in WARDOGS
Only ground vehicles feed the Driver track. Cars, SUVs, trucks, APCs, and tanks all count; helicopters belong to the Pilot role and pay nothing here. Within that limit, four kinds of action pay out:
- Delivering friendly players into the control zone alive.
- Hauling supply pallets and crates to your team’s FOBs.
- Kills scored by a passenger using a gun mounted on your vehicle.
- Teammates spawning on the APC after you drive it into the zone.
Nothing else on the battlefield touches the bar. If you are on foot, your Driver level is frozen.
Driver XP payouts per action
| Action | Reward |
|---|---|
| Tactical deployment (each player dropped in the zone) | +250 XP |
| Passengers survived (full truckload delivered) | up to +5,500 XP |
| Supply crate delivered to a FOB | 750 XP, plus Support XP |
| Kill by a passenger on your mounted gun | Driver XP credited to you |
| Teammate spawning on the APC you drove in | Driver XP and cash per spawn |
The transport numbers stack, which is why the opening rush dwarfs everything else. A packed Ural dropped into a hot zone at the start of a round can total 15,000 to 19,000 XP in one go. For context, the top of the Driver track is level 35, and getting there takes 750,000 XP, so a good opening run is worth more than an entire quiet match of shuttling stragglers.
Start every match with a full truck
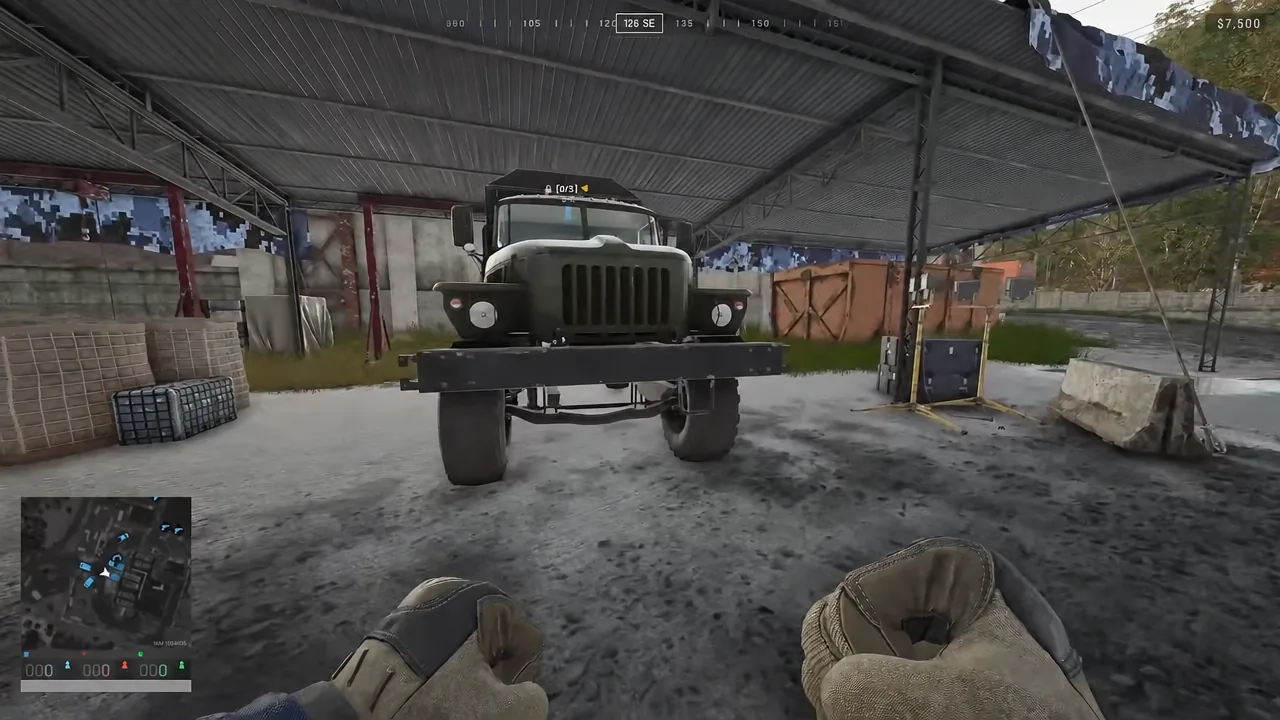
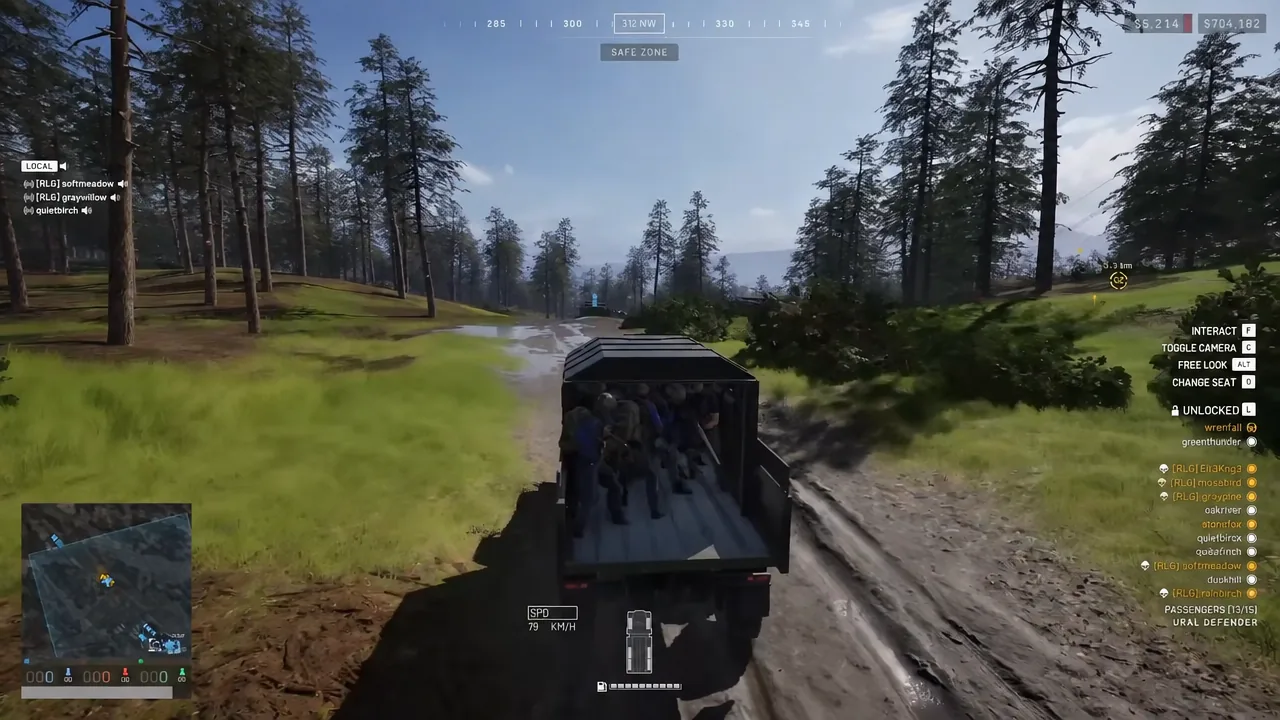
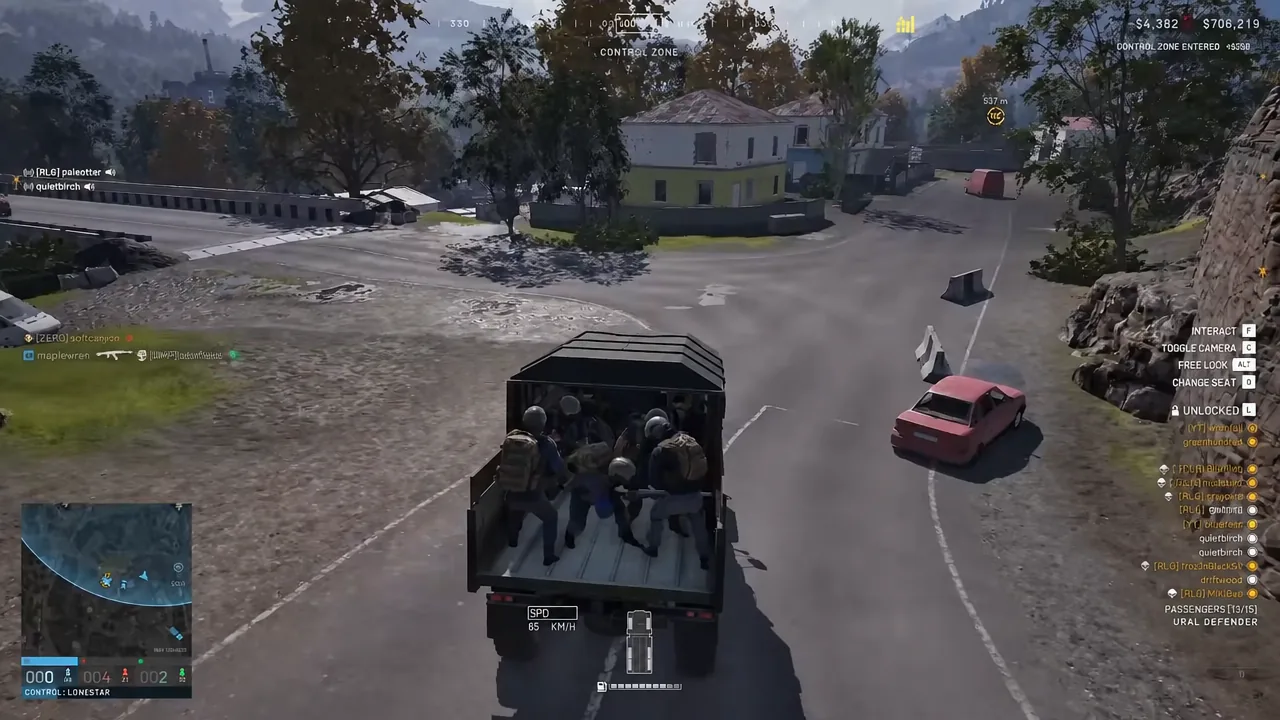
This only works in the opening window. Once the lobby is forward and spawns are close to the fighting, nobody needs a ride, and plenty of players would rather wait for a helicopter than climb into a truck.
One or two of these runs is usually enough to clear Driver level 3, which is the unlock you actually want. The Ural is the only vehicle that hauls the big pallets, and it is also the best people-carrier in the early game.
Run supply crates once the rush dies down
Logistics is the sustainable part of the loop. Load the Ural at base, deliver to whichever FOB is nearest the current fighting, and drive back for the round trip. Each crate pays 750 XP, and unlike passengers, crates never change their mind about getting in.
Ammo crates are the pick when you can choose. FOBs running mortars and C-RAMs burn through ammunition constantly, so those deliveries turn over fastest and pay the best cash. Building supplies are the next best thing when a team is fortifying a chokepoint.
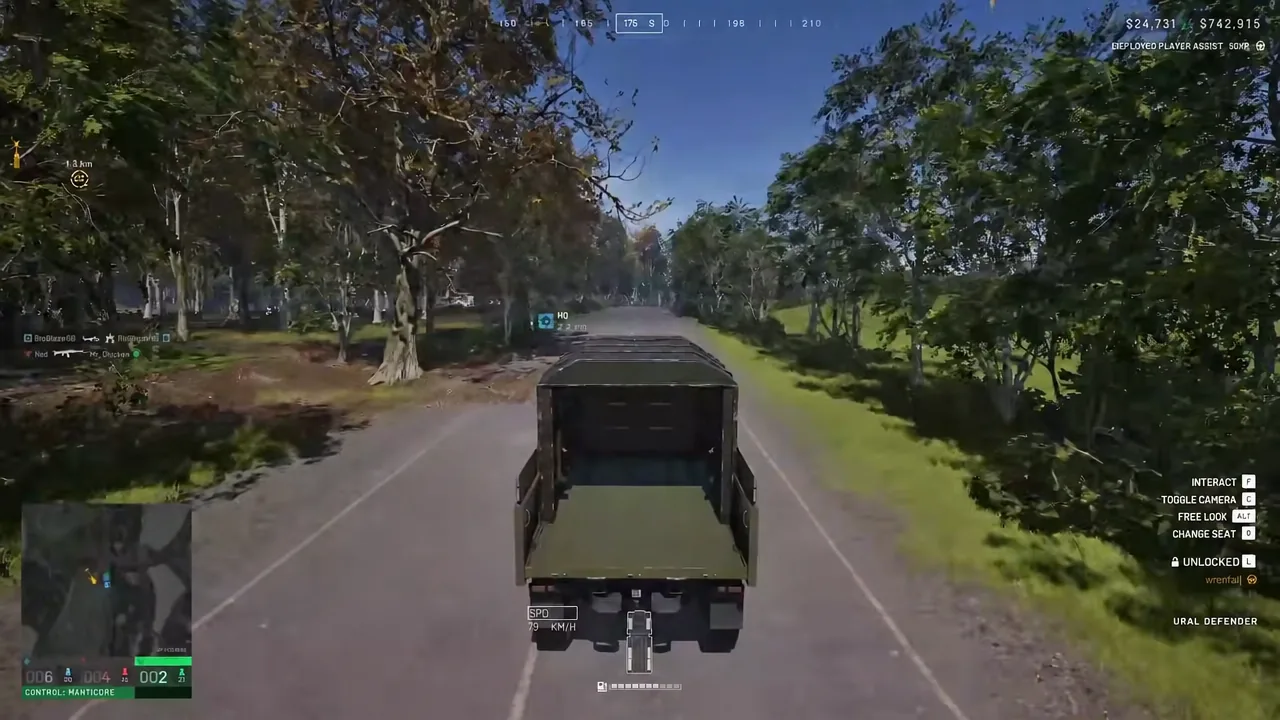
Crate runs also feed the Support role at the same time, so the grind is not single-purpose. Support starts paying out almost immediately with the Light Drill at level 1, the Large Hammer lands at level 8, and the track keeps going to level 50 with the M249 SAW waiting at Support 15.
The APC is the biggest single-match jump
When the first team reaches 20 points, each side gets an APC at base. Drive it into the control zone, park it somewhere defensible, and you collect Driver XP and cash every time a teammate uses it as a spawn point. Players have gone from level 0 to double digits off a single good APC round.
The catch is availability. One APC per team per match means you are competing with the entire lobby for it, and in plenty of rounds it is never destroyed, so a second one never appears. Treat it as a bonus when you get it rather than the backbone of your grind.
Nobody can spawn on a moving APC, and a couple of magazines of rifle fire into the antenna on the roof disables spawning entirely until it is repaired. Park it, keep a repair tool and fuel cans on you, and stay alive.
Driver unlocks by level
| Driver level | Unlock |
|---|---|
 3 3 | Ural |
| 6 | Kodiak [M249] |
| 8 | Dune Buggy |
| 10 | Kodiak [Pickup] |
| 15 | Humvee |
| 16 | Large Crate |
| 18 | Ural Defender |
| 20 | Humvee [M249] |
| 25 | Ural Defender [M249] |
| 30 | Humvee [Minigun] |
| 35 | L2A6 heavy armored vehicle |
The gaps at levels 5, 13, 23, and 28 hold music tracks rather than hardware, so the vehicle ladder is tighter than the level numbers suggest. Level 35 is the ceiling for the role and the L2A6 is what the whole track is really pointing at.
Which vehicles to buy along the way
| Vehicle | Price | Top speed | Seats |
|---|---|---|---|
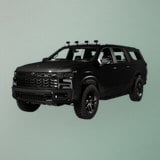 Kodiak Kodiak | $2,500 | 154 km/h | 4 |
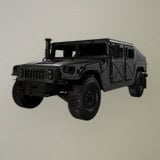 Humvee Humvee | $3,000 | 113.2 km/h | 4 |
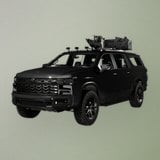 Kodiak [M249] Kodiak [M249] | $3,750 | 154 km/h | 5 |
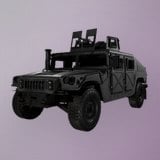 Humvee [M249] Humvee [M249] | $3,750 | 113.2 km/h | 5 |
| Ural Defender | $6,000 | 79 km/h | 3 |
Reaching the level is only half of it. Each vehicle also has a one-time unlock fee before you can ever buy one: $50,000 for the Kodiak [M249], $25,000 for the Humvee, $75,000 for the Ural Defender, and $125,000 for the Humvee [M249]. Cash carries between matches, so logistics money and unlock fees are the same pool.
Kodiak [M249] is the first vehicle that turns your passengers into an XP source. It is fast and it has a mounted gun, but it has no armor, so it works best as a hit-and-run platform with one friend on the gun rather than something you park in the open.
Humvee is the durability upgrade. The body, doors, and glass shrug off normal small arms, which means a gunner can keep working while you are being shot at. The tires stay vulnerable, so expect to lose it to anyone patient enough to aim low.
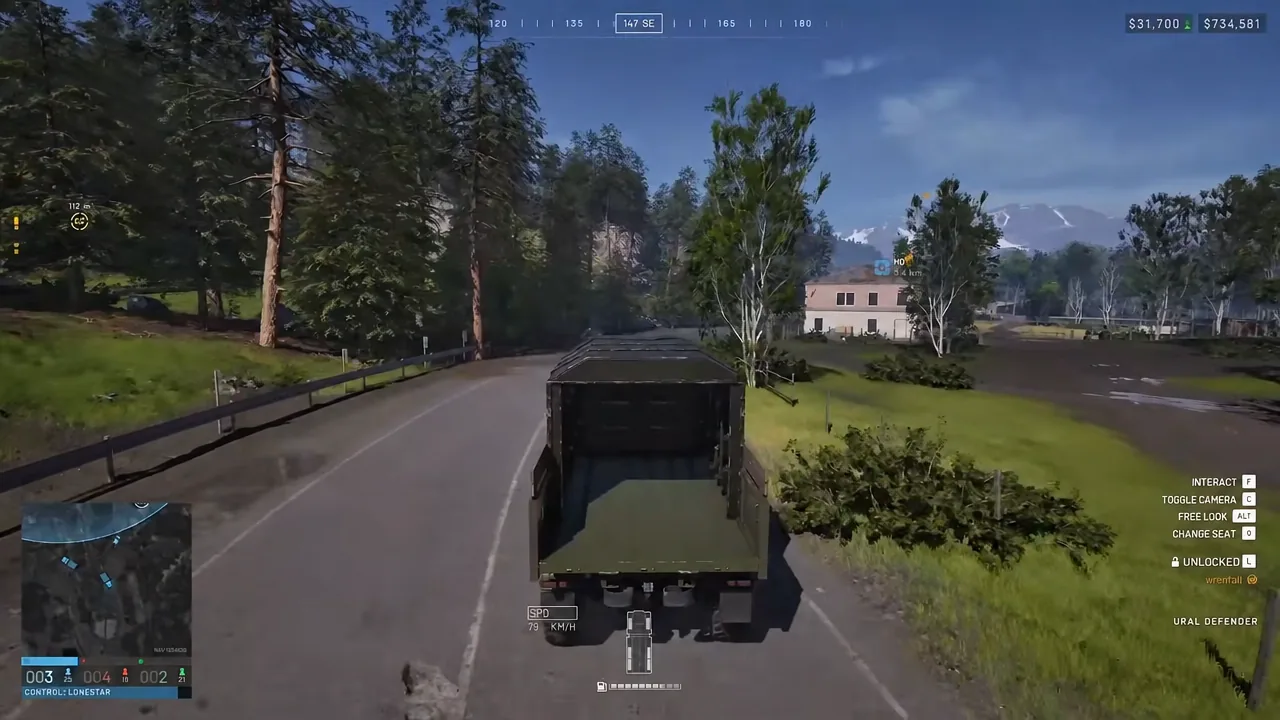
Ural Defender is the transport endgame. The passenger cabin is armored, so a squad ride into a contested zone actually arrives, which protects the survival bonus that makes transport runs worth doing. It is slow at 79 km/h and burns 4 litres per kilometre, so plan shorter routes.
Humvee [M249] combines both halves. Armor that holds up against infantry fire plus a mounted gun a passenger can clear a squad with, and every one of those kills is credited to your Driver track.
Confirming your Driver XP is actually landing
You get immediate feedback in the HUD. Dropping players produces a TACTICAL DEPLOYMENT payout the moment they leave the vehicle, and a PASSENGERS SURVIVED payout a few seconds later once they are still standing. If you see the first without the second, your drop point was too hot.
For the longer view, open the progression screen and check the Driver number. That is the figure gating everything above, and each new level fires an unlock notification for the vehicle or item attached to it. If the bar has not moved after a match, you spent the round on foot or in a helicopter, and neither of those will ever get you to the L2A6.