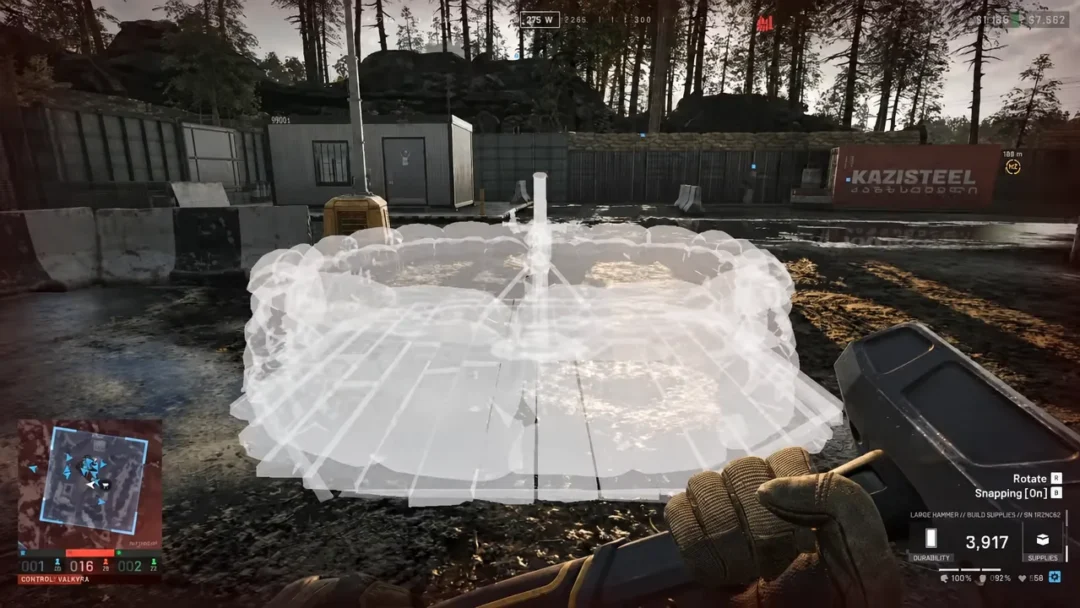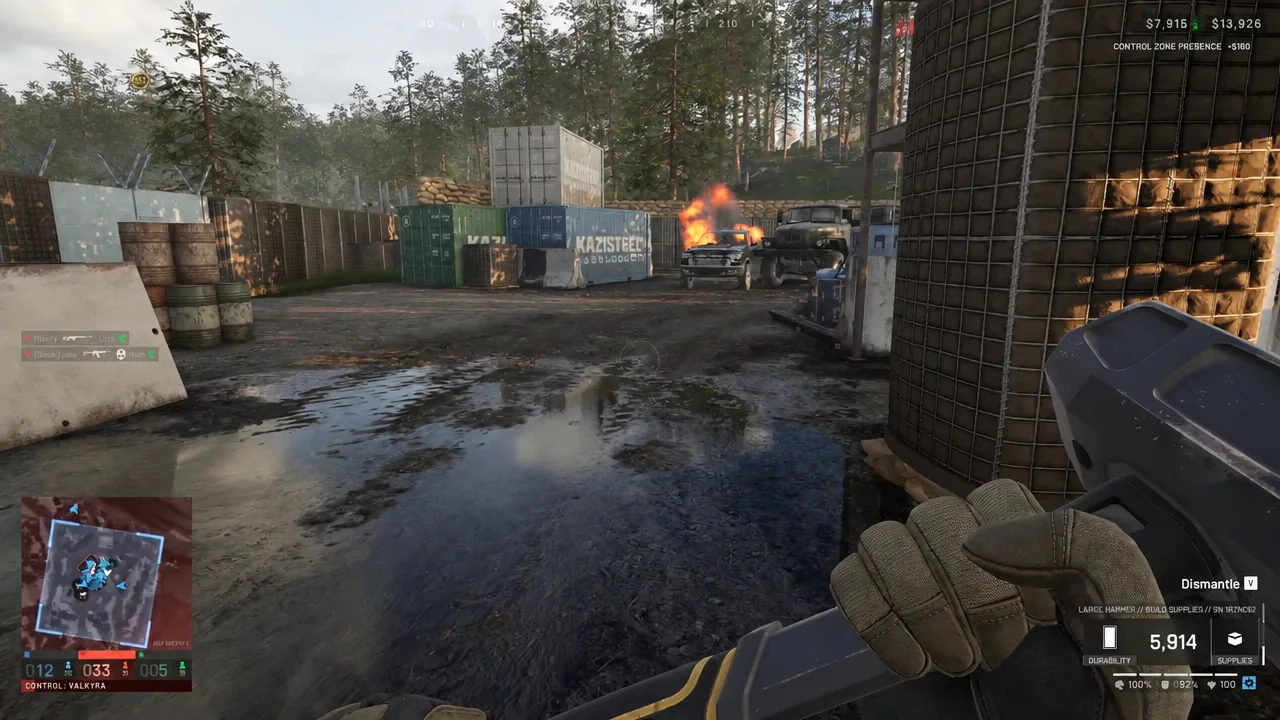
Every life in Wardogs is a purchase. Weapons, armor, ammo, medical gear, vehicles, and the one-time unlock fees that gate better equipment all come out of the same bank account, and that account follows you from match to match. The good news is that almost every action that helps your team pays cash, and most of the reliable ones do not require you to win a single gunfight.
Quick answer: Move teammates and supply pallets into the Hot Zone. A delivered pallet pays $2,500, and driving a spawn vehicle into the Control Zone pays $3,000 on arrival.
How the cash system works
You start with a one-time balance of $10,000, and after that everything you own comes from what you earn. Money carries over between matches, so a bad night does not reset you to zero, but every respawn means buying a fresh loadout. Die without being revived and whatever you were carrying is gone.
Your total sits in the top right of the screen. The number beside it tracks the current life. Red arrows mean you are still in the hole for that spawn, green means you have already covered the cost of your kit and are now making profit. That counter is the only verification you need — if it flips green before you die, the life paid for itself.
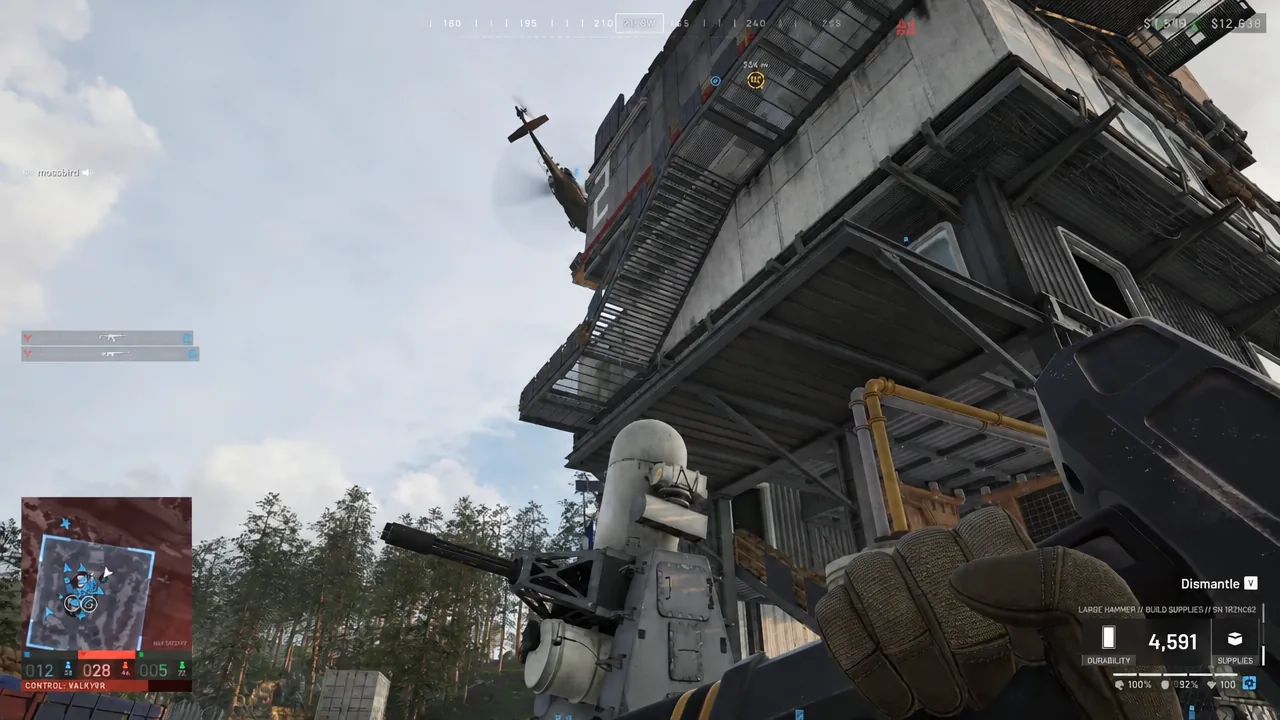
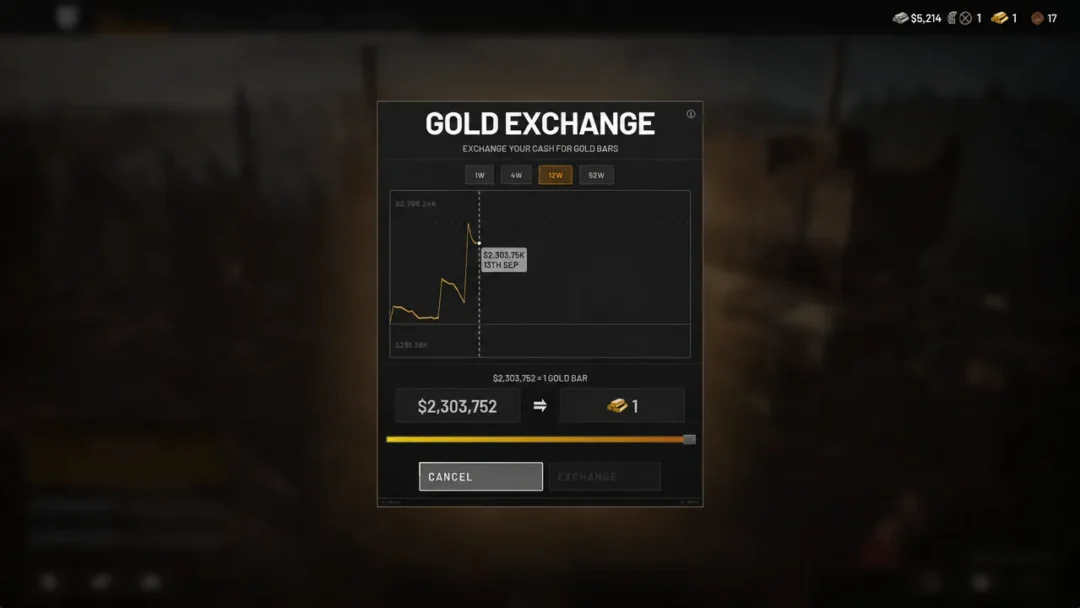
Matches run to 100 points, scored by holding the central circle when the capture bar fills. Any cash you have not spent when the match ends is paid into your persistent account. Excess money can also be converted into gold bars, which only buy weapon and character cosmetics.
Cash payouts for common actions
| Action | Payout |
|---|---|
| Enter the Control Zone | $250 |
| Control Zone score tick | $160 |
| Hot Zone score tick | $320 |
| Drive a spawn vehicle into the Control Zone | $3,000 |
| Teammate spawns on your deployed APC | $250 |
| Drop a passenger at the Hot Zone | $500–$1,000 |
| That passenger survives the drop | $500 |
| That passenger gets a kill | $750 |
| Deliver a supply pallet to the objective | $2,500 |
| Someone unpacks your pallet at a FOB | $1,800 |
| Mark an enemy | $100 |
| Destroy a sandbag wall | $100 |
A score tick lands roughly every 22 seconds, and you are paid for being inside the zone whether your team owns it, contests it, or is losing it. Kills pay between $1,000 and $3,000 depending on how expensive the target’s gear is, which is why an enemy in full armor is worth chasing and a fresh spawn usually is not.
Build a starting kit that costs almost nothing
Profit is a subtraction problem. A $20,000 life is worthless if you spent $15,000 to get there, so the cheapest possible loadout is the fastest way into the green. The Bushmaster M17S costs $0, fires semi and burst in 5.56x45mm, and cannot take attachments — you only pay for magazines and ammo.
Round it out with the cheap support tools that generate income on their own:
- Binoculars, $75, for spotting enemy infantry and vehicles.
- Small Hammer, $100, for building small structures with build supplies.
- Bandage, $200, which heals a small amount on yourself or a teammate.
- Emergency Resuscitator, $0, a single-use faster revive you get once per life.
Loot the bodies you walk past. Armor, ammo, and medical items pulled off dead players cost nothing and cut your next respawn bill.
Get paid for zone presence
Simply standing in the objective pays. The entry bonus lands once, then every tick adds more for as long as you survive inside. The Hot Zone doubles the tick and multiplies combat rewards, and bodies inside it count as two to three players for capture progress, so it is where your team wants you anyway.
The catch is obvious. The Hot Zone is where the expensive kits go to die. Work the outer ring with cover and an exit route, stack zone ticks with whatever secondary income you are running, and save the premium loadout for a match where you already have a cushion.
Run a taxi service to the Hot Zone
Helicopter and ground transport
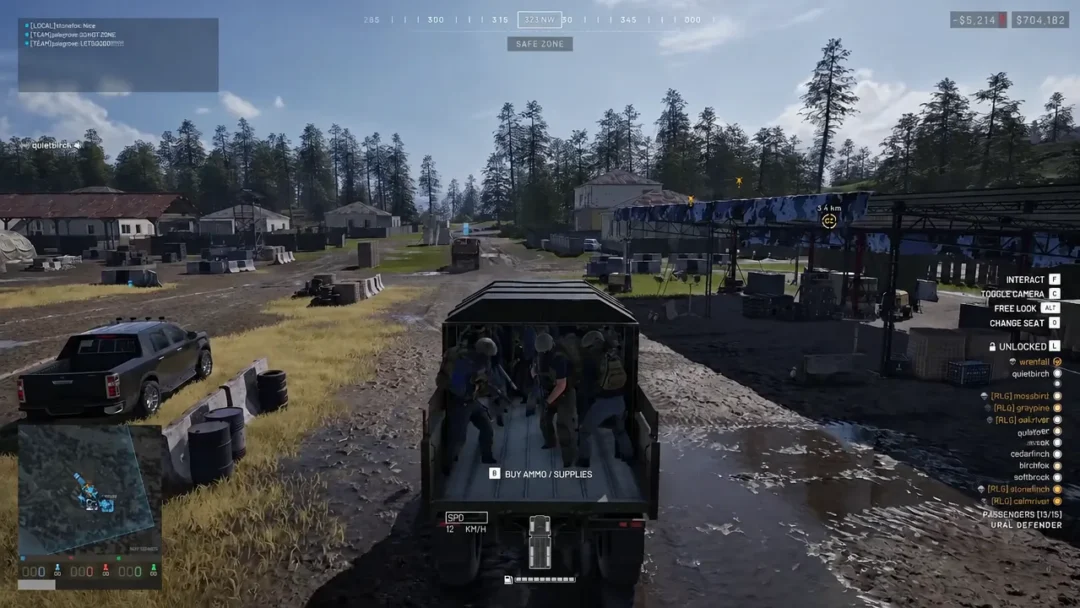
Ferrying players is the highest-ceiling method available at low level, because each passenger pays you three separate times. You collect on the drop, again if they survive, and again every time they get a kill. Fill four seats in an MH-6 Little Bird, which runs around $6,250, and a clean run can cover the aircraft in a couple of trips.
Do not idle on the helipad. Buy nothing at the start of the match, grab the helicopter immediately, unlock it so players can board, and fly to where people are shopping. Demand for rides is highest in the opening minutes. A Z20 Lakota, unlocked around Pilot level 10 and priced near $7,400, carries up to 11 passengers and hauls logistics supplies at the same time.
If flying is not your thing, a car or truck does the same job more slowly and far more safely. Passengers can also tip you directly for a good ride.
A passenger who bails early or dies on arrival costs you the survival and kill bonuses, so land them somewhere they can actually fight from.
The M113 spawn APC
Once either team reaches 20 points, an M113 spawn APC appears at HQ. Driving it into the combat area pays $3,000 on the spot, and then it keeps earning every time a teammate spawns on it. Park it inside or just outside the Control Zone, tucked between buildings or behind a fortified position, and it becomes passive income for the rest of the match. The drive is long, so commit to it early.
Deliver pallets and sell supply crates
A supply pallet costs $400 and pays $2,500 when delivered to the objective area, with another $1,800 arriving if a teammate breaks it down and uses the supplies at a FOB. That is roughly $3,900 of profit per pallet, without firing a shot. Prioritize FOBs your team is actually using, because the second payment only triggers when someone unpacks it.
Pallets can be dropped with G while still airborne. Release them too high or too fast and they explode — you keep the delivery payment but lose the unpack bonus. Ground trucks are slower but never lose a load to a bad drop.
Small crates are the other half of this trade. Buy one, stock it with bandages, ammo, or grenades, set a markup, and drop it where the fighting is. Every teammate who buys from your crate pays you. Supply work also feeds Support XP, which unlocks better tools down the ladder, including the RPG-7 at Support level 5 and the M249 SAW at level 15.
Play medic for steady income in a firefight
Medic work is the most reliable way to earn while staying in the fight, because revives pay on location. The further into the objective you are, the more each pickup is worth.
| Revive type | Control Zone | Hot Zone |
|---|---|---|
| Standard revive | $800 | $1,600 |
| Defibrillator revive | $1,200 | $2,400 |
A standard revive outside any zone pays $400, and a defibrillator revive outside pays $600. Healing a wounded teammate with a bandage adds another $400 on top, so picking someone up and patching them is worth about as much as a kill in the middle of the map. Downed teammates show up on your map as a circle with a pulse.
The free Emergency Resuscitator gives you one fast revive per life, which is enough to run a budget medic build before you can afford anything better. The Field Backpack costs $650 and gives you a 6×2 grid of 12 slots for carrying medical stock, but it only becomes available at Wardog level 12 after a one-time $20,000 unlock fee.
Reviving the same teammate over and over pays less each time. Spread your attention across different players to keep the full value.
Spot enemies for kill bonuses
Marking targets is the lowest-risk income in the game. Each mark pays $100 by itself, and you collect $400 when a teammate kills the enemy you tagged — around $1,600 if the kill happens in the Hot Zone. You never have to pull a trigger.
Binoculars at $75 do the job with low magnification. The Range Finder costs $400, adds high-level variable magnification and an accurate distance readout, and opens at Recon level 8 with a one-time $15,000 unlock fee. That distance readout doubles as a zeroing tool if you later move into long-range shooting, where kills pay more the further out the target is.
Find elevation overlooking the Hot Zone and mark whatever moves. Your vision narrows badly while looking through optics, so keep something solid at your back.
Build fortifications and dismantle enemy structures
Building near the objective
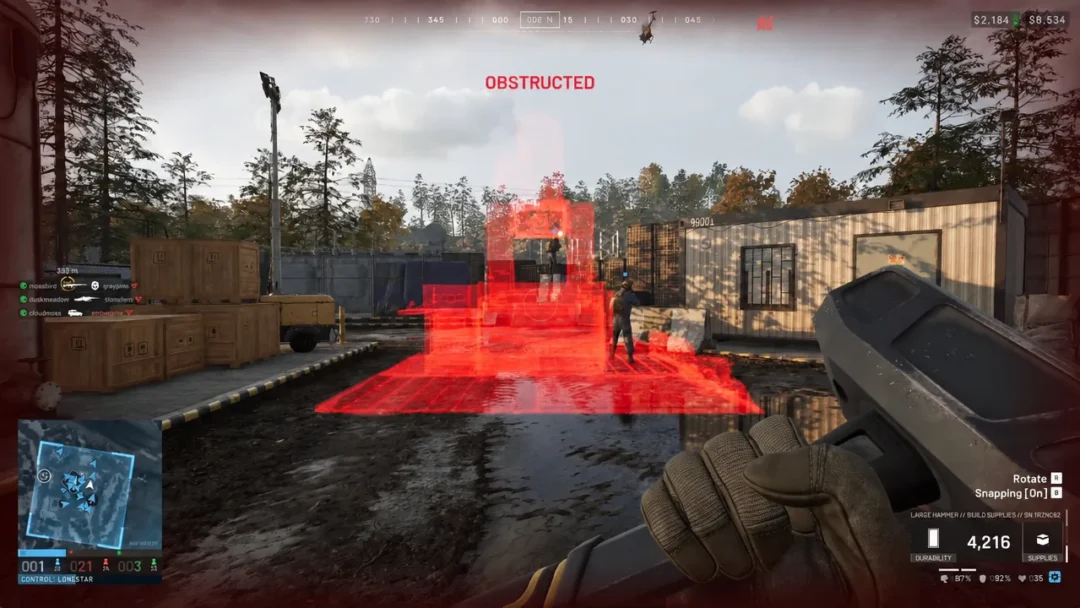
Construction pays per hammer swing, around $50 each, which adds up quickly when you are walling in an entire position. Buy a hammer, ride out to a tower your team controls, open the build menu, and start placing sandbag walls and Hesco blocks inside the build boundary. You also get paid for finishing structures other players have placed, so helping a stranger complete their wall is free money.
A Forward Operating Base costs $7,500, weighs 6.5 kg, and is required for larger structures. It stores items and resources for other players and creates the radius everyone builds inside, so dropping one at your team’s drill site turns into an extended construction payday.
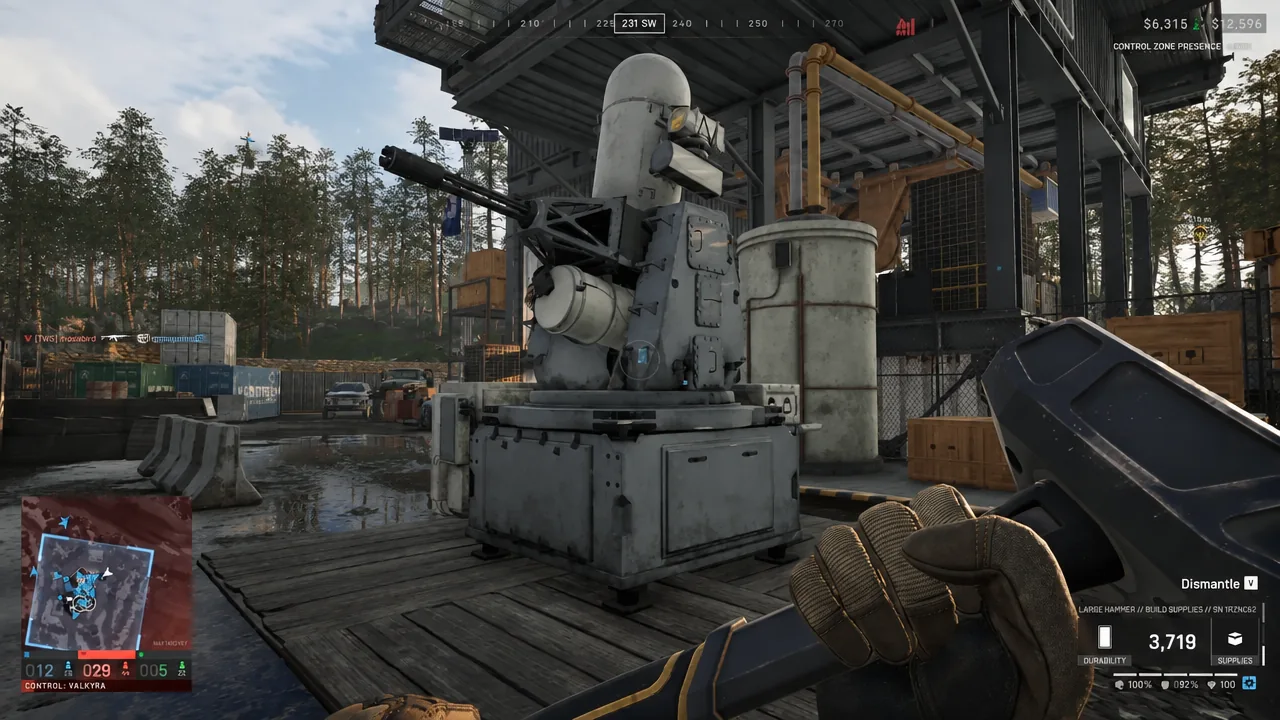
Emplacements like the CIWS, mortars, and anti-air launchers do not cost cash inside a FOB. They run on build supplies, which is one more reason logistics runs stay in demand.
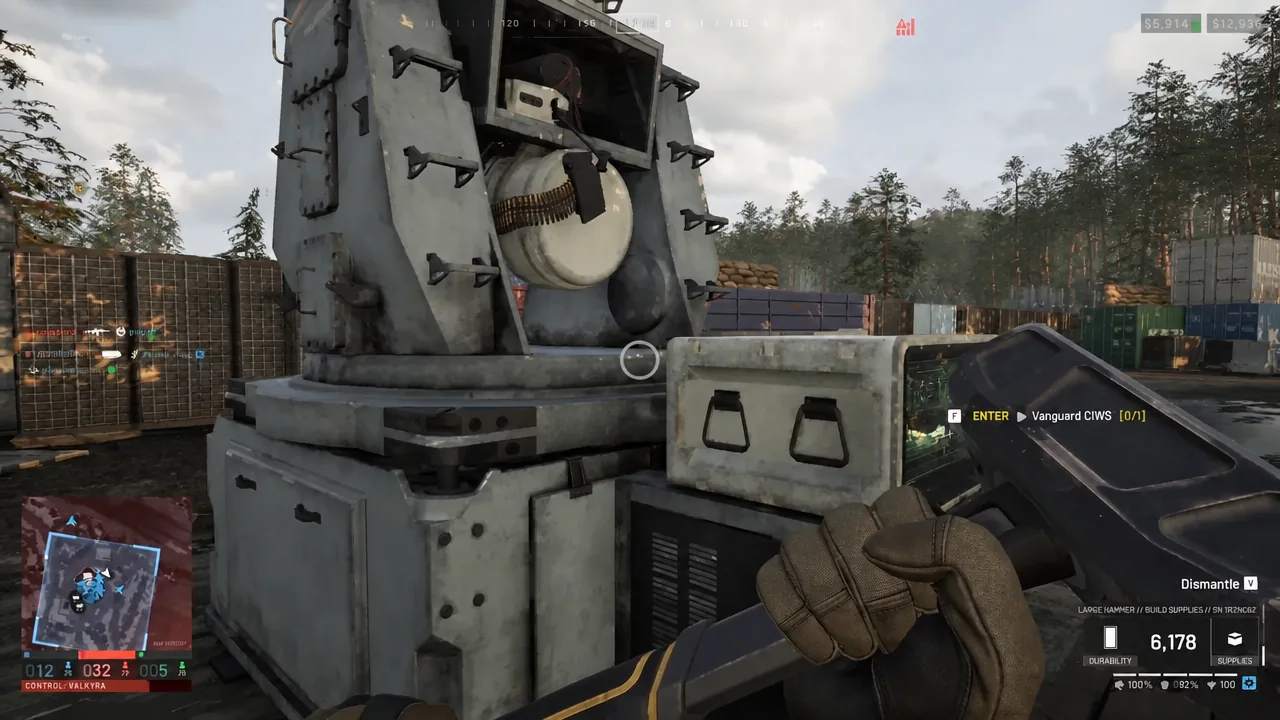
Better build tools come through the Support track. The Medium Hammer opens at Support level 3 and the Large Hammer at level 8, both faster than the $100 Small Hammer, which is limited to small buildables and slow swings.
Tearing down enemy work
Destroying enemy deployables pays as well as building your own. Ammo boxes, FOB consoles, mines, and fortifications all hand over cash when they come down, and a sandbag wall is worth $100 on its own. Hold the dismantle prompt with a hammer equipped to break structures apart.
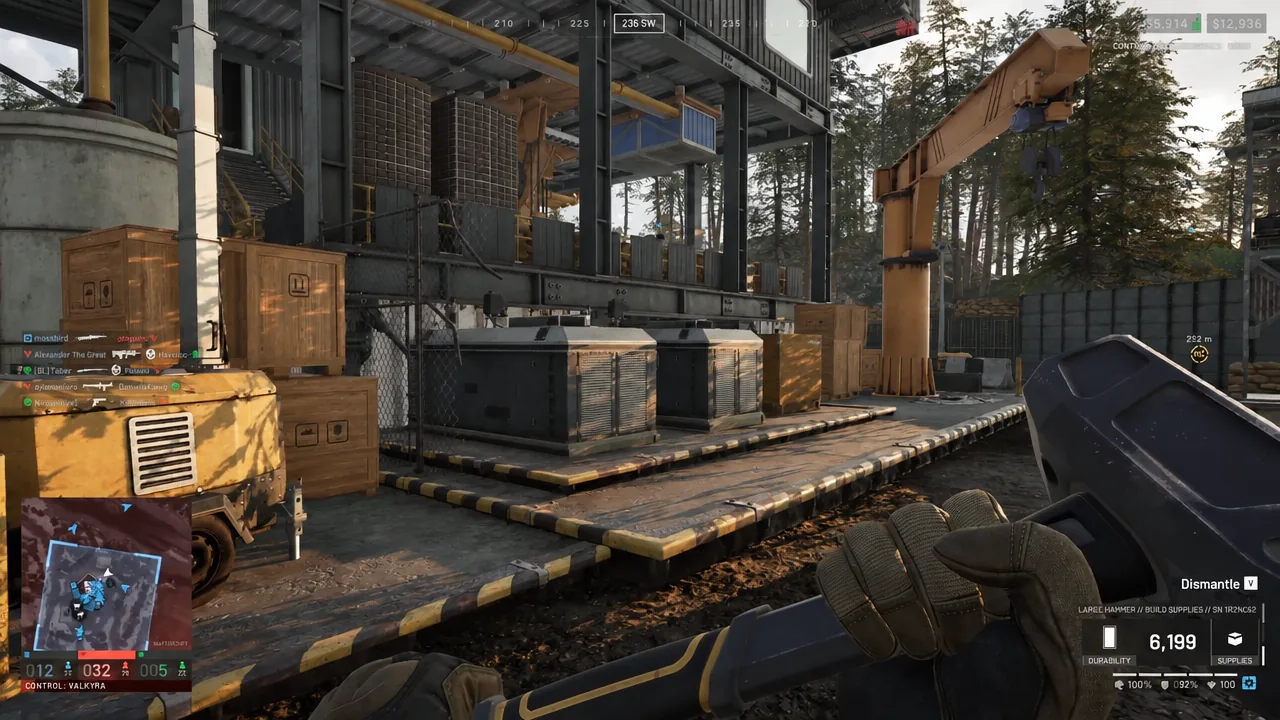
A larger hammer strips structures faster, which matters when you are working inside an enemy FOB and expecting company. Dismantling the console also cuts off the ammo stored there, so clear the supplies you want before you tear the place down.
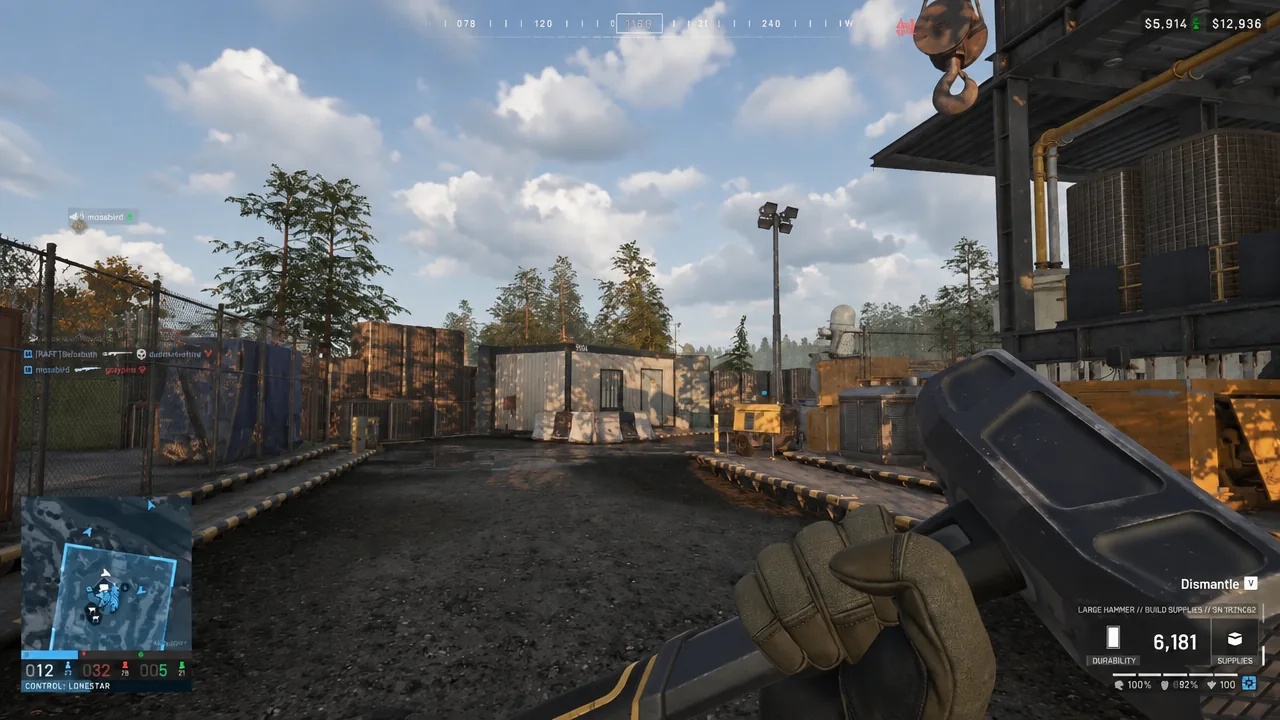
Mounted weapons count too. Breaking down a turret denies the enemy a fortified firing position and pays you for the time.
Anti-vehicle payouts
Killing armor produces the biggest single rewards available:
- Enemy spawn vehicle — about $5,000
- Tank — about $7,000
- Attack helicopter — about $9,000
- Artillery tank — about $14,000
The costs are real, though. Rockets, mines, and IEDs are expensive — a Stingray rocket alone runs about $5,000 — and armored targets almost always have infantry watching them. The RPG-7 arrives at Support level 5, which makes anti-vehicle work a mid-game option rather than an opening move.
Spending discipline that protects your profit
Earning is only half of it. Skip sidearms you will not use, avoid overstocking bandages unless you are running dedicated medic, and take armor off bodies instead of buying it. Keep a reserve large enough for several basic infantry lives, and treat anything above that as the budget for helicopters, anti-vehicle gear, or an expensive rifle.
The methods also stack. A pilot hauling passengers and pallets on the same flight collects from both, and a medic sitting in the Control Zone earns ticks, revives, and heals at once. Pick one primary job, layer a cheap secondary on top of it, and watch that per-life counter until it turns green.