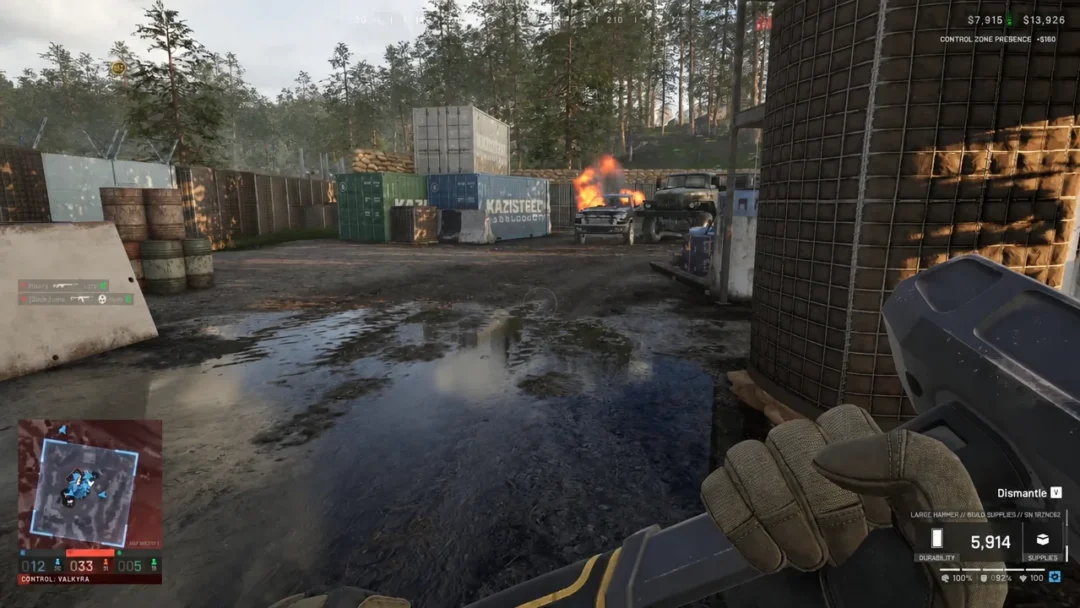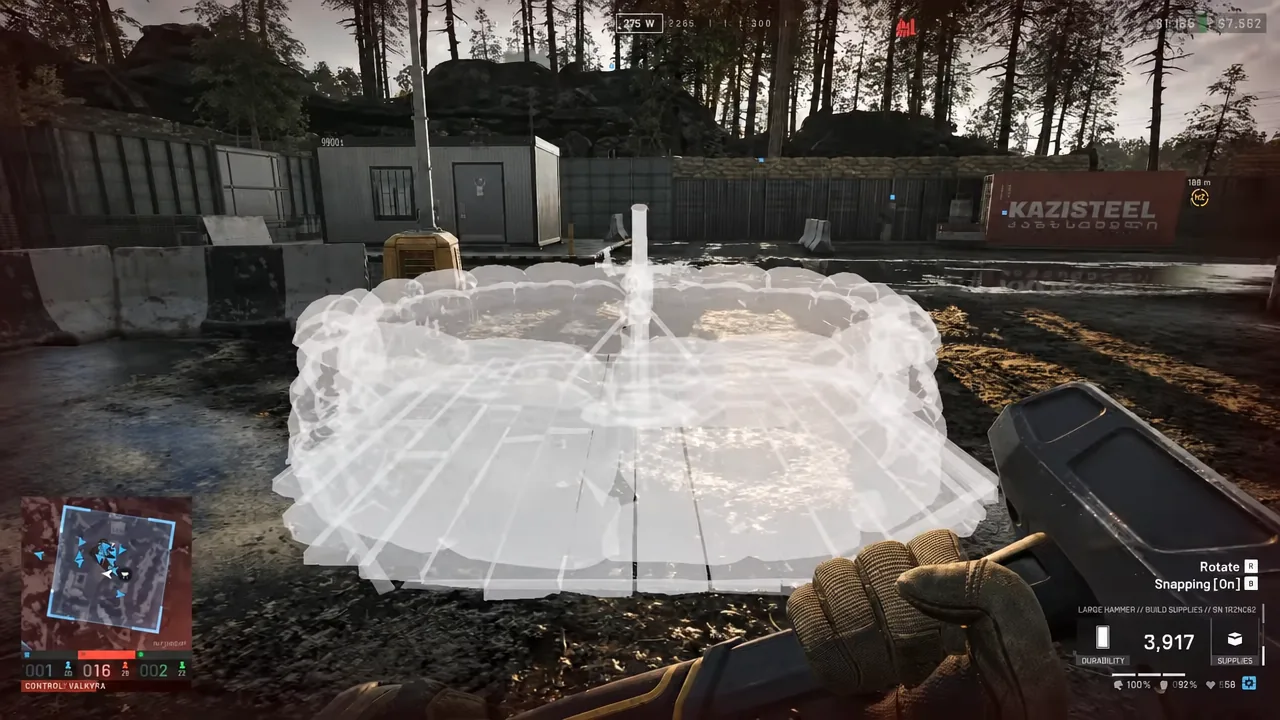
The L81 Mortar is the cheapest way to hit something in Wardogs that you cannot see. It is a static indirect-fire weapon that lives inside a Forward Operating Base, feeds off the supplies your squad hauls in, and turns one player with a hammer into a serious problem for enemy armor, supply crates, and sniper nests. Getting one on the ground is not complicated, but it is gated: the wrong hammer means the mortar never even appears in your build menu.
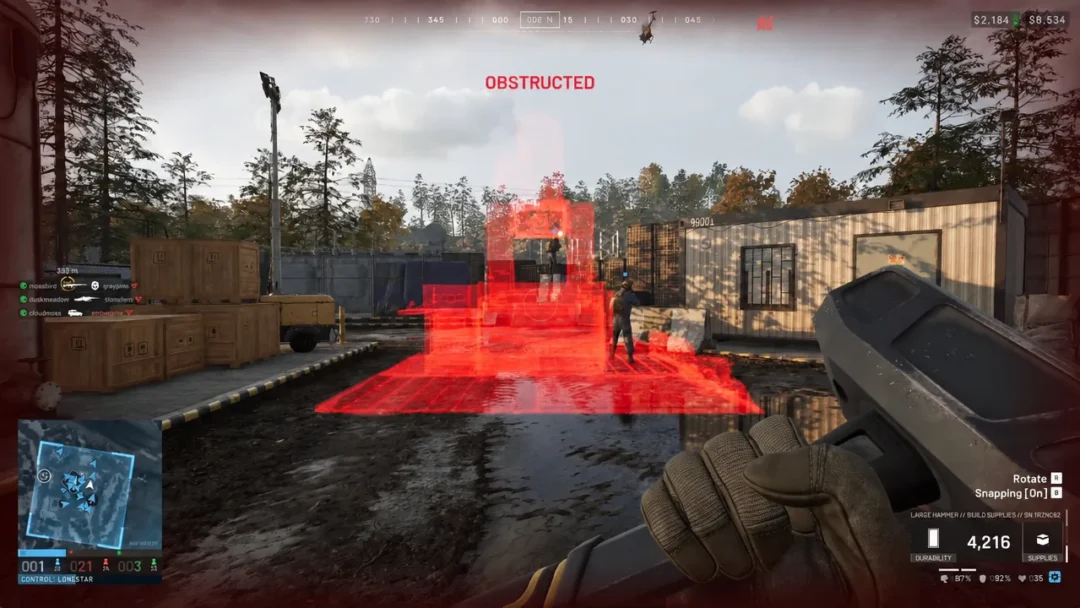
Quick answer: Equip a Large Hammer, stand inside a FOB radius, right-click and press F to cycle to the L81 Mortar, place the blueprint, then left-click it with the hammer until construction finishes.
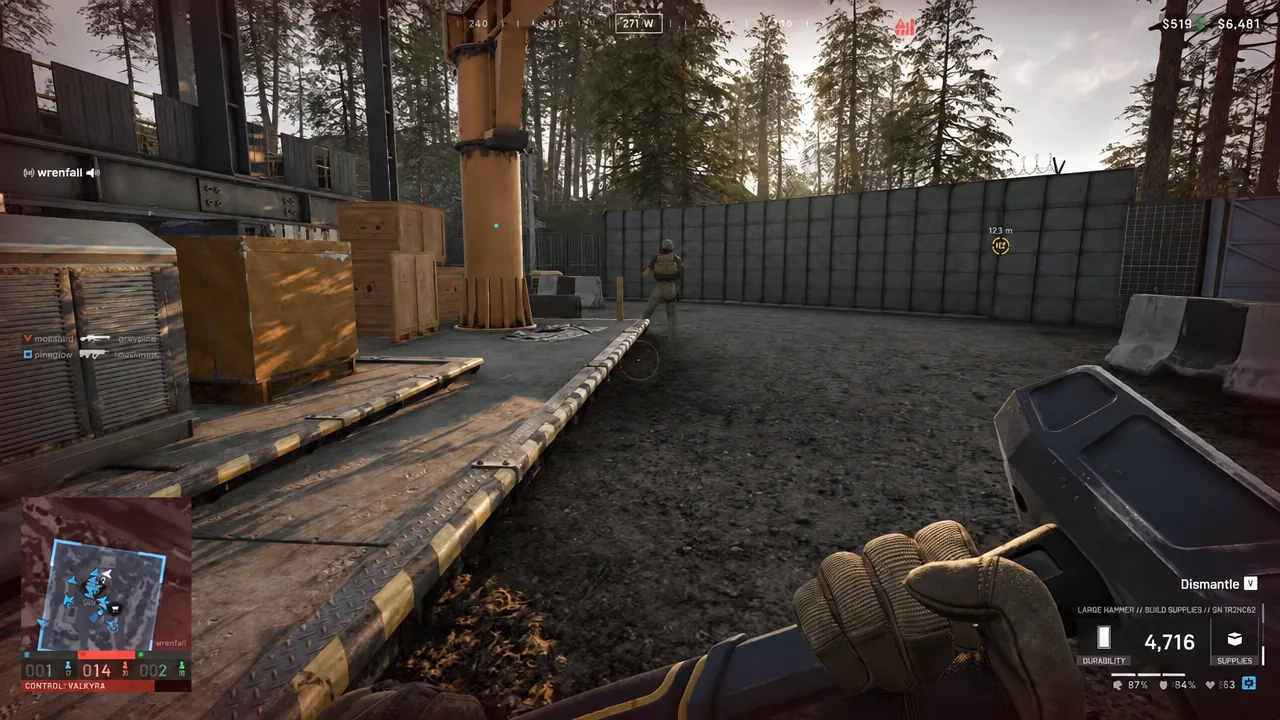
What you need before you can build a mortar
Four things have to line up. Miss any one of them and the mortar either will not show up as an option or will sit half-built while you stand there swinging.
- A Large Hammer, the only build tool that can construct every tier of structure.
- A deployed Forward Operating Base, since the mortar cannot be placed outside a FOB radius.
- 91 Build Supplies to place the blueprint, plus extra supplies consumed as you hammer it up.
- Ammo Supplies stored in the FOB, because the mortar converts those into shells.
Large Hammer: Support level 8 and $1,600
Hammers in Wardogs are recipe books as much as tools. The Small Hammer covers sandbags and barbed wire, the Medium Hammer adds doors, gates, and bigger fortifications, and the Large Hammer unlocks everything else, including the mortar, the anti-air systems, and the Drill Rig. It also swings fastest, which matters a lot when your FOB is already taking fire.
| Hammer | Requirement | Builds | Price |
|---|---|---|---|
 Small Small | Basic access | Sandbags, barbed wire | $100 |
| Medium | Support level 3 | Doors, gates, larger structures | $800 |
 Large Large | Support level 8 | Every buildable, fastest speed | $1,600 |
The in-game card for the Large Hammer spells out the important parts: it can build and repair all structures at the fastest speed, it requires Build Supplies to do anything, and it rewards Support XP for the work. Buy it at your faction’s safe zone and keep it in your loadout. Building with it is also one of the cleanest ways to push your Support track higher.
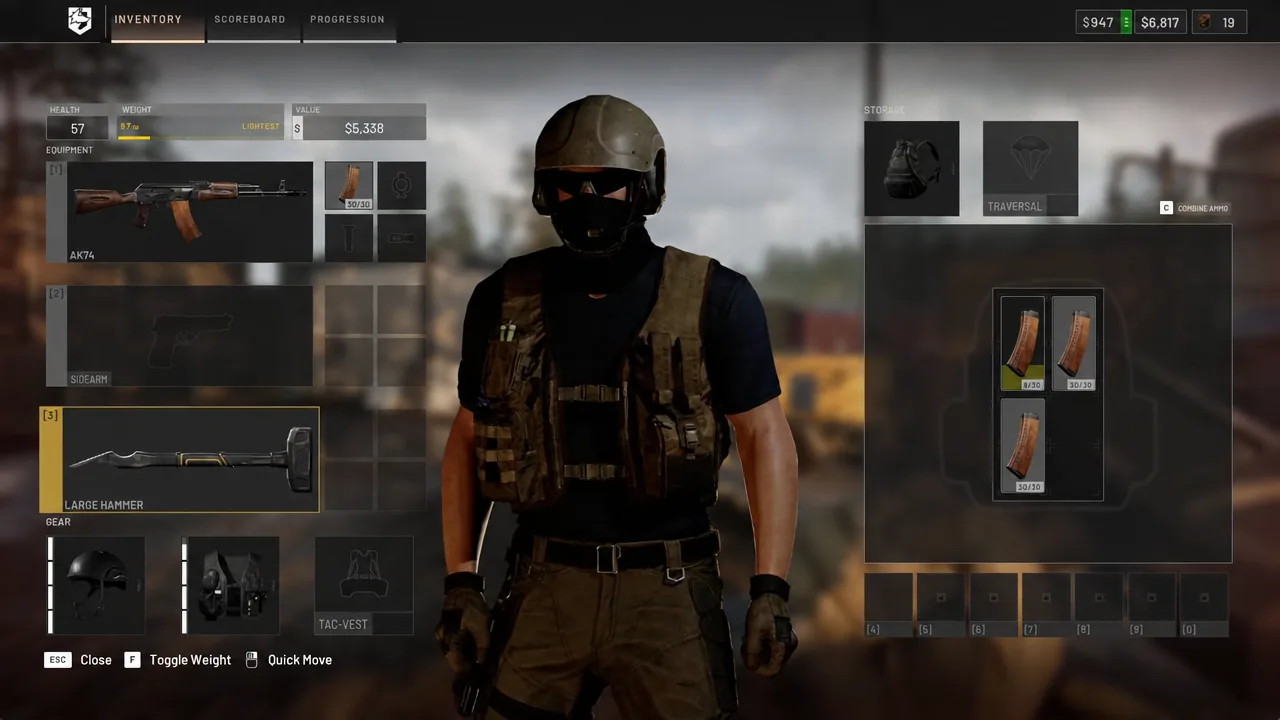
If you are not Support level 8 yet, a teammate who is can drop their Large Hammer inside the FOB for you to pick up and use.
Place the FOB and move Build Supplies to it
The FOB kit comes from a vendor for roughly $2,500, and it is worth buying in the same trip as your supplies so you are not driving back. Deploy it from your inventory at the spot you want to defend. Once it is down, it creates the construction radius and acts as the storage for Build, Ammo, Fuel, and Mechanical Supplies that everything else draws from. It is a logistics hub, not a spawn point, so do not place one just because you want a shorter walk back.
Position matters more than speed here. Keep the FOB off obvious sightlines but still reachable by supply vehicles, and leave room around it for walls, defensive systems, and unloading. Pallets make hauling supplies much easier, and a helicopter can drop them from above without landing.
Budget before you build. The mortar is cheap next to the heavy air-defense systems, so spending your entire stockpile on walls first is how squads end up with a fortified base and nothing to shoot back with.
| Structure | Build Supplies | FOB required |
|---|---|---|
| Recon Tent | 5 | No |
| L81 Mortar | 91 | Yes |
| Stingray | 91 | Yes |
| Talon | 601 | Yes |
| CIWS | 901 | Yes |
How to build the L81 Mortar
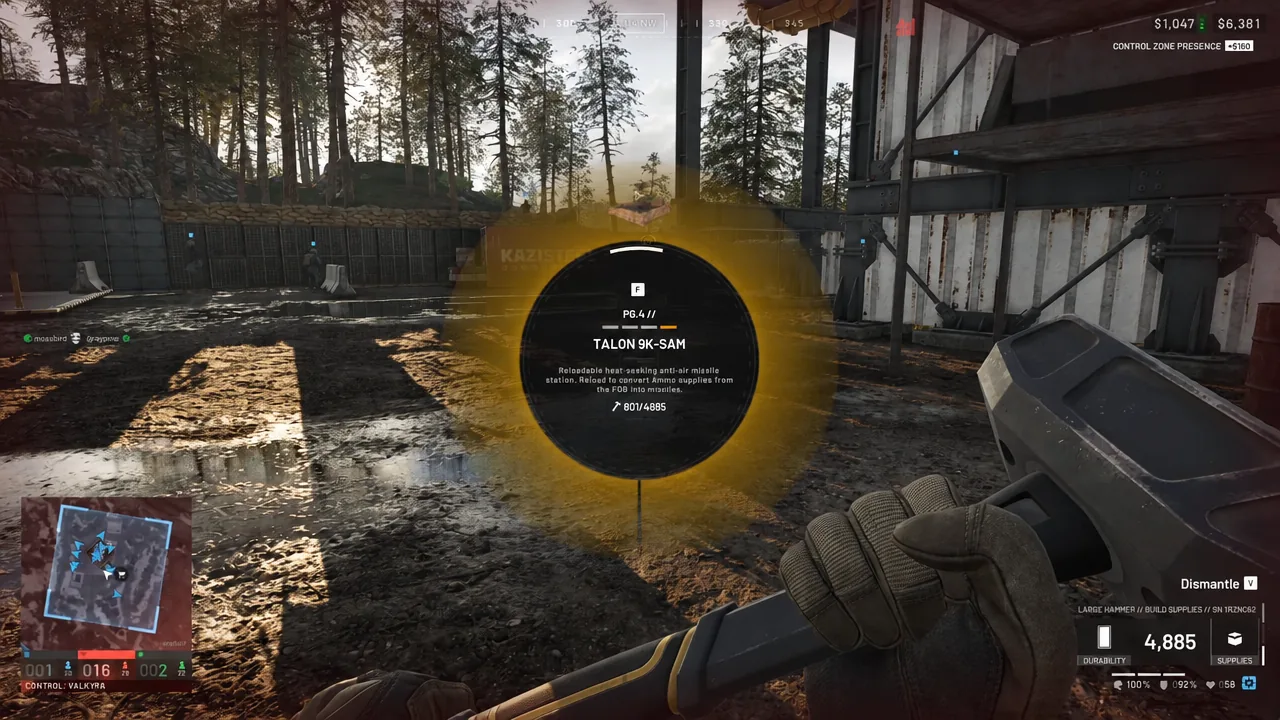
Construction keeps draining Build Supplies with every swing, not just at placement. If your stockpile runs dry mid-build, the mortar stays unfinished until someone brings more.
Load it with Ammo Supplies and confirm it works
A finished mortar is still an empty tube. Step into the pit, interact with the weapon to mount it, then use Reload to convert Ammo Supplies stored in the connected FOB into mortar rounds. You know the build actually succeeded when you can mount the mortar and load a shell; if the reload does nothing, the FOB is out of Ammo Supplies.
The cost adds up fast. Each shell consumes 30 Ammo Supplies, so a full three-shot barrage burns 90 in one go. Plan your resupply runs around that number rather than the build cost.
Aiming uses two inputs. W and A raise and lower the barrel, S and D rotate the mortar around the pit, and the mouse does the same job more slowly for fine corrections in aiming mode. After firing, the camera follows the round until impact, and pressing C drops you out of that view early so you can send the next shell without waiting. Rounds reach roughly 700m, one direct hit kills infantry, and most vehicles and buildables take about two.
How to dismantle or reposition a mortar
Built the pit facing a wall, or need the space for something else? Press V to toggle Dismantle mode while holding the hammer.
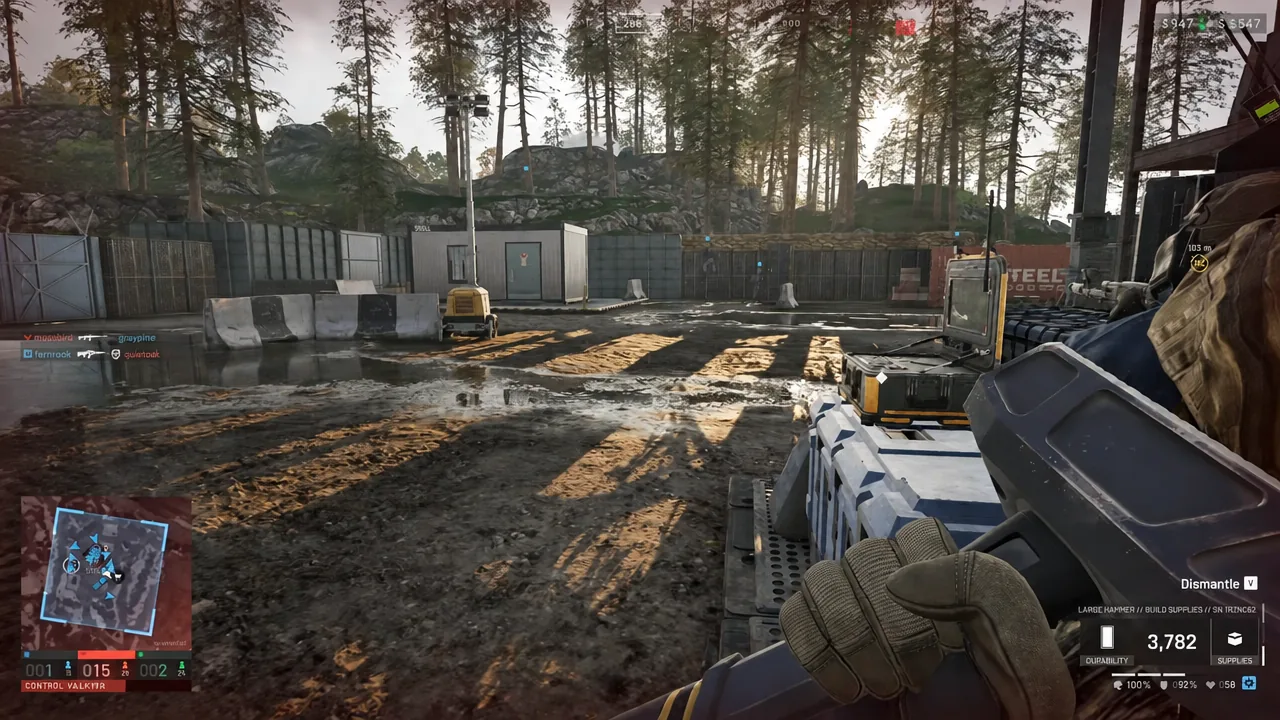
With Dismantle active, strike the placed structure with the hammer until it comes apart, then rebuild it wherever you actually wanted it.
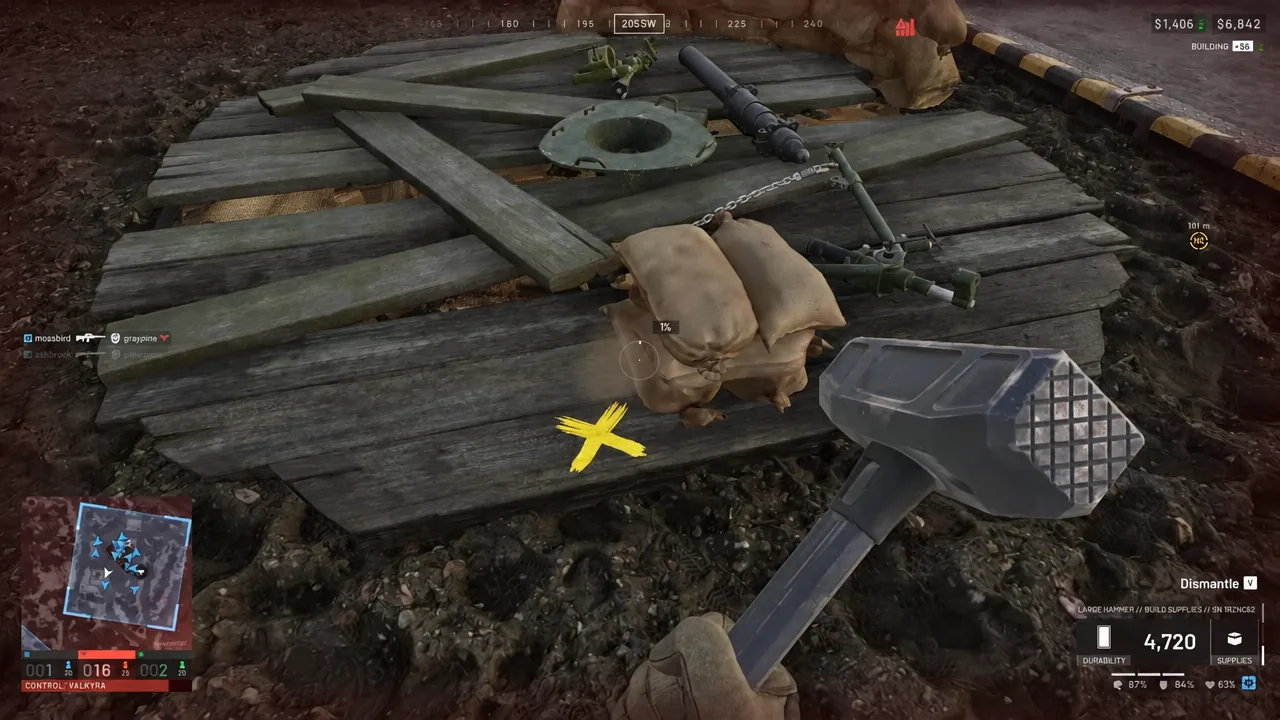
Dismantling does not refund any of the supplies you spent. A badly placed mortar costs you the full 91 Build Supplies twice.
Once the mortar is up and fed, the job becomes spotting. Squadmates marking targets with pings and recon gear do most of the hard work for you, and map markers around your position are the easiest way to judge distance without a range overlay. Just keep an eye on your surroundings while you are mounted, because a stationary player in an open pit is exactly the kind of target the enemy team is already looking for.