Anime Dice is an incremental simulator built around one action: you roll a die, it spits out an anime character, and that character sits on your plot printing cash. Everything else in the game — luck dice, the upgrade tree, grades, traits, rebirths, towers — exists to make that cash number climb faster. The trap for new players is spreading currency across all of it at once.
Quick answer: Pour early cash into Money and Luck upgrades, buy the next dice tier the moment you can afford it, and spend down to nearly zero before rebirthing, since rebirth wipes cash but not units.
How the income loop works
The loop has four beats, and skipping the last one is what stalls most accounts.
- Roll the die to pull a unit, from common characters up to mythical and secret tiers.
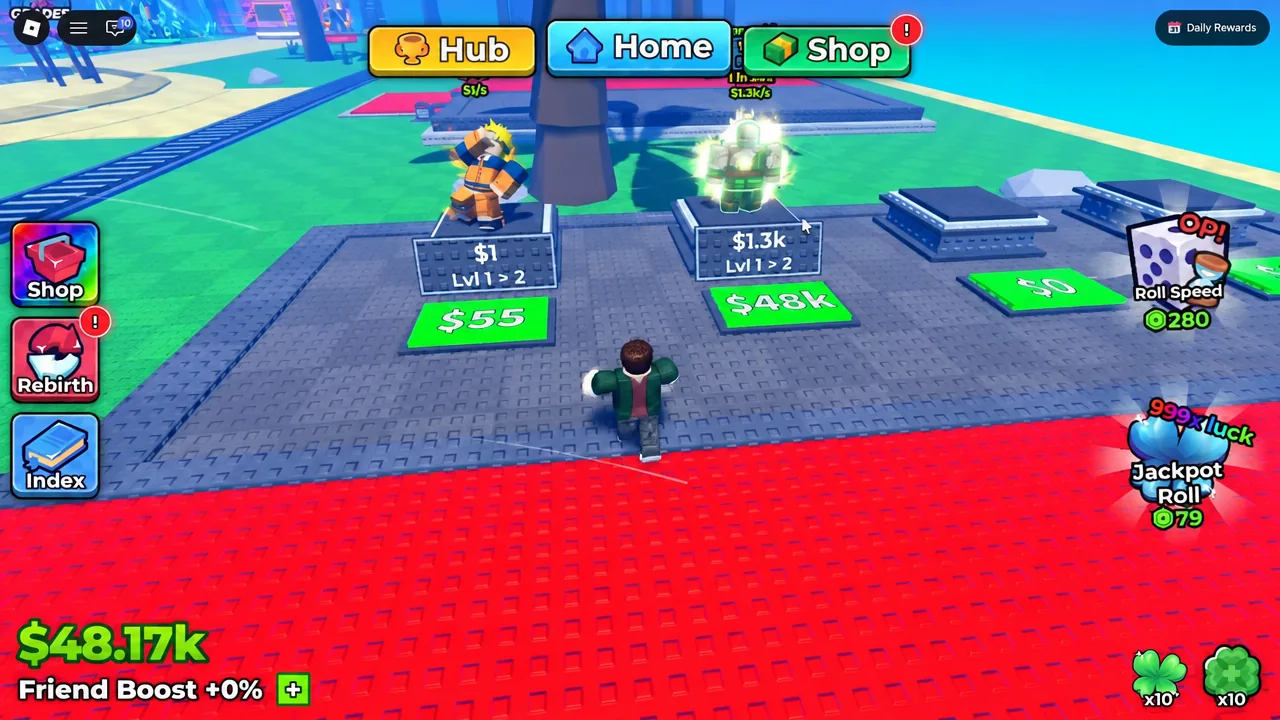
- Place your highest-rarity units on the green slots on your base.
- Walk over the pedestals to collect the cash they have banked.
- Spend that cash immediately on upgrades or a better die.
Each placed unit has its own pad that can be paid off to raise what that station produces, and the prices scale from double digits to millions as you progress. Money also generates while you are offline, so the first thing worth doing after a long break is a lap of the plot to sweep up everything that accumulated.
Upgrade tree priority: Money and Luck first
The Upgrades menu holds six permanent lines bought with cash. They never reset, which makes them the safest place to dump money before a rebirth.
| Upgrade | Priority | Effect on progression |
|---|---|---|
| Money | Highest | Raises income from every placed unit |
| Luck | Highest | Shifts rolls toward rarer units |
| Unit Storage | Medium | Longer farming before a sell trip |
| Roll Speed | Medium | More rolls per minute |
| Damage | Low | Tower clears only |
| Walkspeed | Low | Faster collection laps |
Money and Luck compound into each other. Better luck means rarer units, rarer units mean more cash per second, and more cash buys more luck. The first tier of the Money line alone adds +25%, and the early ranks are cheap enough to clear in a single farming session.
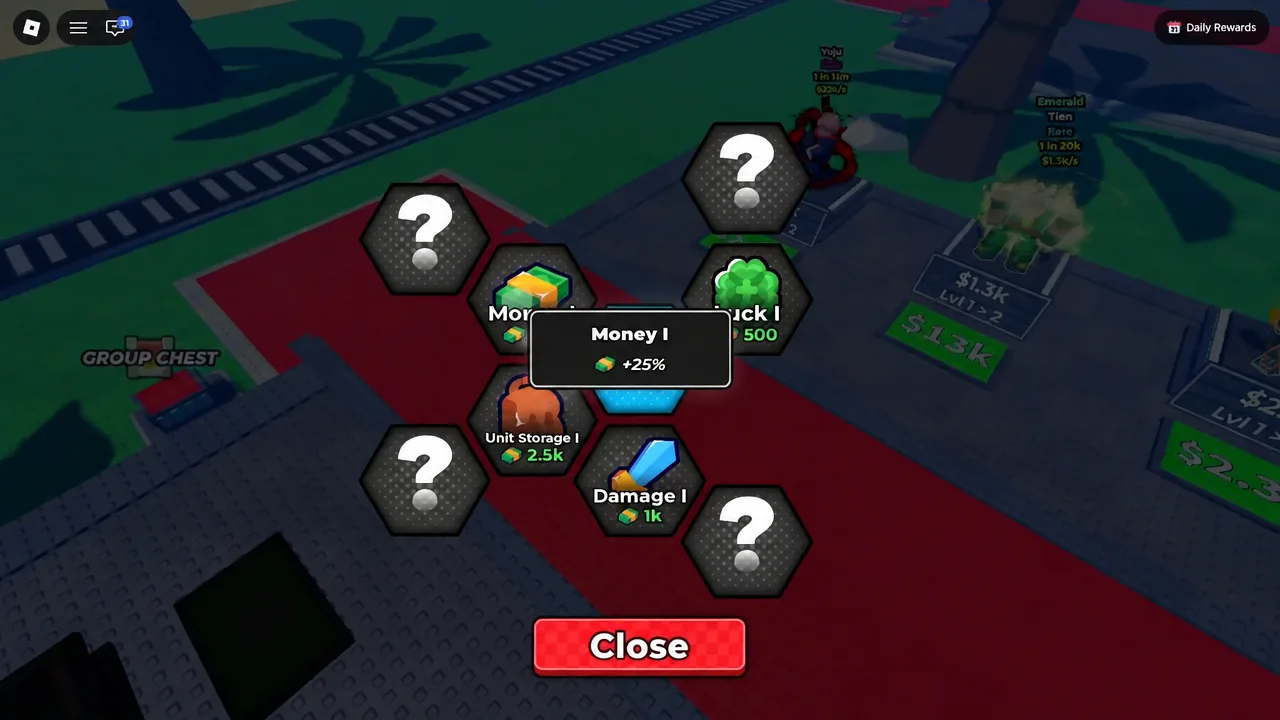
Damage and Health only matter once you start pushing tower floors. Buying them early costs you luck you could have been stacking.
Dice Shop: every dice tier and its luck multiplier
Your equipped die sets the floor for every roll you make, and the jumps between tiers are large enough that a new die usually beats several upgrade ranks. Buy the next one the moment you can afford it.
| Dice | Rarity | Luck | Cost |
|---|---|---|---|
| Normal | Common | 2x | Starter |
| Fire | Uncommon | 5x | $2.5k |
| Water | Uncommon | 10x | — |
| Nature | Rare | 20x | $75k |
| Lightning | Rare | 42x | $500k |
| Ice | Rare | 100x | $4m |
| Storm | Epic | 400x | $200m |
| Shadow | Epic | — | $1.5b |
The Ice die at $4m is the realistic early-game ceiling and the point where mythical pulls stop feeling like accidents. Storm and Shadow are mid-to-late goals you save toward across several rebirths rather than buy in one sitting. Equipping a new die is instant, and the shop marks the active one as Equipped.
Auto roll and turning off roll cutscenes
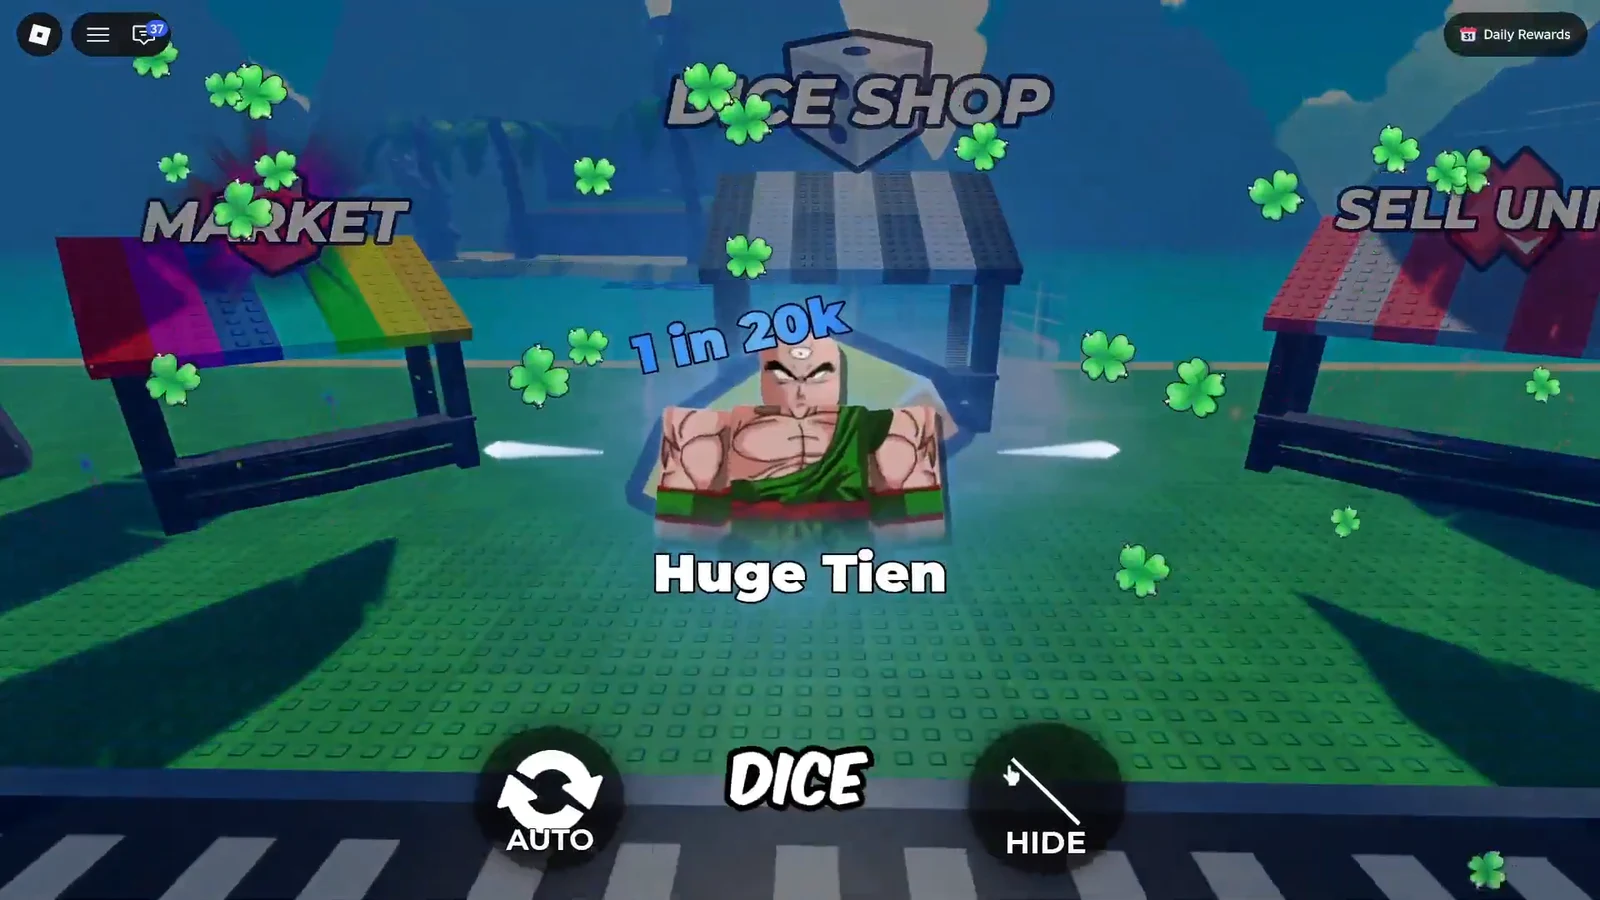
Every roll plays a reveal animation by default, which is fine for the first hour and a serious drag afterward. The roll screen has an Auto toggle that keeps the die going without input, and a Hide option that skips the cutscene entirely.
Turn both on and the rolls stack up in the background while you collect cash and manage your plot. You will know it worked when results stop taking over the screen and units simply appear in your backpack.
Rebirth: what resets and when to pull the trigger
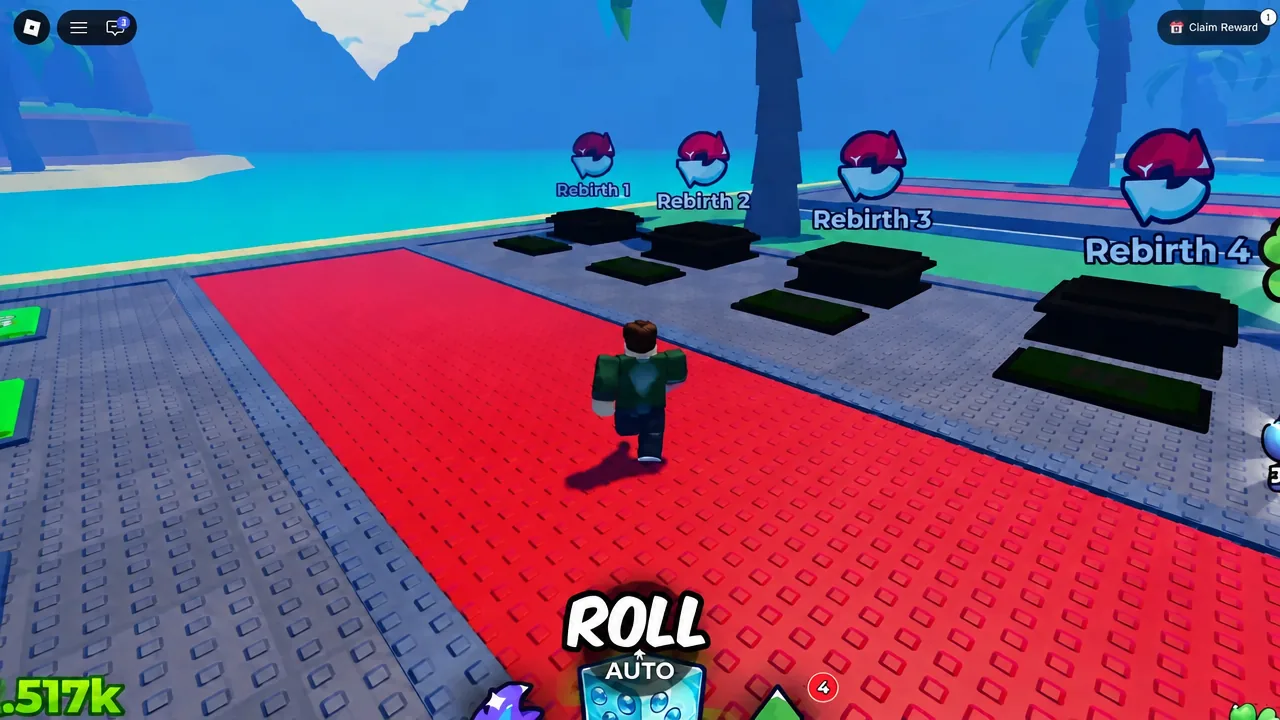
Rebirth clears your cash balance. It does not touch your units, your upgrades, or your dice. In exchange you get permanent luck and cash multipliers and additional base slots, so more characters can earn at once.
| Rebirth | Cash required |
|---|---|
| Rebirth 1 | $50k |
| Rebirth 2 | $5m |
| Later ranks | $500m and up |
The discipline that matters here is simple. Hit the requirement, then spend everything above it on Money, Luck and Damage before you confirm, because any cash left in your wallet is deleted. A completed rebirth at the higher ranks grants multipliers such as 2.5x Luck and 2.5x Cash, and you can confirm it landed by checking that the multipliers on the Rebirth panel have gone up and that new slots have opened on your plot.
Selling units, backpack limits, and trading
Auto rolling fills your backpack quickly, and a full backpack stops your rolls. The Sell Units booth handles the cleanup with options to sell a single unit, sell the whole inventory, or set auto-sell rules so junk pulls never reach your bag in the first place.
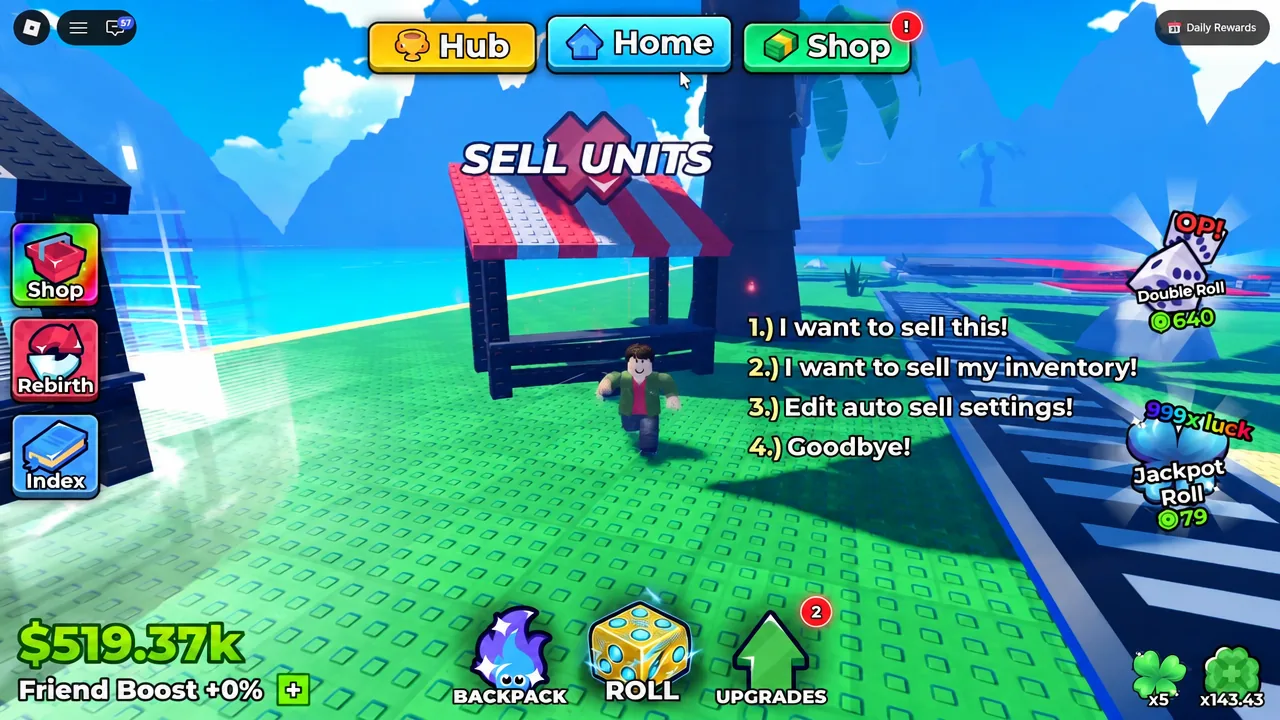
Equip your best units on the plot before a mass sell. Selling the inventory hits everything that is not placed, and a careless dump can take a rare pull with it.
Your backpack also stores consumables — gems, trait rerolls and luck potions — alongside units. Trading with other players is gated behind a minimum of 1,000 rolls, so new accounts cannot use it until they have put real time into the roll counter.
Grades and Traits: multiplying what a unit earns
Grades
The Grades station takes gems and rerolls a letter grade onto a single unit, running from D up to Z++. The grade applies a flat income multiplier on top of everything else that unit earns.
| Grade | Income | Grade | Income |
|---|---|---|---|
| C | 1.2x | S+ | 10x |
| B | 1.6x | Z | 15x |
| A | 3x | Z+ | 25x |
| A+ | 4.5x | Z++ | 50x |
| S | 7x |
The gap between a C and a Z++ is enormous, which is why gems belong on your best-earning placed unit and nothing else. Grading a common character you will replace in an hour is wasted currency.
Traits
Traits are rolled with Trait Reroll items and attach a secondary bonus to a unit. Money I through Money III raise income, Damage I through Damage III and Health I feed tower performance, and rarer names including Samurai, Shogun, Monarch, Transcendent and Eternal sit at the top of the pool.
Rerolls are scarce, so hold them until a high-rarity unit is sitting on your plot. A Money trait on a mythical does far more than a perfect roll on a starter character.
Quests and the Quest Shop
Daily and weekly quests pay out tokens, and those tokens are spent in the Quest Shop tab on the same screen. The stock covers the resources that are otherwise slow to accumulate, including Lucky Spins, Trait Rerolls, gems and luck potions.
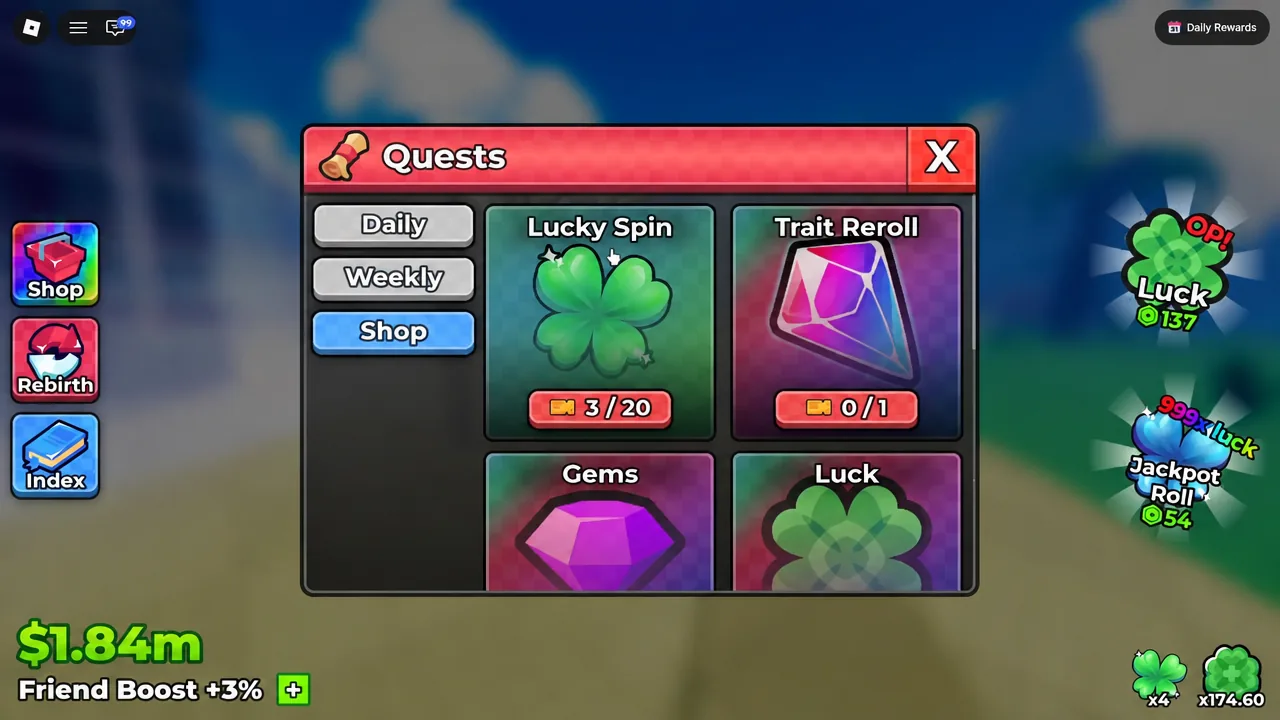
Most dailies complete on their own if you are rolling and collecting anyway, so check the tab before logging off rather than building your session around it.
Towers: the gem farm
Towers are the combat side of the game and the main way to earn the gems that grades consume. You pick a tower, select a team from your collection, and fight through floors of enemies. Clearing floors pays gems.
- Dragon Tower
- Cursed Tower
- Pirate Tower
- Hidden Leaf Tower
- Infinity Tower
Battles resolve automatically, and there is a hide control that pushes the fight into the background so you can keep rolling and collecting on your plot while floors tick over. Runs stack up quickly this way — a Cursed Tower attempt on Medium can carry a decent team from Floor 1 to Floor 8 without you watching a second of it.
Treat towers as a side loop rather than a strategy. Push until your team starts losing floors, bank the gems into a grade on your top earner, and come back after your income and Damage upgrades have grown.
Codes
Open the Shop menu, switch to the Codes section, and enter each one exactly as written, since they are case-sensitive: 10KCCU, 20KCCU, 5KCCU, 1KCCU, UPDATE3, UPDATE2, UPDATE1, RELEASE. Rewards land straight in your backpack as Lucky Spins, Trait Rerolls and gems.