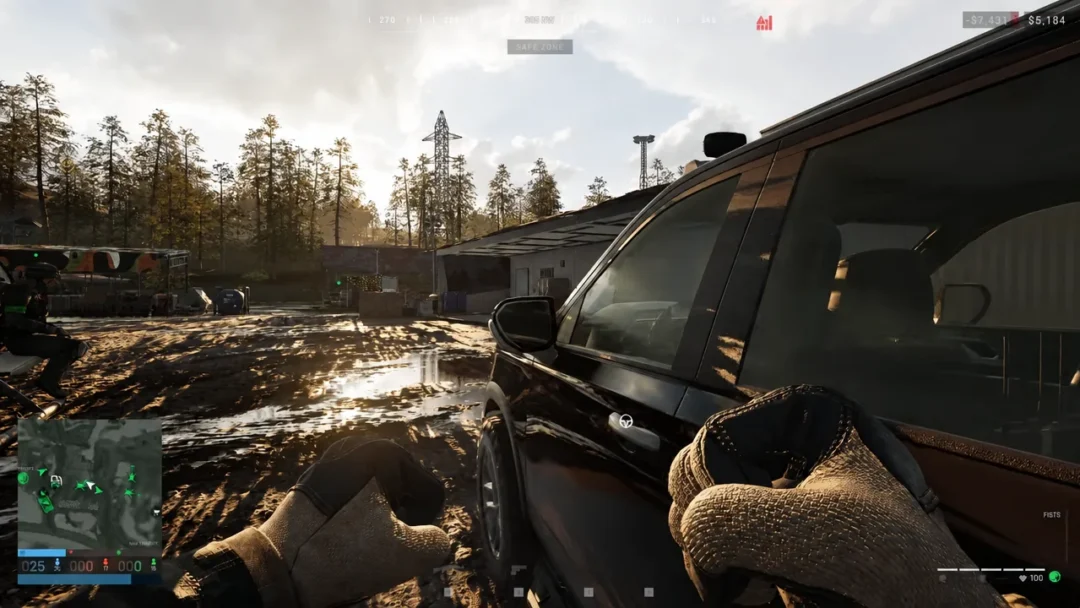
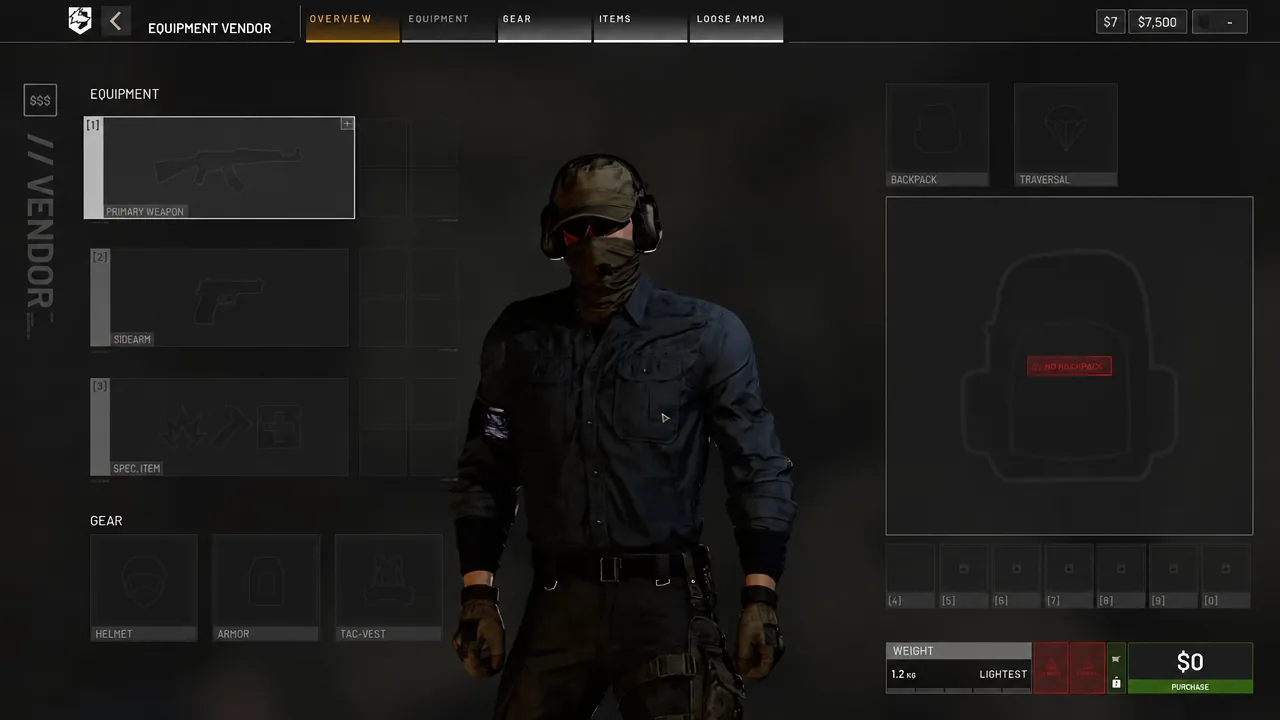
Every life in WARDOGS is a purchase. You walk up to the Equipment Vendor, buy a weapon, armour, a bag and whatever utility you can afford, and if you die, all of it stays on your corpse. Cash carries over between matches, so the kit that keeps you solvent early is almost never the most expensive one on the menu.
Quick answer: Buy the free Bushmaster M17S, a Scout Backpack, a Level 1 Helmet ($200), Level 1 Armor ($400), the free Emergency Resuscitator, bandages and loose 5.56mm. Upgrade only once you are banking cash.
Cost per life is the number that matters
You start with $10,000 and earn more through kills, revives, transport and objective work. That reserve sounds generous until you spend $5,000 on a kit and lose it twice in five minutes. The useful way to judge a loadout is not its firepower but how many times you can rebuild it after a bad run.
Weight is the second constraint. Lighter kits let you tactical sprint, which matters far more on a control zone rotation than one extra magazine. Armour and heavy ammunition are the two things that push you over a threshold fastest.
Enemy bodies are free vendors. A cheap spawn kit plus disciplined looting will out-earn an expensive kit that dies on the way to the objective.
Starter assault loadout: the Bushmaster M17S kit
Open the Equipment Vendor and start at the Primary Weapon slot. The Bushmaster M17S costs $0 and fires the same 5.56x45mm round as rifles several thousand dollars up the list, so nothing about your damage output is being held back by the price tag.
| Bushmaster M17S | Value |
|---|---|
| Price | $0 |
| Damage per shot | 28.0 |
| Headshot damage | 65.8 |
| Through body armour | 11.2 |
| Rounds per minute | 700 |
| Muzzle velocity | 715 m/s |
| Weight | 3.17 kg |
The catch is written on the weapon itself: semi and burst fire only, and it cannot take attachments. You are buying no optic, no foregrip and no full auto. Against a pushing squad at close range that hurts, which is why the first real weapon upgrade most players make is to something with an automatic fire mode rather than something with a bigger number next to it.
Magazines are cheap enough to be an afterthought. A STANAG 20 RND Magazine costs $10 and weighs 0.31 kg, so three of them plus a stack of loose 5.56mm FMJ covers a long life without bloating your bag.
Round the kit out with the items that cost little and save lives:
- Scout Backpack for storage slots, not the free pouch
- Small Tac Vest for a quick-access utility slot
- Basic Parachute, so helicopter pilots do not have to land for you
- Binoculars in the specialist slot to spot targets and farm Recon XP
- Emergency Resuscitator, five bandages and two M67 Frag Grenades
Why binoculars earn their slot
Spotting an enemy with binoculars pays you Recon XP when that enemy dies, whoever kills them. That is the quickest way to reach Recon level 5 and unlock the SKS without ever buying the Scout Rifle, and it works from cover while your squad does the shooting.
Swapping the starter primary: AMP-9, MP43 and SKS
The frame of the kit does not change when the gun does. Drop in the AMP-9 for close-quarters work with its 15-round magazines, the MP43 if you want a shotgun for buildings, or the SKS for marksman range. Whatever you pick, buy the matching magazines from the Ammo subtab and load them before you leave the vendor.
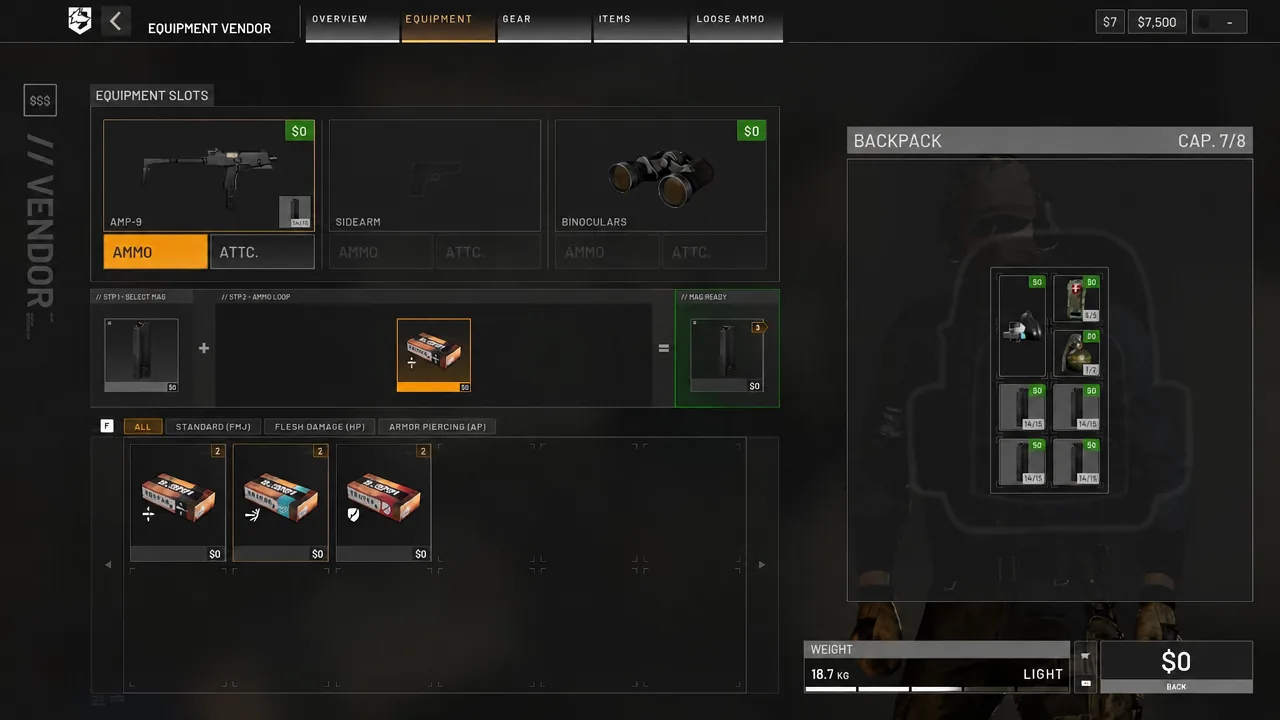
The SKS is the exception to the magazine rule. It takes no magazines at all — you feed it loose 7.62mm directly, so budget ammunition rather than mag capacity.
Armour prices, durability and unlock levels
Protection is the purchase that changes fights most, because the damage a rifle does to you is calculated after armour. The Bushmaster’s 28 per shot drops to 11.2 against body armour, which is the whole argument for spending on a vest before spending on a gun.
| Item | Price | Durability | Unlock |
|---|---|---|---|
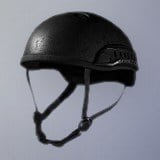 Level 1 Helmet Level 1 Helmet | $200 | 80.0 | Wardog 3 |
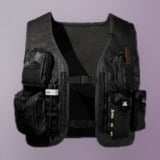 Level 1 Armor Level 1 Armor | $400 | 200.0 | Wardog 3 |
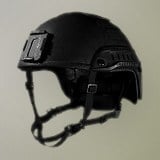 Level 2 Helmet Level 2 Helmet | $500 | 100.0 | Wardog 30 |
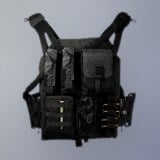 Level 2 Armor Level 2 Armor | $1,000 | 220.0 | Wardog 30 |
Each tier also carries a one-time unlock fee on top of the per-life price. The Level 1 Helmet unlocks for $7,500 and Level 1 Armor for $10,000, both at Wardog level 3. The Level 2 pieces are a much bigger commitment at Wardog level 30, costing $37,500 and $50,000 respectively before you can buy a single one.
Level 1 gear is described in-game as low damage reduction, covering the upper and lower torso, with the helmet covering the head. It is cheap insurance against a body shot that would otherwise end the life outright.
You can skip the helmet on a dedicated sniper build and pick one off a body later. On any kit that plans to be near the objective, buy it.
Mid-game assault loadout: AK74 and Level 2 gear
Once cash is coming in faster than it leaves, the assault kit grows in three places: the gun, the bag and the armour. The AK74 with its 30-round magazine is the usual step up, mainly because its recoil climbs almost straight up. Pull down steadily in the firing range for a minute and the pattern becomes predictable, and tap or burst firing keeps it flat at distance.
Storage is the less obvious upgrade. The Operator Backpack and Assault Backpack both add rows of slots over the Scout, which is what lets you carry 10 bandages, smoke grenades and a full stack of loose 5.45mm instead of choosing between them.
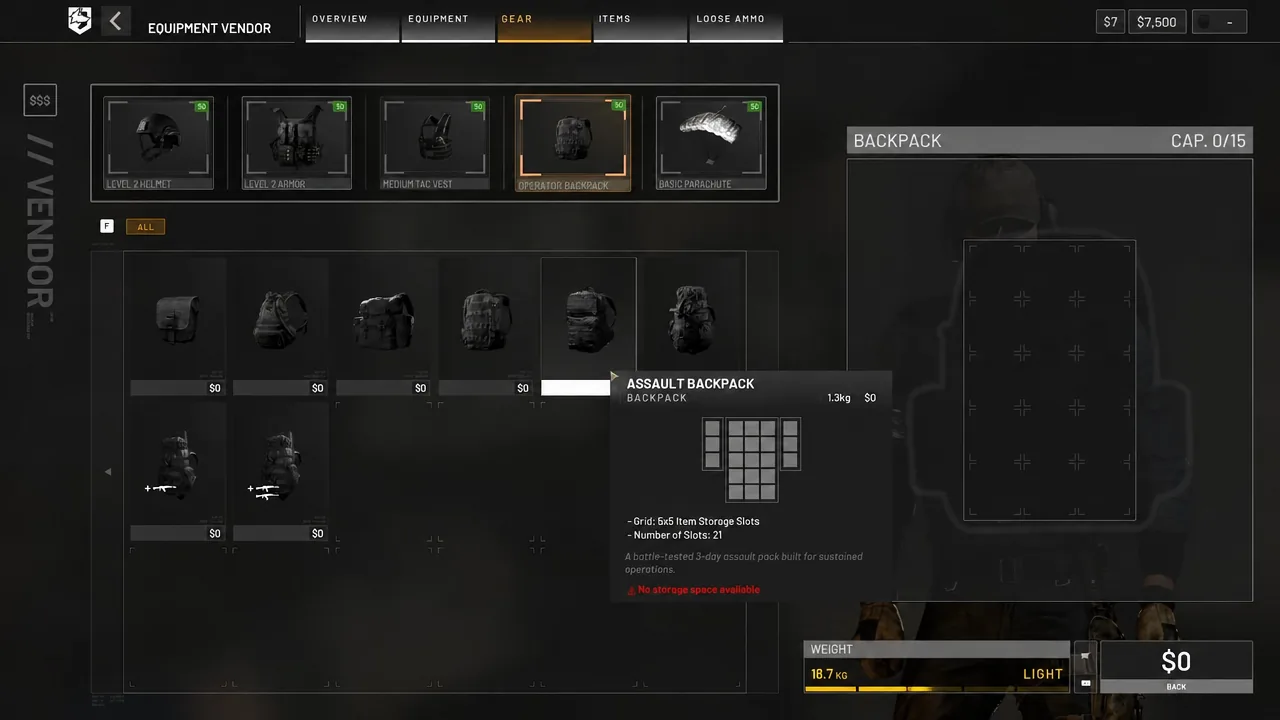
Because the AK74 takes attachments, this is also where optics start to matter. The Four Reticle Reflex and the TDG Vertical Foregrip are the standard pairing — the reflex speeds up aiming down sights, the grip helps hold that vertical climb.
For protection, Level 2 Armor at $1,000 adds only 20 durability over the Level 1 vest but is rated for medium damage reduction, and the Level 2 Helmet adds 20 durability over the Level 1 lid for the same reason.
Recon loadout: SKS, CQ-2x Prism Combat Scope and the Recon Tent
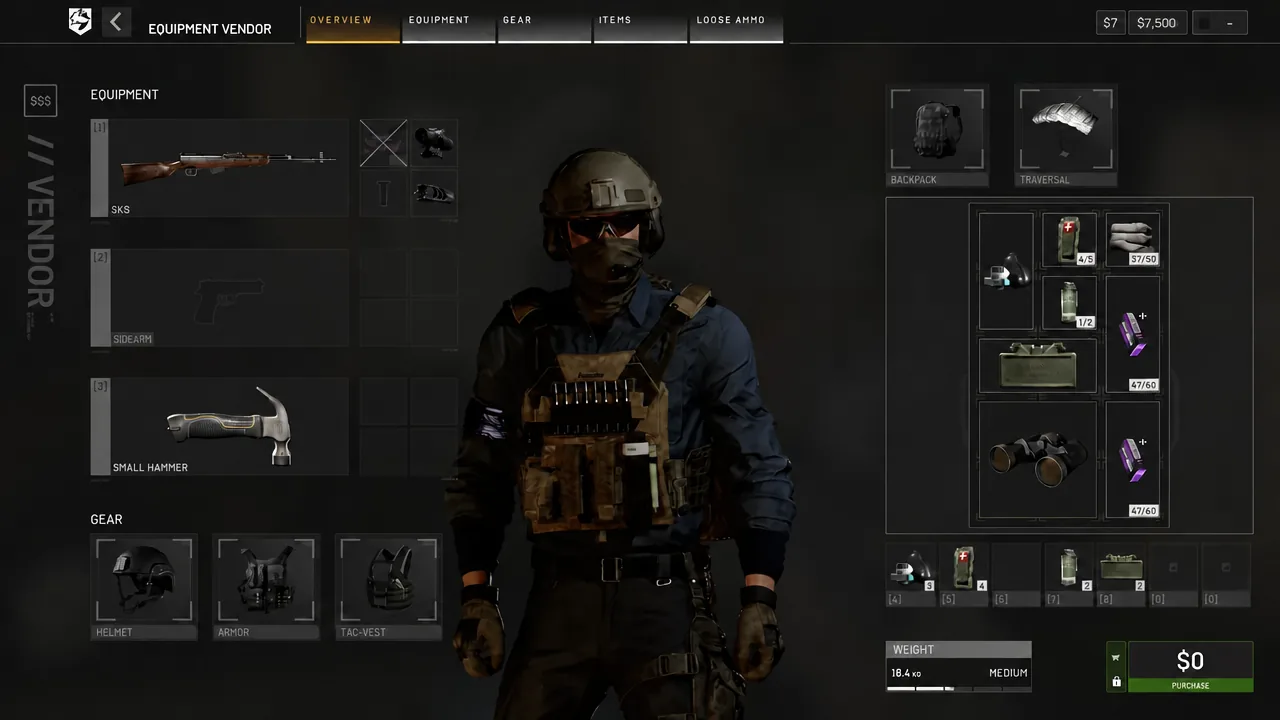
The recon kit trades rate of fire for reach and information. Build it around the SKS, a stack of loose 7.62mm, claymores for the approaches behind you, and a spotting tool in the specialist slot.
The optic to fit is the CQ-2x Prism Combat Scope at $640. It gives 2x magnification with a zeroing range of 100m to 300m and a minor improvement to aim-down-sights speed, which suits the mid-range shooting the SKS is actually good at. It unlocks at Assault level 17 for a one-time $15,000 fee and weighs just 0.31 kg.
If you plan to hold a position, pack a Small Hammer and 50 Build Supplies and put up a Recon Tent. It hides you from infrared vision, which is the difference between an overwatch spot that lasts one minute and one that lasts ten.
Specialist items worth their inventory slots
The Emergency Resuscitator costs nothing, weighs 0.39 kg and takes two inventory slots. It is one per life and single-use, it revives teammates faster, and it pays Medic XP when you use it. Carrying one also means a squadmate can loot it off your body and bring you back with it.
The Individual First Aid Kit is the step up from bandages. At $800 and 0.16 kg it heals you or a teammate back to full health in one use, and it unlocks at Medic level 9 for a one-time $25,000 fee.
Two heavier specialist choices are worth knowing before you commit slots to them. The Defibrillator runs on Batteries and burns charge with every revive, so it is dead weight if you forget to buy spares. The RPG-7 hits infantry as hard as it hits vehicles, but its 83mm ammunition eats storage space and a Black Hawk takes more than one rocket to bring down.
Breaching with the IED and C4
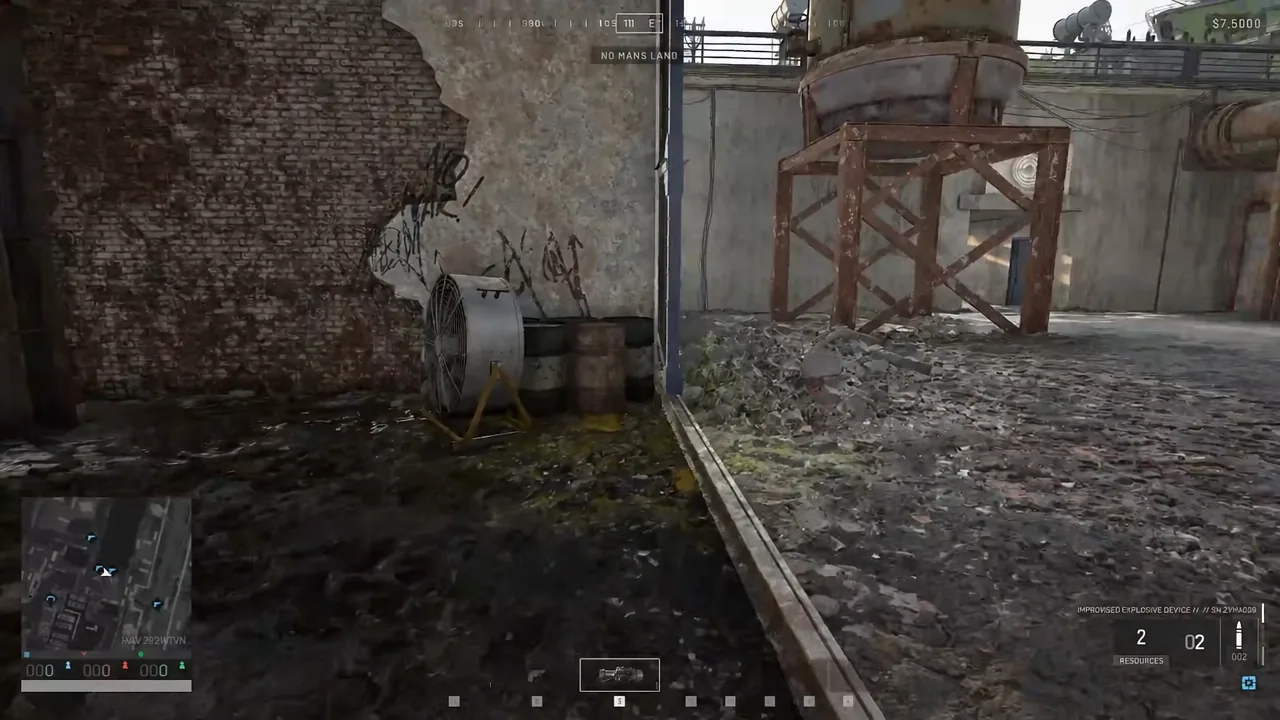
The Improvised Explosive Device costs $300, weighs 1.5 kg and is a remotely detonated, single-use charge. Place it with left-click, then switch to the Remote Detonator and hold right-click to set it off. C4 works the other way around — throw it with right-click, then detonate with left-click on the Remote Detonator.
Both are for doors, gates and chokepoints rather than general combat. Neither is worth carrying unless someone in the squad is planning the breach.
Building and spotting upgrades: Large Hammer and Range Finder
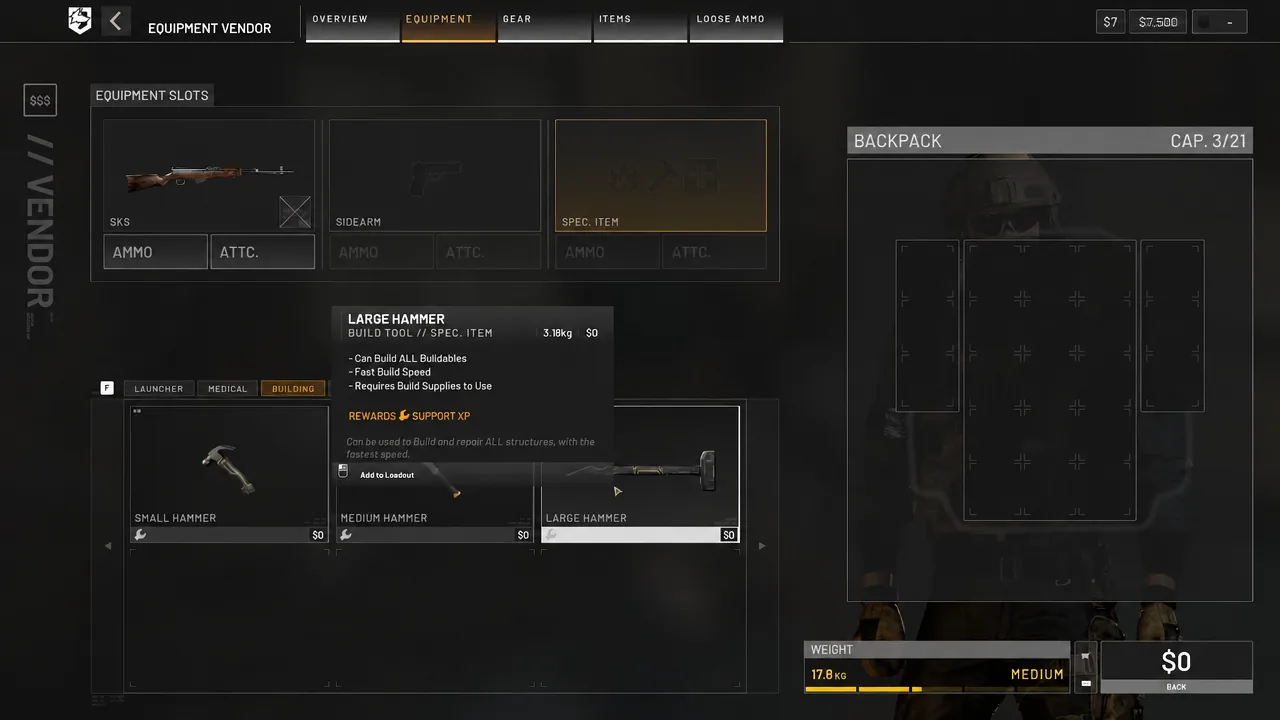
The Small Hammer covers simple structures like the Recon Tent. Advanced base building needs the Large Hammer, so if your squad intends to fortify a position rather than just camp it, one player should be carrying the bigger tool and the Build Supplies to go with it.
On the recon side, the Range Finder replaces Binoculars once you can afford it and keeps the same spotting payoff while giving you a distance read for longer shots.
Repack ammo and rebuy the kit
Loose rounds are not just spare weight. Press C in-game and empty magazines in your inventory refill automatically from the loose stack. You know it worked when the magazine icons in your bag show as full again and your reserve count climbs — that is the whole reason to buy loose ammunition alongside magazines instead of only buying mags.
Rebuilding after a death is one click. At the gear vendor, the option in the bottom-left corner of the menu purchases the exact loadout you had on your previous life, assuming you can pay for it. Loadouts do not currently carry between matches, so the first kit of every match is built by hand.
Work upward from there. The free rifle and Level 1 protection will carry you through your first Wardog levels without draining the bank, and every unlock fee you pay afterwards should be funded by cash you have already banked, not by the $10,000 you started with.